
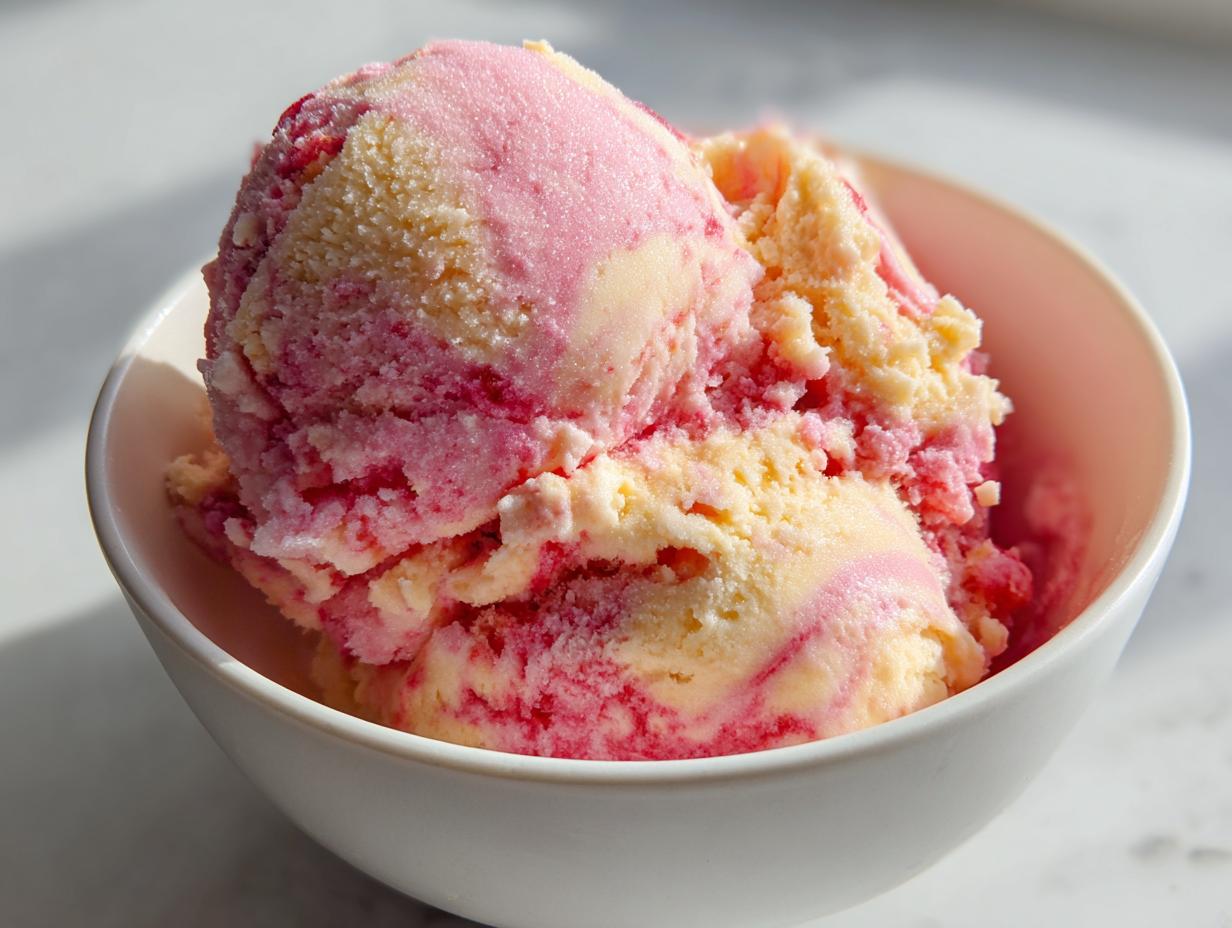
Oh, the heat is just starting to settle in, isn’t it? When the thermometer climbs and you need something really bright and instantly cooling, you just can’t beat the perfect frozen treat. Forget fighting with an ice cream maker—I’ve got the ultimate secret weapon for you today! Here at Bliss Batter, I believe joy comes from making things simple, and that means this No-Churn Raspberry Lemonade Sherbet is about to become your go-to. I learned from my grandmother that the best things happen when you just grab simple, good ingredients and mix them with hope. This recipe is exactly that: tart, sweet, and so easy to pull together for the best summer sherbet you’ve ever had. Let’s get cold!
- Why This No-Churn Raspberry Lemonade is the Ultimate Summer Sherbet
- Gathering Ingredients for Your Perfect Summer Sherbet
- Step-by-Step Instructions for Your Summer Sherbet
- Tips for Perfect Creamy Fruit Ice Recipe Every Time
- Variations on Classic Summer Sherbet Flavors
- Serving Suggestions for Your Vibrant Summer Cooler Recipes
- Storage and Reheating Instructions for Homemade Sherbet
- Frequently Asked Questions About Making Summer Sherbet
- Sharing Your Blissful Summer Sherbet Creations
Why This No-Churn Raspberry Lemonade is the Ultimate Summer Sherbet
When the summer sun is blazing, you need something that hits the spot instantly, and trust me, this recipe delivers. It’s the perfect blend of sweet fruit and creamy texture without all the hassle.
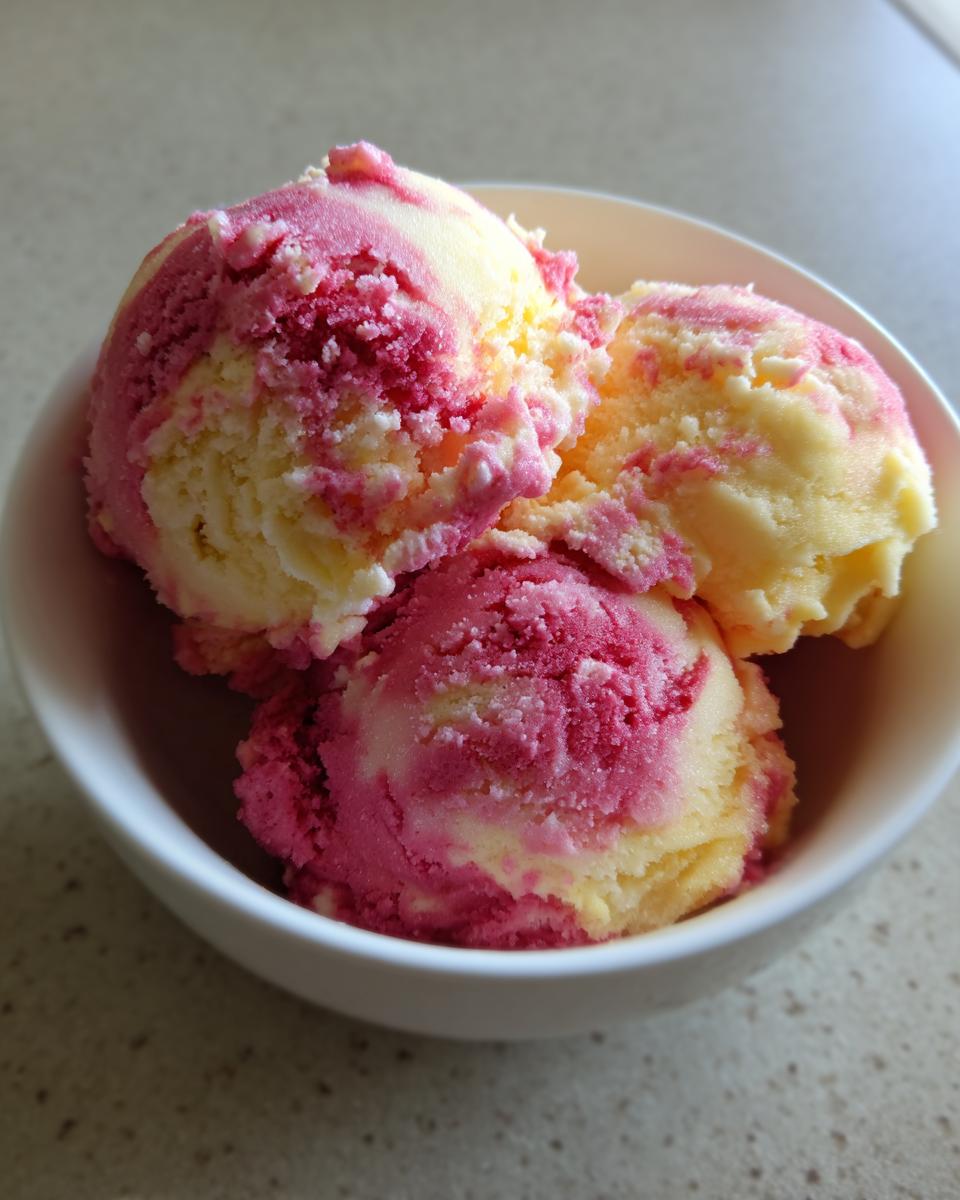
- It’s the definition of a refreshing summer frozen dessert—bright, tangy, and wonderfully smooth.
- You get those truly light and fruity chilled treats that don’t weigh you down after a hot afternoon.
- The flavor combination of raspberry and lemonade is unbeatable for that pure summer taste!
No Machine Needed: Mastering Homemade Sherbet No Ice Cream Maker
This is the step that makes me so excited to share this with you! Who has space for another bulky machine? We’re keeping things simple. By using sweetened condensed milk and whipped cream, we build in the right fat and sugar structure. This no-churn process is the absolute key to achieving that beautiful, scoopable texture we all want in homemade sherbet no ice cream maker versions. It just works, every single time!
Gathering Ingredients for Your Perfect Summer Sherbet
The beauty of this recipe is that most of what you need is probably already in your pantry or fridge! We’re using a technique where the richness comes from cream and condensed milk, not constant churning. Precision matters when you’re skipping the machine, so pay close attention to temperatures!
You’ll gather up raspberries, sweetened condensed milk, heavy whipping cream, fresh lemon juice, zest, and a tiny bit of water. Seriously, make sure that whipping cream is ice cold—that’s half the battle won right there!
Ingredient Notes and Substitutions for Bright Citrus Sherbet Ideas
Since we are aiming for those truly vibrant flavors, using fresh lemon juice is non-negotiable for me. You just can’t fake that bright, zesty punch! I always grate my lemon zest before juicing; it’s a small step but makes a huge difference for these bright citrus sherbet ideas.
Now, if you want to lean into those tropical notes, feel free to sub out some of that lemon for fresh lime juice. It gives it that fun, almost key lime pie vibe! And remember, if you’re ever out of heavy cream, you can nervously try the frozen whipped topping substitute I mentioned, but know that the true creamy texture comes from the real deal.
Step-by-Step Instructions for Your Summer Sherbet
Okay, this is where the magic really comes together, and trust me, it’s simpler than you think! We are layering textures here, which is the secret to making this happen without an ice cream maker. Read through the steps once before you start, grab your bowls, and let’s make some amazing homemade sherbet!
Preparing the Raspberry Lemonade Base
First things first, get those raspberries ready. If they’re fresh, just mash them up with a fork until they look a little saucy. If they’re frozen, let them hang out on the counter for a bit first. Next, in a separate bowl, we whisk together the secret binder—the sweetened condensed milk—with your fresh lemon juice and that bright zest. Keep whisking until it’s all happy and mixed.
Achieving Airiness: Whipping Cream and Folding Technique
Now, grab that cold whipping cream and beat it until you get stiff peaks. You want that cream to stand straight up when you lift the whisk out! This is essential for trapping air for our no churn sherbet guide. Next, take about a third of that fluffy cream and stir it into your raspberry-lemon mixture—this lightens the base. Then, and this is key, you gently fold in the rest of the cream. You *must* fold, not stir, or you’ll deflate all that air we just worked so hard to create!
Freezing and Storing This Quick Make Ahead Summer Dessert
Finally, fold in the mashed raspberries until you see pretty swirls—don’t blend them totally smooth! Pour the whole glorious mixture into a loaf pan. Cover it super tight, and I mean *tight*—press a piece of plastic wrap right against the surface of the sherbet itself. This stops crunchy ice crystals from forming. Pop it into the deep freeze for at least six hours. This is a fantastic quick make ahead summer dessert because once it’s frozen, it’s done!
Tips for Perfect Creamy Fruit Ice Recipe Every Time
Since we aren’t churning this, we have to be smart about freezing, right? My biggest lesson learned making any sort of creamy fruit ice recipe is managing those ice crystals. That plastic wrap pressed directly onto the surface, like I showed you, is absolutely crucial! If you skip that step, you wake up to icy, hard sherbet instead of smooth goodness.
Also, remember that the acid from the lemon juice actually helps keep things soft. But if you find your finished product is just too hard after the full freeze time, next time try adding a tiny splash more water or even a tablespoon of vodka—don’t worry, the alcohol won’t freeze solid and it keeps things softer! And whenever you plan ahead, remember this is a great quick make ahead summer dessert, so plan that freezing time wisely!
Variations on Classic Summer Sherbet Flavors
While the raspberry lemonade is my absolute benchmark for a wonderful summer sherbet, half the fun is experimenting, right? You can take this exact no-churn base and swap out the fruit and citrus totally! These are my favorite takes on classic summer sherbet variations that I test out when the market has incredible seasonal fruit.
First, try a Mango Passion Fruit combo. Use fresh mango puree instead of raspberries, and swap the lemon for lime and passion fruit juice. It becomes this stunning, electric yellow treat! If you want something super simple, my husband loves a classic Peach flavor—just use very ripe, slightly mashed peaches and stick with the lemon juice for tang. That one is a real crowd-pleaser and tastes just like a frozen upside-down cake!
For something more adventurous, think about how good this would taste replacing the fruit with a tart key lime mix for a wonderful tropical summer frozen yogurt alternative feel!
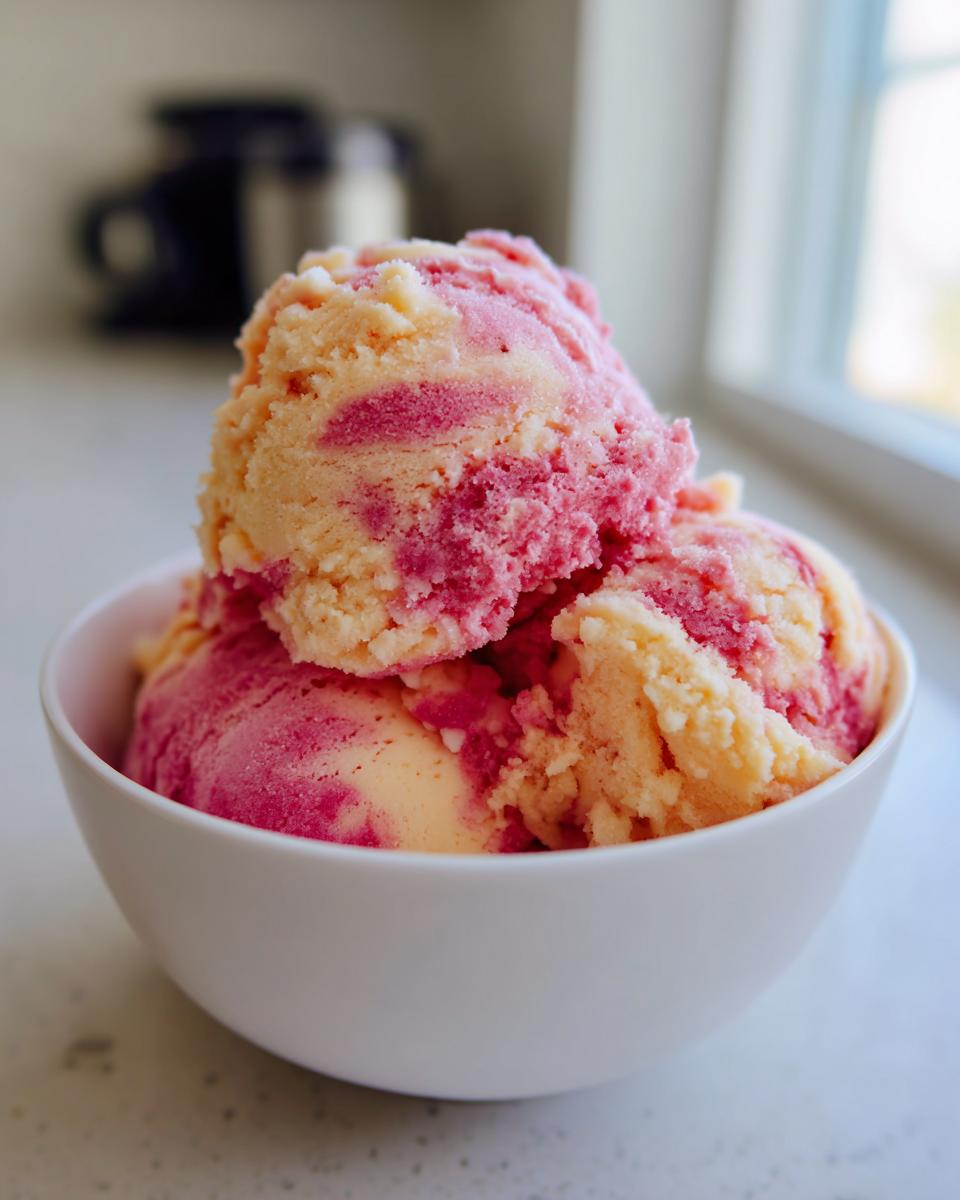
Serving Suggestions for Your Vibrant Summer Cooler Recipes
This sherbet is just gorgeous on its own, but serving it right makes it look like you spent hours fussing! For truly vibrant summer cooler recipes presentation, grab some small glass bowls or cute parfait cups. A little garnish goes a long way.
I always top mine with a tiny sprig of fresh mint right on top—the green pops against the pink so beautifully! A sprinkle of extra lemon zest adds aroma, too. If you need something a little sturdy beside it, these pair wonderfully with a simple, buttery cookie like my chewy oatmeal cookies.
Storage and Reheating Instructions for Homemade Sherbet
Storing this wonderful summer sherbet is simple, but you have to be militant about air exposure! Keep it in a truly airtight container, making sure that plastic wrap is still pressed right against the surface. It stays perfectly good in the deep freeze for up to two weeks. Before you scoop, just let it sit on the counter for about five or ten minutes so it softens up into that perfect, velvety texture again!
Frequently Asked Questions About Making Summer Sherbet
I get so many questions after people try this recipe for the first time! It’s always the little things that throw bakers off, but once you know the trick, everything is smooth sailing. Here are the things I hear most often about this delicious no churn sherbet guide.
Can I make this recipe using only frozen fruit instead of fresh?
Oh yes, absolutely! I often use frozen raspberries because they are sometimes better quality than what’s available fresh depending on the season. The key is to not dump rock-hard frozen fruit into your whipped cream! Just let them sit on the counter for about 20 minutes until they’re soft enough to mash easily with a fork, just like the fresh ones. They’ll thaw out the rest of the way while chilling in the freezer.
What is the difference between this sherbet and sorbet?
This is such a good question because they look similar but taste completely different! The main difference is the dairy, see? Sorbet is usually just fruit, sugar, and water—no dairy at all. Our recipe here for summer sherbet uses both sweetened condensed milk and heavy whipped cream. That fat content is what gives it that unbelievably creamy, lighter texture compared to a sorbet, which is naturally icier.
How long does it take for the summer sherbet to fully freeze?
When you first pour it into the pan, it seems so loose, doesn’t it? But because of all that wonderful condensed milk, it actually sets up faster than regular ice cream. You really need to give it a dedicated minimum of six hours in the back of your freezer where it’s coldest. Even better? If you make it the day before you plan to serve it, it’s perfect the next day!
Sharing Your Blissful Summer Sherbet Creations
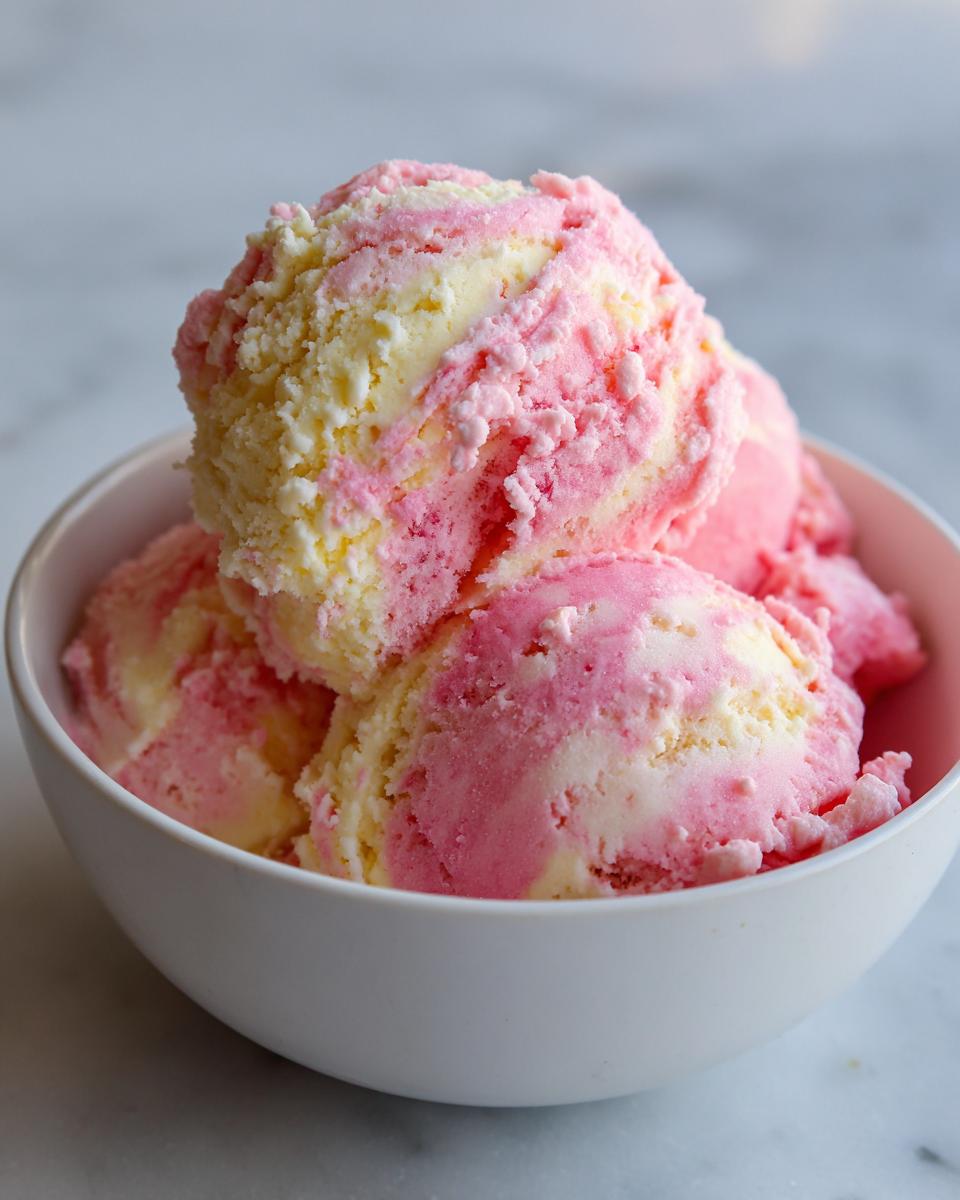
Now that you’ve mastered this incredibly easy summer sherbet, I have a huge favor to ask! I truly believe that baking is about sharing that pure happiness, that ‘bliss batter’ moment, with everyone around you. Did this recipe make your summer afternoon instantly better? I really hope so!
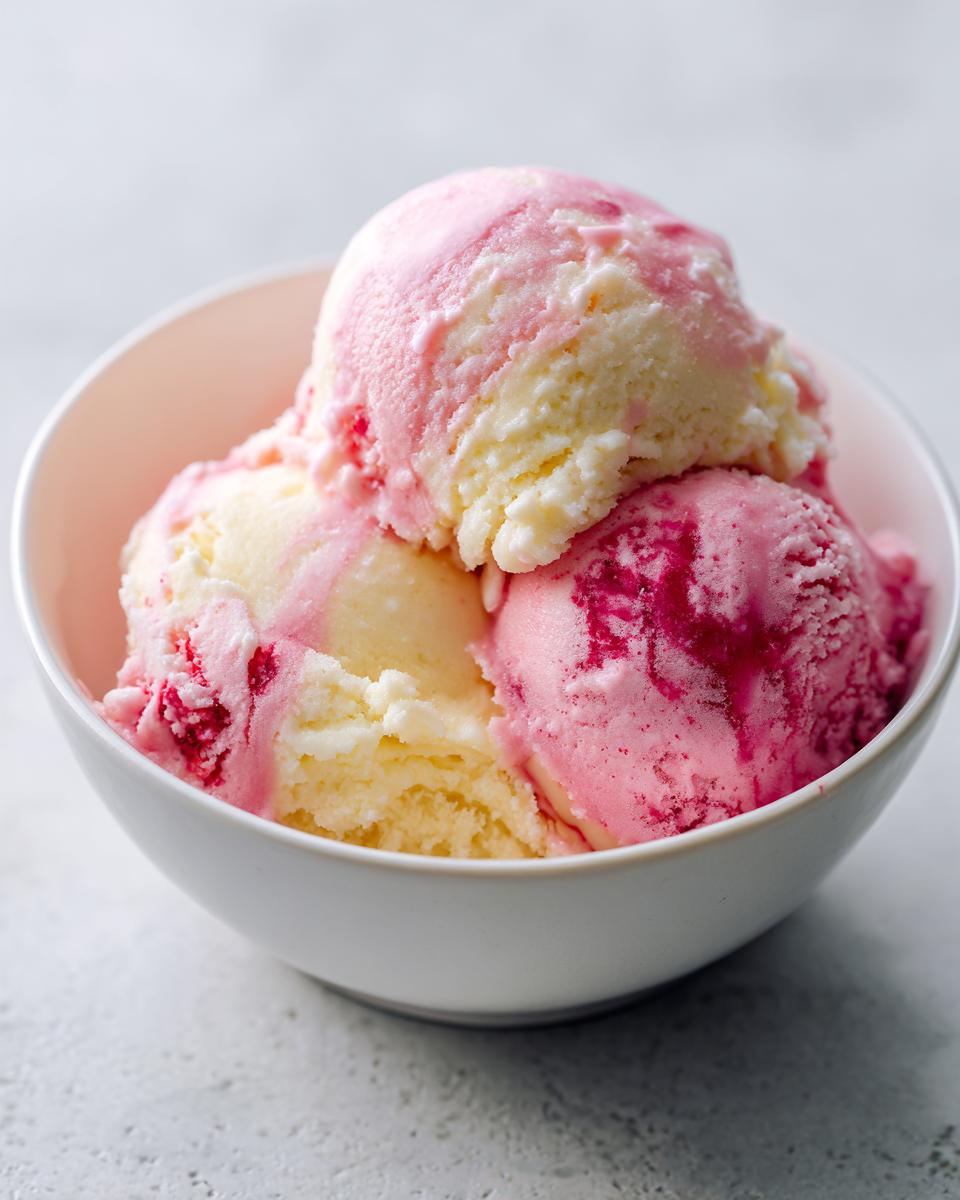
If you loved how fast this came together and how bright the flavor is, please hop over to the recipe card and leave me a rating! Those little stars help other bakers feel confident trying it out. And when you do scoop up that first perfect bowl, snap a picture! Tag me on social media so I can see those beautiful swirls of pink and yellow goodness. Don’t forget to check out more about my journey over at the About page. Seeing your successes is why I started Bliss Batter in the first place, and I love connecting with you all here!
Keep baking with joy, and I’ll see you in the next recipe!
PrintNo-Churn Raspberry Lemonade Sherbet

Make this refreshing summer sherbet without an ice cream maker. This easy homemade sherbet recipe combines bright raspberry and tart lemonade for a light and fruity chilled treat perfect for warm weather.
- Prep Time: 15 min
- Cook Time: 0 min
- Total Time: 6 hr 15 min
- Yield: 6 servings 1x
- Category: Dessert
- Method: No Churn Freezing
- Cuisine: American
- Diet: Vegetarian
Ingredients
- 2 cups fresh or frozen raspberries
- 1 (14 ounce) can sweetened condensed milk
- 1 cup heavy whipping cream, cold
- 1/2 cup fresh lemon juice
- 1 teaspoon lemon zest
- 1/4 cup water
Instructions
- If using fresh raspberries, gently mash them in a bowl with a fork until slightly broken down. If using frozen, thaw them slightly first.
- In a medium bowl, whisk together the sweetened condensed milk, lemon juice, and lemon zest until combined.
- In a separate large bowl, use an electric mixer to whip the cold heavy whipping cream until stiff peaks form. This takes about 3 to 5 minutes.
- Gently fold about one-third of the whipped cream into the raspberry-lemonade mixture to lighten it.
- Carefully fold in the remaining whipped cream until just combined. Do not overmix; you want to keep the air in the mixture.
- Gently fold in the mashed raspberries. If the mixture seems too thick, add the 1/4 cup of water to reach a slightly softer consistency.
- Pour the mixture into a freezer-safe loaf pan or airtight container.
- Cover the container tightly with plastic wrap, pressing the wrap directly onto the surface of the sherbet to prevent ice crystals.
- Freeze for at least 6 hours, or until firm. This is a great make ahead summer dessert.
- Let the sherbet sit on the counter for 5 to 10 minutes before scooping and serving.
Notes
- For a more intense raspberry flavor, you can simmer the raspberries with 1 tablespoon of sugar for 5 minutes, then cool completely before mashing.
- This recipe is a wonderful tropical summer frozen yogurt alternative if you substitute lime juice for some of the lemon juice.
- If you do not have heavy cream, you can substitute an equal amount of frozen whipped topping (thawed), though the texture will be slightly less rich.
Nutrition
- Serving Size: 2/3 cup
- Calories: 285
- Sugar: 38
- Sodium: 75
- Fat: 12
- Saturated Fat: 7
- Unsaturated Fat: 5
- Trans Fat: 0
- Carbohydrates: 42
- Fiber: 1
- Protein: 5
- Cholesterol: 35