
Sometimes, hosting a gathering feels like a ton of work, doesn’t it? You want comfort food that feels special but you desperately want to actually hang out with your guests instead of hovering over a hot stovetop! Well, I have the absolute answer that takes the pressure off while doubling the fun: the most amazing, customizable frito pie bar you can dream up. Forget fussy plating; this is interactive food at its best! Here, I’m walking you through everything—from whipping up my secret, rich chili base to the truly essential DIY Frito Pie Station Setup. Trust me, once you host one of these, it becomes your go-to strategy for game days, cookouts, or just when you crave something incredibly easy and satisfying. You can check out some of our other favorite easy party snack ideas right here!
- Why Host a Customizable Frito Pie Bar?
- Homemade Chili Base: The Heart of Your Frito Pie Bar
- Mastering the Frito Pie Bar Topping Selection
- The Perfect Frito Pie Bar Setup and Presentation
- Making Your Frito Pie Bar Menu Flexible
- Tips for Hosting a Successful Frito Pie Night
- Storage and Leftover Ideas for Your Chili Base
- Frequently Asked Questions About the Frito Pie Bar
- Sharing Your Frito Pie Bar Creations
Why Host a Customizable Frito Pie Bar?
Honestly, these interactive food bars are my secret weapon when I’m hosting! They are the perfect Party Food Bar Concept because they look impressive but require minimal active cooking time once you set everything out. You look like a total pro because everyone gets exactly what they want. I love setting this up for casual weeknights, but they are absolute showstoppers for Game Day!
- It minimizes stress; everything is ready to go before guests even arrive.
- It caters to picky eaters automatically—no one has to pick off onions if they hate them!
- It’s a fun, memorable way to serve dinner, turning a simple meal into Interactive Dinner Ideas.
If you’re looking for more streamlined party food, you have to check out my recipe for game day party rolls next!
The Joy of Self-Serve Frito Pie Bar Setup
When you use a self-serve model, your job shifts from being a short-order cook to being a host, which is so much better! Once the big pot of chili is simmering happily (more on that later!), you step back. Guests love dictating their own culinary journey. Does Aunt Martha want extra sharp cheddar and no beans? Perfect! Does cousin Kevin want three kinds of hot sauce? Go for it! This personalization factor is what makes the Frito Pie Bar so engaging and ensures you actually get to enjoy your own party.
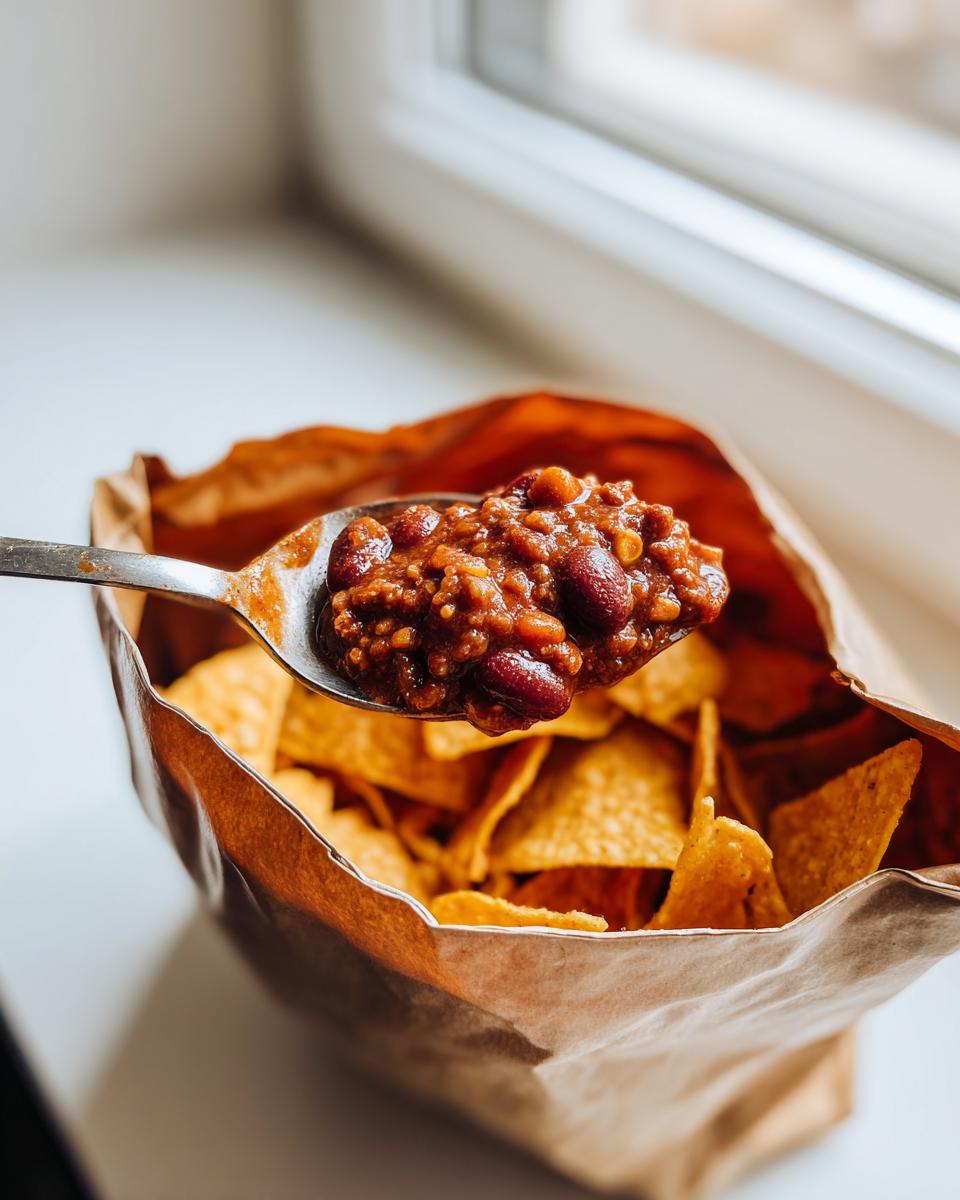
Homemade Chili Base: The Heart of Your Frito Pie Bar
No matter how gorgeous your toppings are, the whole experience hinges on that warm, savory base. This is where we build real flavor that tastes like it simmered all day, even if we only gave it an easy hour! Don’t worry, this chili isn’t fussy; it’s just built on solid, comforting ingredients. We want a rich depth here, so make sure you let it bubble gently. I always say, give your chili base at least 30 minutes to chat among itself on the stove—that’s when the cumin and chili powder really start singing together! For a deeper dive, here is my standard classic chili recipe, but we’re keeping this one slightly simpler for the bar setup.
Ingredient Clarity for the Base Chili
Precision really matters here to get that classic, satisfying texture. I’ve listed everything below exactly as I use it. When you see ‘chopped,’ make sure your onion is actually chopped—no big chunks! And please, rinse those beans well; nobody wants extra salty liquid.
- 1 pound ground beef (80/20 recommended)
- 1 medium yellow onion, chopped
- 1 (15 ounce) can kidney beans, rinsed and drained
- 1 (15 ounce) can black beans, rinsed and drained
- 1 (14.5 ounce) can diced tomatoes, undrained
- 1 (8 ounce) can tomato sauce
- 1 (4 ounce) can green chiles, drained
- 2 tablespoons chili powder
- 1 teaspoon ground cumin
- 1 teaspoon dried oregano
- 1/2 teaspoon salt
- 1/4 teaspoon black pepper
- 1/4 cup water
Step-by-Step Instructions for Your Frito Pie Bar Chili
Follow these steps close to serving time, and you won’t have any trouble maintaining that perfect warmth. Remember, good things happen when you keep the pot covered while the flavors marry!
- In a large pot or Dutch oven, brown the ground beef over medium heat. Make sure you drain off any excess grease—we want flavor, not oil slick!
- Next, add the chopped onion to the pot and cook until it starts to soften up, which usually takes about 5 minutes.
- Now, throw in all the rest: the beans, the tomatoes (don’t forget the liquid!), tomato sauce, green chiles, and all those wonderful spices—chili powder, cumin, oregano, salt, and pepper—plus that final 1/4 cup of water. Give it a really good stir to combine everything.
- Bring this whole mixture right up to a gentle simmer, then knock the heat down very low. Cover it and let it cook slowly for at least 30 minutes, stirring every now and then. This timing is crucial for flavor blending.
When you taste it right before you transfer it to the warmer, add whatever it needs! Maybe it needs a tiny splash more salt or a pinch more cumin. Trust your palate; that’s the real secret to great cooking!
Mastering the Frito Pie Bar Topping Selection
If the chili is the soul of this party, the toppings are the personality! This is where we move from just serving dinner to creating an amazing, memorable food experience. When people see the spread for the Best Toppings for Frito Pie Bar, I guarantee they forget all about appetizers. The trick is organization—keep these items grouped so guests can easily navigate their choices. I always recommend using small, individual bowls or ramekins rather than one giant container. It looks much cleaner and helps keep things separated.
Dairy and Cheese Options for Your Frito Pie Bar
You absolutely must have plenty of dairy options; they cool down the heat beautifully. I always aim for variety here. First up: good old shredded sharp cheddar cheese. It melts just enough over the hot chili to create that perfect gooey layer. Next, sour cream is a must, but I also include small dollops of plain Greek yogurt as a lighter alternative. People appreciate having that choice!
And here’s a pro tip: If you want to seriously impress everyone, have homemade queso ready to go! Seriously, once you try my recipe for creamy queso dip, you will never buy the jarred stuff again. Warm, liquid cheese poured over chili and Fritos? It’s heaven.
Fresh Produce and Heat Elements
Fresh items bring in that necessary crunch and brightness to cut through the richness of the meat and cheese. Don’t skimp on preparation here—make sure everything is finely diced so people can easily spoon it on!
You’ll want bowls of finely diced yellow or red onions, maybe some chopped fresh cilantro if you know your crowd likes it, and definitely sliced jalapeños for those who like a real kick. For the heat lovers, set out three different hot sauces. I usually do one mild vinegar-based sauce, one smoky chipotle option, and maybe a hotter habanero elixir. Small labels next to each topping can also be a really thoughtful touch when hosting!
The Perfect Frito Pie Bar Setup and Presentation
Okay, this is where the fun really happens—the actual layout! If your topping selection felt like the personality, this presentation is the stage design. I learned this the hard way once! I tried to put all the toppings on a tiered tray, and things got very crowded and messy very fast. Now, I stick to a long, straight setup, which makes for a fantastic DIY Frito Pie Station Setup. The absolute most important thing is keeping that chili piping hot. I always transfer my chili base into a slow cooker set to the ‘Keep Warm’ setting. If you don’t have one, a nice chafing dish works wonders, too. You link to my favorite way to keep it going all night over on my slow cooker chili recipe page.
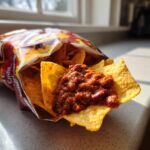
Serving the Fritos: Bags or Bowls?
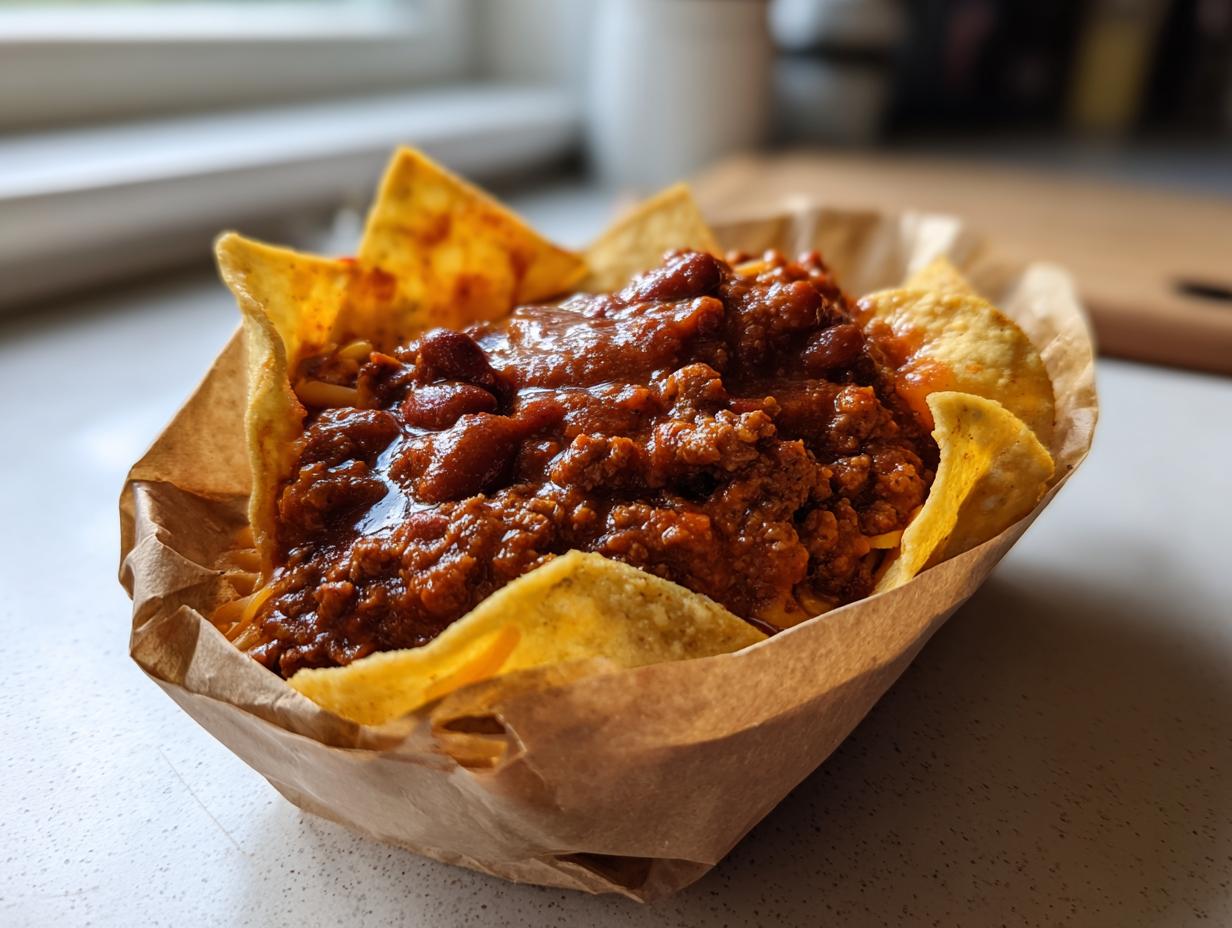
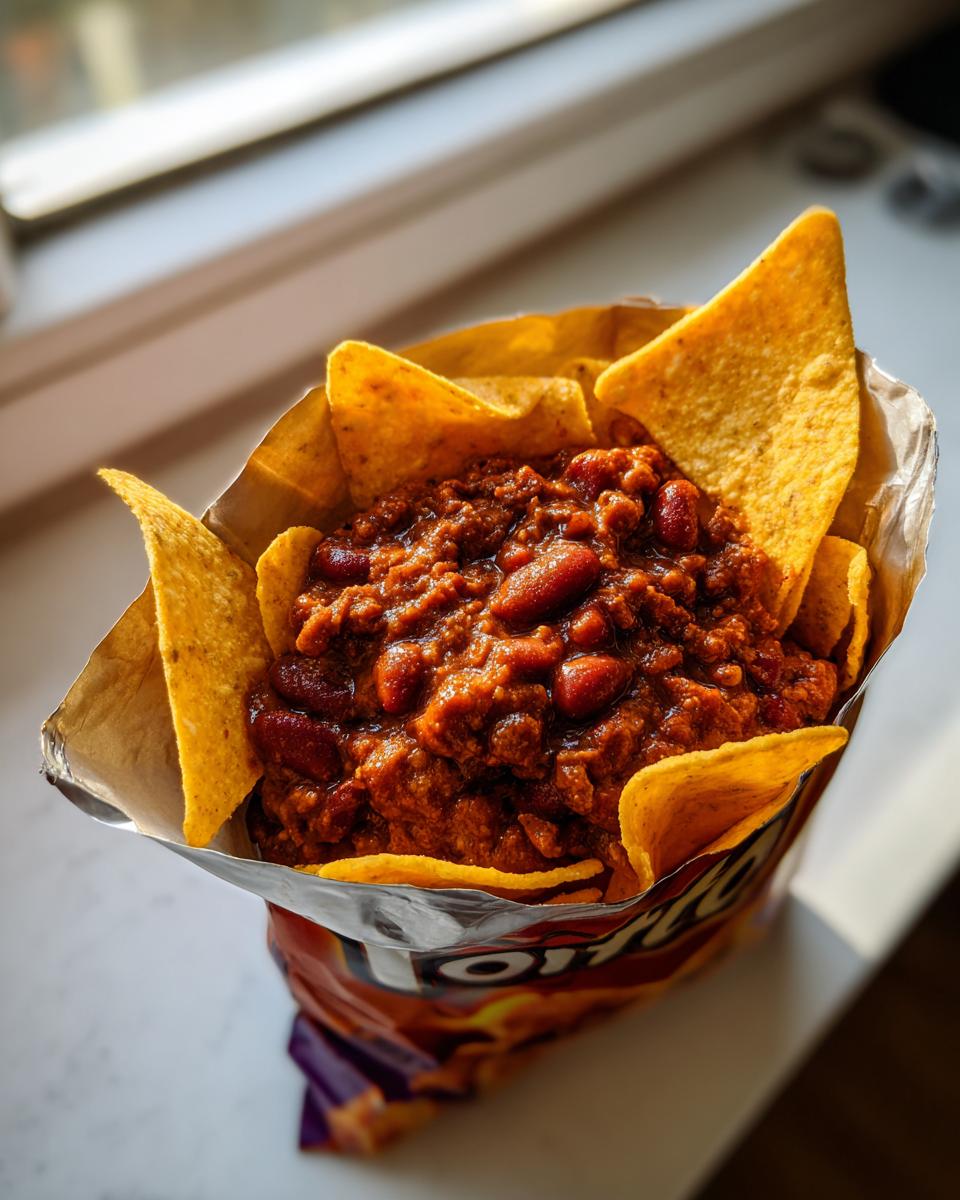
You have two main choices here, and which one you pick totally depends on the vibe of your party. The classic, messy, ultra-fun way is serving in the individual bags. Make sure you pre-cut a slit right down the side of the bag, leaving the bottom corner intact so it still acts like a little serving vessel. Guests just reach into the bag, sprinkle on chili, and dig in! It’s totally interactive.
The alternative for a slightly neater frito pie bar is putting all the Fritos into one extra-large, deep serving bowl. People scoop chips onto their plates first, then ladle the chili over the chips, and then hit the toppings bar. It’s less direct, but definitely tidier if you’re worried about spills!
Making Your Frito Pie Bar Menu Flexible
One thing I always remember when planning a big spread is that you need options for everyone! If you follow my basic recipe, you’ve got a fantastic starting point, but we can tailor it easily to make these Customizable Chili Bar Recipes work for every guest you have coming over. It’s not hard to switch things up, and it makes people feel so welcome when they see their specific needs considered.
If you have vegetarians or folks who just want something lighter, you don’t have to make a whole second batch of chili. Remember my notes? You can easily swap out that ground beef for plant-based crumbles or just add an extra can of beans. Seriously, the flavor from the tomatoes, onions, and spices shines through regardless! It’s such a simple adjustment that makes a huge difference in inclusivity.
For those avoiding gluten entirely (though Fritos technically get a pass for many, always check labels!), you can set out a bowl of tortilla chips on the side. Or, even better, offer baked potatoes! You can have a whole side station dedicated to “baked potato toppings” that overlap perfectly with your chili spread. You can see my go-to guide for making that kind of switch over at my vegetarian chili recipe page.
Tips for Hosting a Successful Frito Pie Night
Setting up the food is half the battle won—but a successful How to Host a Frito Pie Night is all about managing the flow once people start eating! Since this is a self-serve situation, organization is key, especially when it comes to keeping things tidy. I always make sure I have a dedicated trash can right near the end of the bar for empty chip bags or used spoons. People tend to abandon them wherever they land if the garbage isn’t obvious!
Another fun thing I learned: timing! Set out your cold toppings about 15 minutes before you plan to serve the hot chili. Nothing ruins the vibe like lukewarm sour cream or melted cheese sitting out for an hour! Keep the chili hot, and bring out the cold stuff right when the crowd is ready to eat. We want that perfect temperature contrast!
If you’re sending guests home with leftovers or just offering other easy bites, don’t forget to check out my roundup section for even more appetizers and party snacks ideas!
Storage and Leftover Ideas for Your Chili Base
Now, let’s face it: big batches usually mean leftovers, and that’s a wonderful thing! This chili base is honestly even better the next day once all those spices have had a nice, long soak together in the fridge. It truly deepens the flavor profile, which is something I always appreciate when I’m cooking ahead of time.
When it comes to storing what’s left, make sure you let the chili cool down just a bit before you put it into airtight containers. You don’t want to put a gallon of scorching hot chili directly into the fridge, as that throws off the temperature for everything else in there. Once it’s cooled slightly, transfer it to containers that aren’t too massive—it makes reheating much faster later on.
So, what to do with the extras? My absolute favorite way to use up leftover chili is to turn it into something completely different the next day. Forget just reheating it for dinner! Because we made such a robust, flavorful base, it’s the perfect partner for fries. Seriously, grab some crispy French fries, warm up a generous ladle of chili, and then hit it with a little sharp cheddar. I know exactly how to get the perfect crispiness for fries to handle that load over on my chili cheese fries recipe post!
Alternatively, you can always just keep it simple. It’s fantastic spooned over a fluffy baked potato the next night! It’s true comfort food repurposed, and I love stretching a good recipe like this.
Frequently Asked Questions About the Frito Pie Bar
I always get so many questions once people hear about hosting a big, fun food bar like this! It’s natural to wonder about tweaking recipes or quantities when you’re feeding a crowd. People often ask me about prepping ahead because they want to actually enjoy the party they are hosting, and that’s what I am here for! We want your setup to be smooth, whether it’s for a big weekend bash or just a quick easy weeknight dinner!
Can I make the chili base ahead of time for the Frito Pie Bar?
Oh, absolutely! That’s one of my favorite tips for any big meal. Yes, you should definitely make the chili base a day ahead if you can swing it. As I mentioned before, letting those spices mingle overnight in the fridge really deepens the overall flavor profile; it just tastes richer! When it comes time to serve, just transfer the cooled chili into your slow cooker or chafing dish and set it to low heat about an hour before guests arrive. You might need to add a tiny splash of water or broth while reheating just to loosen it up if it gets too thick on standing.
What is the best chip alternative if Fritos are unavailable?
Look, I know finding those specific Fritos bags (especially the giant ones!) can sometimes be tricky depending on where you shop. If you absolutely cannot find them, you need a sturdy corn chip, not those thin triangle tortilla chips that will instantly dissolve under a ladle of chili. I suggest looking for yellow or white corn chips that have a flatter, heartier texture. They hold up better! However, if you want that authentic, nostalgic experience that defines the best Frito Pie Bar setup, nothing beats the original salty, ridged texture of corn chips made by Frito-Lay. If you have to substitute, just make sure those replacement chips are ready to stand up to a lot of toppings!
Sharing Your Frito Pie Bar Creations
You know, planning all this food—the chili, the setup, the endless rainbow of toppings—it’s all done with the hope that the people you care about have a wonderful time. And honestly, sometimes the best part of sharing a recipe is seeing how *you* make it your own!
I really hope your first hosting experience with the Frito Pie Bar is a massive success. If you loved how simple and fun it was, please do me a huge favor and leave a rating right below the recipe card! It genuinely helps other hosts feel confident trying out this interactive dinner idea.
Even better, snap a picture of your amazing spread! I love seeing all your unique topping combinations. Tag me on social media—seeing your homemade happiness is truly the fuel that keeps Bliss Batter going! If you want to learn more about how we test all these fun party recipes, check out our About page. Happy hosting, everyone!
PrintThe Ultimate Customizable Frito Pie Bar Setup Guide
Learn how to host a fun, interactive Frito Pie Bar. This guide includes a classic chili base recipe and detailed steps for setting up a self-serve station with the best toppings for a memorable party.
- Prep Time: 20 min
- Cook Time: 40 min
- Total Time: 60 min
- Yield: 8 servings 1x
- Category: Dinner
- Method: Stovetop
- Cuisine: American
- Diet: Low Fat
Ingredients
- 1 pound ground beef (80/20 recommended)
- 1 medium yellow onion, chopped
- 1 (15 ounce) can kidney beans, rinsed and drained
- 1 (15 ounce) can black beans, rinsed and drained
- 1 (14.5 ounce) can diced tomatoes, undrained
- 1 (8 ounce) can tomato sauce
- 1 (4 ounce) can green chiles, drained
- 2 tablespoons chili powder
- 1 teaspoon ground cumin
- 1 teaspoon dried oregano
- 1/2 teaspoon salt
- 1/4 teaspoon black pepper
- 1/4 cup water
- 2 large bags (9.25 oz each) original Fritos corn chips
- Assorted Toppings (see setup section below)
Instructions
- Prepare the Chili Base: In a large pot or Dutch oven, brown the ground beef over medium heat. Drain off any excess grease.
- Add Aromatics: Add the chopped onion to the pot and cook until softened, about 5 minutes.
- Combine Ingredients: Stir in the kidney beans, black beans, diced tomatoes (with liquid), tomato sauce, green chiles, chili powder, cumin, oregano, salt, and pepper. Add the water.
- Simmer: Bring the mixture to a simmer, then reduce the heat to low. Cover and let it cook for at least 30 minutes, stirring occasionally, to allow the flavors to blend. Taste and adjust seasonings as needed.
- Prepare the Fritos: Open the bags of Fritos. For individual servings, cut a slit lengthwise down the side of each bag, leaving the bottom intact. For a buffet style, place the chips in a large serving bowl.
- Set Up the Bar: Transfer the hot chili base to a slow cooker or chafing dish to keep it warm. Arrange all prepared toppings in small bowls or containers on a clean table surface.
- Serve: Place the Fritos bags or bowl near the chili. Instruct guests to fill their Frito bag or bowl with chips, spoon chili over the top, and then customize with their favorite toppings from the bar.
Notes
- Keep the chili warm using a slow cooker set to the ‘Keep Warm’ setting or a chafing dish.
- For a vegetarian option, substitute the ground beef with 1 pound of plant-based ground crumbles or add an extra can of beans.
- Pre-chop all vegetables and shred cheese ahead of time to make setup quick.
- Use small serving spoons for each topping to maintain hygiene and organization.
Nutrition
- Serving Size: 1 serving (approx. 1/8 recipe)
- Calories: 450
- Sugar: 8
- Sodium: 750
- Fat: 20
- Saturated Fat: 8
- Unsaturated Fat: 12
- Trans Fat: 0
- Carbohydrates: 55
- Fiber: 9
- Protein: 25
- Cholesterol: 45