
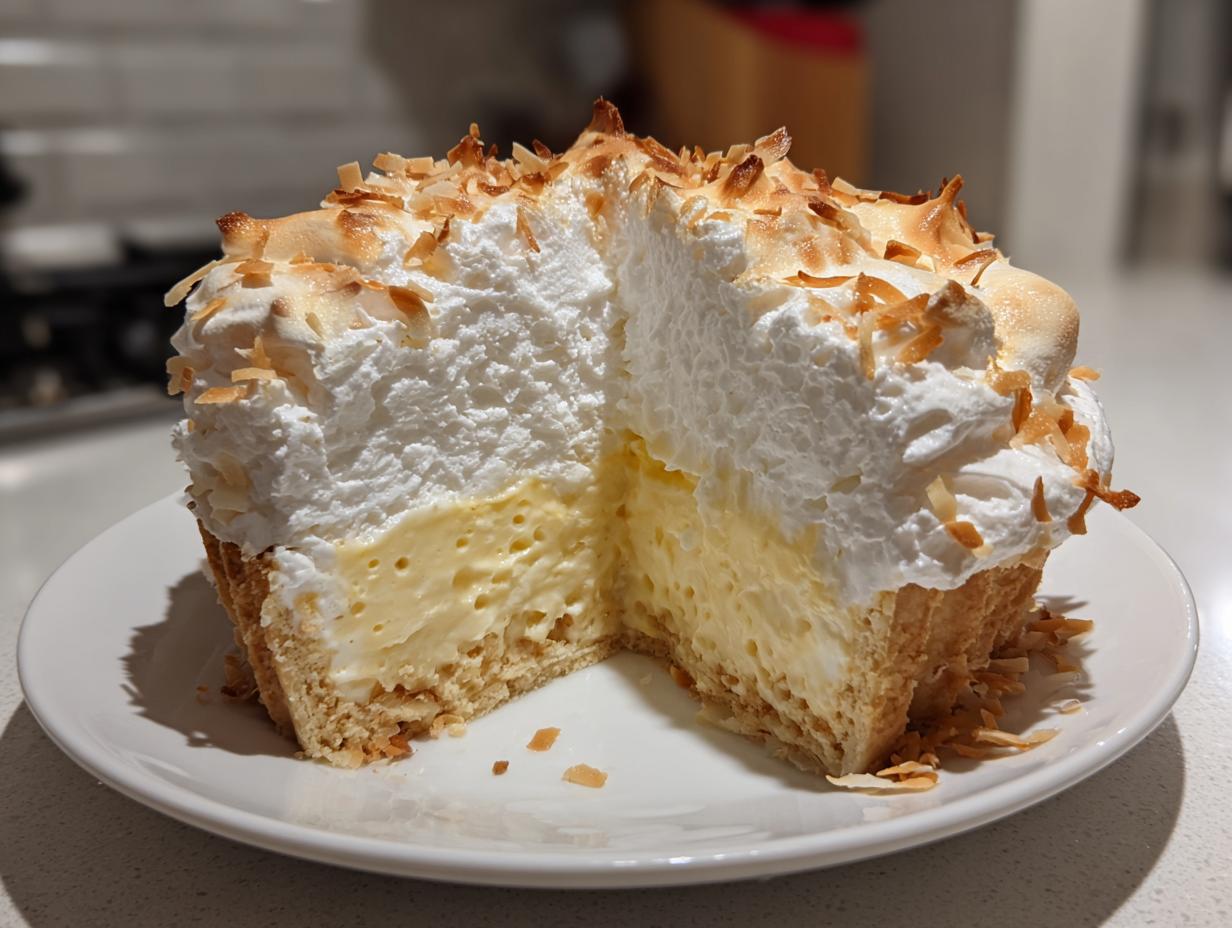
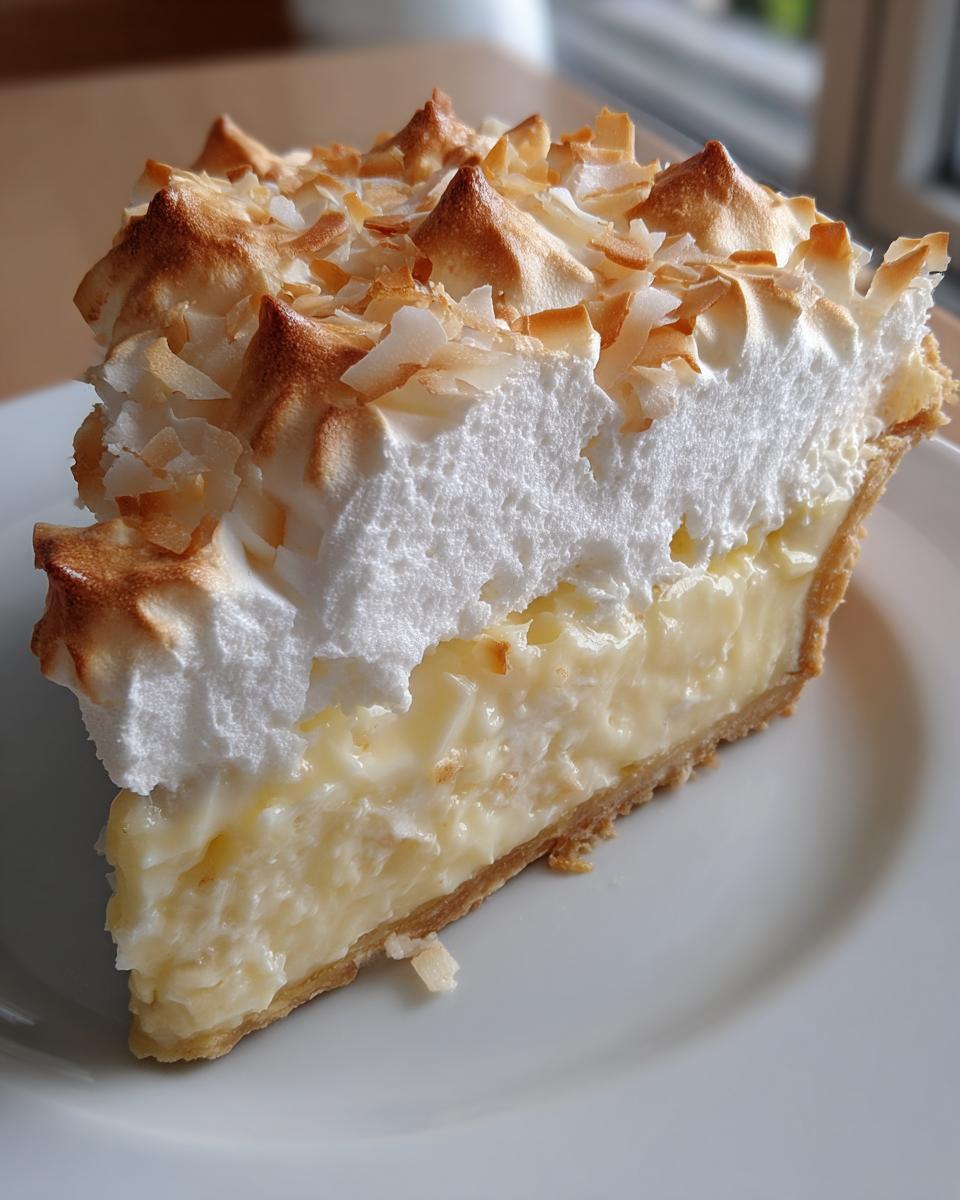
Oh, friend, if you’re chasing that feeling—that deep, cozy memory of walking into Grandma’s kitchen on a Sunday afternoon—then you’ve landed in exactly the right spot. Today, we’re mastering the ultimate comfort dessert: the homemade coconut cream pie! Forget those flimsy, store-bought slices; we are going for thick, rich, vanilla-flecked custard that barely holds its shape, topped with a meringue so tall it practically scrapes the ceiling.
I’m Claire Sterling, and here at Bliss Batter, we believe the best memories happen when you slow down and bake something truly from the heart. This isn’t a fancy pastry class; this is about taking a timeless, old fashioned coconut pie recipe and making sure it works perfectly—every single time—right here in your home kitchen.
- Why This Homemade Coconut Cream Pie is Your New Favorite Comfort Dessert
- Gathering Ingredients for Your Old Fashioned Coconut Pie
- Step-by-Step Instructions for the Homemade Coconut Cream Pie
- Tips for Success with Your Homemade Coconut Cream Pie
- Ingredient Notes and Substitutions for Perfect Homemade Coconut Cream Pie
- Storing and Serving Your Homemade Coconut Cream Pie
- Frequently Asked Questions About Making Homemade Coconut Cream Pie
- Estimated Nutritional Information for Homemade Coconut Cream Pie
- Share Your Blissful Homemade Coconut Cream Pie Creations
Why This Homemade Coconut Cream Pie is Your New Favorite Comfort Dessert
There is just nothing like that first bite of this pie, I promise you. This isn’t just a recipe; it’s a genuine throwback to the old fashioned coconut pie everyone remembers loving. We focus on feeling, texture, and taste that wraps you up like your favorite old sweater.
- Achieving the Ultimate Creamy Coconut Custard Filling
- The Perfect Tall, Fluffy Topping for Your Homemade Coconut Cream Pie
If you love diving into simple, soulful baking, you might want to bookmark our main page for all our favorite comforting treats!
Achieving the Ultimate Creamy Coconut Custard Filling
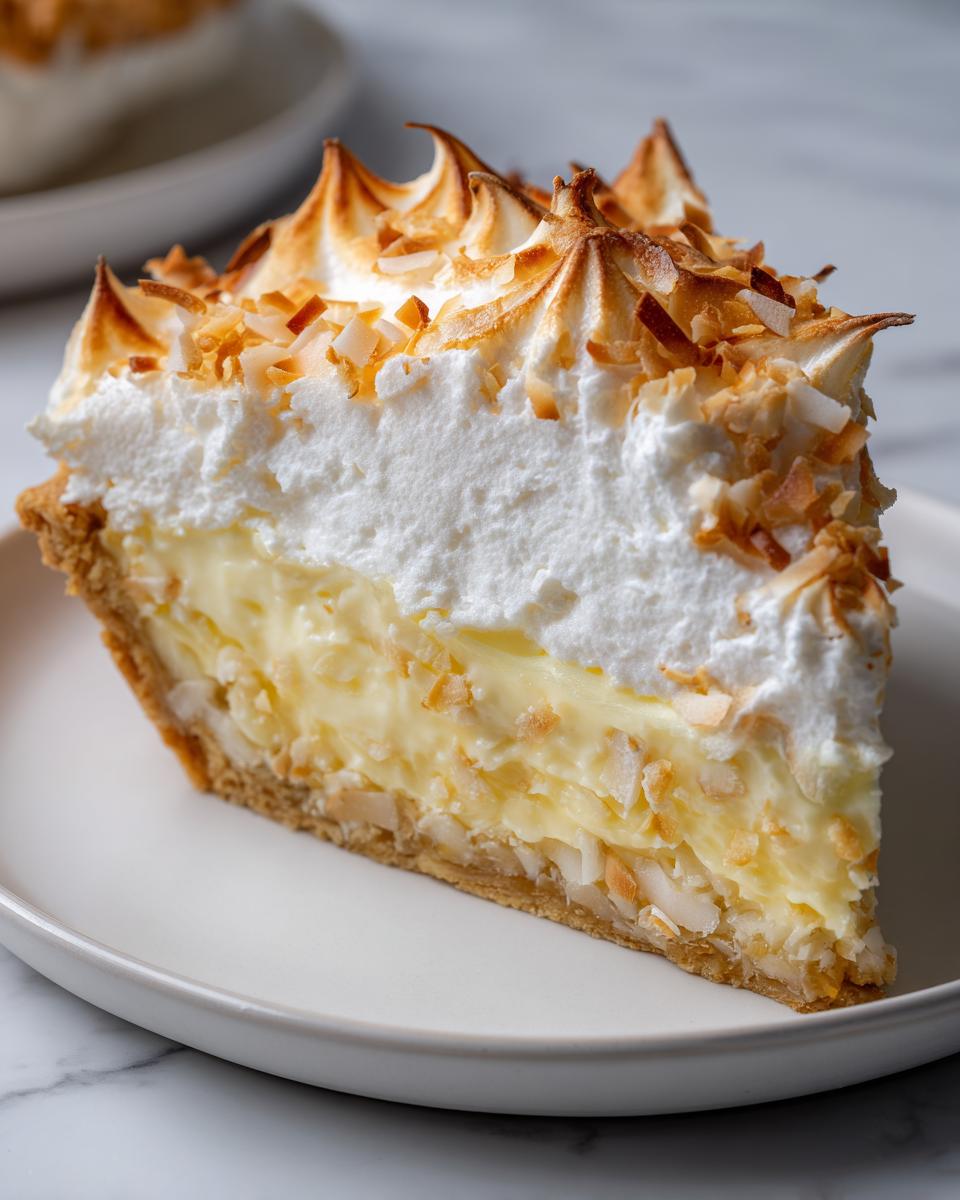
When I say thick, I mean it. We are aiming for a coconut custard filling so rich and vanilla-flecked that it demands your full attention. It sets up beautifully, making those slices look absolutely decadent when you cut into them.
The Perfect Tall, Fluffy Topping for Your Homemade Coconut Cream Pie
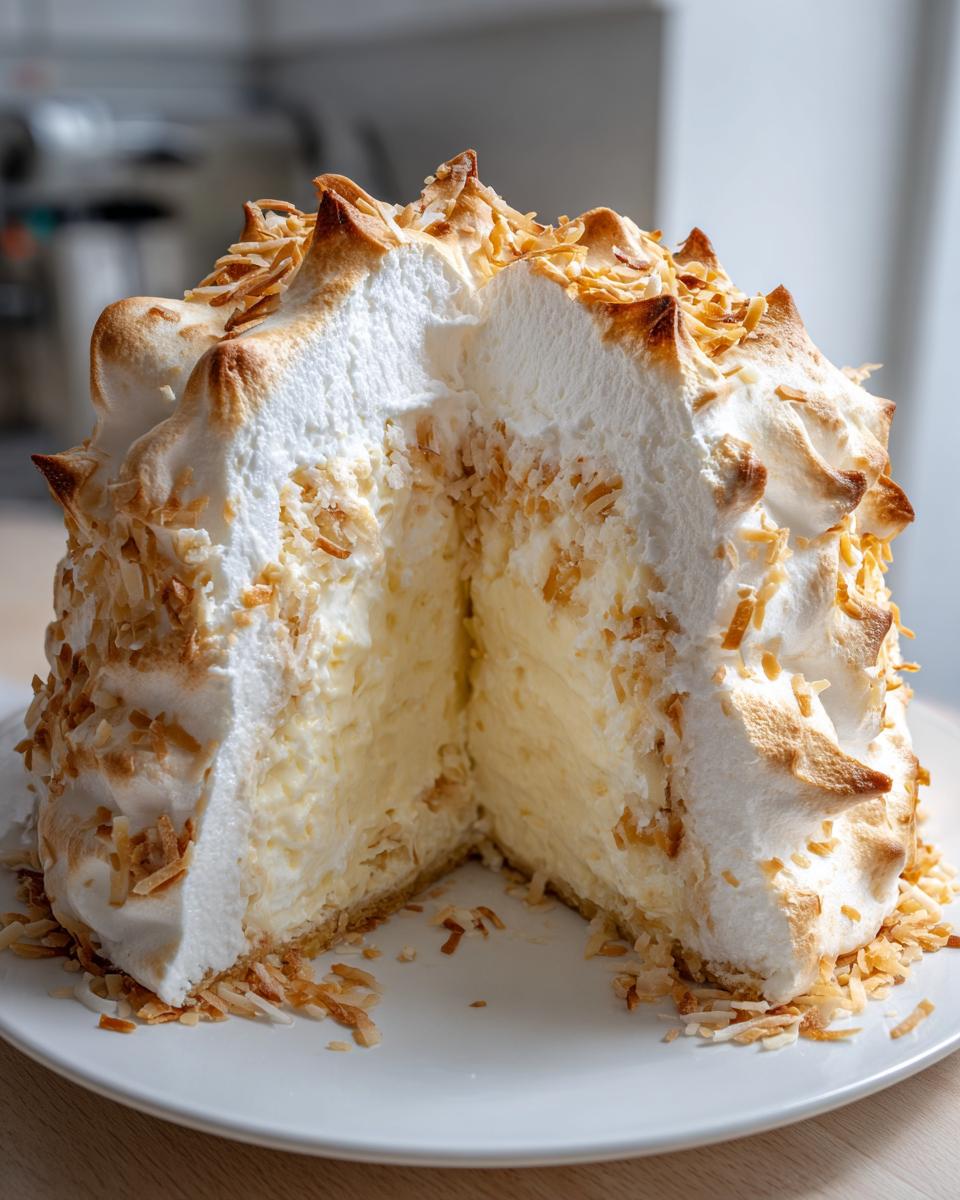
That towering, billowy topping? That’s key! Whether you go with a classic, stiff meringue or a beautifully stabilized whipped cream, this recipe ensures your topping has height and stability. No sad, shrinking tops here, folks. This pie is meant to impress!
Gathering Ingredients for Your Old Fashioned Coconut Pie
Okay, the beauty of this old fashioned coconut pie is that it uses simple ingredients you probably already have! We talked about honoring tradition, and that means using real butter and good vanilla—use the pure extract, trust me, it makes a difference! Since this recipe is a bit more complex than just mixing everything, paying attention to how you measure things, especially the coconut, is super important.
We use two measurements of coconut here, so read carefully! You’ll need one cup mixed into the hot custard, and the rest reserved for sprinkling later. If you’re looking for other pantry staples that make everything better, check out my favorite tips over on my buttermilk biscuits post.
- 1 (9 inch) homemade pie crust, baked and cooled
- 1 cup granulated sugar
- 1/4 cup cornstarch
- 1/4 teaspoon salt
- 2 cups whole milk
- 4 large egg yolks, lightly beaten
- 2 tablespoons unsalted butter
- 1 teaspoon pure vanilla extract
- 1 1/2 cups sweetened flaked coconut, divided
- 4 large egg whites
- 1/2 teaspoon cream of tartar
- 1/2 cup granulated sugar (for meringue)
Step-by-Step Instructions for the Homemade Coconut Cream Pie
Alright, this is where the magic happens! Making this pie involves a few careful spots, but I promise, if you follow these directions exactly, you’ll nail that perfect texture. The whole process is very hands-on, but oh, the reward is worth every stir!
Preparing the Base: The Homemade Pie Crust
First things first: we need a vessel for all that deliciousness! Your homemade pie crust must be baked completely and cooled down before we even think about adding filling. Don’t rush this part; if the crust is even slightly warm, it’ll melt the custard later and give you soup instead of pie! Let it rest on a wire rack until it’s totally room temperature.
Creating the Thick Vanilla Coconut Custard Filling
Time to build that amazing filling on the stovetop. Grab a decent-sized saucepan. Whisk together your 1 cup of sugar, cornstarch, and salt—make sure there are no little lumps hiding in there. Then, slowly drizzle in the whole milk while whisking constantly until it looks super smooth. Set this over medium heat.
Now, you must stir without stopping for about 8 to 10 minutes. It needs to get hot enough to bubble and thicken up properly. This is crucial for the custard texture!
Here comes the most important moment: tempering the eggs. In a separate little bowl, lightly beat your 4 egg yolks. Take about a cup of that hot milk mixture *very slowly* and whisk it right into the yolks. We do this so the yolks heat up gently and don’t turn into scrambled egg bits in your filling. Once those yolks are warmed up, pour that yolk mixture right back into the saucepan with the rest of the milk. Keep stirring over medium heat for just 1 or 2 more minutes until it gets super thick. Take it off the heat immediately! Stir in the butter and that beautiful pure vanilla extract. Finally, stir in 1 cup of your sweetened flaked coconut. Mix it all up!
Chilling the Coconut Custard Filling
Pour that gorgeous, thick coconut custard filling right into your cooled pie shell. Now listen carefully: to stop a skin from forming on top while it chills, take a piece of plastic wrap and press it directly onto the surface of the custard. Don’t just cover the bowl; the wrap needs to touch the filling! This keeps it smooth. Pop the whole thing into the fridge for a minimum of 3 hours, but honestly, overnight is even better for a truly firm set.
Making the Meringue and Final Assembly for Homemade Coconut Cream Pie
Once the pie is rock solid cold, we can make the cloud topping! The bowl you use for this *must* be squeaky clean—any trace of fat or water will keep your egg whites from whipping up right. Beat those 4 egg whites and the cream of tartar until you see those soft peaks forming. Now, add that remaining 1/2 cup of sugar slowly, beating until you get those stiff, glossy peaks that stand straight up!
Gently spread that meringue all over the chilled filling. You have to seal it tightly right to the edges of the crust—this stops it from shrinking away while you serve it. Use the back of a spoon to make some wonderful swirls!
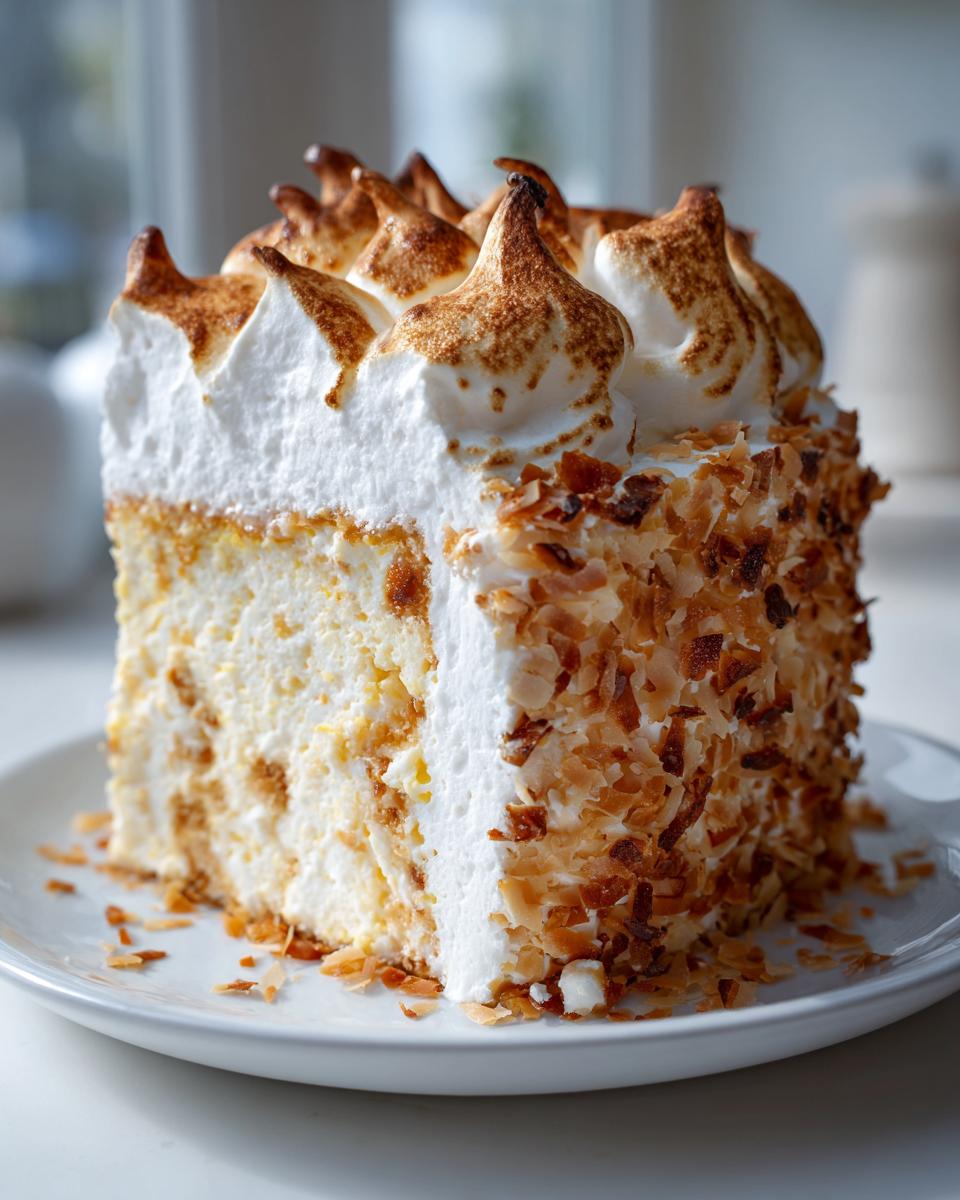
For the finishing touch on this homemade coconut cream pie, lightly toast the final 1/2 cup of coconut flakes in a dry skillet over medium-low heat until they’re just golden brown. Sprinkle those lovely, crunchy toasted coconut flakes right over the meringue. Serve it up right away, or you can chill it for a few more hours.
Tips for Success with Your Homemade Coconut Cream Pie
Even though this is a classic, there are always little kitchen tricks that turn a good pie into the absolute best pie. Honestly, the success of this homemade coconut cream pie really comes down to careful execution, especially when dealing with the egg components. Don’t stress if these little secrets sound fussy; they are the difference between ‘meh’ and magnificent!
My biggest recommendation is always regarding the meringue. You absolutely need a totally clean, grease-free bowl and beaters for those egg whites to whip up into that glorious, towering cloud. I mean squeaky clean! I usually wipe my bowl down with a paper towel dampened with a little white vinegar right before I start, just to be safe. If you skip that part, those whites will look sad and soupy, and we can’t have that.
Also, when you’re cooking the custard, you have to keep stirring constantly until it bubbles. If you walk away for thirty seconds, you risk scorching the bottom, and nobody wants that slightly burnt taste ruining the beautiful vanilla notes. If you want to practice those quick stovetop skills without the pressure of a full pie, check out how I handle batters for my apple pancakes—it’s all about moving that heat!
Finally, don’t skip the plastic wrap trick on the custard! That skin that forms when hot fillings cool is rubbery and ruins the smooth mouthfeel we are aiming for in this old fashioned coconut pie. Press that wrap right down.
Ingredient Notes and Substitutions for Perfect Homemade Coconut Cream Pie
Choosing the right ingredients is what separates a good pie from your grandma’s legendary pie, you know? A couple of these details seem small, but they truly level up the flavor profile of this homemade coconut cream pie. Stick with the recipe, but if you have a specific need, here are my thoughts on swapping things out.
For the liquid, please use whole milk if you can swing it. While you could technically use 2% or even some low-fat milk, the fat content in whole milk is what gives that coconut custard filling that rich, luxurious mouthfeel we talked about. Less fat means a thinner, less satisfying custard, and we want luxurious!
Now, about the topping—the meringue is classic, but sometimes you just don’t want to mess with whipping egg whites. If that’s the case, don’t sweat it! You can absolutely switch to a stabilized whipped cream instead. You’ll just whip heavy cream until soft peaks, and then beat in a tablespoon or two of powdered sugar and maybe a tiny splash of vanilla. It’s less sweet and doesn’t require scorching the top, which is a nice bonus for certain kitchens.
The final little note is on the coconut itself: make sure it’s sweetened flaked coconut. Unsweetened stuff just won’t give you that classic texture or enough background sweetness to balance the vanilla custard, so try to stick with the sweetened variety for this old fashioned coconut pie.
Storing and Serving Your Homemade Coconut Cream Pie
Okay, you’ve done the hard work, and your beautiful homemade coconut cream pie is sitting there, towering and perfect. Now we need to treat it right so it tastes just as good later! Since we have that rich custard underneath, this pie definitely needs to stay chilled. It’s not like an apple pie that sits happily on the counter.
You need to keep this pie covered in the refrigerator. If you topped it with meringue, the plastic wrap trick we used on the custard won’t work anymore, so try to cover it loosely to protect that beautiful topping. Honestly, the best way to serve this pie is the day you make it, especially if you’ve gone for the meringue topping, because the meringue can start to weep a little after about 24 hours in the cold. If you’re using whipped cream instead, it holds up slightly better.
If you have leftovers (lucky you!), eat them within two days. Just slice what you need and put the rest right back into the fridge. When you go to serve a slice, take it out about 15 minutes before you want to eat it so the custard softens up just a touch. It shouldn’t be rock hard! You can find tips on how I manage leftovers of my other chilled treats, like my cinnamon monkey bread, which also benefits from a little time at room temp before eating.
Frequently Asked Questions About Making Homemade Coconut Cream Pie
It’s totally normal to have a few questions creep up when you’re tackling an old fashioned coconut pie for the first time! These recipes have been around forever for a reason, but sometimes technology or a slightly off stove temperature can throw us for a loop. Let’s troubleshoot!
Can I use pre-made pie crust for this homemade coconut cream pie?
Oh, that’s the eternal question! Look, I get it—sometimes you just need a shortcut, and yes, you absolutely *can* use a store-bought crust that’s pre-baked. But I have to be honest with you: the crust is what makes this taste like a true memory maker. My recipe requires a fully baked crust because the cooling time is critical for setting that thick custard. If you use pre-made, just make sure it’s fully blind-baked according to its package directions and completely cooled before you pour in the filling.
My custard filling is runny. What went wrong with my coconut custard filling?
This is the most frustrating thing, but it almost always comes down to two things when making a thick coconut custard filling. Did you cook it long enough on the stovetop *after* adding the eggs back in? It needs to get thick enough to bubble on its own before you take it off the heat. If you didn’t let it cook long enough, the cornstarch and egg simply won’t fully set up in the fridge.
The other pitfall is tempering. If you didn’t slowly whisk the hot milk into the yolks, the yolks might have cooked too fast into little clumps, which compromises the structure of the whole custard. Don’t feel discouraged! Sometimes it just means you need to try again. Trust me, when you nail that thick, perfect set, you’ll feel like a domestic goddess!
If you want to dive into other classic techniques, you might enjoy looking at how I handle the dough for my older cookie recipes, like my chewy oatmeal raisin cookies—it’s all about temperature control!
Estimated Nutritional Information for Homemade Coconut Cream Pie
I always like to give you guys an idea of what’s going into your slice, though I must confess, I’m much better at estimating how much butter is too much than I am at exact science! These numbers are based on breaking down all the ingredients listed above for 8 generous servings. When you’re making something this comforting, you have to accept a little indulgence, right?
Remember, this is just a rough guide! If you swap the meringue for whipped cream, or use a lighter crust, those numbers will shift. But this should give you a good baseline for enjoying every bite of your gorgeous homemade coconut cream pie. For more savory dishes on the site, you can check out my tips for a perfect roast chicken dinner, which uses way fewer eggs, thankfully!
- Serving Size: 1 slice
- Calories: 410
- Fat: 20g
- Saturated Fat: 12g
- Cholesterol: 110mg
- Sodium: 250mg
- Carbohydrates: 55g
- Sugar: 38g
- Protein: 7g
- Fiber: 2g
Share Your Blissful Homemade Coconut Cream Pie Creations
Now that you’ve filled your kitchen with that glorious scent of toasted coconut and vanilla, I just have to know how it turned out! Seriously, I get so excited when you all try these classic recipes. Nothing makes me happier than seeing your beautiful bakes pop up online.
If you made this homemade coconut cream pie and you loved that thick, luscious texture, please take a little moment to come back and leave a rating! Star ratings really help other folks find the recipe and trust that they can make this old-fashioned magic, too.
If you snapped a picture of that tall, swirly topping or your perfect slice, tag me on social media! I adore seeing your creativity. Let’s keep that feeling of classic, cozy baking alive together. If you want to learn more about what drives all this happy baking here at Bliss Batter, feel free to peek at my About page. Happy sharing, friends!
PrintOld Fashioned Coconut Cream Pie with Vanilla Custard

Make a comforting, homemade coconut cream pie with a thick, vanilla-flecked custard filling and a tall, fluffy topping. This recipe brings back the simple joy of traditional baking.
- Prep Time: 30 min
- Cook Time: 15 min
- Total Time: 225 min
- Yield: 8 servings 1x
- Category: Dessert
- Method: Stovetop and Assembly
- Cuisine: American
- Diet: Vegetarian
Ingredients
- 1 (9 inch) homemade pie crust, baked and cooled
- 1 cup granulated sugar
- 1/4 cup cornstarch
- 1/4 teaspoon salt
- 2 cups whole milk
- 4 large egg yolks, lightly beaten
- 2 tablespoons unsalted butter
- 1 teaspoon pure vanilla extract
- 1 1/2 cups sweetened flaked coconut, divided
- 4 large egg whites
- 1/2 teaspoon cream of tartar
- 1/2 cup granulated sugar (for meringue)
Instructions
- Prepare your homemade pie crust and let it cool completely on a wire rack.
- In a medium saucepan, whisk together 1 cup sugar, cornstarch, and salt. Gradually whisk in the whole milk until smooth.
- Cook the mixture over medium heat, stirring constantly, until it thickens significantly and begins to bubble. This takes about 8 to 10 minutes.
- Remove the saucepan from the heat. In a separate small bowl, whisk the egg yolks lightly. Slowly temper the yolks by whisking about 1 cup of the hot milk mixture into the yolks.
- Pour the tempered yolk mixture back into the saucepan with the remaining hot milk mixture. Return the pan to medium heat and cook, stirring constantly, for 1 to 2 minutes until the custard is very thick. Do not let it boil vigorously.
- Remove the custard from the heat. Stir in the butter and vanilla extract until combined.
- Stir 1 cup of the sweetened flaked coconut into the hot custard.
- Pour the coconut custard filling into the cooled pie crust. Press plastic wrap directly onto the surface of the custard to prevent a skin from forming. Chill in the refrigerator for at least 3 hours, or until the filling is firm.
- When ready to serve, prepare the meringue. In a clean, grease-free bowl, beat the egg whites and cream of tartar with an electric mixer on medium speed until soft peaks form.
- Gradually add the 1/2 cup of sugar, beating until stiff, glossy peaks form.
- Spread the meringue over the chilled custard, making sure to seal the meringue to the edges of the crust to prevent shrinking. Create decorative swirls with the back of a spoon.
- Toast the remaining 1/2 cup of coconut flakes lightly in a dry skillet over medium-low heat until golden brown. Sprinkle the toasted coconut flakes over the meringue.
- Serve the pie immediately, or chill for up to 4 hours before serving.
Notes
- For the best meringue, make sure your mixing bowl and whisk attachments are completely free of grease or water.
- If you prefer a less sweet topping, you can substitute the meringue with stabilized whipped cream.
- To toast coconut flakes quickly, spread them in a single layer on a baking sheet and bake at 350°F (175°C) for 5 to 8 minutes, watching closely to prevent burning.
Nutrition
- Serving Size: 1 slice
- Calories: 410
- Sugar: 38g
- Sodium: 250mg
- Fat: 20g
- Saturated Fat: 12g
- Unsaturated Fat: 8g
- Trans Fat: 0.5g
- Carbohydrates: 55g
- Fiber: 2g
- Protein: 7g
- Cholesterol: 110mg