
If you’ve ever tried to make homemade pasta without gluten, you know the struggle. It’s either crumbling into a sad pile of sandy flour, or it turns out gummy and heavy after boiling. We want that perfect, slightly chewy bite—that satisfying *al dente* texture—but traditional wheat flour makes that nearly impossible when you go gluten-free. That’s why I spent months, seriously *months*, testing flour ratios until I cracked the code. I’m Claire from Bliss Batter, and I’m thrilled to introduce you to my foolproof recipe for authentic gluten-free cavatelli pasta. This recipe is something I’m really proud of; it’s the kind of achievable magic we aim for over at Bliss Batter. Trust me, this is one of those recipes that feels complicated but is totally accessible with clear steps guided by love and a lot of testing!
- Why This Gluten-Free Cavatelli Pasta Recipe Works (EEAT Focus)
- Gathering Ingredients for Gluten-Free Cavatelli Pasta
- Step-by-Step: How to Make Gluten Free Cavatelli
- Cooking Your Homemade Gluten Free Pasta Recipe Perfectly
- Serving Suggestions for Your Gluten-Free Cavatelli Pasta
- Storage and Reheating Instructions for Leftover Gluten-Free Cavatelli Pasta
- Troubleshooting Common Gluten Free Cavatelli Issues
- Frequently Asked Questions About Making Gluten Free Pasta Dough
- Appreciating Italian Gluten Free Pasta Recipes
Why This Gluten-Free Cavatelli Pasta Recipe Works (EEAT Focus)
Listen, making pasta without gluten is tricky business. The problem usually comes down to structure—or the lack thereof! Wheat has that amazing stretch, right? My goal when developing this gluten-free cavatelli pasta was texture first. We tossed out every blend that went gummy or fell apart during the boil. After tons of trial and error in my kitchen, I landed on this specific triumvirate of flours, plus the xanthan gum, which mimics gluten’s binding power perfectly. This recipe isn’t just guesswork; it’s precision testing for that chewy bite.
The Secret to Chewy Gluten Free Noodles: Flour Blend Breakdown
The magic here is the blend! You can’t just use one gluten-free flour and expect success. We use brown rice flour for structure, tapioca starch for that lovely chewiness you look for in chewy gluten free noodles, and sorghum flour which adds a slightly earthy, rich complexity. The xanthan gum is absolutely mandatory; it acts like the scaffolding that holds everything together while mixing and boiling. It’s this careful three-flour combination that keeps our dough firm enough for shaping but pliable enough to eat beautifully.)
Gathering Ingredients for Gluten-Free Cavatelli Pasta
Okay, let’s talk supplies! For this homemade gluten free pasta recipe, the ingredients matter because we are relying on starch and structure rather than elastic wheat. Don’t eyeball these measurements; we need precision to get that perfect dough. You’ll need three core flours, xanthan gum for binding, salt, one egg, warm water, and a touch of olive oil. It’s a simple list, but every item plays a huge role in getting you that fantastic texture.
Ingredient Notes and Substitutions for Gluten Free Cavatelli Recipe with Xanthan Gum
Since we are making gluten free cavatelli pasta, substitutions need to be strategic. If you can’t find sorghum flour, you can try millet flour, but try to keep the brown rice and starch ratios the same. Tapioca starch is king here, but potato starch is a decent swap if you’re in a pinch! If you need this to be a vegan gluten free cavatelli, ditch that egg. Instead, use 1/4 cup of very smooth, cooked sweet potato puree, or try mixing 1 teaspoon of psyllium husk powder into your warm water. Hey, good news for those of you with school allergies: this recipe is naturally nut free, focusing mainly on rice and starches!
Step-by-Step: How to Make Gluten Free Cavatelli
Now for the fun part—turning that carefully blended flour into actual, beautiful pasta! Remember, we are trading the elastic stretch of wheat for structure and careful handling, so take your time with these steps. If you’re looking for other easy weeknight dinners that feel this rewarding, you came to the right place. Making gluten-free cavatelli pasta from scratch is easier than you think once you know the dough mechanics. Just follow my lead here, and you’ll be slicing and rolling in no time!
Mixing and Kneading the Best Gluten Free Pasta Dough
First things first: make friends with your dry ingredients! Whisk all your flours, the xanthan gum, and salt together super well in a big bowl. We want zero clumps of gum hiding anywhere. Once that’s done, pour in your wet stuff—the egg, oil, and water. Mix it with a fork until you get a shaggy mess. That’s expected! Dump it onto your floured surface and get kneading! You absolutely must knead this best gluten free pasta dough for a solid five to seven minutes. Don’t stop early! If your dough feels too dry and is just refusing to come together, add water just a teaspoon at a time. If it’s too sticky, dust lightly with your brown rice flour. Keep working it until it feels smooth and firm.
Resting the Dough: Key to Al Dente Gluten Free Pasta
This next step is non-negotiable, folks, truly! Once your dough is perfectly kneaded, wrap it up super snug in plastic wrap. It needs to chill out and rest for at least 30 minutes on the counter. Why? Because gluten-free flours are thirsty! This resting time lets all that liquid fully hydrate the starches and gums. If you skip this, you’ll end up with that brittle texture when cooking. Patience here is the secret ingredient for the al dente gluten free pasta you are dreaming about.
Mastering Gluten Free Pasta Shaping Techniques
After resting, divide that lovely dough mass into four equal portions—keep the ones you aren’t working with covered, okay? Roll each piece into a rope about 3/4 of an inch thick. I usually roll mine by hand, but you *can* try a pasta machine on the widest setting if you are careful! Cut your rope into nice, uniform 1-inch pieces. Now for the fun part in making chewy gluten free noodles! Take your little piece of dough and, using the edge of a butter knife or a gnocchi paddle, gently press down and roll it toward you slightly. This action creates that signature groove and hollow center that traps the sauce. This is the most important of all the gluten free pasta shaping techniques. Place your shapes onto a baking sheet that has been dusted heavily with rice flour so they don’t glue themselves to each other!
Cooking Your Homemade Gluten Free Pasta Recipe Perfectly
Alright, the cutting is done, and your kitchen probably smells like a fantastic Italian deli now! Get a huge pot of water on the stove and make sure you salt it generously—it should taste like the sea! Drop your fresh gluten-free cavatelli pasta in when it’s at a rolling boil. Because this is fresh, it cooks *fast*. Seriously, check it at 3 minutes. You are aiming for that perfect al dente gluten free pasta texture, which usually takes between 3 and 5 minutes total. Taste a piece; you want it firm but yielding, not mushy! Drain it right away, and get that sauce ready!
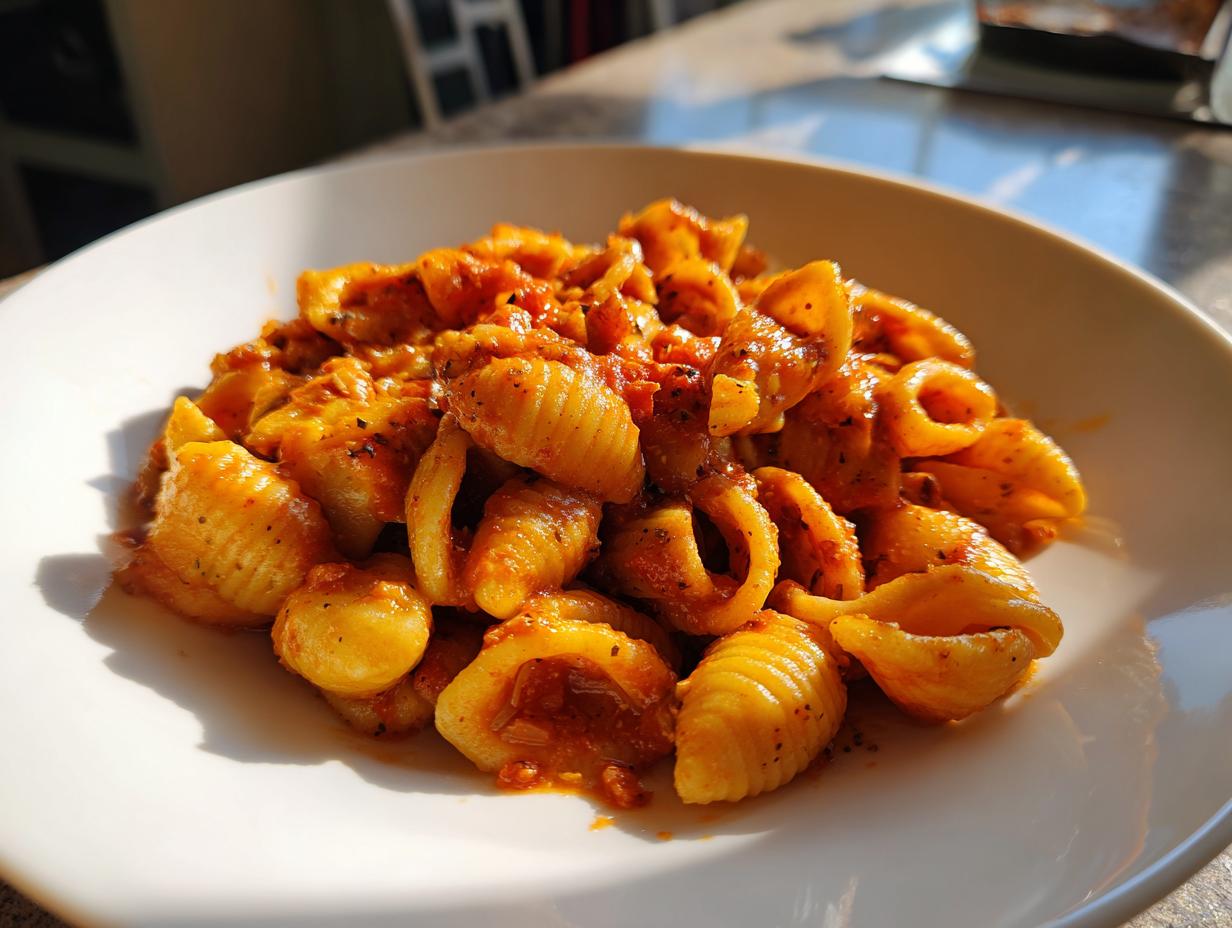
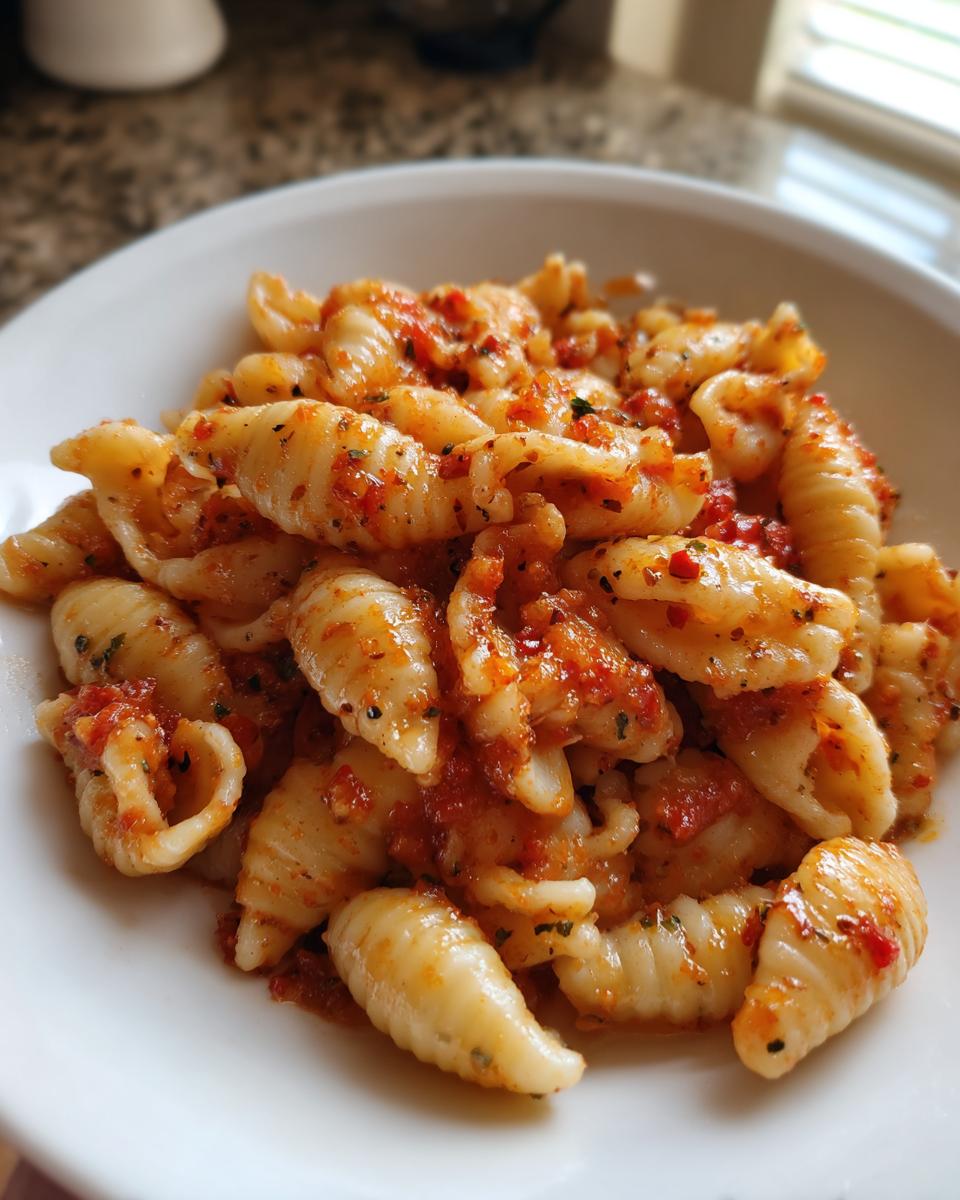
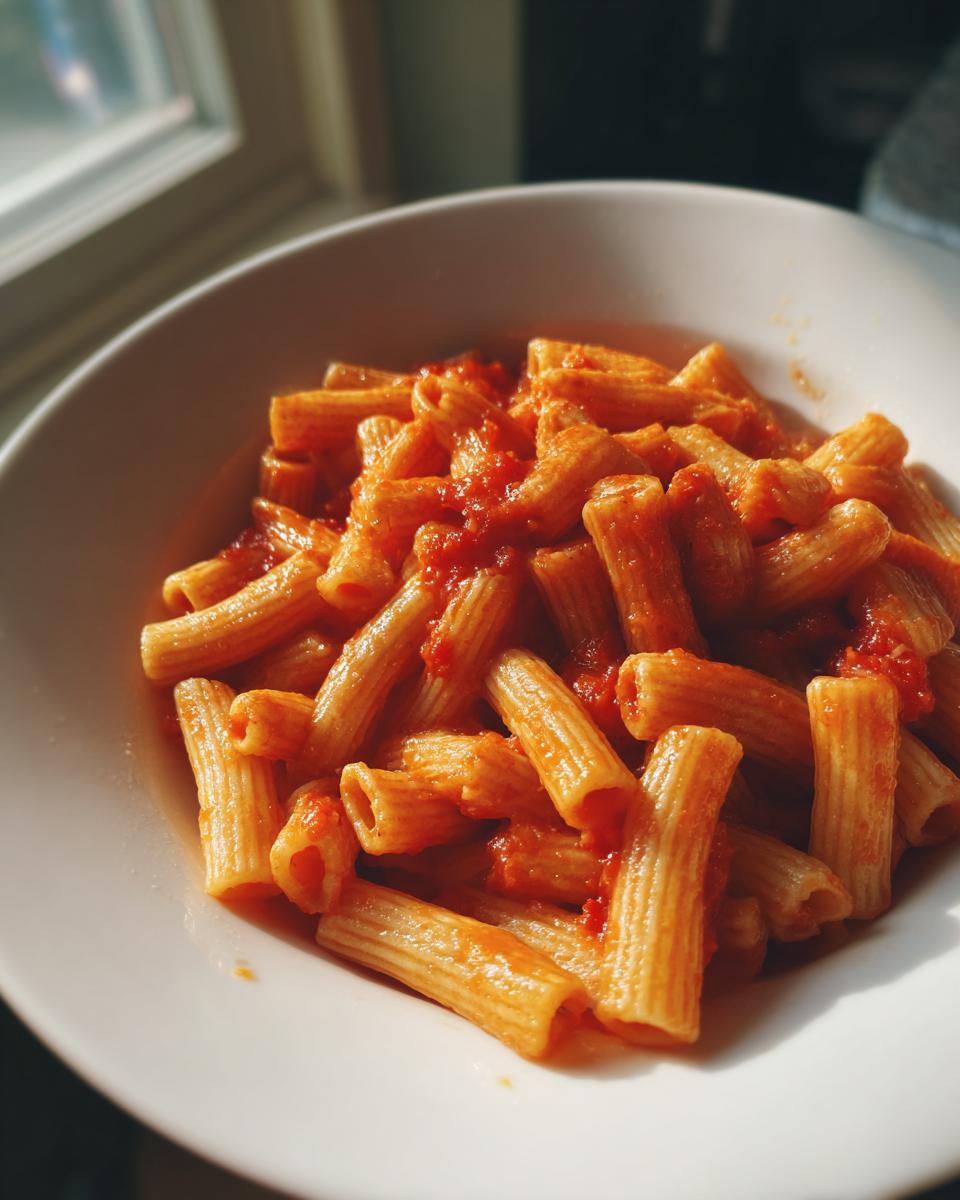
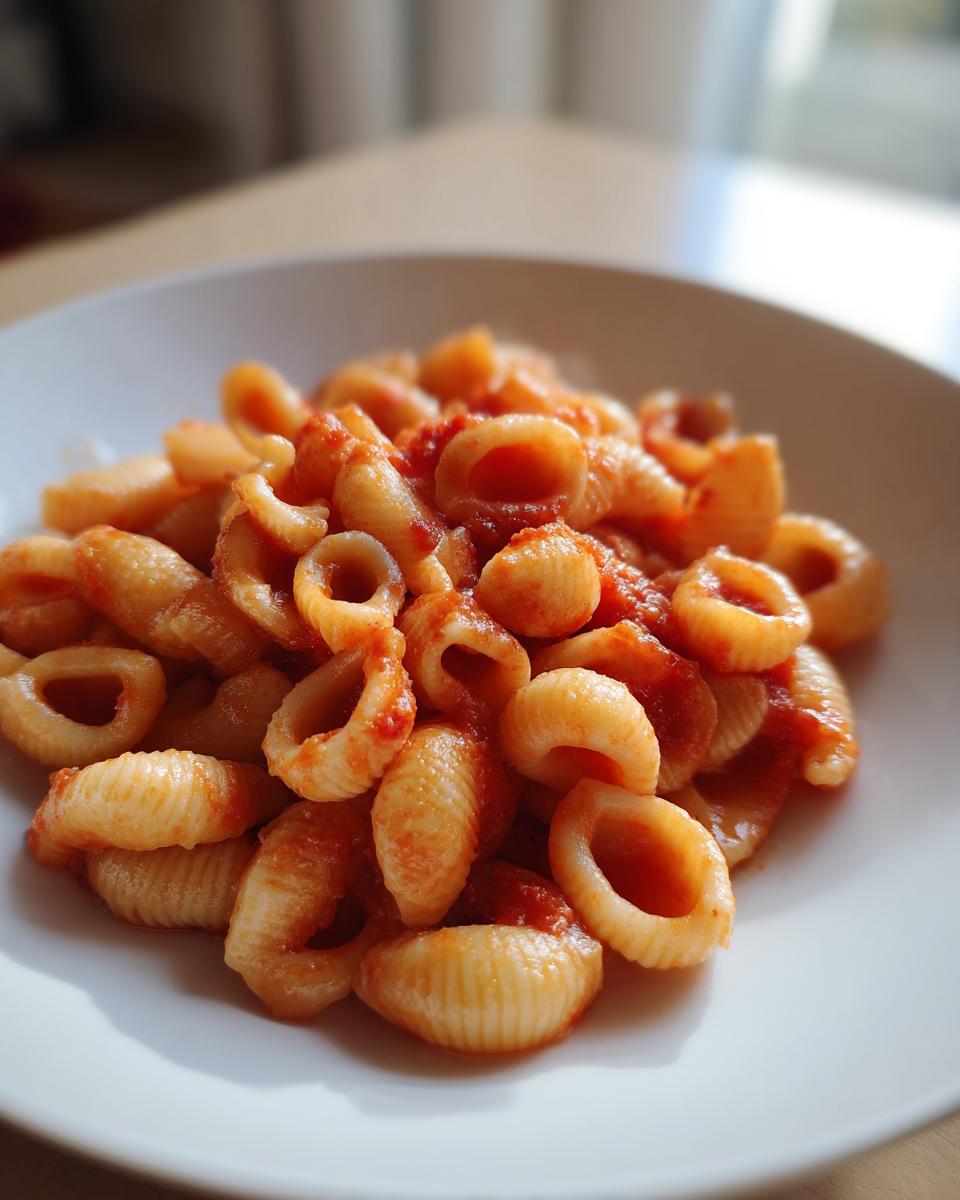
Serving Suggestions for Your Gluten-Free Cavatelli Pasta
My favorite part about making cavatelli is how beautifully they hold onto sauce! Unlike some slippery noodles, the shape of this gluten-free cavatelli pasta catches everything you throw at it. If you’re going for a hearty comfort food vibe, you absolutely must try pairing this with a slow-simmered meat ragu or a rich, chunky tomato sauce. The pasta holds up so well! For a lighter meal, they are absolutely dreamy tossed with fresh basil pesto—check out my favorite pesto recipe! And if you crave that creamy goodness, this shape is sturdy enough for a thick Alfredo, like the one I use in my Alfredo sauce. It really proves that homemade gluten free pasta recipe can do anything!
Storage and Reheating Instructions for Leftover Gluten-Free Cavatelli Pasta
We always end up with leftovers, right? If you have fresh, uncooked gluten-free cavatelli pasta, toss it lightly with rice flour and store it in the fridge for up to 24 hours or freeze it on a sheet pan before bagging. If you have cooked pasta, just toss it with a tiny drizzle of oil and keep it airtight in the fridge for about three days. When you reheat that cooked pasta, add just a splash of water or broth to the pan while tossing over medium heat—that steam keeps the noodles from drying out!
Troubleshooting Common Gluten Free Cavatelli Issues
I get it, sometimes making homemade gluten free pasta recipe tests your patience! The biggest headache I hear about is the dough itself. If your dough is super crumbly, go slow and add water one tiny teaspoon at a time until it just holds together when squeezed—remember, we don’t want stickiness yet! If it feels too sticky after kneading, dust it with a bit more brown rice flour. The other big issue is tearing during shaping; don’t try to roll your ropes too thin! If the pieces are breaking when you try to scroll them into the cavatelli shape, that means you need to knead it just a little longer next time, or perhaps let it rest an extra 15 minutes. Every batch of chewy gluten free noodles takes practice!

Frequently Asked Questions About Making Gluten Free Pasta Dough
I know you might have a few little questions swirling around after reading all that detail. That’s totally normal! When you’re venturing into homemade gluten free pasta recipe territory, you want to make sure you nail it the first time. I tried to cover every issue I ran into while perfecting this method, but here are a couple of the things I get asked the most about this delicious gluten-free cavatelli pasta.
Can I use a pasta machine for this gluten free cavatelli recipe?
Yes, you absolutely can! The good news is that this best gluten free pasta dough is sturdy enough for a machine, but you have to be careful. Don’t roll it super thin like you might with wheat pasta, or it will tear! Start on the widest setting, fold the dough, and run it through a couple of times to smooth it out before moving to narrower settings. If you’re interested in other applications for sturdy gluten-free doughs, you should check out my easy homemade pizza dough recipe instructions!
How long will fresh gluten free cavatelli last before cooking?
For the absolute best texture—that perfect al dente gluten free pasta—you really want to cook it the same day you make it. I usually aim to cook it within 4 to 6 hours of shaping. If you need to keep it longer, you must toss it generously with rice flour, lay it out on a baking sheet to dry just a little, and then refrigerate it airtight for no more than 24 hours. Freezing is actually better for long-term storage!
Why does my dough keep crumbling when I mix it?
That’s usually a sign that you need just a tiny bit more moisture. Remember, gluten-free flours absorb liquid differently. Don’t panic! Just add water, one teaspoon at a time, while kneading until it stops resisting and starts holding itself together when you press it. It should be firm, but not rock hard.
Appreciating Italian Gluten Free Pasta Recipes
There is just something about authentic Italian cooking, isn’t there? It’s about making simple ingredients sing! While my heart lives in baking, making this homemade gluten free pasta recipe connects me right back to those timeless traditions. Knowing you can achieve that characteristic chewiness without gluten is so rewarding. It just feels like a little culinary victory, proving that incredible Italian comfort food can be yours, no matter your dietary needs. If you ever have questions or want to share your masterpieces, please feel free to get in touch via my contact page!
PrintAuthentic Gluten-Free Cavatelli Pasta Recipe: Achieving Perfect Chewy Texture Without Gluten
Learn how to make homemade gluten-free cavatelli pasta from scratch. This recipe uses a specific flour blend and shaping technique to give you chewy, al dente noodles that hold sauce well.
- Prep Time: 25 min
- Cook Time: 5 min
- Total Time: 60 min
- Yield: 4 servings 1x
- Category: Main Dish
- Method: Hand Shaping
- Cuisine: Italian
- Diet: Gluten Free
Ingredients
- 1 cup brown rice flour
- 1/2 cup tapioca starch (or potato starch)
- 1/4 cup sorghum flour
- 1 teaspoon xanthan gum
- 1/2 teaspoon salt
- 1 large egg
- 1/4 cup warm water, plus more if needed
- 1 tablespoon olive oil
Instructions
- In a large bowl, whisk together the brown rice flour, tapioca starch, sorghum flour, xanthan gum, and salt. This blend creates the best gluten free pasta dough.
- In a separate small bowl, whisk the egg, warm water, and olive oil until combined.
- Pour the wet ingredients into the dry ingredients. Mix with a fork until a shaggy dough forms.
- Turn the dough out onto a lightly floured surface (use extra brown rice flour). Knead for 5 to 7 minutes until the dough is smooth and firm. If the dough is too dry and crumbly, add water one teaspoon at a time. If it is too sticky, add a small amount of brown rice flour.
- Wrap the dough tightly in plastic wrap and let it rest at room temperature for at least 30 minutes. This resting period is key for chewy gluten free noodles.
- Divide the dough into four equal pieces. Keep the pieces you are not working with covered.
- Roll each piece into a long rope, about 3/4 inch thick. If you are using a pasta machine, roll the dough through the widest setting first, then fold and repeat until smooth before thinning.
- Cut the rope into 1-inch pieces.
- To shape the cavatelli, press the side of a knife or a gnocchi board lightly onto one piece of dough. Roll the piece toward you while pressing down gently to create the characteristic hollow shape. This is a crucial gluten free pasta shaping technique.
- Place the finished cavatelli on a baking sheet dusted generously with rice flour to prevent sticking.
- Bring a large pot of salted water to a rolling boil. Add the fresh pasta.
- Cook for 3 to 5 minutes. Taste a piece; it should be al dente gluten free pasta.
- Drain immediately and toss with your favorite sauce.
Notes
- For a vegan gluten free cavatelli, substitute the egg with 1/4 cup of mashed cooked sweet potato or an additional 1/4 cup of warm water mixed with 1 teaspoon of psyllium husk powder.
- If you prefer a nut free gluten free pasta, this recipe works well as it relies on rice and starch flours.
- This dough works well when rolled through a pasta machine on the medium setting before cutting, but avoid rolling it too thin, as gluten free dough tears easily.
Nutrition
- Serving Size: 1 serving
- Calories: 320
- Sugar: 1
- Sodium: 250
- Fat: 6
- Saturated Fat: 1
- Unsaturated Fat: 5
- Trans Fat: 0
- Carbohydrates: 58
- Fiber: 3
- Protein: 8
- Cholesterol: 55