
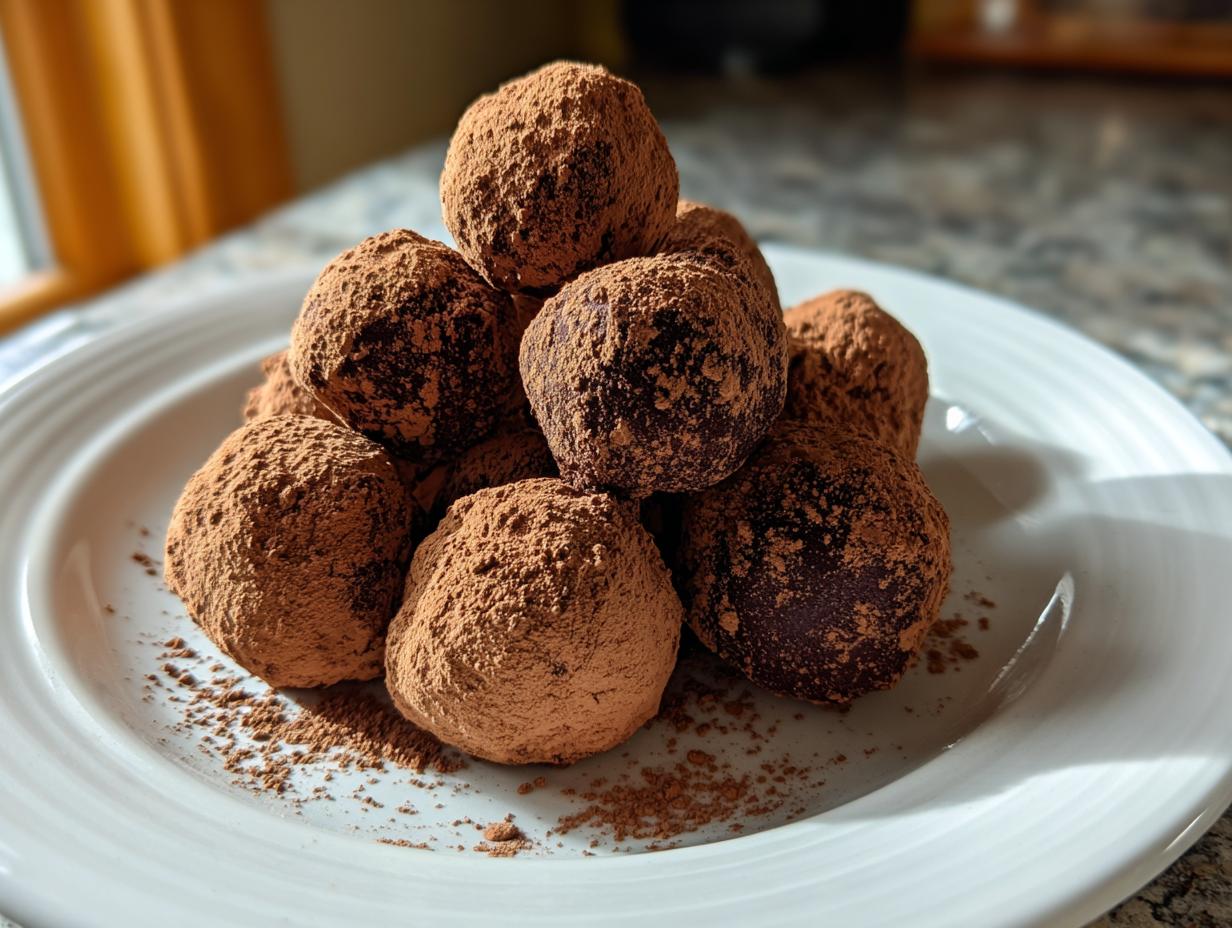
There’s just something magical about a perfectly made chocolate truffle, isn’t there? That moment when you pop one into your mouth and it just melts into pure, rich chocolatey bliss. Forget those fancy boxes from the store; making your own luxurious chocolate truffles at home is surprisingly easy and SO rewarding. It’s like bringing a little bit of my grandma’s kitchen magic right into yours. I truly believe anyone can make these gorgeous little confections, and that’s exactly why I’m sharing this recipe – to show you how accessible genuine deliciousness can be. Get ready to create something truly special!
- Why You'll Love These Chocolate Truffles
- Gather Your Ingredients for Perfect Chocolate Truffles
- Step-by-Step Guide to Making Chocolate Truffles
- Tips for Perfect Chocolate Truffles Every Time
- Frequently Asked Questions About Chocolate Truffles
- Storing and Serving Your Delicious Chocolate Truffles
- Estimated Nutritional Information for Chocolate Truffles
- Share Your Homemade Chocolate Truffles Creations!
Why You’ll Love These Chocolate Truffles
Trust me, these aren’t just any chocolate truffles. They’re:
- Crazy Easy to Make: Seriously, just a few ingredients and minimal fuss.
- Decadently Delicious: Rich, smooth, and melt-in-your-mouth perfect.
- Super Versatile: Dress them up with cocoa, nuts, or whatever your heart desires!
- Perfect for Gifting: Handmade chocolates are the sweetest way to say you care.
Gather Your Ingredients for Perfect Chocolate Truffles
Alright, let’s get our little workstation ready! Here’s what you’ll need to make these dreamy chocolate truffles:
- 8 ounces good quality semi-sweet or dark chocolate, finely chopped
- 1 cup heavy cream
- 1 tablespoon unsalted butter, softened
- 1/4 cup unsweetened cocoa powder, for dusting
Step-by-Step Guide to Making Chocolate Truffles
Okay, ready to make some chocolate magic happen? It really is as simple as mixing a few things together and letting time do its thing. You’ll feel like a total gourmet chocolatier in no time! If you love the idea of an easy, no-bake treat, you might also adore my super decadent fudgy chocolate brownies.
Preparing the Ganache for Your Chocolate Truffles
First things first, let’s get that luscious ganache going. Take your finely chopped chocolate and pop it into a sturdy, heatproof bowl. Now, grab a little saucepan and gently heat your heavy cream over medium heat. You just want it to start simmering around the edges – no need for a rolling boil, that’s not what we’re after here! As soon as you see those little bubbles starting to form, take it off the heat. Pour that hot cream right over your choppped chocolate. Now, the hardest part: wait. Let it sit there for a good 5 minutes. Trust me, it’s working its chocolatey magic. After it’s had its little spa moment, grab a whisk and gently, gently stir it. Go in slow circles from the center outwards until it’s all smooth and shiny. See? Instant ganache! Now, whisk in that softened butter until it’s all perfectly combined. This gives our chocolate truffles that extra silky richness.
Chilling and Shaping Your Chocolate Truffles
Time for a little chill-out session! Cover that beautiful ganache with plastic wrap, and here’s a little trick: press the wrap right onto the surface. This stops that annoying skin from forming. Pop it in the fridge for at least 2 hours. You want it firm enough to scoop and roll, but not rock solid. While it’s chilling, line a baking sheet with parchment paper – this prevents any sticking, very important! Once it’s firm, use a small spoon or even a melon baller to scoop out little portions. Now comes the fun part, rolling them into balls. Your hands might get a bit sticky, and that’s totally normal! If it gets too much, just rinse your hands under cold water, dry them *really* well, and keep rolling. If the ganache itself starts getting too soft and melty while you’re working, just pop the whole baking sheet back in the fridge for a bit to firm up again. Nobody likes messy, misshapen truffles, so take your time here!
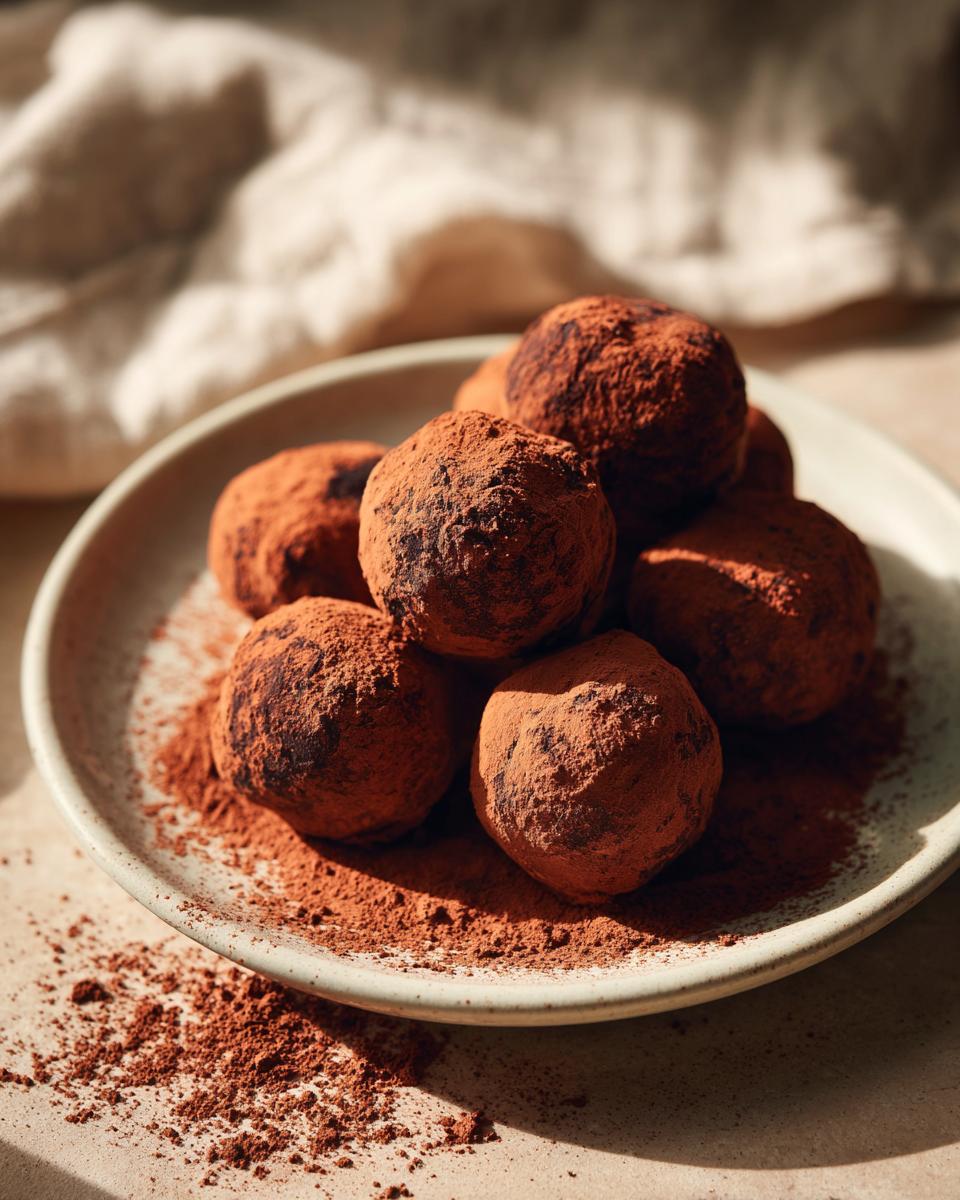
Coating and Finishing Your Chocolate Truffles
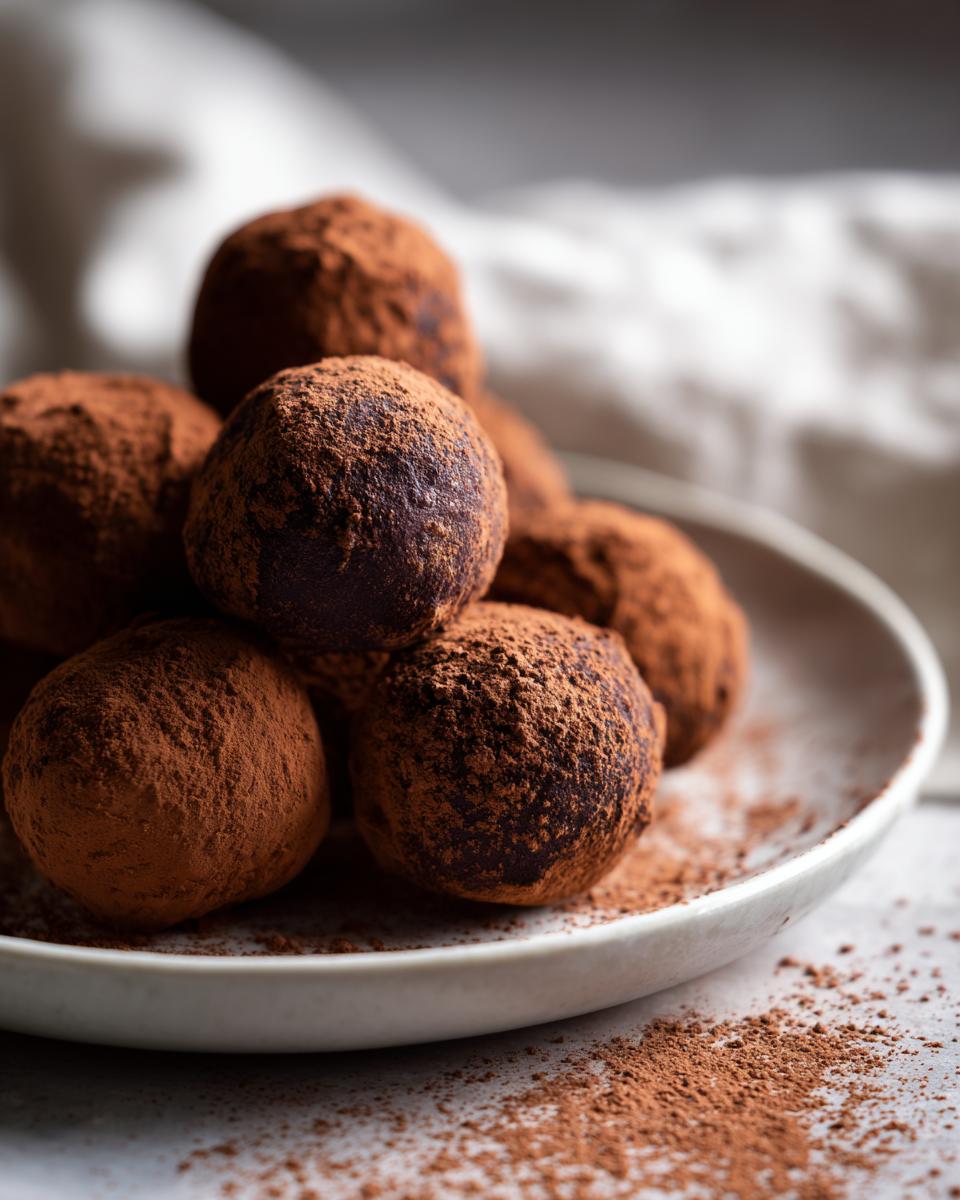
Almost there! Now for the glamorous finishing touch. Pour your unsweetened cocoa powder into a shallow dish. Gently take each rolled chocolate truffle – they should be nice and firm by now – and just roll them around in the yummy cocoa powder. Give them a little shake to get rid of any excess. Make sure they’re all evenly coated. Ta-da! You’ve got yourself some gorgeously finished cocoa-dusted truffles. If you’re feeling adventurous, you could totally roll them in finely chopped nuts, shredded coconut, or even some colorful sprinkles after the cocoa, or instead of it! Just make sure whatever you choose is finely chopped so it sticks nicely.
Tips for Perfect Chocolate Truffles Every Time
You know, even with a simple recipe like this, a few little tricks can make all the difference between good chocolate truffles and *wow* chocolate truffles. I’ve learned a thing or two from my kitchen adventures, and I’m happy to share them with you so yours turn out absolutely perfect. It’s all about paying attention to the details, because as my friend Claire from Bliss Batter always says, quality you can taste really matters!
Choosing the Best Chocolate for Your Ganache Truffles
Okay, this is non-negotiable: use good chocolate! I know, it sounds obvious, but the chocolate you choose is the star of the show here. For these ganache truffles, I really recommend a semi-sweet or dark chocolate with at least 60% cacao. Why? Because it has a richer flavor and the right amount of cocoa butter. Cheaper chocolate can sometimes lead to a grainy texture or a less intense chocolate punch. You want that deep, satisfying chocolate flavor, right?
Flavor Variations for Your Chocolate Truffles
Part of the fun with homemade chocolates is getting creative! Once your ganache is smooth and you’ve added the butter, you can stir in all sorts of goodies. A tablespoon or two of your favorite liqueur—like a good rum, orange liqueur (Grand Marnier is divine!), or even coffee liqueur—makes them extra special. You can also add a tiny splash of vanilla extract or even a pinch of espresso powder to really boost that chocolate flavor. And don’t forget those rolled coatings! Finely chopped nuts, toasted coconut, or even some festive sprinkles can add a wonderful texture and extra layer of flavor. My salted caramel brownies have such a great flavor combo, you could totally adapt those ideas here!
Frequently Asked Questions About Chocolate Truffles
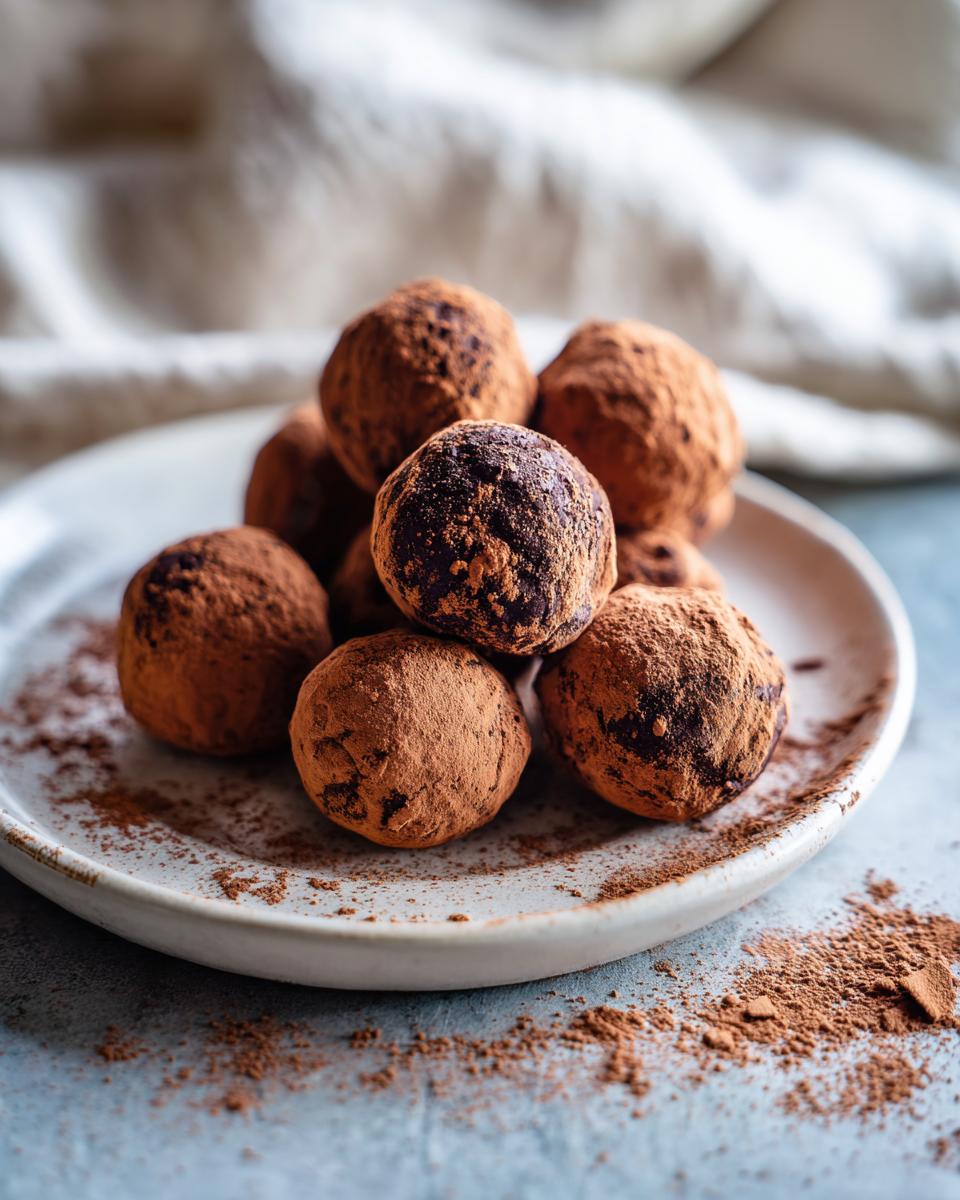
Got questions about whipping up these delightful cocoa dusted truffles? I’ve got answers!
Can I use milk chocolate instead of dark or semi-sweet chocolate?
You can, but it will change the texture and sweetness of your truffles! Milk chocolate has more sugar and less cocoa solids, so your chocolate truffles might be softer and sweeter. If you decide to go with milk chocolate, I’d recommend using a bit less cream, maybe start with about 3/4 cup, and see how the ganache consistency is. Full-fat dark or semi-sweet chocolate (around 60-70% cacao) really gives you that luxurious, melt-in-your-mouth experience without being too sweet.
How do I store homemade chocolate truffles?
Storing these homemade chocolate goodies is pretty easy. Pop them into an airtight container and keep them in the refrigerator. They’ll last for about a week that way. For the absolute best creamy texture, let them sit out on the counter for about 15-20 minutes before you plan to enjoy them. That little bit of warming up makes all the difference!
My ganache is too soft to roll. What did I do wrong?
Oh, don’t worry, this happens to the best of us! It usually just means it needs a bit more chilling time. Pop the bowl back into the fridge for another 30-60 minutes, or until it’s firm enough to scoop and roll without sticking to your fingers like crazy. Sometimes the room temperature is just too warm, especially in the summer! If it gets too soft *while* you’re rolling, remember that trick: cold, dry hands!
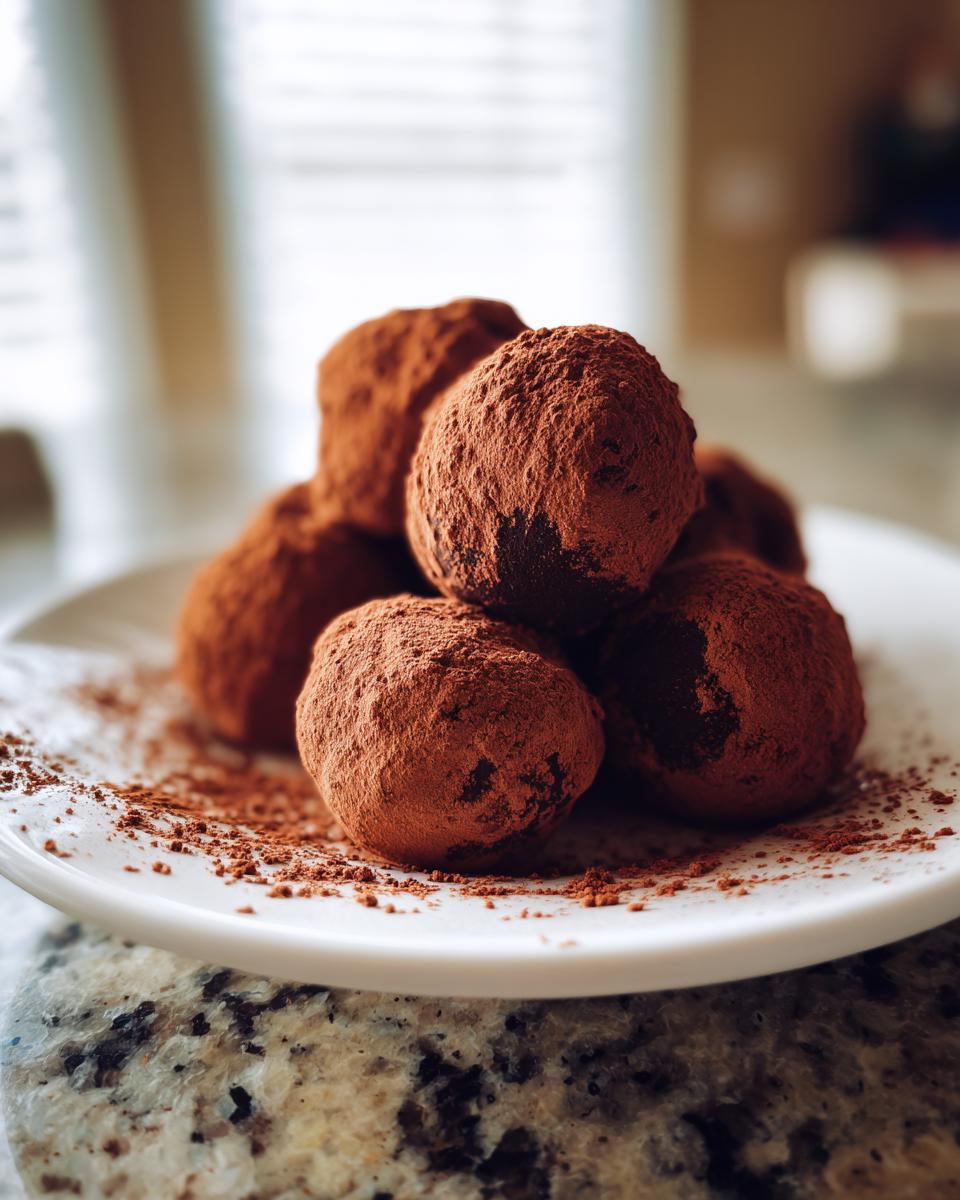
Storing and Serving Your Delicious Chocolate Truffles
Almost done! Now that you’ve got these lovely little easy truffle candy creations, you’ll want to keep them just right. Store any leftovers in an airtight container in the fridge – they’ll stay yummy for about a week. The real secret to enjoying them at their absolute best? Let them hang out at room temperature for about 15-20 minutes before you dive in. This little bit of warming up makes them super creamy and just melts in your mouth perfectly.
Estimated Nutritional Information for Chocolate Truffles
Okay, so we’ve whipped up some pure chocolatey goodness! Here’s a peek at what’s generally in each one of these little chocolate truffles. Keep in mind these are just estimates, because honestly, the exact amount can wiggle around a bit depending on the specific chocolate you use and how generous you are with that cocoa dusting!
- Serving Size: 1 truffle
- Calories: About 100
- Total Fat: Around 8g
- Saturated Fat: Roughly 5g
- Unsaturated Fat: About 3g
- Sodium: Just a tiny bit, like 5mg
- Total Carbohydrates: Around 7g
- Dietary Fiber: About 1g
- Total Sugars: Approximately 7g
- Protein: Around 1g
- Cholesterol: About 20mg
- Trans Fat: 0g
Share Your Homemade Chocolate Truffles Creations!
I just can’t wait to hear how your chocolate truffles turned out! Did you try a fun new coating or add a special flavor? Drop a comment below and tell me all about it, or share your creations. I love seeing what you all come up with in your kitchens!
PrintEasy Chocolate Truffles

Create luxurious homemade chocolate truffles with this simple recipe. These rich, melt-in-your-mouth confections are perfect for gifting or special occasions.
- Prep Time: 20 min
- Cook Time: 5 min
- Total Time: 2 hours 25 min
- Yield: 24 truffles 1x
- Category: Dessert
- Method: No-Bake
- Cuisine: American
- Diet: Vegetarian
Ingredients
- 8 ounces good quality semi-sweet or dark chocolate, finely chopped
- 1 cup heavy cream
- 1 tablespoon unsalted butter, softened
- 1/4 cup unsweetened cocoa powder, for dusting
Instructions
- Place the finely chopped chocolate in a heatproof bowl.
- In a small saucepan, heat the heavy cream over medium heat until it just begins to simmer around the edges. Do not boil.
- Pour the hot cream over the chopped chocolate. Let it sit for 5 minutes without stirring.
- Gently whisk the mixture until smooth and fully combined, creating a ganache.
- Whisk in the softened butter until incorporated.
- Cover the bowl with plastic wrap, pressing it directly onto the surface of the ganache to prevent a skin from forming.
- Chill the ganache in the refrigerator for at least 2 hours, or until firm enough to scoop.
- Line a baking sheet with parchment paper.
- Use a small spoon or a melon baller to scoop portions of the chilled ganache.
- Roll each portion into a ball between your palms. If the ganache becomes too soft, return it to the refrigerator to firm up.
- Place the rolled truffles on the prepared baking sheet.
- Pour the cocoa powder into a shallow dish.
- Gently roll each truffle in the cocoa powder until evenly coated.
- Place the finished truffles in an airtight container and store in the refrigerator for up to 1 week. Allow them to come to room temperature for about 15-20 minutes before serving for the best texture.
Notes
- For a richer flavor, use chocolate with at least 60% cacao content.
- You can add flavorings like 1-2 tablespoons of your favorite liqueur (rum, orange liqueur, or coffee liqueur) to the ganache after it’s smooth.
- Experiment with rolling your truffles in finely chopped nuts, shredded coconut, or sprinkles for different textures and flavors.
- If your hands get too sticky while rolling, you can chill them under cold water and dry them thoroughly before continuing.
Nutrition
- Serving Size: 1 truffle
- Calories: 100
- Sugar: 7g
- Sodium: 5mg
- Fat: 8g
- Saturated Fat: 5g
- Unsaturated Fat: 3g
- Trans Fat: 0g
- Carbohydrates: 7g
- Fiber: 1g
- Protein: 1g
- Cholesterol: 20mg