
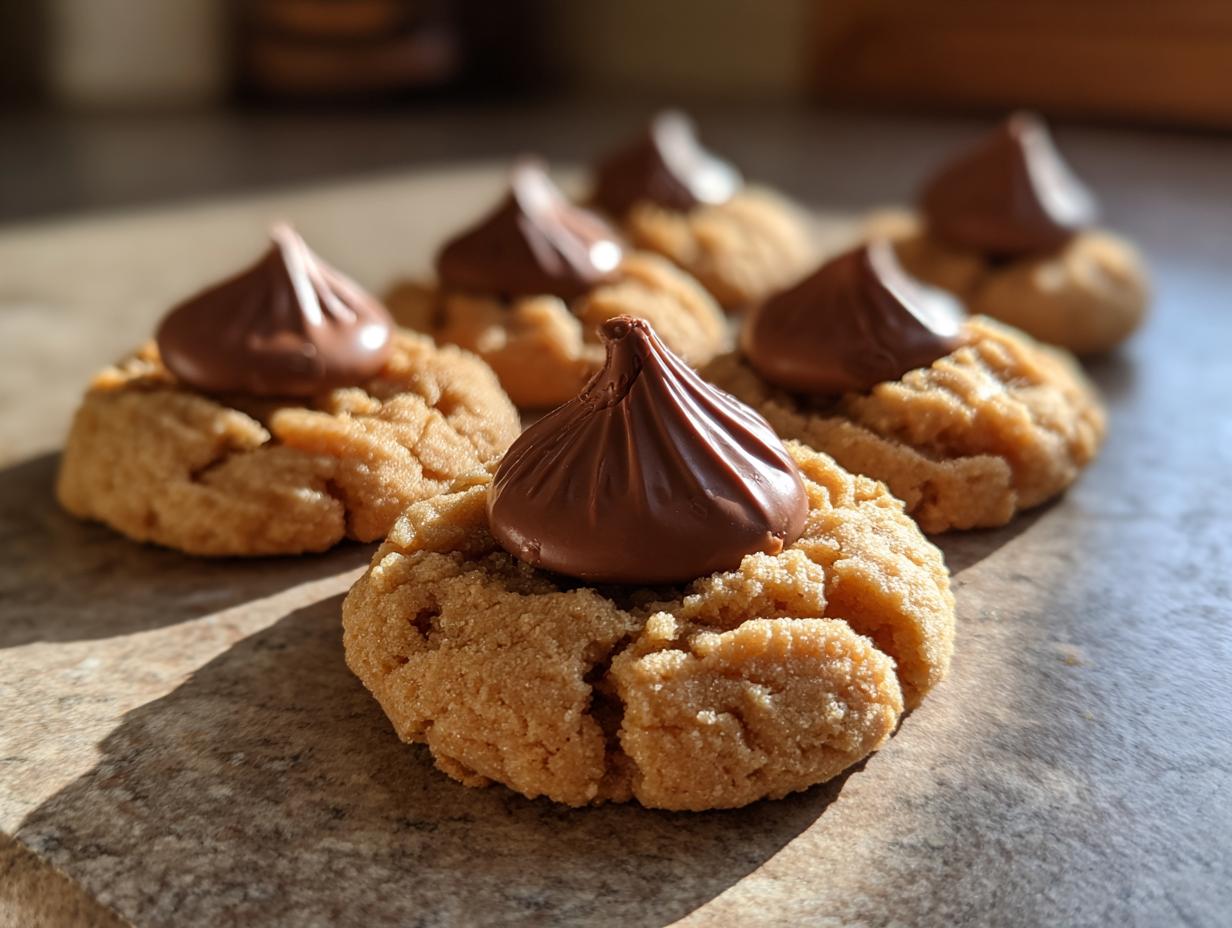
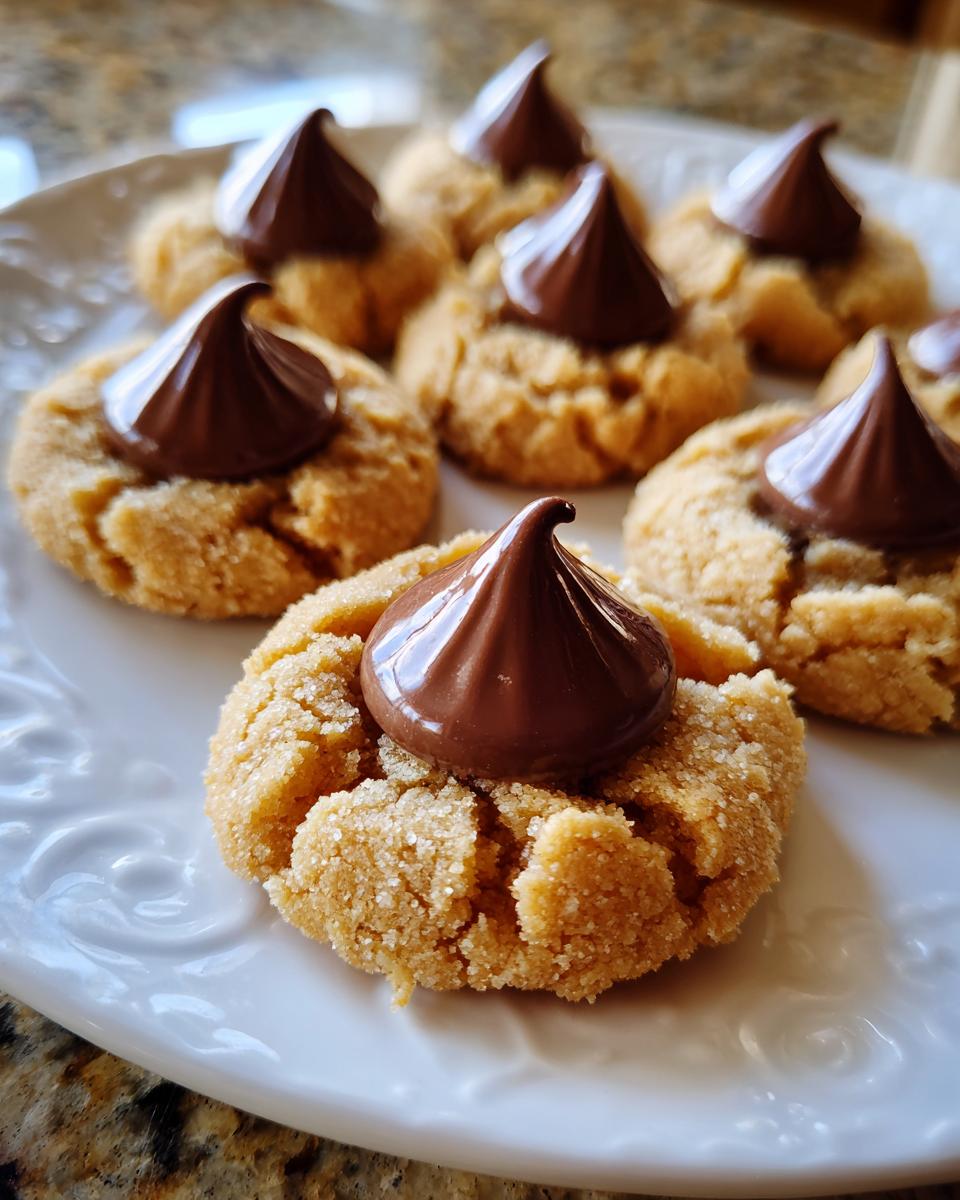
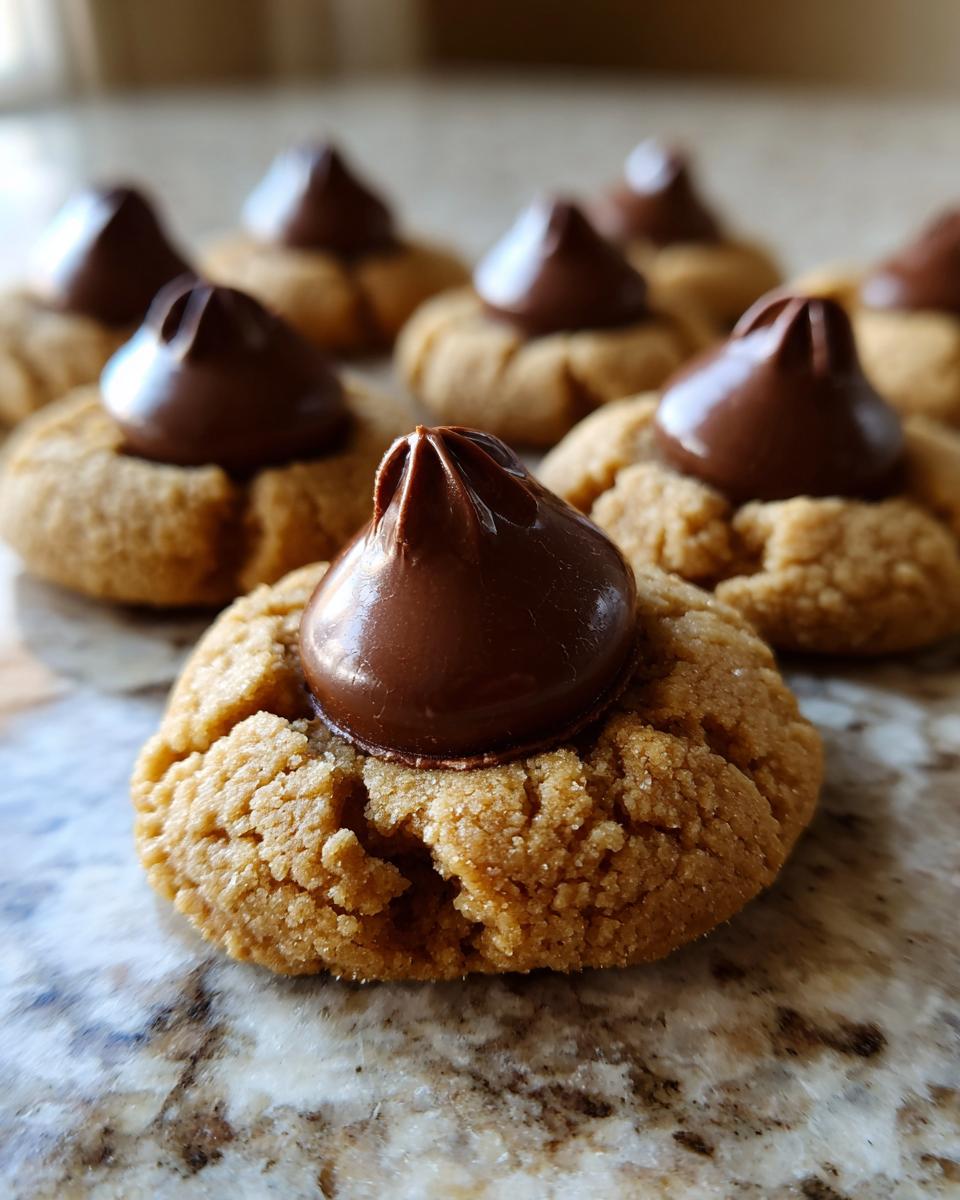
Oh, get ready for some serious holiday magic! There’s nothing quite like the smell of warm peanut butter cookies during Christmas, is there? It takes me right back to Grandma Betty’s kitchen, where we’d spend hours unwrapping tiny foil hats, all in anticipation of pressing that one perfect Hershey’s Kiss into the soft dough. My absolute favorite? Peanut Butter Blossoms, of course! These aren’t just cookies; they’re a tradition, a reason for sticky fingers and even stickier smiles. Baking them feels like a cozy hug, and trust me, this recipe is so easy, you’ll wonder why you ever bought them from a bakery. Get ready to fill your home with that irresistible aroma – you’re going to absolutely fall in love with how simple and delicious these classic little treats are.
- Why You'll Love This Peanut Butter Blossoms Recipe
- Gather Your Ingredients for Classic Peanut Butter Blossoms
- Step-by-Step Guide to Making Perfect Peanut Butter Blossoms
- Tips for Perfectly Cracking Peanut Butter Blossoms
- Ingredient Spotlight: The Magic of Peanut Butter and Hershey's Kisses
- Frequently Asked Questions about Hershey Kiss Cookies
- Estimated Nutritional Information for Peanut Butter Blossoms
- Share Your Classic Christmas Cookies Creations!
Why You’ll Love This Peanut Butter Blossoms Recipe
Okay, seriously, why are these cookies so darn good? Here’s the lowdown:
- Super Easy! If you can cream butter and sugar, you can totally make these. No fancy skills needed, just a little bit of mixing and shaping.
- That Texture! We’re talking soft, chewy peanut butter cookie perfection with just the slightest hint of a crisp edge. And that melty Hershey’s Kiss right in the middle? Pure bliss!
- Hello, Nostalgia! These aren’t just cookies; they’re a hug in cookie form. They’re a total classic, a must-have for any holiday cookie platter, and guaranteed to disappear fast.
- Flavor Bomb! That rich peanut butter flavor combined with creamy milk chocolate? It’s a match made in heaven, and these Peanut Butter Blossoms deliver it every single time.
Gather Your Ingredients for Classic Peanut Butter Blossoms
Alright, time to pull out your favorite mixing bowls! To make these unbelievably good Peanut Butter Blossoms, you’ll need a few simple things you probably already have lurking in your pantry. Trust me, the magic happens with these everyday heroes:
- 1 cup creamy peanut butter: This is key! Creamy gives you that super smooth dough that bakes up perfectly.
- 1/2 cup unsalted butter, softened: Make sure it’s nice and soft so it creams up beautifully with the peanut butter.
- 1/2 cup granulated sugar: For sweetness and structure.
- 1/2 cup packed brown sugar: This little guy adds that lovely chewy texture and a hint of caramel flavor.
- 1 large egg: To bind everything together.
- 1 teaspoon vanilla extract: Because everything is better with a splash of vanilla!
- 1 1/4 cups all-purpose flour: The backbone of our cookie.
- 1 teaspoon baking soda: To give them just enough lift.
- 1/2 teaspoon salt: To balance all that sweetness.
- 24 Hershey’s Kisses, unwrapped: The star of the show! Make sure they’re ready to go.
- 2 tablespoons granulated sugar, for rolling: This adds a little sparkle and crunch.
See? Nothing too crazy! Just good, honest ingredients ready to become something spectacular.
Step-by-Step Guide to Making Perfect Peanut Butter Blossoms
Alright, let’s get our hands a little bit messy and make some magic happen! This is where the fun really begins, turning those simple ingredients into those adorable, classic Peanut Butter Blossoms. Don’t worry, it’s way easier than it looks, and I’ll walk you through every step. So grab your apron, and let’s get baking! If you’re looking for even simpler options, you might even want to check out some super easy peanut butter cookie recipes.
Preparing the Dough for Your Peanut Butter Kiss Cookies
First things first, get that oven preheating to 375°F (190°C). Seriously, do this now! And line some baking sheets with parchment paper – it’s a lifesaver for cleanup. In a big bowl, we’re going to cream together that lovely softened butter and creamy peanut butter until it’s super smooth. Then, in go the granulated sugar and the packed brown sugar. Beat it all until it looks creamy and happy. Now, add in your egg and that teaspoon of vanilla extract. Give it another good mix. In a totally separate bowl, whisk together your flour, baking soda, and salt. This makes sure everything’s distributed evenly. Now, we add the dry stuff to the wet stuff, just gradually. Mix gently until it’s *just* combined – we don’t want tough cookies, so stop mixing when you don’t see big streaks of flour anymore!
Baking and Adding the Chocolate Kiss
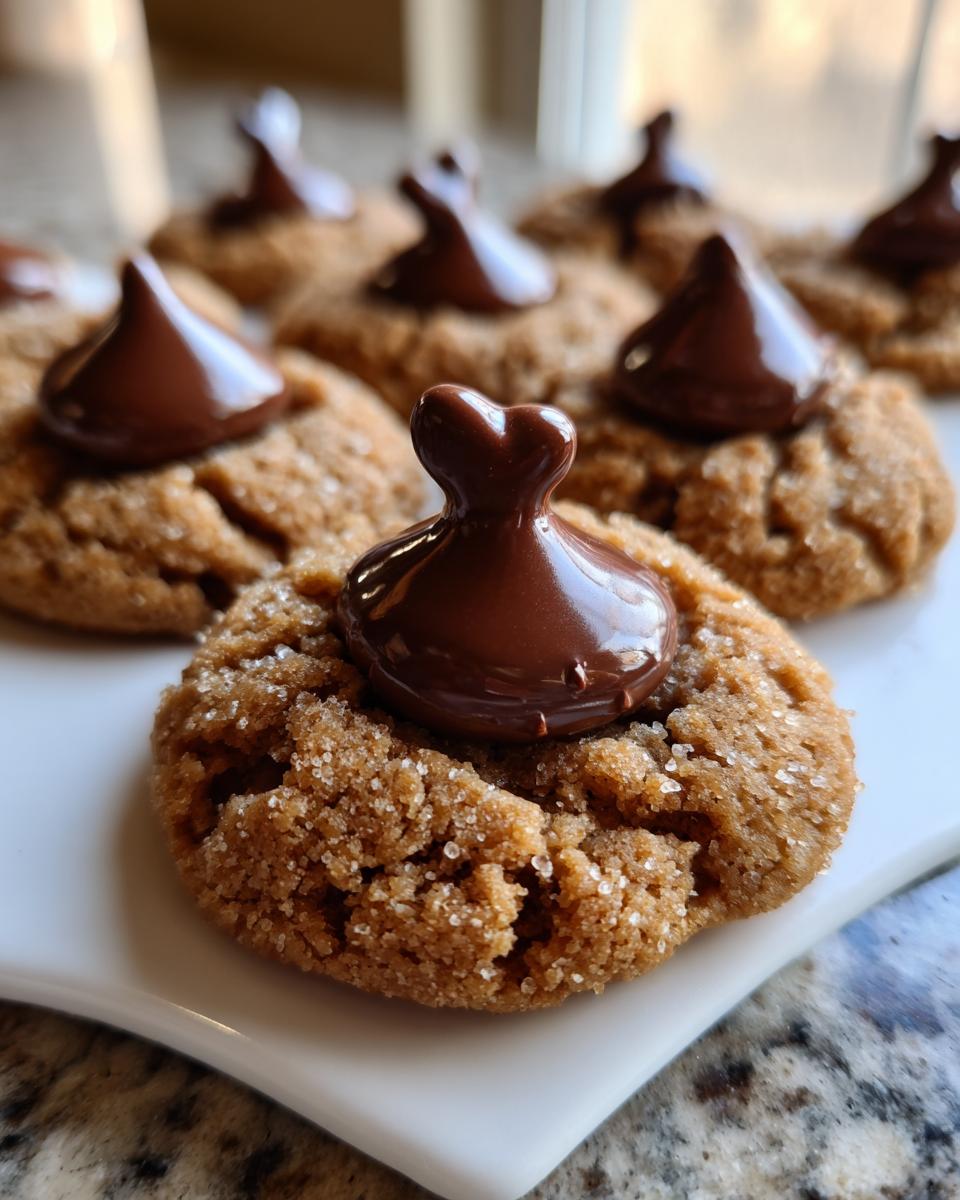
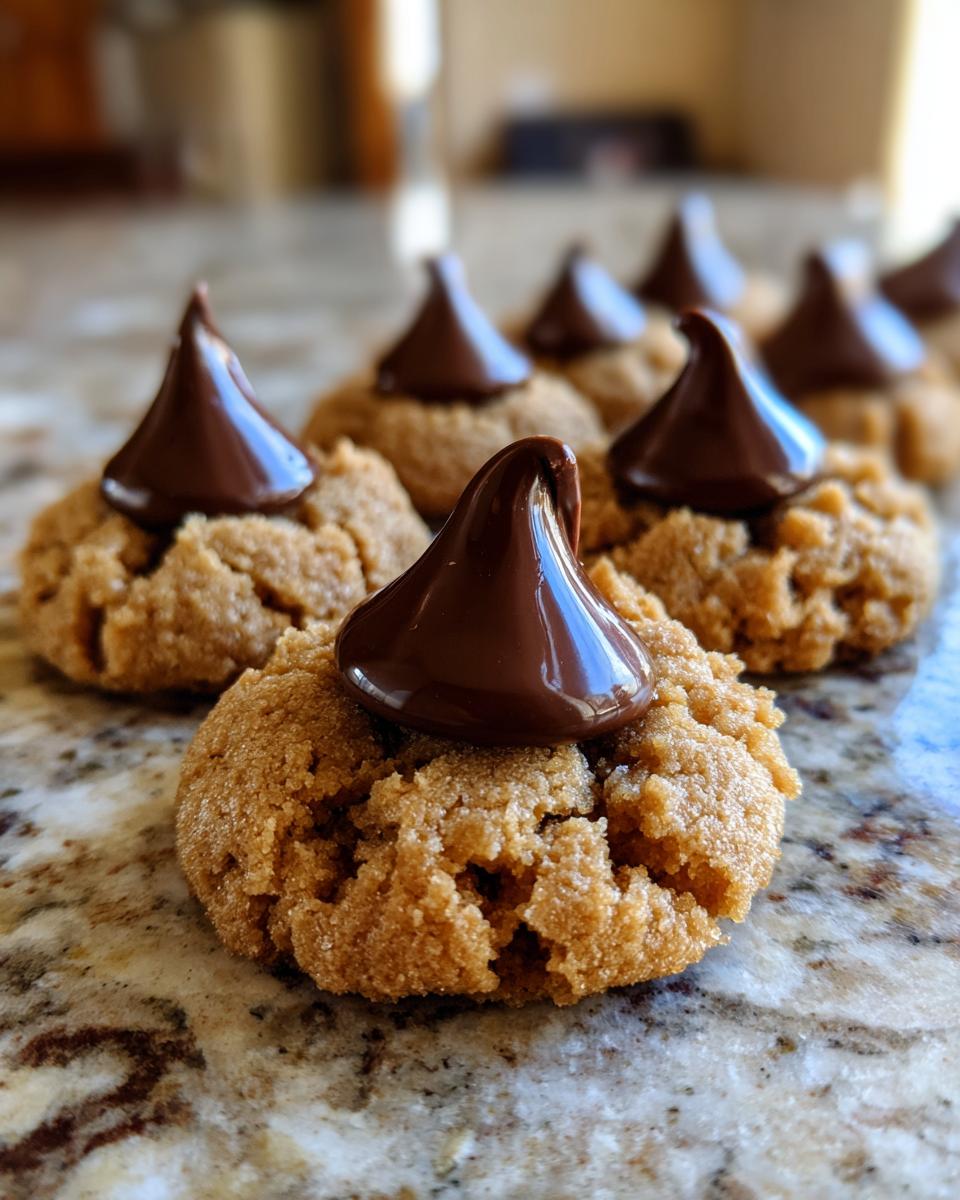
Now for the fun part! Roll your dough into nice, tidy 1-inch balls. You should get about 24 of them. Then, take those balls and roll them in the 2 tablespoons of granulated sugar we set aside. This gives them a pretty sparkle and a little bit of crunch. Pop them onto your prepared baking sheets, leaving about 2 inches between each one because they’ll spread a little. Bake these beauties for about 9 to 11 minutes. You’re looking for the edges to be just lightly golden brown. While they’re baking, give your Hershey’s Kisses a quick 15-minute chill in the freezer – this little trick helps them keep their shape better. As SOON as the cookies come out of the oven, gently, but firmly, press one of those chilled Kisses right into the center of each hot cookie. The residual heat is just enough to soften the chocolate so it adheres perfectly. Let them hang out on the baking sheet for a few minutes before carefully moving them to a wire rack to cool completely. That’s it! You’ve made classic peanut butter blossoms! For more great holiday treats, you can peek at my candy-topped cookies too!
Tips for Perfectly Cracking Peanut Butter Blossoms
Okay, so you’ve got your dough mixed, your kisses are chilled, but what if things go a little… sideways? Don’t you worry! Getting those perfect Peanut Butter Blossoms with that signature crackle isn’t always foolproof the first time. My secret? It’s all in the details and a little bit of kitchen intuition. If your cookies tend to spread out like a pancake, try chilling the dough for about 30 minutes before you roll the balls. It really helps them hold their shape. And remember that tip about freezing the Hershey’s Kisses for 15 minutes? It’s a game-changer for keeping them looking like little hats instead of puddles! For really sticky dough, a quick sprinkle of flour on your hands or a little extra flour on the dough can work wonders. Just mix it in gently. Seeing those little cracks form as you press in the kiss? That’s perfection!
Ingredient Spotlight: The Magic of Peanut Butter and Hershey’s Kisses
You know, what makes these Peanut Butter Blossoms so darn special? It’s really all thanks to a couple of superstars. First up, peanut butter! While you totally *could* use crunchy, I’m a die-hard fan of creamy for this recipe. It gives you that wonderfully smooth dough that bakes up so tenderly. Crunchy peanut butter would give you little bumps in there, which is okay, but creamy just feels right for that classic soft texture we’re after. And then, of course, the Hershey’s Kisses! Oh, those iconic little foil-wrapped delights. As a kid, unwrapping them was half the fun, lining up all those shiny hats. They’re just the perfect size and melt just enough when they hit that warm cookie to seal the deal. Honestly, it’s peanut butter and chocolate working their sweet little magic!
Frequently Asked Questions about Hershey Kiss Cookies
You’ve got questions? I’ve got answers! Making these classic Hershey Kiss cookies is usually pretty straightforward, but hey, we’ve all been there. Here are a few things people often wonder about:
Can I Use Crunchy Peanut Butter for Peanut Butter Blossoms?
You sure can! While I love creamy for that super smooth dough, crunchy peanut butter will totally work. Just know that it might give your Peanut Butter Blossoms a bit more texture, which some people actually prefer! You might need to roll the dough balls a tiny bit tighter though.
How to Store Leftover Peanut Butter Blossoms
Oh, if there are any leftovers! 😉 Store them in an airtight container at room temperature. They stay nice and soft for about 3-4 days. Honestly, they usually disappear way before that! If you’ve got any tips for storing other baked goods, maybe check out my apple butter recipe – similar storage vibes!
Can the Dough for Peanut Butter Kiss Cookies Be Made Ahead?
Yep, you can totally make the dough ahead of time! Just cover it tightly and pop it in the fridge for up to 2-3 days. When you’re ready to bake, let the dough sit out for about 20-30 minutes to soften up a bit before you roll it into balls. This makes it way easier to handle.
Estimated Nutritional Information for Peanut Butter Blossoms
Just a heads-up, the nutritional info for these yummy Peanut Butter Blossoms is an estimate, since it can change depending on the exact brands and ingredients you use. But generally, expect each cookie to have about 150 calories, 8g of fat (with 3g being saturated), 4g of protein, 17g of carbohydrates, and 12g of sugar. So enjoy them, and know you’re getting some good peanut butter goodness!
Share Your Classic Christmas Cookies Creations!
I just LOVE hearing from you! Did you make these classic Christmas cookies? I’d be thrilled if you’d leave a comment below telling me how they turned out, or maybe share a picture of your beautiful Peanut Butter Blossoms on Instagram with the hashtag #BlissBatterBakes! You can also check out my story to see what else we’re baking up!
PrintPerfect Peanut Butter Blossoms

Bake classic peanut butter cookies topped with a Hershey’s Kiss. These soft, chewy cookies are a holiday favorite.
- Prep Time: 20 min
- Cook Time: 10 min
- Total Time: 30 min
- Yield: 24 cookies 1x
- Category: Dessert
- Method: Baking
- Cuisine: American
- Diet: Vegetarian
Ingredients
- 1 cup peanut butter
- 1/2 cup unsalted butter, softened
- 1/2 cup granulated sugar
- 1/2 cup packed brown sugar
- 1 large egg
- 1 teaspoon vanilla extract
- 1 1/4 cups all-purpose flour
- 1 teaspoon baking soda
- 1/2 teaspoon salt
- 24 Hershey’s Kisses, unwrapped
- 2 tablespoons granulated sugar, for rolling
Instructions
- Preheat your oven to 375°F (190°C). Line baking sheets with parchment paper.
- In a large bowl, cream together the peanut butter and softened butter until smooth.
- Add the granulated sugar and brown sugar to the bowl and beat until well combined.
- Beat in the egg and vanilla extract until incorporated.
- In a separate medium bowl, whisk together the flour, baking soda, and salt.
- Gradually add the dry ingredients to the wet ingredients, mixing until just combined. Do not overmix.
- Shape the dough into 1-inch balls.
- Roll each dough ball in the 2 tablespoons of granulated sugar set aside.
- Place the sugar-coated balls about 2 inches apart on the prepared baking sheets.
- Bake for 9 to 11 minutes, or until the edges are lightly golden brown.
- Immediately after removing from the oven, gently press one Hershey’s Kiss into the center of each cookie. The residual heat will soften the chocolate.
- Let the cookies cool on the baking sheets for a few minutes before transferring them to a wire rack to cool completely.
Notes
- For best results, use creamy peanut butter.
- You can freeze the Hershey’s Kisses for about 15 minutes before pressing them into the cookies to help them retain their shape.
- These cookies are best enjoyed within a few days of baking.
Nutrition
- Serving Size: 1 cookie
- Calories: 150
- Sugar: 12g
- Sodium: 75mg
- Fat: 8g
- Saturated Fat: 3g
- Unsaturated Fat: 5g
- Trans Fat: 0g
- Carbohydrates: 17g
- Fiber: 1g
- Protein: 4g
- Cholesterol: 15mg