
You know that moment? That absolute, non-negotiable craving for something intensely, darkly chocolatey? When only the fudgiest, densest square will do? Well, stop searching—because you’ve just landed on the best Brownies recipe I have ever developed. Seriously! This is my go-to, guaranteed-to-work formula for achieving that glossy, crackly top we all dream about, and the best part? It’s all done in one simple bowl. My goal here at Bliss Batter, as I, Claire Sterling, have always promised, is to take those terrifyingly complex bakes and make them foolproof classics. This recipe proves you don’t need complicated steps to bake something spectacular; you just need the right technique to get these homemade chocolate treats absolutely perfect every single time.
- Why These Are the Best Homemade Brownies You Will Ever Make
- Ingredients for Perfect Chewy Chocolate Brownies
- Simple One-Bowl Brownie Instructions
- Tips for Success When Making Your Brownies
- Ingredient Notes and Substitutions for Brownies
- Storage and Reheating Instructions for Brownies
- Frequently Asked Questions About Fudgy Brownie Recipe
- Estimated Nutritional Data for These Brownies
- Share Your Perfect Batch of Brownies
Why These Are the Best Homemade Brownies You Will Ever Make
If you’ve ever felt let down by a brownie that baked up dry or worse—like a sad, dusty cake—you know why we need to get this right. My approach focuses on maximizing pure chocolate indulgence in these Brownies. They aren’t fussy, but they rely on a couple of key elements to deliver that satisfying chew. I learned long ago from my own journey, detailed over on my About Page, that the simple recipes are often the most rewarding!
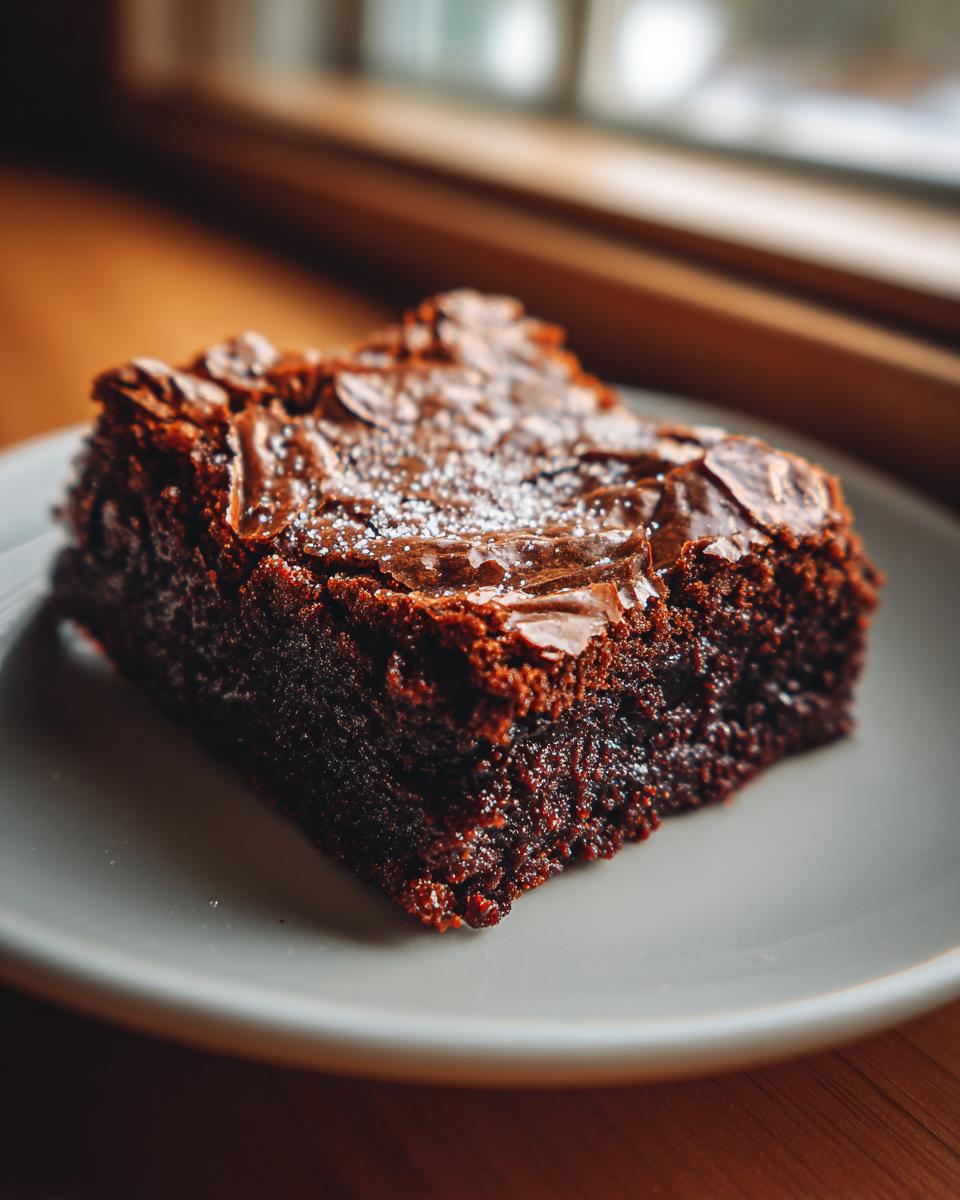
- Guaranteed Fudgy Results: Forget cakey textures; these are dense, moist, and deeply satisfying.
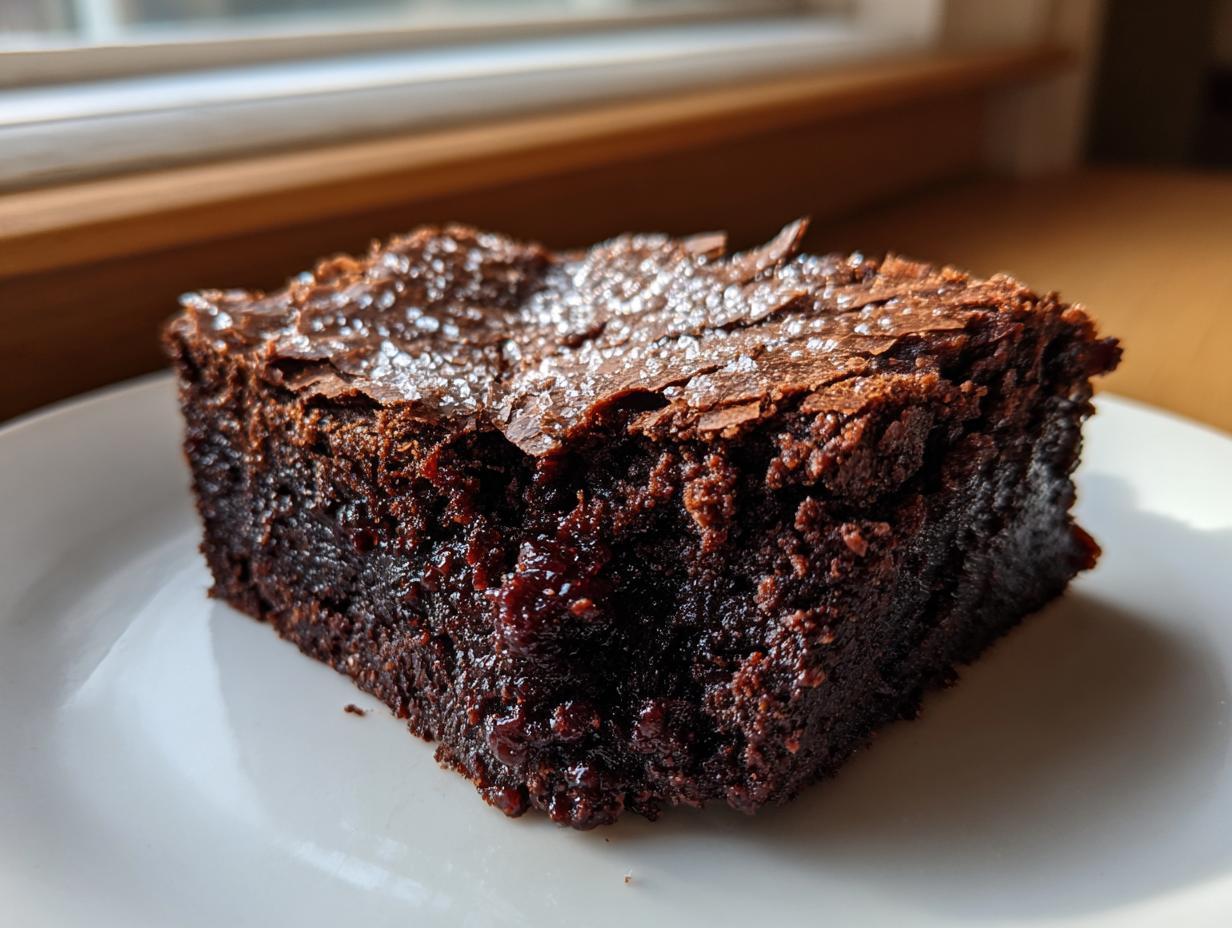
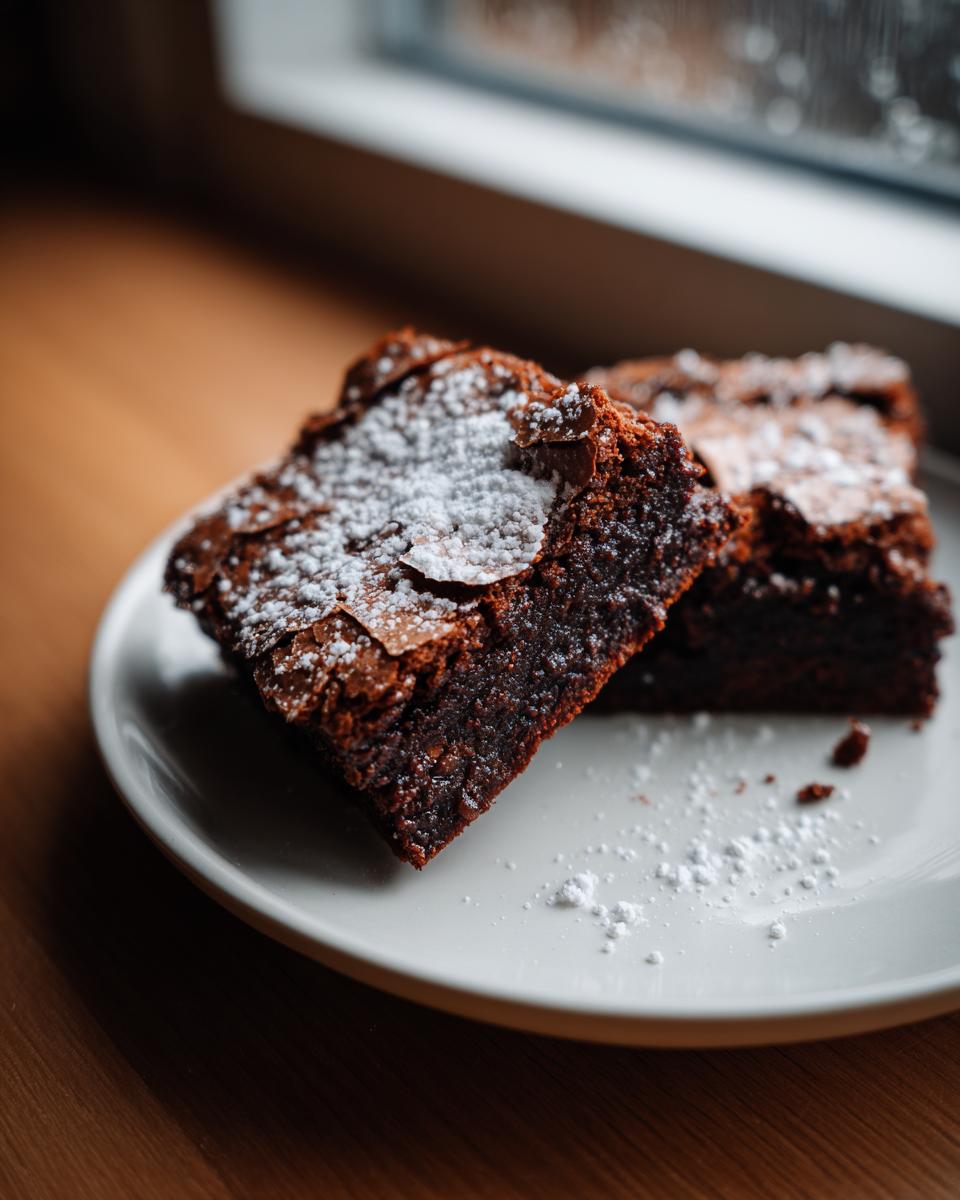
- The Coveted Crackly Top: That beautiful, shiny, delicate crust that looks deceptively hard to achieve.
- Simple Clean-Up: We keep things tidy with that one-bowl magic!
Achieving the Perfect Fudgy Brownie Recipe Texture
It all comes down to fat, my friends! We use a very high ratio of butter and sugar compared to the flour. This higher fat content actively inhibits gluten formation—that’s what makes things tough and cake-like. Less gluten means rich, gooey centers every time you pull them from the oven.
Expert Secrets for How to Get Crackly Top Brownies
This is where my testing really paid off. The crackly top isn’t accidental; it’s chemistry! You must completely melt the butter and then whisk the sugars into that warmth until the mixture looks smooth and slightly glossy *before* you add any of the dry stuff. That dissolved sugar mixture rises to the top as a thin layer during baking, setting into that perfect shatteringly thin crust.
Ingredients for Perfect Chewy Chocolate Brownies
Honestly, the beauty of this fudgy recipe is that it uses pretty standard pantry staples. You don’t need any weird extracts or fancy sourcing for this one—just good quality butter and chocolate chips if you decide to use them! Remember, because we are aiming for that chewy chocolate brownie texture that melts in your mouth, the measurements here are really important for balancing the ratios.
- 1 cup (2 sticks) unsalted butter, cut into pieces
- 1 1/4 cups granulated sugar
- 1 cup packed light brown sugar (make sure it’s packed down!)
- 4 large eggs
- 1 tablespoon vanilla extract
- 3/4 cup unsweetened cocoa powder (I love Dutch-process here, but natural works too!)
- 1/2 cup all-purpose flour
- 1/2 teaspoon salt
- 1 cup semi-sweet chocolate chips (totally optional, but why skip them?)
Simple One-Bowl Brownie Instructions
I love how fast we can put these Brownies together! Since we are going straight from stove to mixing bowl, the cleanup is minimal, which is perfect for weeknight baking—you can have these done before you even look into meal planning for tomorrow! Before we do anything, get that oven roaring to 350°F (175°C). Make sure you line that 9×9 metal pan with parchment paper so at least two sides hang over the edge—that’s my famous sling method for lifting them out later. Trust me on the sling!
Melting Butter and Creating the Glossy Sugar Base for Brownies
First things first: melt your butter. I usually do this right on the stove in a heatproof bowl set over gently simmering water, but the microwave works in a pinch. Once it’s fully liquid, whisk in both the granulated and the packed brown sugar. Keep whisking until it looks noticeably smoother and has a little bit of gloss—that warmth helps everything combine perfectly. Then, one by one, beat in those four eggs and the vanilla. You want it just smooth and ribbons of shine forming as you stir them in. This is the magic step for that beautiful top!
Mixing Dry Ingredients into the Fudgy Brownie Batter
Now we tackle the dry stuff. Sift your cocoa powder and salt right over the wet mixture. Whisk that gently until everything is just incorporated. Then, switch to your spatula! Gently, and I mean *gently*, fold in the flour. We are aiming for just combined—stop mixing the second you don’t see white flour streaks anymore. If you keep going, you’ll develop gluten, and poof! You’ll have cakey brownies instead of the best fudgy brownie recipe ever. Only fold those chocolate chips in at this stage if you are using them.
Baking and Cooling These Decadent Brownies
Pour that gorgeous batter into your prepared pan and level it gently. They bake fast! Keep an eye on them between 30 and 35 minutes. Don’t wait until a toothpick slides out totally clean; we want moist, fudgy crumbs clinging right to it when you test the center. Once they feel set on the edges, pull them out immediately. The absolute hardest part? Letting them cool completely on a rack before you try to lift them out and cut them. Patience means clean, perfect squares!
Tips for Success When Making Your Brownies
Look, I know we’ve all been there—mixing up a batch of something and it just doesn’t hit the mark. But these Brownies are designed to be reliable, provided you follow a couple of my favorite little tricks from testing hundreds of batches. Getting high-quality flavor starts before you even turn on the oven, so don’t skimp on choosing good ingredients!
When it comes to richness, please use real, good-quality unsalted butter. Margarine or low-fat spreads just can’t give you that signature depth of flavor or the necessary fat structure we need for that gooey center and crackly roof. Also, for easier life later, I highly recommend using parchment paper with an overhang in your metal pan, just like I showed in the steps.
Using that parchment sling makes removal a breeze because these bars are incredibly decadent when warm. This guarantees you won’t mutilate your perfect batch when you try to lift them out! If you want more ideas for impressive desserts, take a peek at my collection of dessert recipes!
Ingredient Notes and Substitutions for Brownies
I get so many questions about substitutions because everyone’s pantry looks a little different, right? That’s totally fine! The beauty of this fudgy brownie recipe is that it’s forgiving, but there are two areas where I really encourage you to pay close attention: the cocoa powder and those optional chocolate chips.
Let’s talk cocoa powder first. The recipe calls for 3/4 cup, and you can use either natural unsweetened cocoa powder or Dutch-process. If you use natural cocoa, your Brownies will have a slightly sharper, more intense chocolate punch—it’s a bit brighter. If you use Dutch-process, which I often gravitate towards for depth, the flavor is milder, smoother, and darker looking, kind of velvety.
Now, the chocolate chips! They aren’t mandatory because we already have a lot of cocoa, but tossing in a cup gives you those wonderful pockets of melted chocolate goodness later on. If you don’t have chips on hand, feel free to chop up a solid bar of your favorite semi-sweet or bittersweet baking chocolate into small chunks instead. Just be sure to use chocolate that melts well!
If you prefer a deeper flavor, you can use half dark chocolate chips and half milk chocolate chips, but resist adding white chocolate chips—they just don’t integrate as well into this super dark, fudgy base. You definitely want to stick to semi-sweet or bittersweet here for the best chewy chocolate brownies!
Storage and Reheating Instructions for Brownies
Okay, you’ve made the best Brownies ever, and now you have to tackle the impossible task of not eating all sixteen squares in one sitting! Don’t worry, these bars are masters of staying delicious. Because they are so rich in butter and sugar, they are actually excellent keepers, much better than a lot of cakes.
The best place for these fudgy treats is right on your counter, but they need a cozy spot in an airtight container. If you stack them, make sure you put a small square of parchment or wax paper between the layers. This keeps them from sticking together, which is crucial when they are this gooey! Kept sealed up tight at cool room temperature, they stay wonderfully moist and perfectly fudgy for a solid four or five days. That’s why being good at meal planning is pointless when you have brownies this tempting!
If, by some miracle, you manage to have leftovers past day five—or if you need to make a huge batch ahead of time—freezing is totally an option. Wrap individual squares tightly in plastic wrap first, then tuck them all into a heavy-duty freezer bag. They hold up beautifully for about three months. When you get the craving, just pull one out! They thaw perfectly on the counter in an hour or two, tasting almost exactly like they just came out of the oven. No need to reheat, but if you must, a quick zap of about ten seconds in the microwave brings back that warm, gooey texture instantly.
Frequently Asked Questions About Fudgy Brownie Recipe
Can I use oil instead of butter in this fudgy brownie recipe?
Oh, I really, really wouldn’t recommend it for this one! We use butter here for two huge reasons: flavor and texture. Butter brings that unmistakable, rich taste that oil just can’t replicate. More importantly, the way melted butter interacts with the high volume of sugar when we whisk it vigorously is the secret sauce for creating that perfect, thin, shiny, crackly top. If you swap in oil, you lose a lot of that necessary structure and flavor. Stick to the butter for these Brownies, trust me; it’s worth having a little extra on hand!
How do I make sure my brownies are chewy chocolate brownies and not cakey?
This is probably the question I get most often, and the answer is always the same: don’t panic, but don’t overmix that flour! The primary goal for a perfect fudgy brownie recipe is to keep the gluten development to an absolute minimum. Those fluffy, cakey results come from beating the flour too much. Once you add the flour (and only after sifting!), switch immediately to folding it in gently with a spatula. Mix it only until you can no longer see white streaks coating everything. A tiny bit under-mixed is always better than a bit over-mixed when you are striving for chewy chocolate brownies.
Is it possible to use these one-bowl brownie instructions for a different size pan?
Yes, but you need to be mindful of the baking time, since that changes drastically depending on the depth of your pan! If you are using a standard 9×13 inch pan instead of our recommended 9×9, you’ll spread the batter thinner, and they will bake much faster—probably closer to 20-25 minutes. Always rely on that toothpick test for doneness, not the clock! If you decide to use a deeper pan, like a loaf pan for smaller bars, you will definitely need to bake them longer, maybe 40 minutes or more, so keep checking them frequently. These one-bowl brownie instructions are flexible, just watch that center! And if you have any other burning questions, don’t hesitate to reach out via my Contact Page!
Estimated Nutritional Data for These Brownies
Nobody is reaching for a batch of these amazing homemade chocolate bars because they think it’s a health food, right? We’re here for pure joy and indulgence! But just so you have a general idea of what’s in a single square—since I know some of you are keeping track of macros or watching sugar levels—here is a breakdown based on standard measurements for 16 servings.
Keep in mind, this is just an estimate on my end. If you use a super dark specialty cocoa or add a bag of fancy salted caramel chips instead of semi-sweet ones, your numbers will shift a little bit. It’s just the nature of baking with real ingredients!
- Serving Size: 1 square
- Calories: Approximately 250
- Fat: Around 15g
- Carbohydrates: About 28g
- Protein: Roughly 3g
- Sugar: About 25g
This rich profile is why these are so satisfying! That fat content is what carries all that deep chocolate flavor. Eat one, enjoy it thoroughly, and then save the rest in that airtight container we talked about for later!
Share Your Perfect Batch of Brownies
Now it’s your turn! I’ve shared all my secrets—the creaming, the folding, the patience required for cooling—but the final step is the most important: enjoying them! I truly live for hearing how your batch of Brownies turned out, especially if you were determined to get that crackly top and succeeded. Did you manage to keep your hands off them until they cooled down completely? Tell me everything!
Please, if you loved this recipe as much as I love baking it for my family, leave a star rating right down below the instructions. That star rating helps other bakers who are craving that perfect, fudgy square gain the confidence to try this recipe, too. And if you got inventive—maybe you added a swirl of peanut butter or some espresso powder for an extra kick—definitely share that variation in the comments!
We are building this community together, one perfect, gooey square at a time. Your feedback helps me keep refining my own baking practices, too, though I doubt this version will change much! You can also review all the site policies, including cookie choices, over on my Privacy Policy page when you have a moment. Happy baking, and I can’t wait to see those pictures!
PrintFudgy One-Bowl Brownies with Crackly Tops
Make dense, moist, and intensely chocolatey brownies using a simple one-bowl method for a guaranteed crackly top.
- Prep Time: 15 min
- Cook Time: 35 min
- Total Time: 50 min
- Yield: 16 squares 1x
- Category: Dessert
- Method: Baking
- Cuisine: American
- Diet: Vegetarian
Ingredients
- 1 cup (2 sticks) unsalted butter, cut into pieces
- 1 1/4 cups granulated sugar
- 1 cup packed light brown sugar
- 4 large eggs
- 1 tablespoon vanilla extract
- 3/4 cup unsweetened cocoa powder (natural or Dutch-process)
- 1/2 cup all-purpose flour
- 1/2 teaspoon salt
- 1 cup semi-sweet chocolate chips (optional, for extra fudginess)
Instructions
- Preheat your oven to 350°F (175°C). Line a 9×9 inch metal baking pan with parchment paper, leaving an overhang on two sides for easy removal. Lightly grease the paper.
- In a large, heatproof bowl set over a saucepan of simmering water (or in a microwave-safe bowl), melt the butter completely. Remove from heat.
- Whisk the granulated sugar and brown sugar into the melted butter until fully combined.
- Add the eggs one at a time, whisking well after each addition until the mixture is smooth and glossy. Whisk in the vanilla extract.
- Sift the cocoa powder and salt directly into the wet ingredients. Whisk until just combined and no streaks of dry powder remain. Do not overmix.
- Gently fold in the flour using a rubber spatula until just incorporated. If using, fold in the chocolate chips. Overmixing the flour develops gluten, leading to cakey brownies.
- Pour the batter into the prepared pan and spread evenly.
- Bake for 30 to 35 minutes. The edges should look set, and a toothpick inserted near the center should come out with moist, fudgy crumbs attached, not wet batter.
- Let the brownies cool completely in the pan on a wire rack before lifting them out using the parchment overhang. Cut into squares.
Notes
- For the best crackly top, ensure your sugar is fully dissolved into the warm butter and eggs before adding the dry ingredients.
- Cooling the brownies completely before cutting prevents them from falling apart and improves the texture.
- If you are planning your week and looking for simple desserts, this one-bowl recipe fits well into any meal planning schedule.
Nutrition
- Serving Size: 1 square
- Calories: 250
- Sugar: 25
- Sodium: 80
- Fat: 15
- Saturated Fat: 9
- Unsaturated Fat: 6
- Trans Fat: 0
- Carbohydrates: 28
- Fiber: 1
- Protein: 3
- Cholesterol: 60