

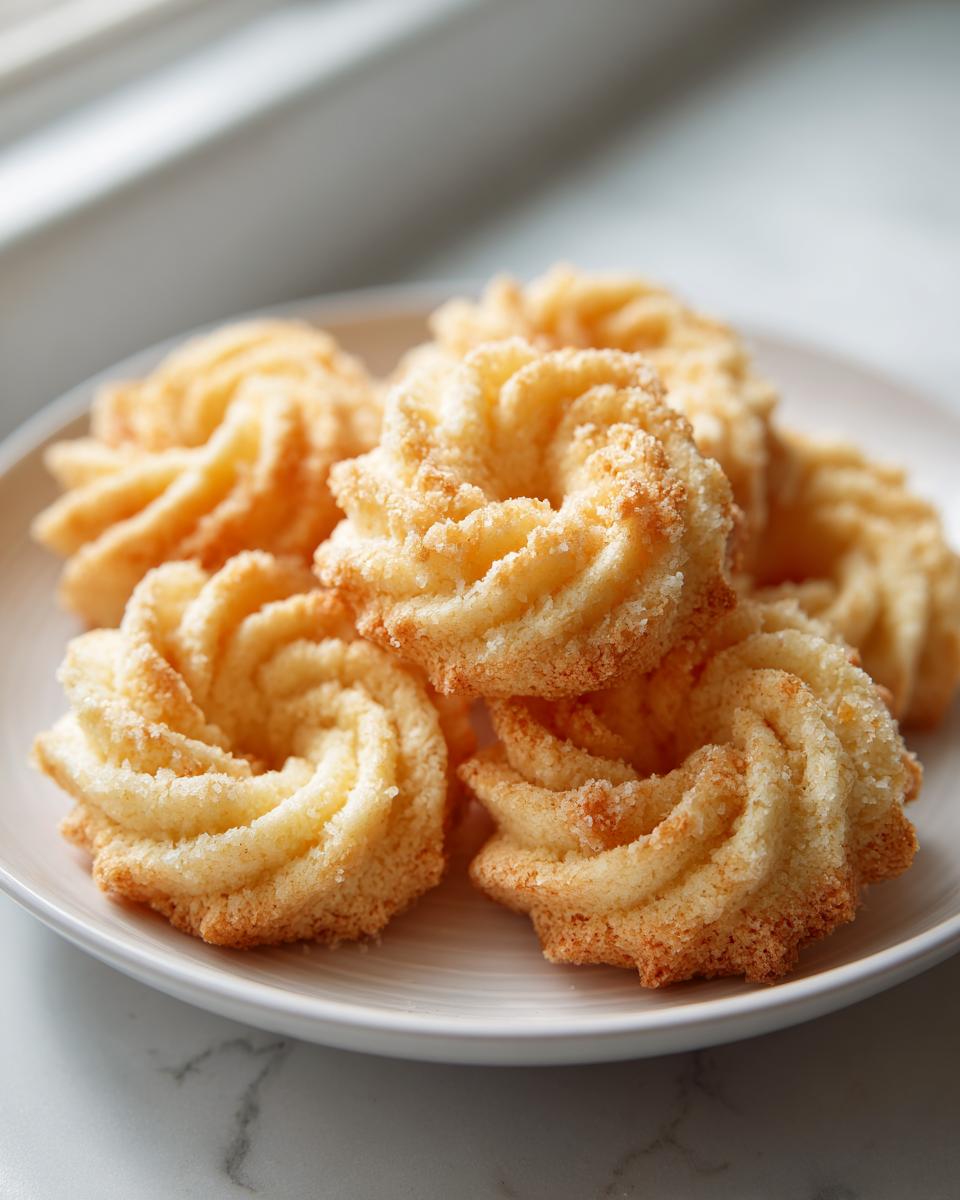
Isn’t there just something magical about those classic cookies you find tucked away in a fancy tin? The kind that smell intensely of butter and promise pure, simple joy? I swear, that scent takes me right back to cozy afternoons with the family. Here at Bliss Batter, my mission, as Claire Sterling, is to make those nostalgic treats totally achievable for you at home. Today, we are diving deep into my take on the Authentic Melt-in-Your-Mouth Danish Butter Cookies. Forget the dry, crumbly versions—we are aiming for that perfect, tender texture that truly dissolves the second it hits your tongue. If you want to know more about my baking philosophy, feel free to check out my journey over on the About Page. Trust me, this foolproof recipe proves you don’t need complicated steps to achieve absolute buttery bliss!
- Why This is the Best Butter Cookie Recipe for Tender Texture
- Ingredients for Your Melt in Your Mouth Cookies
- How to Prepare Authentic Butter Cookie Dough
- Shaping Your Piped Butter Cookies
- Baking Instructions for Perfect Butter Cookie Edges
- Tips for Success with this Classic Butter Cookie Recipe
- Serving Suggestions for Tea Time Cookies
- Storage and Reheating Instructions for Butter Cookies
- Frequently Asked Questions About Butter Cookie Baking
Why This is the Best Butter Cookie Recipe for Tender Texture
If you’ve ever been disappointed by butter cookie recipes that end up hard or brittle, I hear you! That’s why I put so much effort into perfecting this version so you get those glorious melt in your mouth cookies every single time. The absolute core of getting that unbelievably tender texture cookies achieve lies in two things: the quality of your butter and your creaming technique. When you use good, high-quality, room-temperature butter and whip it properly, you are literally forcing air into the fat. That air creates steam pockets while baking, which keeps the final result delicate instead of dense. These treats definitely fit the bill for rich buttery desserts; they just scream indulgence!
I’ve learned that anything less than perfect butter leads to less than perfect results, so don’t skimp here! This might sound like a lot of fuss for a simple cookie, but trust me, the texture change is night and day. If you’re looking for chewy classics, check out my favorite oatmeal raisin recipe next, but for pure, melt-in-your-mouth tenderness, technique rules!
Achieving That Classic Danish Butter Cookies Flavor
For authentic Danish butter cookies, you really must use unsalted butter, and it has to be perfectly softened—not melted! Softened butter pairs with the granulated sugar to form that necessary fluffy base. The sugar crystals scrape against the soft butter as you cream them, which is exactly what you want for structure and sweetness. We avoid adding extra salt because we want that clean, pure butter taste to shine through, making them excellent tea time cookies.
Ingredients for Your Melt in Your Mouth Cookies
Okay, let’s look at what you need for these amazing butter cookie beauties. Since the recipe is so simple, every single ingredient has to pull its weight. Don’t worry; these are just standard pantry stables, but treating them right makes all the difference! This list is designed to give you those dreamy, classic results. For more inspiring sweet baking, you might want to check out my chai spice cookie recipe!
- 1 cup (2 sticks) unsalted butter, softened
- 3/4 cup granulated sugar
- 1 large egg yolk
- 1 teaspoon vanilla extract
- 2 1/2 cups all-purpose flour
- 1/4 teaspoon salt
- Optional: 1 tablespoon milk (if dough is too stiff)
Ingredient Notes and Substitutions for Perfect Butter Cookie Dough
Remember, we are aiming for tender texture cookies, so grab that high-quality butter and make sure it’s truly just softened—cool enough to press a finger into, but not greasy at all. That temperature is crucial for the creaming step! When measuring your flour, please, please use the scoop-and-level method. Spoon the flour lightly into your measuring cup and then level it off with a knife. Scooping directly from the bag compacts it way too much, and too much flour equals dry cookies, which we absolutely want to avoid!
If you absolutely must use salted butter, go ahead, but cut the salt in the recipe down to just a tiny pinch, because salted butter will change that pure, rich buttery dessert profile just slightly. We stick to vanilla extract here to keep that authentic taste, but a tiny splash of almond extract can add a lovely note if you love that flavor!
How to Prepare Authentic Butter Cookie Dough
Alright, now that we have our gorgeous ingredients right here on the counter, it’s time to get mixing! If you want those crackly edges and that soft, yielding center that makes these butter cookie beauties so famous, we have to treat Step 1 with the respect it deserves. Grab your electric mixer—though Grandma used a wooden spoon and a strong arm! You’re going to cream that softened butter and sugar together until it’s genuinely light, fluffy, and pale yellow. Don’t rush this part; this is where we are trapping all that heavenly air that guarantees you easy homemade cookies! I’ve shared a great tip for sweet rolls if you’re looking for another soft bake, don’t forget to check out my cinnamon monkey bread recipe!
Once you hit that perfect fluffy stage, beat in your single egg yolk and that splash of vanilla until everything is just mixed in. Remember to scrape down the bowl sides a couple of times so nothing hides from the whisk! Next, we introduce our flour and salt mixture slowly. This is where we switch gears and become very gentle with the dough.
Mixing Tips for Tender Texture Cookies
This is the most important warning I can give you for achieving that true melt in your mouth cookies experience: STOP MIXING as soon as the flour disappears! Seriously, stop the mixer. Why? Because when you add the flour, you start building gluten, and too much gluten means tough, chewy cookies—the opposite of what we want in a classic Danish treat. We’re aiming for the delicate crumb of classic shortbread cookies, not bread! You should just see a shaggy dough forming. If it seems completely impossible to mix, add that single optional tablespoon of milk, but stop immediately after incorporating it. We want just enough mix to bring it together, no more!
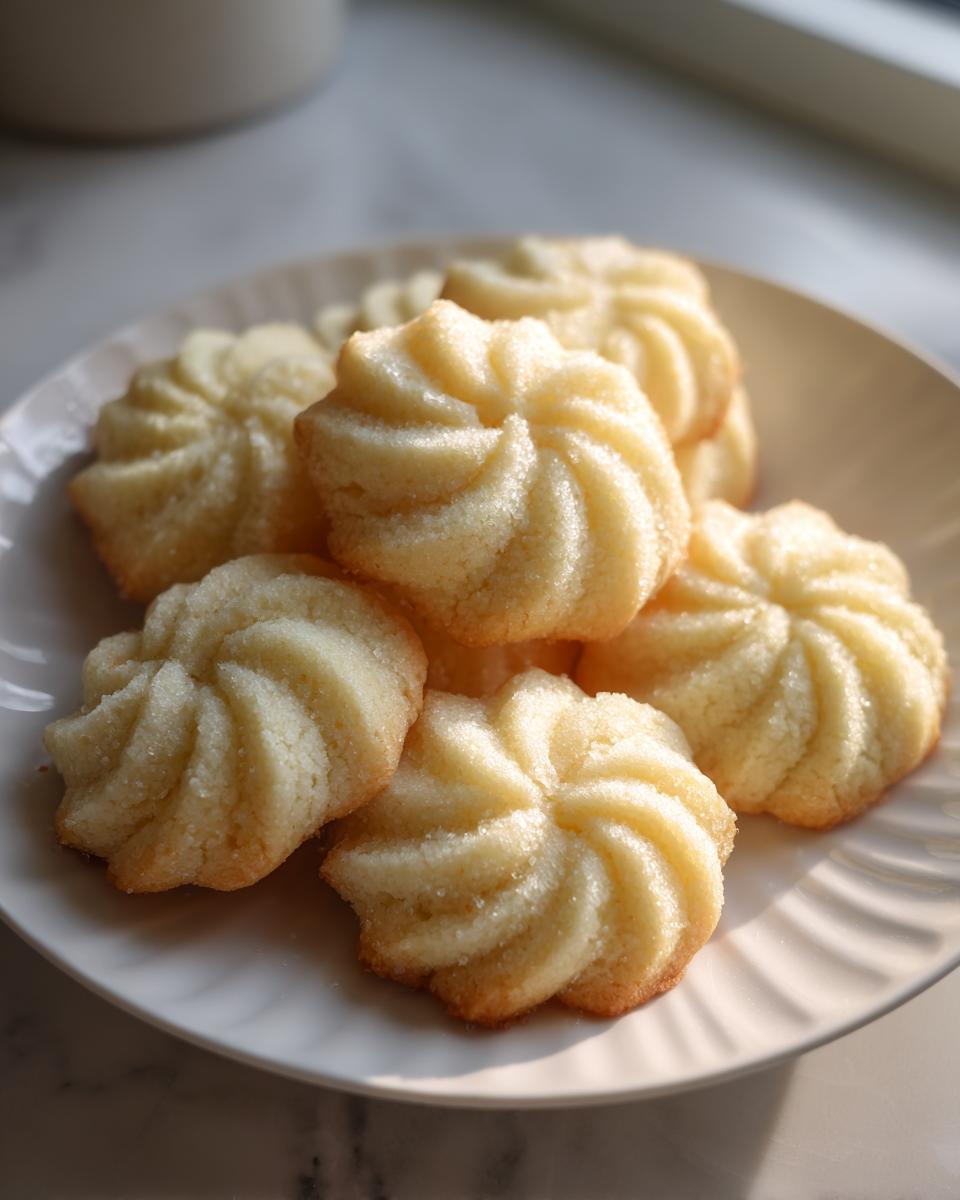
Shaping Your Piped Butter Cookies
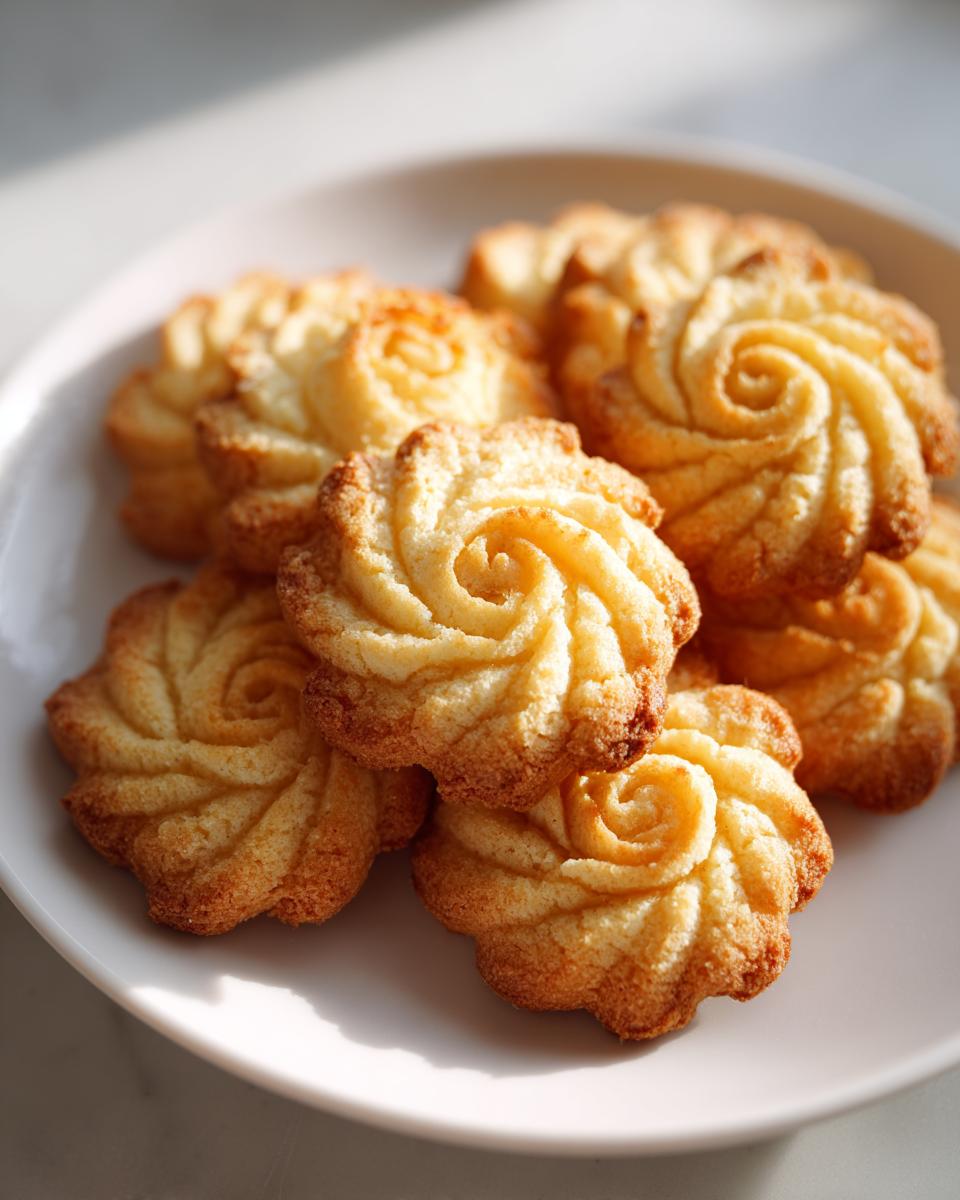
Now for the fun part where these butter cookie dough balls start looking like the ones in the fancy tins! You’re going to take your gorgeous, soft dough and carefully spoon it into a piping bag. I love using a large star tip, like a Wilton 1M—it makes those beautiful, ridged rosettes or delicate S-shapes perfectly. Just squeeze out your little stars onto parchment-lined baking sheets, leaving about an inch of space between each one. Don’t stress if you don’t have a piping bag, though! These are all about that buttery flavor, not presentation perfection. If piping feels like too much hassle, you can absolutely press this dough through a cookie press, or, for super easy homemade cookies, just roll little balls and press them gently with a fork, kind of like a classic peanut butter cookie style.
No matter how you shape them, the very next step is non-negotiable: Chilling! You must get these cookies into the refrigerator for at least 30 minutes. Believe me when I say those perfectly piped shapes will melt before they hit the oven if they are warm. Remember that chilling step is vital for preventing spread and keeping that signature look. If you need a savory counterpoint to all this sweetness, check out my recipe for easy homemade garlic butter!
Baking Instructions for Perfect Butter Cookie Edges
We’ve done all the hard work—creaming, mixing gently, and chilling—so now we just need to be patient while the oven does its magic! Preheat your oven to 350°F (175°C). Using a moderate temperature like this ensures the cookies bake through evenly before the edges brown too quickly. This moderate bake is what delivers that sweet spot between a crisp edge and that gorgeous, almost crumbly center that mimics the best classic shortbread cookies. If you love this kind of delicate bite, you should definitely check out my full shortbread cookies recipe!
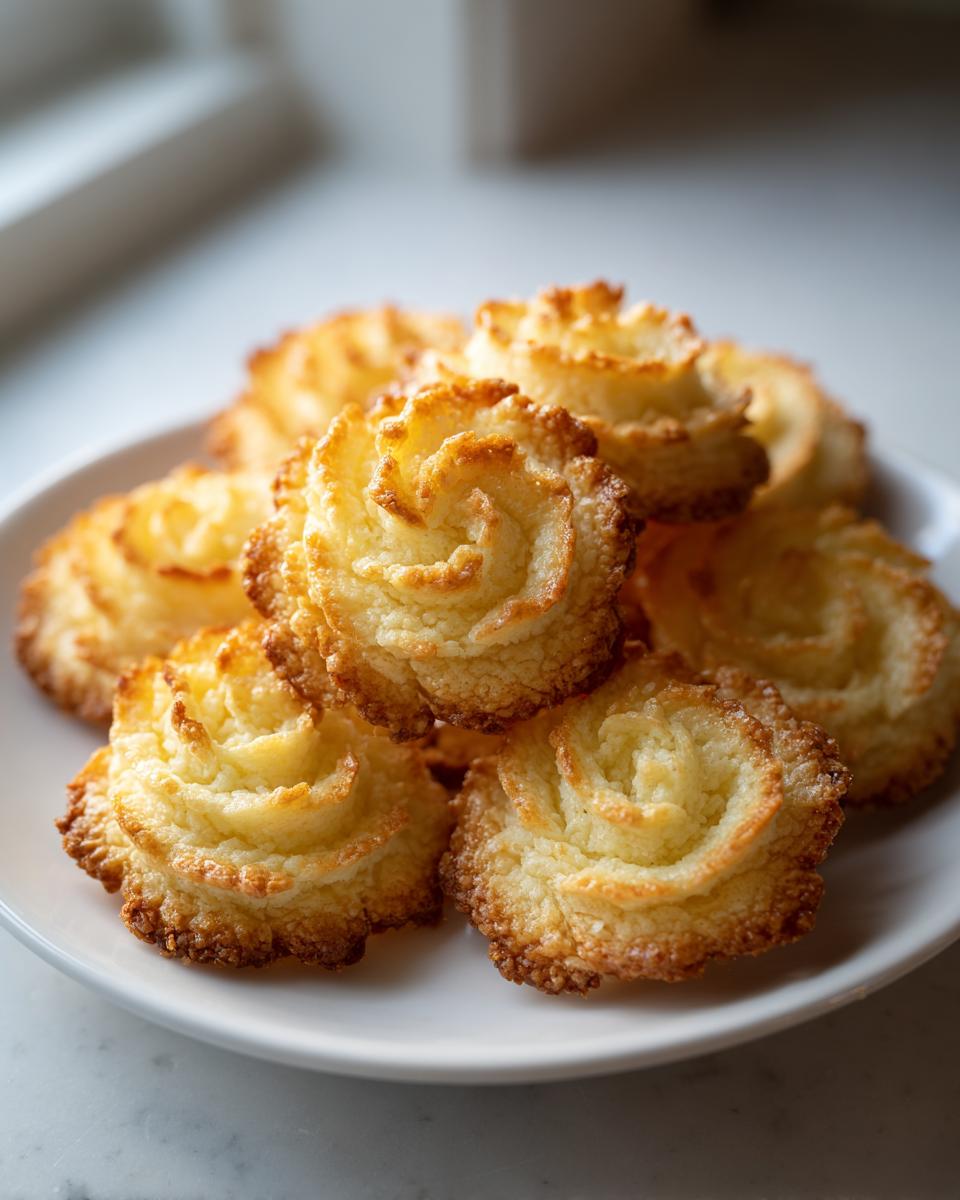
Pop those chilled trays in. You’re looking for the baking time to be around 10 to 12 minutes total. Now, here is my biggest tip for preventing burnt bottoms or pale tops: don’t just watch the clock! Watch the cookies themselves. You want the edges to look just faintly golden—I mean *lightly* golden, not dark brown! If you wait until they are deeply colored, they will be hard once cooled. When you see that faint ring of color, pull them out right away. They should still look quite pale on top. This little bit of visual tracking is the difference between a good butter cookie and a spectacular one!
Let them rest on that hot baking sheet for about five minutes after they come out. This allows them to firm up just enough so they don’t completely fall apart when you move them. Then, very gently, use a thin spatula to transfer them onto a wire rack to cool completely. I always sneak one while they are still warm; they are chewy then, but trust me, they crisp up perfectly as they cool off!
Tips for Success with this Classic Butter Cookie Recipe
I’ve baked batches of these butter cookie treats until my hands ached, and I promise you, knowing these little secrets prevents almost every common baking headache! If you want to nail that perfect Danish style—crisp edges melting into a delicate center—you need to memorize the soft butter rule. Your butter MUST be at room temperature; if you try to rush it in the microwave, it gets greasy, and your cookies will spread into thin puddles. We want the air trapped in the fat, remember? This is essential for any old fashioned cookies recipe where texture is everything.
The second non-negotiable step is the chilling time. Seriously, don’t try to skip it. Thirty minutes in the fridge firms up the high-butter dough just enough that the piped shapes hold their architecture through the initial heat of the oven. If you see them start to look soft while sitting on the counter waiting to go in, pop them back in for another quick 15 minutes! A wonderfully soft texture relies on controlled heat application. If you are looking for other simple bakes, you have to try my recipe for oatmeal lace cookies next time!
Serving Suggestions for Tea Time Cookies
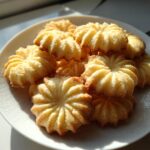
These glorious, rich buttery desserts are truly versatile, but they absolutely shine when they’re paired simply with a hot drink. They are the quiet stars of any afternoon get-together. If you’re hosting a full afternoon spread, these butter cookie rosettes look stunning arranged on a tiered platter—just like you see in those fancy bakery displays!
For a morning treat or an afternoon break, nothing beats dipping one of these delicate cookies into a mug of rich, strong coffee. If you’re making a whole coffee bar setup, you have to try my salted caramel latte recipe; the salty-sweet combo with these cookies is just heavenly.
And of course, they are essential for holiday cookie baking! Since they are so simple and elegant, they pair wonderfully with spiced drinks like mulled cider or, naturally, a delicate black tea. They truly are the perfect little bite for any occasion!
Storage and Reheating Instructions for Butter Cookies
These delicate butter cookie treats are so much better when completely cool. Since they are so rich in butter, they need a proper home to stay perfectly crisp on the edges and tender inside. The absolute best way to keep them fresh is to store them in a rigid, airtight container. I usually layer them between sheets of parchment paper so they don’t stick together, especially if you piped them high!
Honestly, they are best eaten within three to four days, but they usually hold up perfectly for a full week. Don’t put them in the fridge, though; that moisture will ruin that beautiful melt in your mouth cookies texture we worked so hard for! If you made a big batch for a party, you can even freeze them un-iced. They thaw beautifully right on the counter. If you want to warm them up slightly for that *just-baked* scent, pop them on a baking sheet for just two minutes at 300°F. They are fantastic with warm drinks like my apple cider cocktail!
Frequently Asked Questions About Butter Cookie Baking
It’s totally normal to have a few questions when you’re trying to perfect a classic recipe, especially one that relies so heavily on texture! I get asked the same things all the time from bakers trying to achieve that perfect classic look and feel. Here are the answers to the questions I hear most often about these butter cookie beauties. If you’re looking for something a little different next time, my apple pancakes recipe is always a crowd-pleaser!
Can I make these vanilla butter cookies dairy-free?
Oh, that’s a great question! Yes, you absolutely can adapt this recipe to be dairy-free, but I have to be honest—butter is the star flavor and structural component here. If you must go dairy-free, use a high-quality vegan butter stick replacement. Avoid tub margarines; they have too much water and will make your dough runny, destroying the piping potential and leading to flat cookies. You need that firmness the sticks provide. You might need to chill the dough a little longer than standard, but you can still get lovely easy homemade cookies this way!
What is the secret to the melt in your mouth cookies texture?
This is the million-dollar question! The secret isn’t really one thing; it’s the combination of careful steps that give you those tender texture cookies. First, you must cream that butter and sugar until it is truly light and fluffy—that creates the air. Second, you absolutely must not overmix the flour in! Overmixing develops gluten, which makes them tough, and that means you lose the magic melt factor. When the flour just barely comes together, you’ve done it right. It’s that gentle handling of the dough that makes the difference between a standard cookie and one of these classic Danish butter cookies that dissolves beautifully.
Why did my piped butter cookies spread out in the oven?
Ugh, this is so frustrating when you make beautiful rosettes only to have them look like thin puddles! Usually, it means one of two things happened. Either your butter wasn’t cold enough when you started mixing, or you skipped the chilling step completely. If the dough is even slightly warm when it hits the 350°F heat, the butter instantly melts out into the pan. Always chill that piped dough for a solid 30 minutes before baking, and if your kitchen is hot, even 40 minutes is better than a sad, flat cookie!
Can I flavor these with citrus zest instead of vanilla?
You totally can, and it makes for such a bright, wonderful dessert! Lemon or orange zest works amazingly well with the richness of the butter. If you want to try it, just add the zest of one full lemon or orange directly into the butter and sugar when you are creaming them together in Step 1. The oils in the zest infuse beautifully into the fat, giving you a lovely, bright alternative to the classic vanilla butter cookies flavor. Enjoy those zesty beauties!
PrintAuthentic Melt-in-Your-Mouth Danish Butter Cookies
Create classic Danish butter cookies that truly melt in your mouth. This simple recipe delivers rich, buttery flavor and a tender texture, perfect for tea time or holiday baking.
- Prep Time: 20 min
- Cook Time: 12 min
- Total Time: 52 min
- Yield: About 3 dozen cookies 1x
- Category: Dessert
- Method: Piping/Baking
- Cuisine: Danish
- Diet: Vegetarian
Ingredients
- 1 cup (2 sticks) unsalted butter, softened
- 3/4 cup granulated sugar
- 1 large egg yolk
- 1 teaspoon vanilla extract
- 2 1/2 cups all-purpose flour
- 1/4 teaspoon salt
- Optional: 1 tablespoon milk (if dough is too stiff)
Instructions
- In a large bowl, cream the softened butter and sugar together with an electric mixer until the mixture is light and fluffy. This step is key for a tender texture.
- Beat in the egg yolk and vanilla extract until just combined. Scrape down the sides of the bowl as needed.
- In a separate bowl, whisk together the flour and salt.
- Gradually add the dry ingredients to the wet ingredients, mixing on low speed until just combined. Do not overmix. If the dough seems too dry to pipe, add the optional tablespoon of milk.
- Transfer the dough to a piping bag fitted with a large star tip (like a Wilton 1M).
- Pipe small rosettes or S-shapes onto baking sheets lined with parchment paper. Leave about 1 inch between each cookie.
- Chill the piped cookies in the refrigerator for at least 30 minutes. This helps them hold their shape during baking.
- Preheat your oven to 350°F (175°C).
- Bake the chilled cookies for 10 to 12 minutes, or until the edges are lightly golden brown.
- Let the cookies cool on the baking sheet for 5 minutes before carefully transferring them to a wire rack to cool completely.
Notes
- For the best melt-in-your-mouth cookies, use high-quality, room-temperature butter.
- Do not skip the chilling step; it prevents the cookies from spreading too much.
- If you do not have a piping bag, you can press the dough through a cookie press or simply form small balls and flatten them slightly with a fork.
- These classic butter cookies store well in an airtight container for up to one week.
Nutrition
- Serving Size: 1 cookie
- Calories: 110
- Sugar: 6g
- Sodium: 35mg
- Fat: 7g
- Saturated Fat: 4g
- Unsaturated Fat: 3g
- Trans Fat: 0g
- Carbohydrates: 10g
- Fiber: 0g
- Protein: 1g
- Cholesterol: 25mg