
You know that feeling when you pull a loaf of bread out of the oven, and it’s so soft you swear it’s made of clouds? That incredible, doughy tenderness is what I chase every single time I bake. Forget those slightly dry, dense loaves you sometimes get when you try a new recipe. My absolute favorite thing to share is this secret for making the fluffiest condensed milk bread you will ever taste. It’s sweet, comforting, and uses one incredibly simple pantry staple to lock in that bakery-level softness. For me, baking like this—creating something pure and joyful out of just flour and water—is my best therapy, and I want you to experience that simple bliss too! If you also love rich, homemade yeast bakes, you have to check out my recipe for easy challah bread.
- Why This Sweetened Condensed Milk Bread is Your New Favorite
- Gathering Ingredients for Your Condensed Milk Bread
- Step-by-Step Instructions for Easy Bread Baking
- Tips for Success When Baking Sweet Milk Bread
- Making Sweet Breakfast Bread Variations
- Storing Your Soft Homemade Bread
- Frequently Asked Questions About Baking with Condensed Milk
- Estimating the Nutrition for This Condensed Milk Bread
- Share Your Homemade Sweet Buns Creations
Why This Sweetened Condensed Milk Bread is Your New Favorite
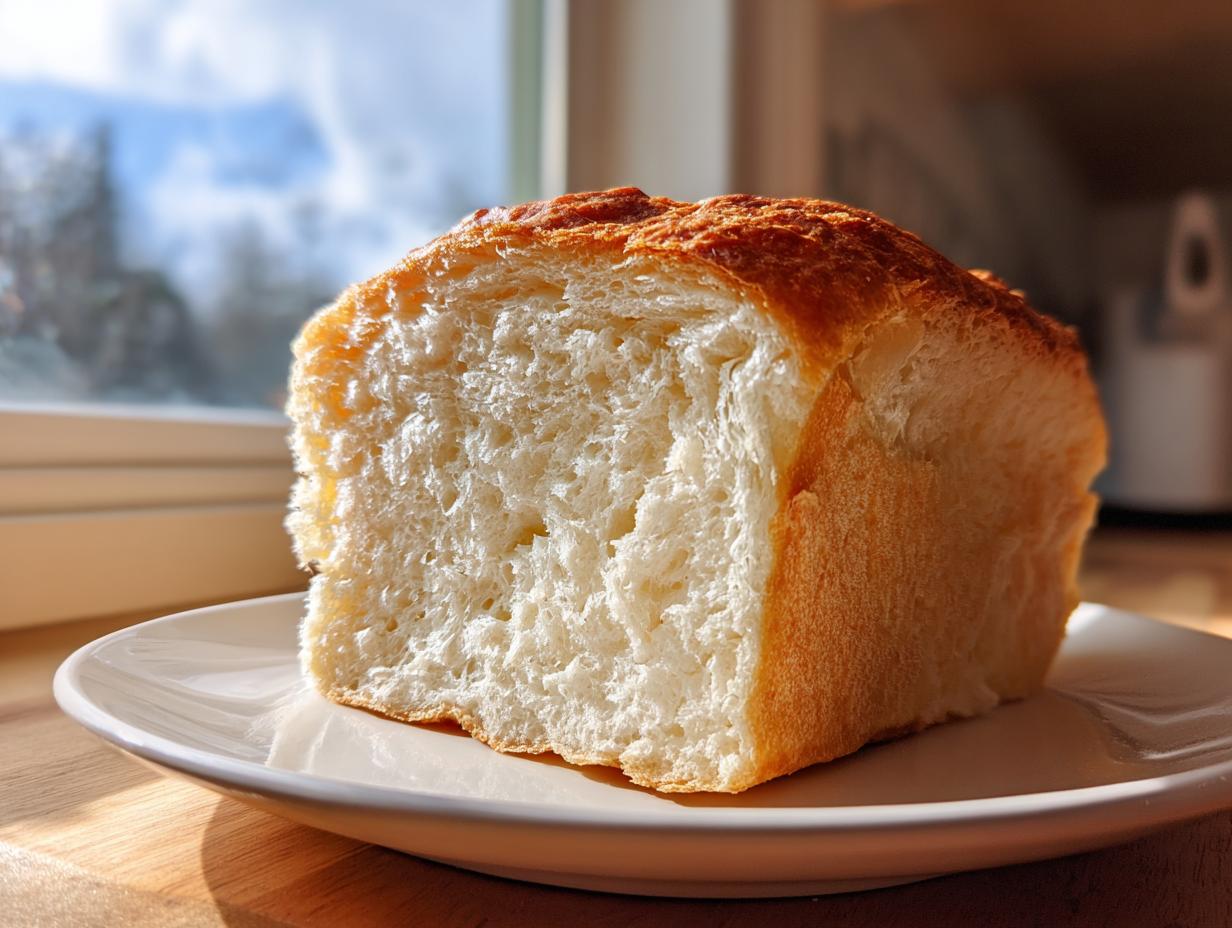
You are going to absolutely adore this loaf, and I mean *adore* it. It hits that perfect sweet spot—it’s sweet enough to be a treat but sturdy enough for sandwiches. Here’s why this condensed milk bread is going straight to the top of your favorites list:
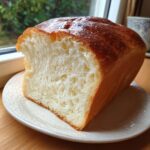
- It delivers a seriously soft texture that lasts for days.
- The consistency is incredibly fluffy—I’m talking airy interior goodness!
- It has just the right degree of sweetness, thanks to that magical can of milk.
If you love recipes that produce results like these perfectly soft biscuits, you’ll find this recipe just as rewarding! Check out my buttermilk biscuit recipe for another great beginner bake!
Achieving the Tender Crumb Bread Texture
It’s all about the science, friends! Sweetened condensed milk isn’t just sugar; it’s sugar suspended in concentrated dairy fat. When you add it to your dough, that extra fat and sugar work wonders, coating the flour proteins. This coating actively inhibits gluten development just enough to give you that famous melt-in-your-mouth, tender crumb bread without sacrificing structure.

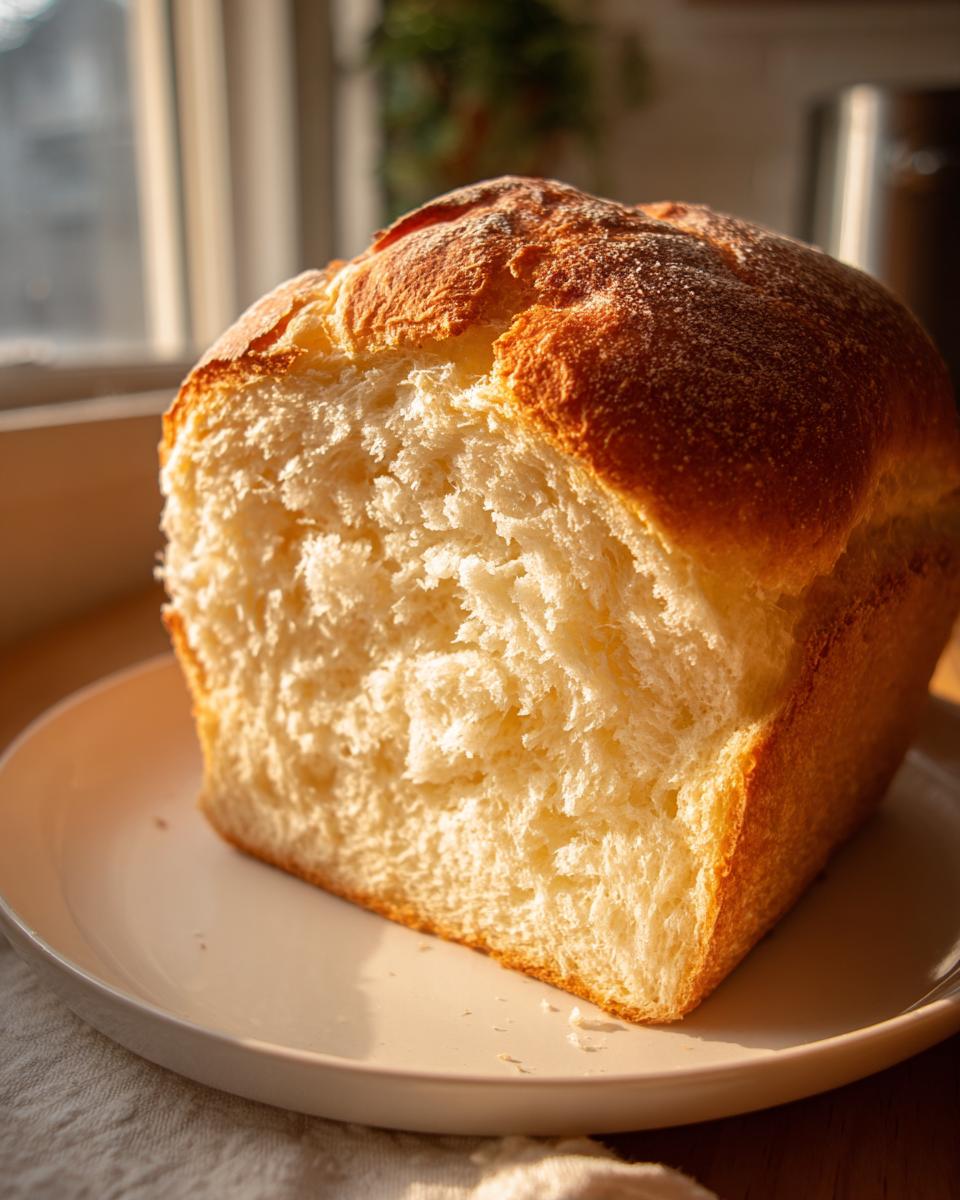
The Secret to Fluffy Bread Recipe Results
To get that amazing rise, you need to treat your dough right! We are going to knead this dough until it’s smooth as silk—don’t rush the 8 to 10 minutes! Then, the double-proofing is crucial for a truly Fluffy Bread Recipe result. The first rise builds flavor, and the second proof, right in the pan, sets you up for that cloud-like finish in your final condensed milk bread. Trust me, that second wait is worth it!
Gathering Ingredients for Your Condensed Milk Bread
Okay, this is where the magic starts, and I promise you, the ingredient list for this incredible condensed milk bread is so straightforward. You likely have most of this tucked away in your pantry already! The heavy lifter here, besides the flour and yeast, is that can of sweetened condensed milk—it does all the heavy lifting for flavor and softness!
For the wet components, make sure your milk is nice and warm, not hot, right around 110°F so the yeast wakes up happy. We need:
- 1 cup warm milk (about 110°F)
- 1/2 cup sweetened condensed milk (the star!)
- 1 large egg
- 1/4 cup unsalted butter, melted (don’t use brown butter here, just plain melted goodness!)
And for the dry side, keep it simple but precise:
- 3 1/2 cups all-purpose flour
- 2 1/4 teaspoons active dry yeast
- 1 teaspoon salt
- 1 tablespoon granulated sugar (This is optional, only add it if you want your loaf extra sweet!)
That’s it! It’s such an approachable list. If you ever need other simple bread recipes that rely on a few key ingredients, you simply have to try my buttermilk biscuits recipe next.
Step-by-Step Instructions for Easy Bread Baking
Now that we have our ingredients ready, let’s mix up this incredibly soft condensed milk bread. This is where the hands-on time comes in, but honestly, the kneading is super satisfying! This whole process is designed to be truly beginner-friendly, making it a superb Easy Bread Baking experience. Just remember the timing for the rises—that’s non-negotiable for fluffiness!
Mixing the Wet and Dry Components
First things first: activate that yeast! In the big bowl, whisk your warm milk (make sure it’s cozy, around 110°F, or the yeast won’t wake up!), the condensed milk, egg, and melted butter. In a separate bowl, whisk the flour, salt, and yeast together really well. We want the dry ingredients fully introduced before they meet the wet stuff.
Kneading and the First Proof of the Enriched Bread Dough
Slowly add the dry mixture into the wet mixture until it pulls together into a shaggy mass. Now, turn it out onto a clean counter and start kneading! You need to work this dough for a full 8 to 10 minutes. It should feel soft—really soft—and smooth when you’re done. Once it feels lovely and tight, pop it into an oiled bowl, cover it up, and let it rise in a warm spot for about an hour and a half until it’s doubled. This enriched bread dough needs that time to develop real character.
Shaping and the Second Proof for Tender Crumb Bread
Gently deflate the dough after the first rise; don’t punch it like a stress ball, just press the air out softly. Shape it into a neat little log and place it right into your greased 9×5 inch loaf pan. You’ll cover it again and let it do its second act for about 45 minutes to an hour. The magic moment is when the dough crests about an inch above the rim of the pan—that means you’ve set up perfectly for that wonderful Tender Crumb Bread texture in your final condensed milk bread!
Tips for Success When Baking Sweet Milk Bread
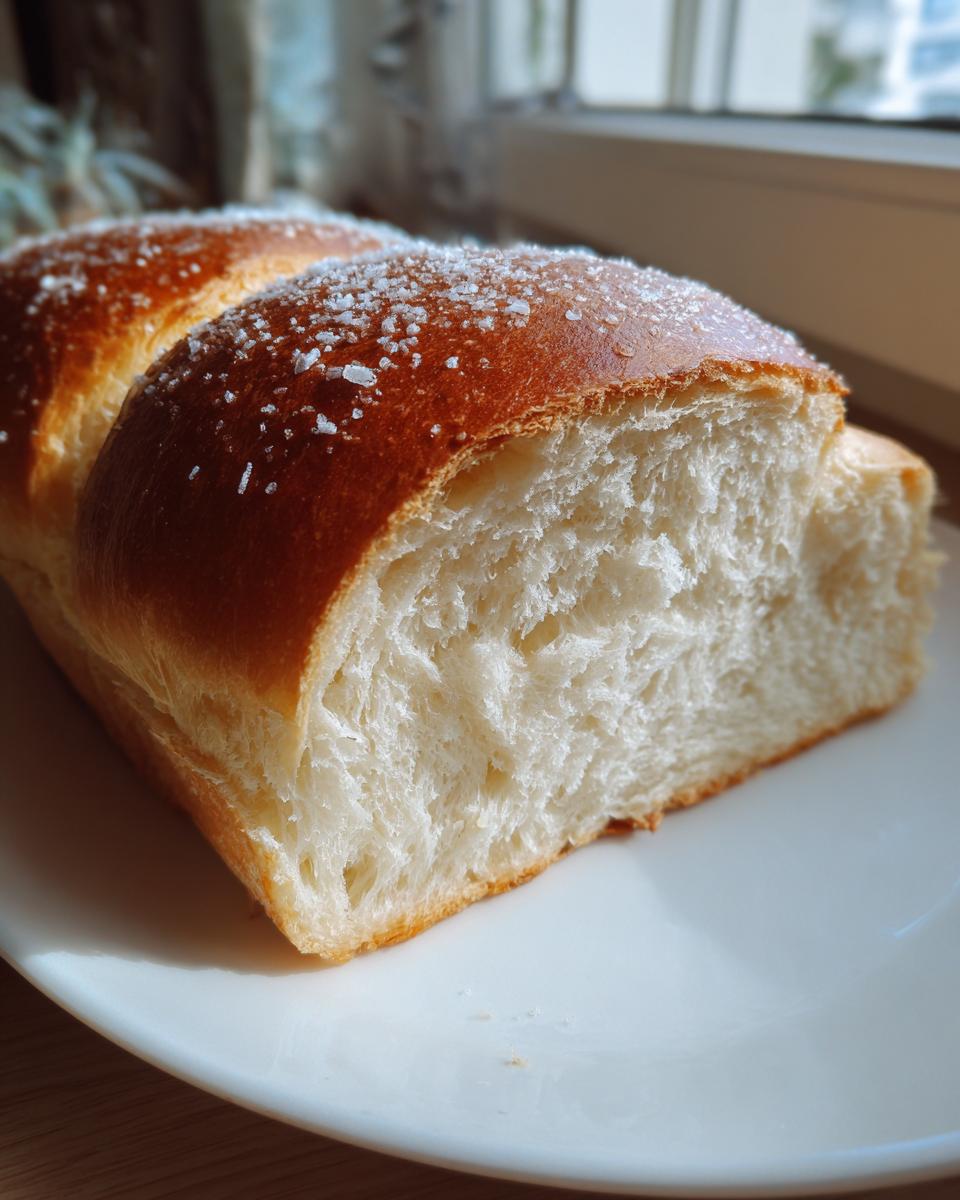
Now that you’ve mastered the dough, let’s talk about the bake itself! Baking this Sweet Milk Bread is where you really lock in that beautiful flavor and crust. My biggest tip, which I learned from watching my mom, is to let your oven preheat fully—like, *really* fully—about 20 minutes before you plan to pop the loaf in. We want that steady, reliable heat for the best possible rise in the oven!
When it comes out, that crust should be deeply golden brown, not pale. If you pull it out and you’re worried it’s not quite there, just brush the top lightly with a touch of melted butter right away. It gives it a gorgeous sheen and seals in moisture—it’s a great trick for amazing flavor! If you’re looking for another amazing, rich dough to try once you master this one, check out my easy challah bread recipe. For some inspiration on incredible soft loaves, check out what Amelia is doing over at her site too!
Making Sweet Breakfast Bread Variations
What I love most about this dough is how versatile it is! While I’m obsessed with the classic loaf shape for toast, don’t stop there. If you’re hosting brunch or just want something fun for the family, you can easily turn this into dinner rolls or Sweet Breakfast Bread buns. After you punch down the dough following the first rise, divide it into 12 equal pieces instead of shaping a loaf.
Roll those pieces into little balls and nestle them close together in a greased 9×13 inch pan. They’ll rise beautifully and bake up into these incredibly soft, pull-apart buns. They are just divine warm with a little honey! I even have a fun cinnamon monkey bread recipe if you want another sweet pull-apart idea.
The instructions for the rolls are slightly different during the second proof, so make sure you check my full detailed instructions above! Seeing those soft rolls puff up is just the best. You can see an example of how fluffy these rolls can get over at Yum Whisk!
Storing Your Soft Homemade Bread
Don’t let this beautiful texture fade away! When you bake this condensed milk bread, you’ll notice it stays soft way longer than bread made with just regular milk. That’s the magic of the condensed milk working hard! Once it’s completely cooled—and this is important, slice it too soon and you ruin the crumb—wrap the loaf tightly in plastic wrap or pop it into an airtight container.
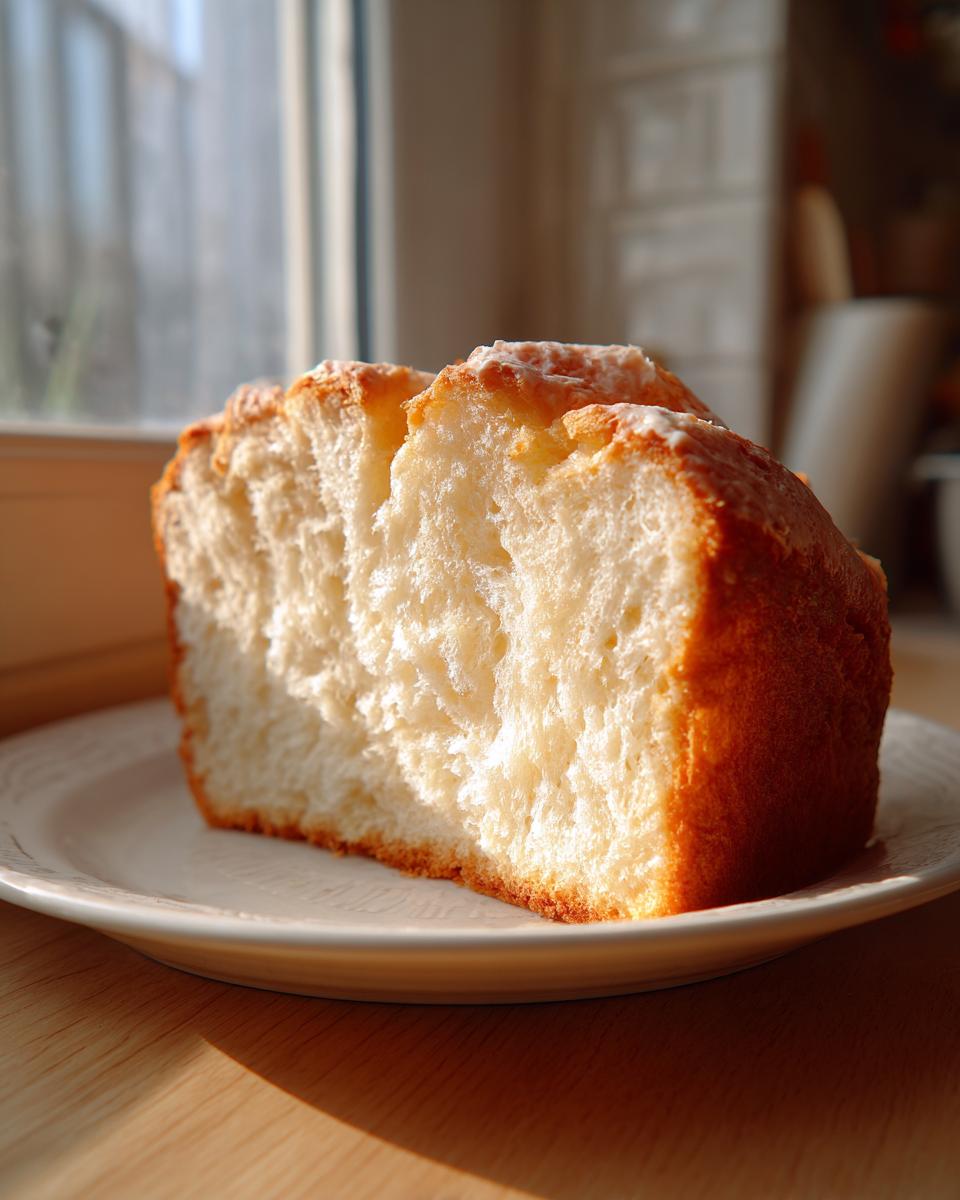
It should stay wonderfully fresh on the counter for three or four days. If you have leftovers after that, just slice it up and freeze it! When you want to enjoy it again, pop a slice right into the toaster. It’s almost as good as fresh baked, I promise! If you want tips for keeping my moist banana bread fresh, the wrapping technique is actually very similar!
Frequently Asked Questions About Baking with Condensed Milk
It’s totally normal to have questions when you try a recipe that uses a special ingredient for the first time! I’ve gathered some of the things people ask me most often about making this wonderful loaf. I hope this helps you feel super confident mixing up your own batch of sweet homemade bread!
Can I use evaporated milk instead of sweetened condensed milk?
Oh, please don’t swap those two out—they are not the same at all! Evaporated milk is just regular milk with most of the water removed; it’s not sweet. If you use that, your condensed milk bread won’t be sweet, and you’ll be missing out on the critical sugar and fat content that makes the crumb so incredibly soft!
What is the best way to ensure a Dairy Enriched Bread rises properly?
The key is yeast health and temperature control! Always make sure your milk is around that perfect 110°F, and never let the yeast sit in hot liquid—that kills it instantly. A warm, draft-free spot for both proofing stages is essential for any great Dairy Enriched Bread, but especially for this condensed milk bread. If your kitchen is chilly, try proofing the dough in the oven with just the light on!
If you’re looking for other cozy drinks to enjoy while you wait for your bread to rise, check out my salted caramel latte recipe! And if you want to see another fantastic recipe featuring this ingredient, have a peek at the wonderful write-up on Coupon Lena.
Estimating the Nutrition for This Condensed Milk Bread
Now, I always tell people that baking is about joy, not calorie counting! But because you asked for it, I’ve pulled together some general estimates for one slice of this lovely loaf. Please remember, since we all measure slightly differently and use varying brands, these numbers are just a ballpark idea of what you’re looking at per serving. It’s a delicious treat, so enjoy it knowing it’s made with love and simple ingredients!
- Serving Size: 1 slice
- Calories: 180
- Sugar: 8g
- Fat: 4g
- Protein: 5g
This richness definitely comes from the fat content in the butter and the condensed milk, but it’s well worth every single bite. Enjoy!
Share Your Homemade Sweet Buns Creations
I’m so eager to see what you bake up! Did you make the loaf, or did you end up with a pan full of those incredible Homemade Sweet Buns? Please come back, give this condensed milk bread recipe a star rating, and share photos below! I can’t wait to celebrate your fluffy success.
PrintThe Fluffiest Sweetened Condensed Milk Bread
Create incredibly soft, fluffy, and slightly sweet homemade bread using sweetened condensed milk. This easy recipe yields a tender crumb perfect for breakfast toast or a comforting snack.
- Prep Time: 20 min
- Cook Time: 35 min
- Total Time: 2 hours 5 minutes
- Yield: 1 loaf (about 12 slices) 1x
- Category: Bread
- Method: Baking
- Cuisine: American
- Diet: Vegetarian
Ingredients
- 1 cup warm milk (about 110°F)
- 1/2 cup sweetened condensed milk
- 1 large egg
- 1/4 cup unsalted butter, melted
- 3 1/2 cups all-purpose flour
- 2 1/4 teaspoons active dry yeast
- 1 teaspoon salt
- 1 tablespoon granulated sugar (optional, for a sweeter loaf)
Instructions
- In a large bowl, combine the warm milk, sweetened condensed milk, egg, and melted butter. Whisk until combined.
- In a separate bowl, whisk together the flour, yeast, and salt. If using, add the optional granulated sugar here.
- Gradually add the dry ingredients to the wet ingredients, mixing until a shaggy dough forms.
- Turn the dough out onto a lightly floured surface and knead for 8 to 10 minutes until the dough is smooth and elastic. The dough will feel soft.
- Lightly grease a large bowl with oil. Place the dough in the bowl, turning to coat. Cover the bowl with plastic wrap or a clean kitchen towel.
- Let the dough rise in a warm place for 1 to 1.5 hours, or until doubled in size. This is your first proof.
- Gently punch down the dough to release the air. Shape the dough into a loaf and place it into a greased 9×5 inch loaf pan.
- Cover the pan loosely and let the dough rise again in a warm spot for 45 to 60 minutes, or until the dough has crowned about 1 inch over the rim of the pan. This is your second proof.
- Preheat your oven to 350°F (175°C) about 20 minutes before the end of the second proof.
- Bake for 30 to 35 minutes, or until the top is golden brown and the internal temperature reaches 200°F (93°C).
- Remove the bread from the pan immediately and let it cool completely on a wire rack before slicing.
Notes
- For extra richness, brush the top of the loaf with a little melted butter immediately after it comes out of the oven.
- If you prefer soft rolls instead of a loaf, divide the dough into 12 equal pieces after the first punch down, shape into balls, and place them close together in a greased 9×13 inch baking dish before the second proof.
- Sweetened condensed milk provides moisture, so this bread stays fresh longer than standard white bread.
Nutrition
- Serving Size: 1 slice
- Calories: 180
- Sugar: 8
- Sodium: 190
- Fat: 4
- Saturated Fat: 2
- Unsaturated Fat: 2
- Trans Fat: 0
- Carbohydrates: 30
- Fiber: 1
- Protein: 5
- Cholesterol: 25