

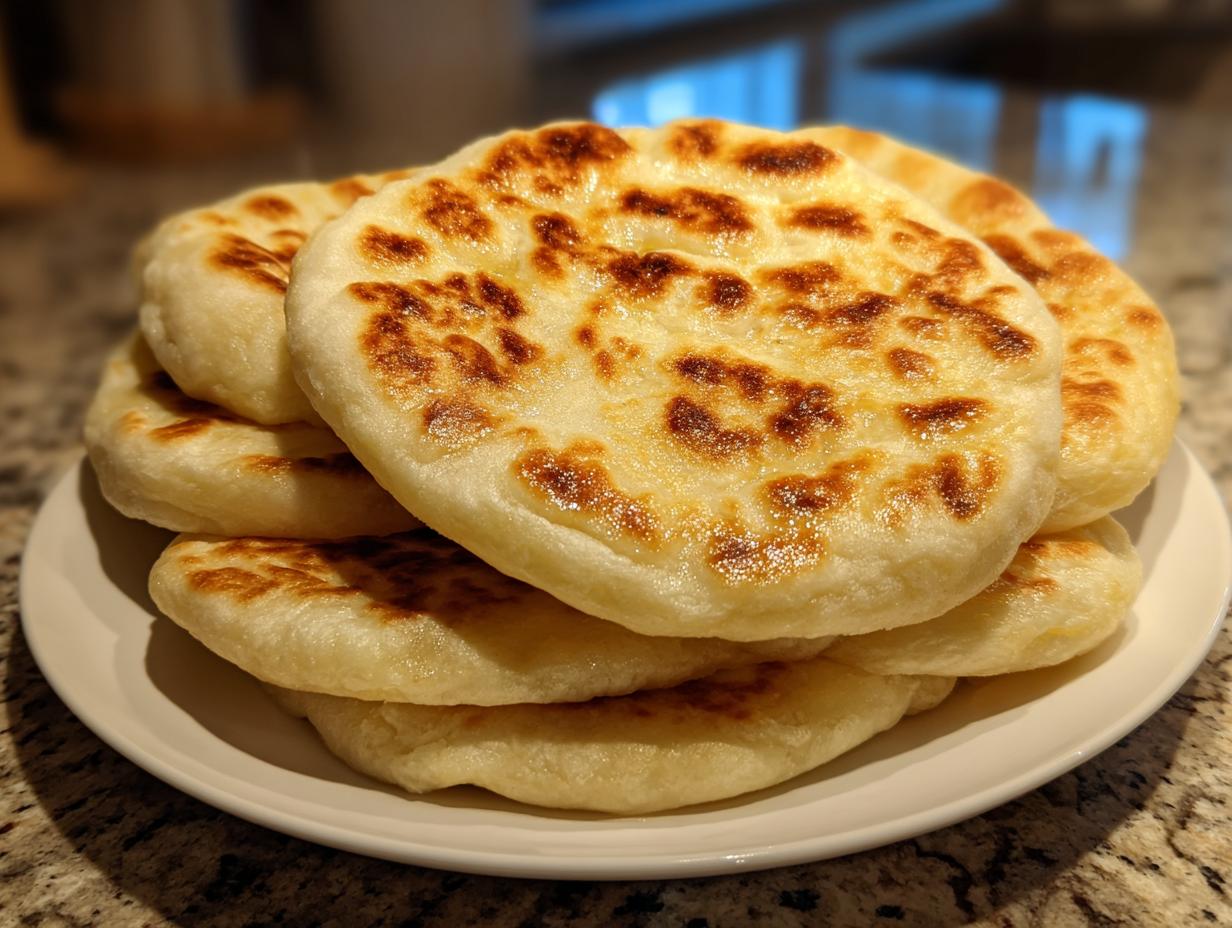
Oh, there’s just nothing that beats the smell of yeast waking up, is there? That warm, comforting aroma instantly tells you that good things are coming out of the oven. If you’ve ever been intimidated by making your own bread, stop right now. I’m sharing my absolute favorite, simplest recipe for homemade pita bread that is guaranteed to puff up beautifully. Seriously, it’s so accessible, and I tested this recipe until it was foolproof—you don’t need fancy equipment, just enthusiasm! I talk all about why I started Bliss Batter and my mission for accessible baking over on my About Page.
When I was working those crazy corporate jobs, the simple act of kneading dough was my therapy, my way to slow down. This recipe captures that feeling of homemade bliss. Forget the dry, sad store-bought versions; we are making soft, fluffy pockets today!
- Why This Homemade Pita Bread Recipe is Your New Favorite
- Gathering Ingredients for Soft Pita Bread
- Step-by-Step Instructions for Perfect Pita Bread
- Tips for Success When Making Pita Bread
- Serving Suggestions for Fresh Pita Bread
- Storage and Reheating Pita Bread
- Frequently Asked Questions About Homemade Pita Bread
- Estimated Nutritional Information for Pita Bread
- Share Your Homemade Pita Bread Creations
Why This Homemade Pita Bread Recipe is Your New Favorite
I know you have a million bread recipes bookmarked, but trust me, this pita bread is going to be the one you actually bake again and again. Why? Because it delivers maximum reward for minimal effort. Life is busy, so I designed this to fit right into your routine. Check out my favorite quick dinners that pair perfectly with fresh bread over here!
- It’s incredibly fast—you can have piping hot pitas ready in under two hours total!
- The texture is unmatched: truly soft, totally fluffy, and perfect for stuffing.
- You only need basic pantry staples. No specialty flours needed here!
Achieving the Perfect Pita Puff
That beautiful ballooning effect? That’s pure magic, but magic follows physics! The secret isn’t in the dough as much as it is in the heat of your cooking surface. Whether you use a blazing hot oven stone or a screaming hot cast-iron skillet, the dough needs to hit intense heat instantly. That shock turns the moisture inside the dough into steam, forcing your pita to swell into that perfect pocket. Don’t compromise on the temperature!
Gathering Ingredients for Soft Pita Bread
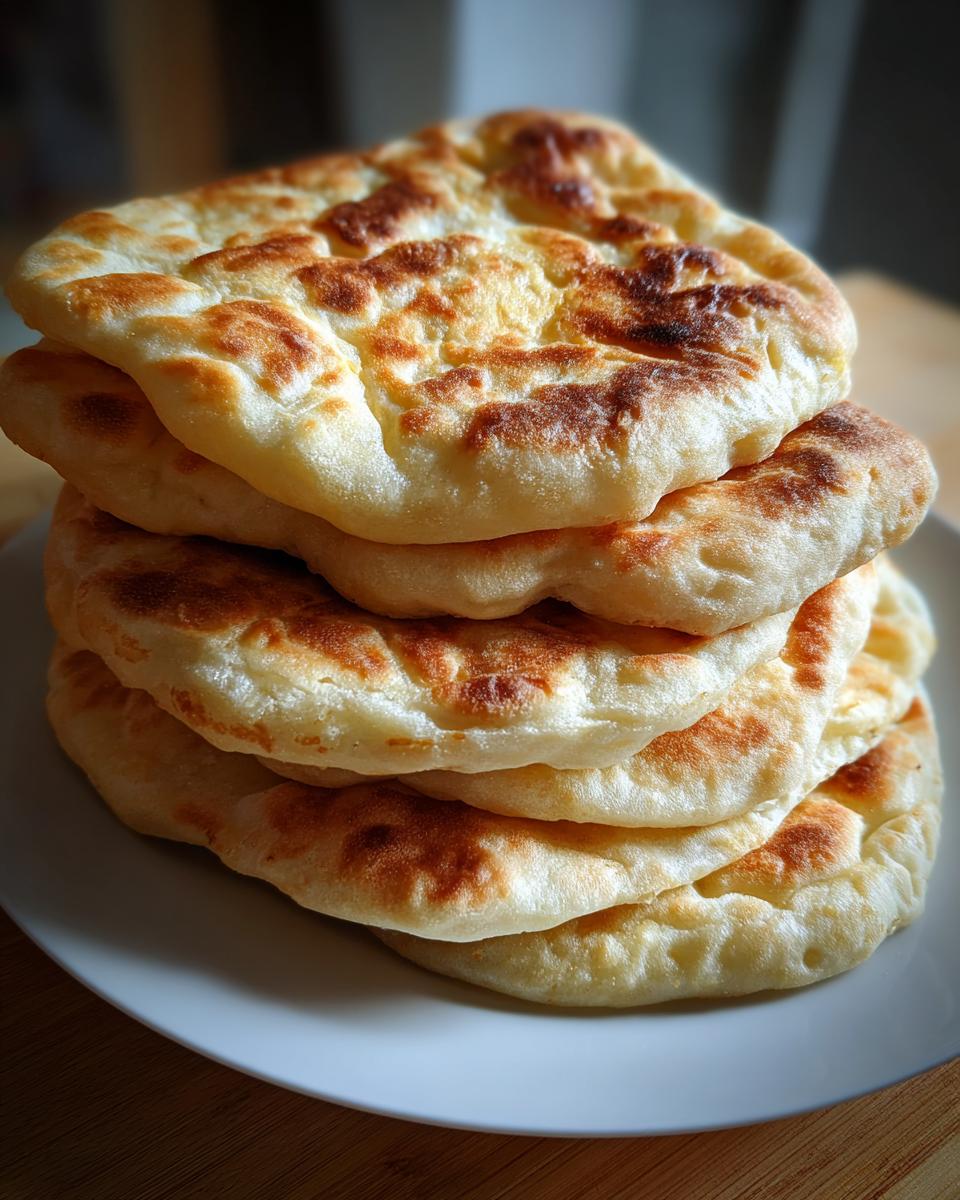
Okay, the ingredients list for this soft pita bread is wonderfully short, which is why I love it so much! We are sticking to the basics here. You’ll need just one teaspoon of active dry yeast, one teaspoon of sugar to wake it up, and one cup of warm water. Make sure that water is between 105 to 115 degrees Fahrenheit—too cool and the yeast sleeps, too hot and it dies. We mix in 2 1/2 to 3 cups of all-purpose flour, one teaspoon of salt, and two tablespoons of good olive oil.
Ingredient Notes and Substitutions for Pita Bread
The best part? This recipe is completely vegan straight out of the gate, so no need to fuss with egg washes or dairy alternatives! For the flour, I always recommend using standard all-purpose flour for the best structure and stretch, which is crucial for that puffy pocket. While some recipes try using bread flour, I found AP flour keeps the resulting pita bread softer. Don’t skimp on the olive oil; that little bit of fat really helps tenderize the dough beautifully.
Step-by-Step Instructions for Perfect Pita Bread
Alright, let’s get our hands messy! Making this dough is simple, but timing is everything, especially when it comes to waking up that yeast. Follow these steps closely, and I promise you’ll be amazed when these flatbreads turn into puffy pillows!
Activating the Yeast and Mixing the Pita Dough
First things first, take your yeast, your teaspoon of sugar, and that warm water, and mix them up in a little bowl. You need to let this sit peacefully for about five to ten minutes. I watch mine like a hawk; you’re waiting for it to get nice and foamy on top. That foam tells me the yeast is alive and ready to work! While you wait, whisk your flour and salt together in a bigger bowl. Once the yeast is happy and bubbly, pour that mixture right into the flour along with your olive oil. Just stir it until it looks like a shaggy mess—I mean, a shaggy dough! That’s exactly what we want at this stage.
Kneading and First Rise for Your Pita Bread
Now it’s time for the muscle work, but don’t overdo it! Turn that sticky dough out onto a surface you’ve dusted lightly with flour. Knead it with purpose for five to seven minutes until it feels smooth and springy. If it’s sticking everywhere, add a tablespoon of that extra flour, but seriously, try to keep it minimal. Once it feels right, tuck it into an oiled bowl, roll it around so it’s coated, and cover it up tight. Let it hang out somewhere warm for one to one-and-a-half hours. You’re looking for it to double in size—that’s how you know the gluten has relaxed and the air is building up for our amazing pita bread pockets.
Shaping and Cooking Your Homemade Pita Bread
Gently punch that air out, then divide the dough into eight equal pieces. Roll them into smooth little balls and let them rest for just ten minutes—this resting period is important so they roll out without fighting back! While they rest, crank your oven up to 475°F with a pizza stone or baking sheet inside, or get that cast-iron skillet ripping hot over medium-high heat. Take one dough ball and roll it out until it’s a 6 or 7-inch circle, no thicker than about 1/8 of an inch. If you’re baking, place one or two onto that screaming hot surface for only two to three minutes until it puffs up like a balloon! If you’re using the skillet, it’s about 30 seconds per side until it balloons. Quick removal is key. You can check out how I make rustic bread too, which shares some of that high-heat secret, over here.
Tips for Success When Making Pita Bread
Getting that huge, perfect puff, while mostly about heat, does have a few other little secrets I’ve learned over my many batches of pita bread. These small details are what move a good pita to a great pita! I always reference these steps when planning my baking days. If you’re organizing meals for the week, making a big batch of these easy flatbreads is fantastic for simplifying future cooking, giving you a reliable base for everything from quick sandwiches to packing lunches—it cuts down significantly on relying on things like meal delivery companies.
Here are the absolute non-negotiables:
- Heat is NOT Optional: Seriously, crank that oven up to 475°F, or get that skillet smoking hot. If your surface isn’t hot enough when the dough hits it, you get a flatbread, not a pocket. Patience while preheating pays off hugely here.
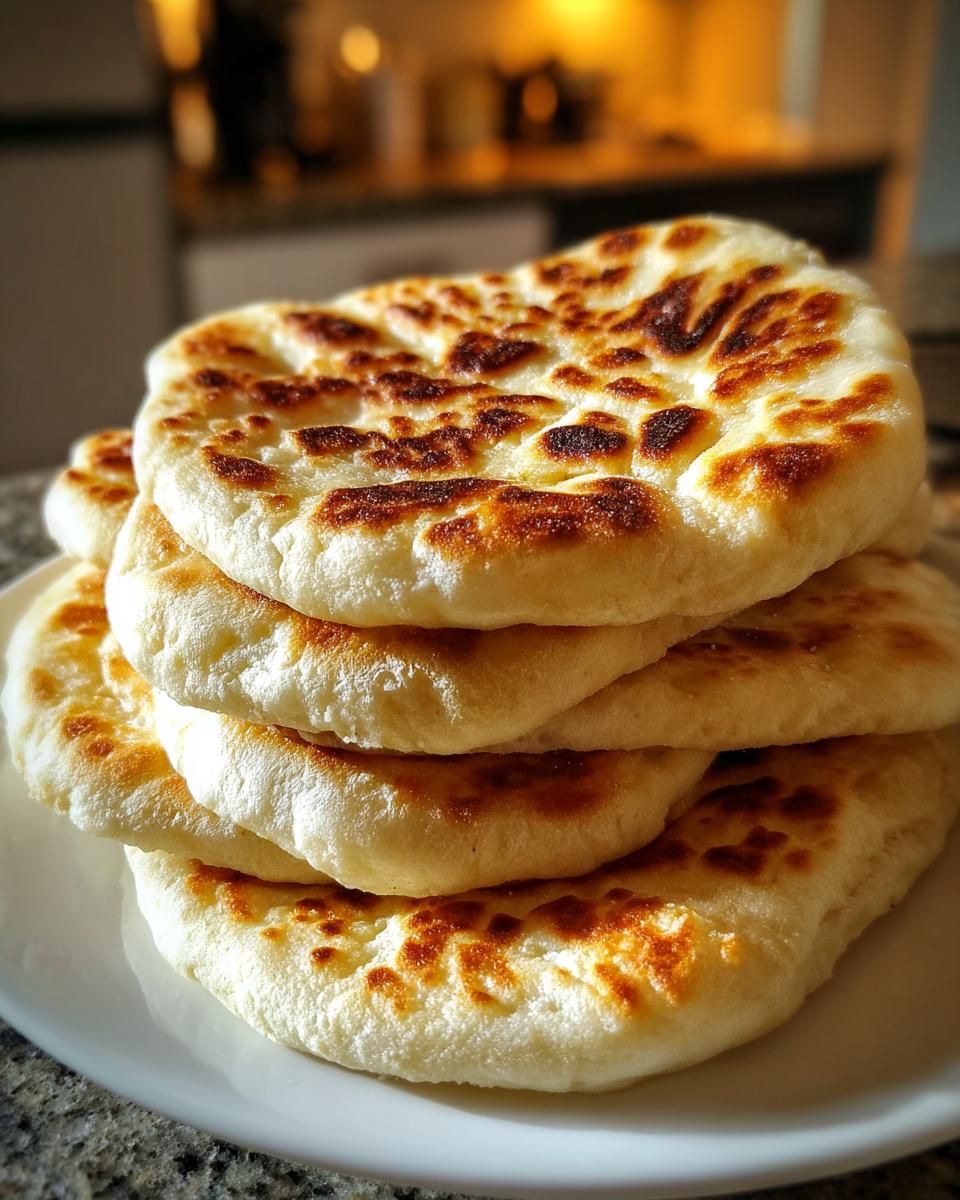
- Keep Them Covered: As soon as the pita comes off the heat, stack it immediately on a clean plate and cover the whole stack with a dry kitchen towel. This traps the residual steam inside, which is what keeps them soft and bendy, rather than crusty and stiff. This is key for making sure they are great for those holiday-side worthy meals!
- Don’t Over-Flour While Rolling: You need a little flour so the dough doesn’t stick, of course, but don’t go crazy dusting the surface. Too much extra flour gets baked into the dough and can actually inhibit the puffing action or give your finished pita an odd, dry texture. Aim for thin rolling, but keep the flour light.
If you want to see someone else’s amazing technique for getting that pocket, check out this great resource on achieving perfect homemade pita bread!
Serving Suggestions for Fresh Pita Bread
Now that you have these gorgeous, warm squares of fluffy pita bread, what on earth do you do with them? Stuffing them is classic—think homemade falafel or juicy grilled chicken! But honestly, I love warming them up and serving them alongside anything saucy. They are perfect for scooping up my creamy homemade queso dip; you can grab that recipe right here.
Don’t forget these make fantastic wraps! Because they are so soft, they don’t crack when you roll them tight. This versatility means you don’t have to stress about side dishes when planning meals for the week!
Storage and Reheating Pita Bread
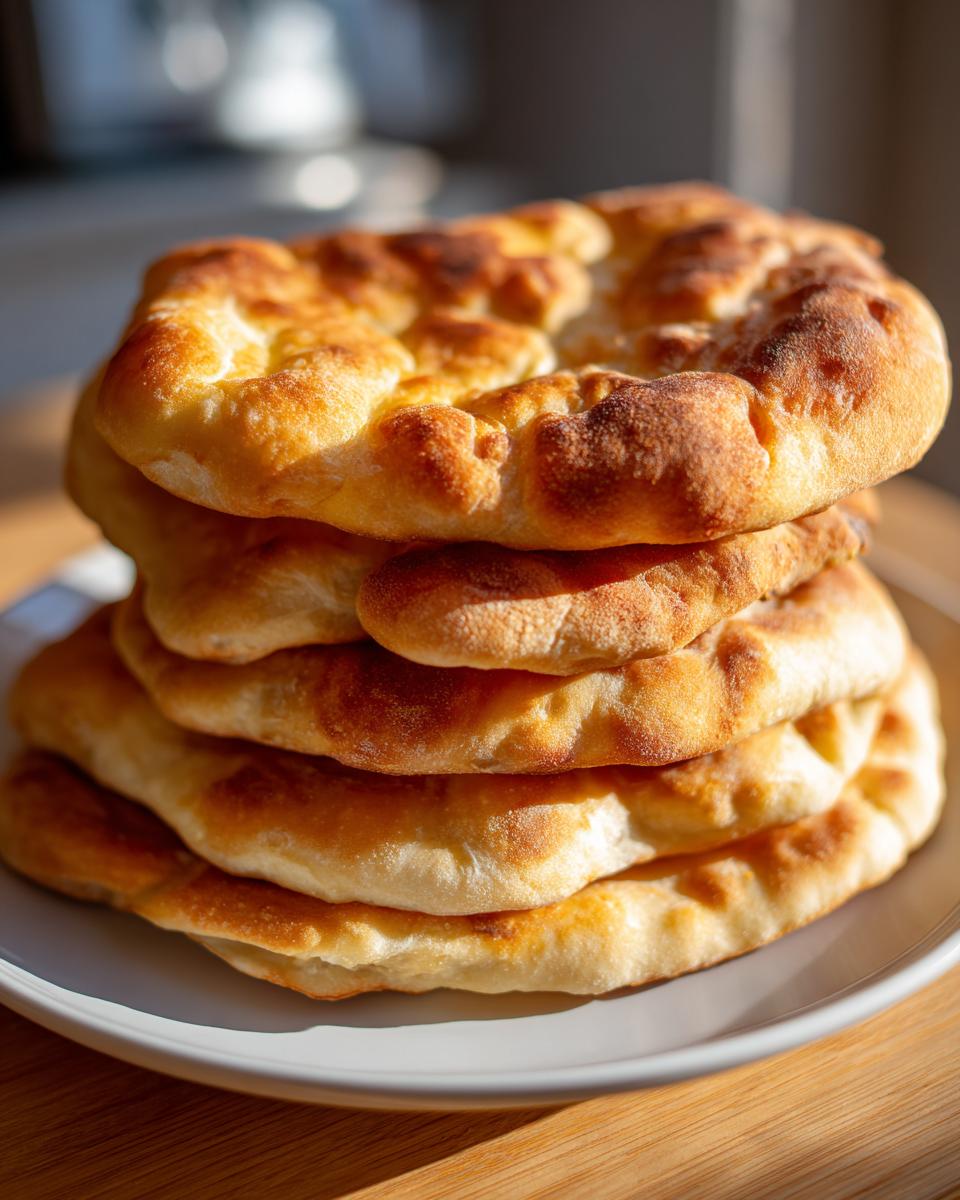
The absolute best way to enjoy this homemade pita bread is straight off the skillet or stone, nice and puffy, right? But let’s be real, you might have leftovers! The key to keeping them soft is trapping that steam we generated during cooking. As soon as they come off the heat—and I mean immediately—stack them up on a plate and wrap that whole stack snugly in a clean kitchen towel. This acts like a mini-sauna and prevents them from drying out.
At room temperature, wrapped up like that, they should stay wonderfully soft for two to three days. If you need them to last longer, you can totally freeze them! Lay them flat on a baking sheet, freeze them until solid, then transfer them to a freezer-safe bag. They last great for about a month.
Now for reheating, which brings back the puff! Microwaving them is fast, but sometimes they get a little gummy. If you’re reheating just one or two to eat right away, wet a paper towel just slightly, wrap the pita inside, and microwave for 10 to 15 seconds. That moisture helps them steam again. If you want that beautiful puff back, though, you have to use dry heat!
I highly recommend heating a dry cast-iron skillet over medium-high heat until it’s hot. Toss the pita in for maybe 20 seconds per side. It won’t inflate as dramatically as when it was first baked, but it will warm right through, become pliable, and taste so much closer to freshly baked. For more great tips on baking easy bread, you can check out this guide to easy pita bread recipes.
Frequently Asked Questions About Homemade Pita Bread
I know questions pop up once you start mixing dough! Don’t worry, I’ve got answers for the most common things readers ask me about this pita bread recipe. Trust me, once you see how easy this is, you’ll never look back!
Can I make this pita bread recipe without an oven?
Absolutely, yes! That’s the brilliant flexibility of this recipe. If you don’t want to heat up your oven—or if you just love the speed of the stovetop—the cast-iron skillet method works perfectly. Seriously, the skillet gets incredibly hot and that intense heat touching the dough is what creates the puff. It cooks super fast, maybe 30 seconds per side, and they balloon up just as wonderfully as the oven ones. So, if your oven is busy, the stovetop is your best friend for homemade pita bread!
Is this recipe suitable for meal planning?
Yes, it’s absolutely fantastic for meal planning! Because these are so easy to make in a batch and freeze well, they become your go-to staple bread for the week. You can whip up a dozen on Sunday, freeze most of them, and then pull out one or two whenever you need a base for a veggie wrap or a quick lunch. Having a reliable, soft flatbread on hand saves so much time later in the week! If you’re looking for other ways to simplify your weekly cooking, you might enjoy looking over my easy weeknight recipes, like my speedy pumpkin curry here.
Can I substitute the flour to make this a gluten-free pita?
Oh, that’s a tricky one! I haven’t personally tested a gluten-free flour blend for this specific recipe yet, and I always want to be honest about my testing process. The structure of this bread relies heavily on the gluten developing during the kneading, which is what traps the steam to create that pocket. With gluten-free flours, you often get a different texture, and the puff might not happen reliably. If you are looking specifically for a vegan pita that is gluten-free, you might need to search for a specialized recipe designed around GF flours, as substituting here can lead to just a flatbread.
How long does it take for the dough to rise?
The first rise is the longest part of the wait, but it’s important! You want to let that dough double in size, which usually takes between one to one-and-a-half hours, depending on how warm your kitchen is. Don’t rush it! Once you divide the dough into those eight balls, they just need a quick 10-minute rest before rolling them out. That second, short rest relaxes the dough so it rolls out thinly without snapping back at you.
Estimated Nutritional Information for Pita Bread
I always try to keep track of what we’re eating, even when it comes to homemade bread. It’s so much better knowing exactly what’s in your food, right? Since this recipe yields 8 lovely pitas, I calculated the estimates based on the full batch. Remember, these numbers are always just a starting point, especially since flour brands and measuring cups can differ slightly!
Here is a good rundown of what you can expect per serving (one pita):
- Calories: 180
- Fat: 3g (and less than one gram of that is saturated!)
- Sodium: 250mg
- Carbohydrates: 34g
- Protein: 5g
- Sugar: 1g (That sugar is mostly used for the yeast, not for sweetening the bread itself, which I love.)
Because we aren’t adding any cheese or meat to the base recipe, this amazing pita bread keeps the fat and cholesterol very low. It’s a truly clean, satisfying flatbread foundation for whatever amazing topping you choose to pile on it!
Share Your Homemade Pita Bread Creations
Whew! We made bread! I really hope you loved the process of making this simple, puffy pita bread as much as I love sharing it with you. Now comes the best part: enjoying the fruits of your labor with your family!
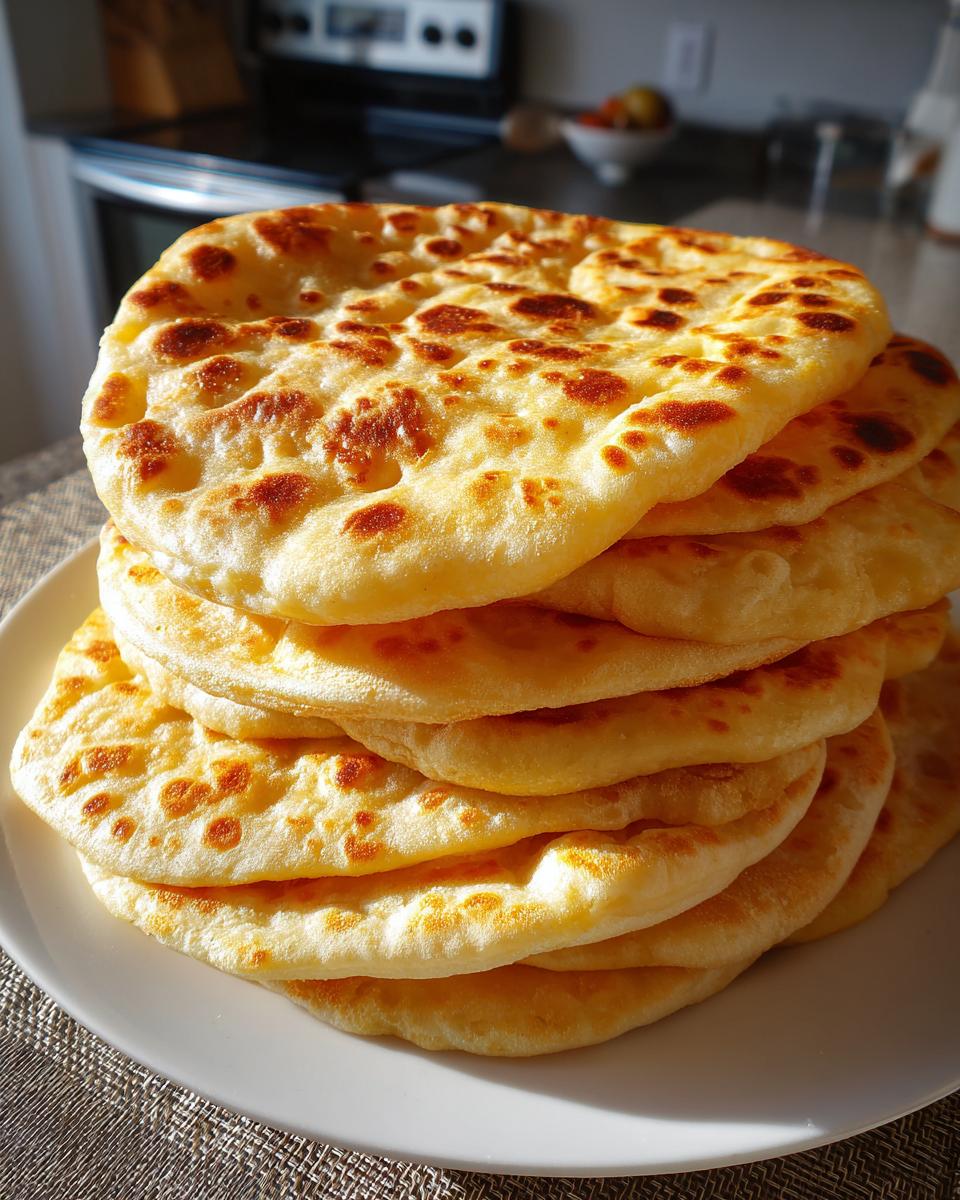
When you try this recipe, please, please come back here and leave a rating. Seeing those stars helps other bakers feel confident trying something new, and honestly, it makes my day to know I helped you create a little happiness in your kitchen. Did they puff? Did you manage to stuff them successfully? I want to know!
If you snap a picture of your perfectly pocketed pitas fresh off the heat, I’d adore seeing them! Tag me or send photos our way through the contact page. There’s nothing better for this whole ‘Bliss Batter’ mission than seeing you succeed. Happy eating, friends!
PrintEasy Homemade Pita Bread Recipe
Make soft, fluffy pita bread at home that puffs perfectly. This recipe uses simple ingredients and is ideal for wraps, dips, or stuffing.
- Prep Time: 20 min
- Cook Time: 15 min
- Total Time: 1 hour 45 min
- Yield: 8 pitas 1x
- Category: Bread
- Method: Baking/Skillet
- Cuisine: Middle Eastern
- Diet: Vegan
Ingredients
- 1 teaspoon active dry yeast
- 1 teaspoon sugar
- 1 cup warm water (about 105-115°F)
- 2 1/2 to 3 cups all-purpose flour, plus more for dusting
- 1 teaspoon salt
- 2 tablespoons olive oil
Instructions
- In a small bowl, dissolve the yeast and sugar in the warm water. Let it sit for 5 to 10 minutes until foamy.
- In a large bowl, whisk together 2 1/2 cups of flour and the salt.
- Pour the yeast mixture and the olive oil into the flour mixture. Mix until a shaggy dough forms.
- Turn the dough out onto a lightly floured surface. Knead for 5 to 7 minutes until the dough is smooth and elastic. Add more flour, one tablespoon at a time, if the dough is too sticky.
- Place the dough in a lightly oiled bowl, turning to coat. Cover the bowl with plastic wrap or a clean kitchen towel and let it rise in a warm place for 1 to 1.5 hours, or until doubled in size.
- Gently punch down the dough and divide it into 8 equal pieces. Roll each piece into a smooth ball. Cover the balls and let them rest for 10 minutes.
- Preheat your oven to 475°F (245°C) with a pizza stone or baking sheet inside for at least 30 minutes. Alternatively, heat a cast-iron skillet over medium-high heat.
- Working with one ball at a time, roll it out on a lightly floured surface into a 6 to 7-inch circle, about 1/8 inch thick.
- If using the oven: Place 1 or 2 rounds directly onto the hot stone or baking sheet. Bake for 2 to 3 minutes until the pita puffs up.
- If using the skillet: Place one round in the hot, dry skillet. Cook for about 30 seconds per side until it begins to puff. Flip and cook the second side until fully puffed.
- Remove the pitas from the heat. Stack them on a plate and cover them with a clean towel to keep them warm and soft.
Notes
- For the best puff, make sure your oven or skillet is very hot before placing the dough inside.
- If you are planning your week’s meals, these pitas are a great alternative to standard bread for your meal planning.
- If you want a slightly different flavor, consider adding a pinch of garlic powder to the dry ingredients.
Nutrition
- Serving Size: 1 pita
- Calories: 180
- Sugar: 1
- Sodium: 250
- Fat: 3
- Saturated Fat: 0.5
- Unsaturated Fat: 2.5
- Trans Fat: 0
- Carbohydrates: 34
- Fiber: 2
- Protein: 5
- Cholesterol: 0