

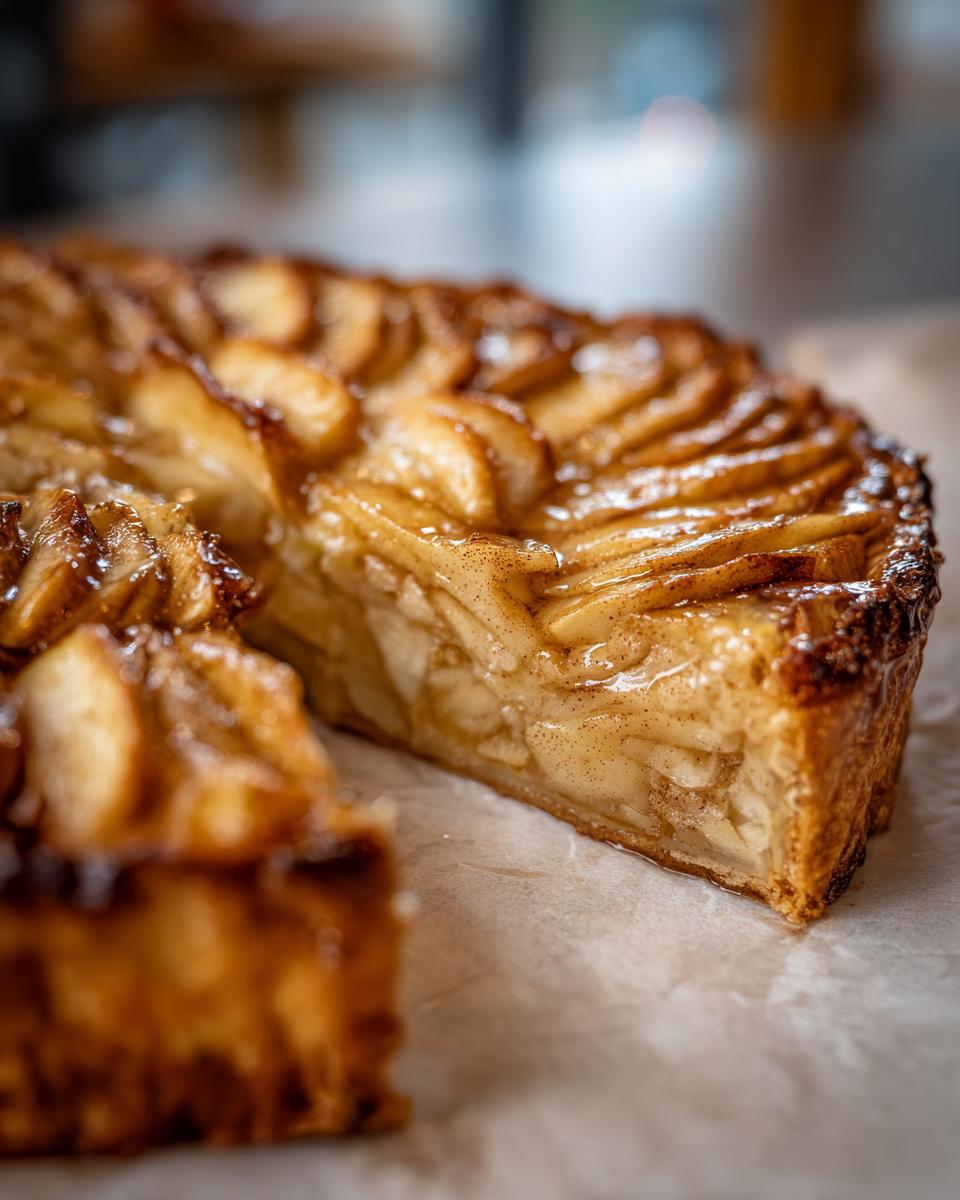
Oh, there is nothing quite like the smell of warm, butter-laced pastry drifting from your oven, right? That feeling of creating something beautiful from scratch is pure happiness for me. And guess what? You absolutely do not need years of pastry school training to make that happen! Today, we are diving into the definitive, easy-to-master **apple tart**. We’re talking about the gorgeous French classic, the Tarte aux Pommes. I spent ages getting this pastry just right—seriously, I tested that buttery crust countess times until I was 100% sure it would be perfectly flaky for you. Trust me, this simple apple dessert brings all the bliss without any of the fuss you might expect from something so elegant.
You can check out some of my other favorite glazed treats, like these easy apple fritter bites, while the dough chills later!
- Why This Classic French Apple Tart Recipe Delivers Bliss
- Ingredients Needed for Your Homemade Apple Tart
- Step-by-Step Instructions for the Best Apple Tart
- Expert Tips for a Foolproof Apple Tart
- Variations on the Traditional French Apple Tart
- Serving Suggestions for Your Perfect Apple Tart
- Storage and Reheating Instructions for Leftover Apple Tart
- Frequently Asked Questions About Making an Apple Tart
- Sharing Your Baking Success
Why This Classic French Apple Tart Recipe Delivers Bliss
I know you might look at pictures of a fancy French apple tart and think, ‘No way I can do that.’ But honestly, this recipe skips all the drama! When I developed this, I had three goals. I wanted it to taste exactly like the comforting fall dessert recipes I grew up with, but I also needed it to be super achievable.
- We guarantee a flaky crust tart, thanks to the cold butter technique—no more sad, soggy bottoms!
- Assembly is wonderfully simple; we embrace a rustic look, so perfection isn’t required.
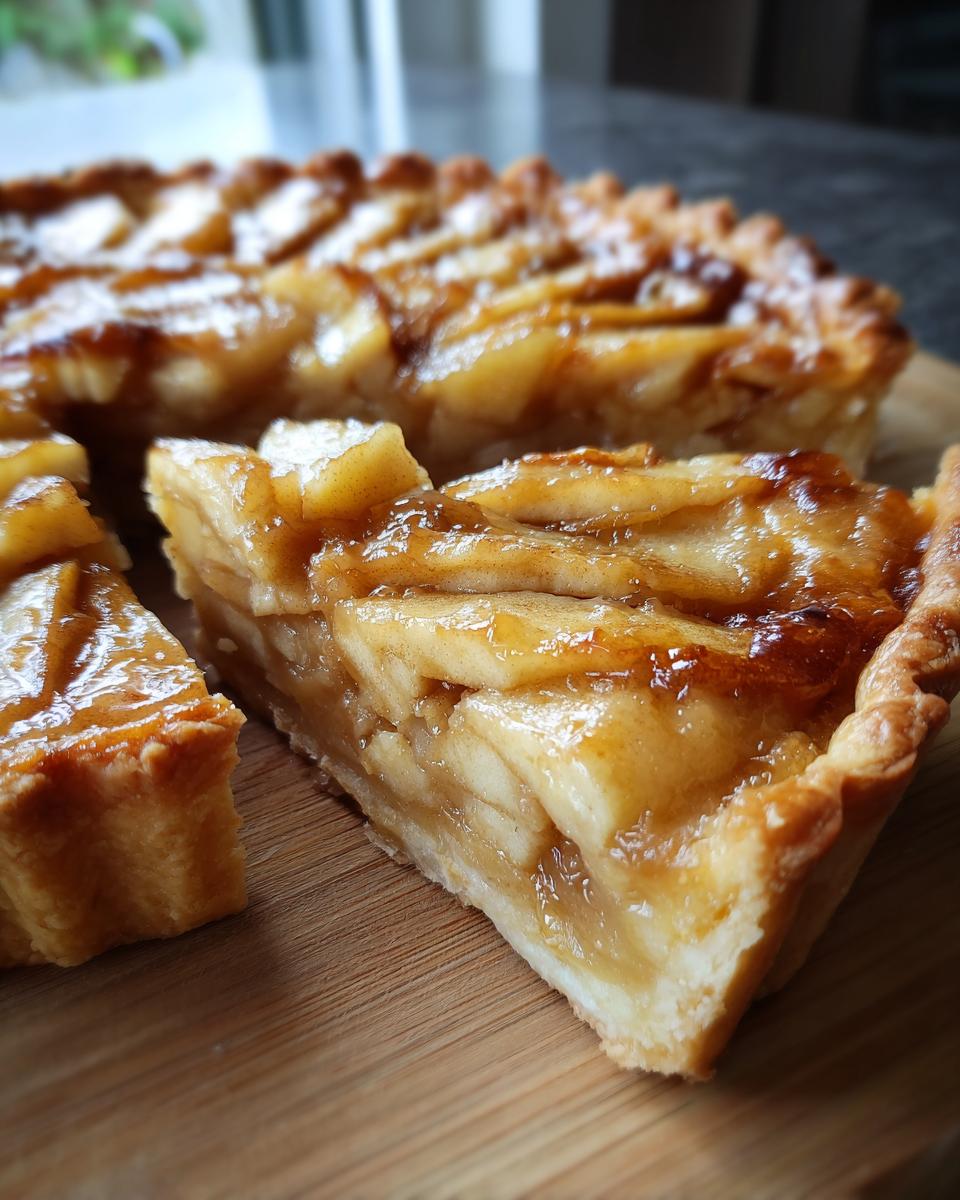
- The blend of cinnamon, lemon, and naturally sweet apples gives you that authentic, deep flavor that always impresses.
If you’re looking for another way to use up those gorgeous apples, you have to try my slow cooker apple butter recipe next!
Ingredients Needed for Your Homemade Apple Tart
Okay, let’s talk about what you need to bring this magic to life! The beauty of this apple tart recipe is how few ingredients it calls for. Seriously, most of this is probably already in your kitchen cabinets. But listen up, because the state of your butter is everything here for that perfect flaky crust tart texture we talked about.
We keep the dough simple so the apples really shine. Make sure your butter is properly chilled—I mean ice-cold! That’s the secret weapon that keeps the dough flaky rather than tough. And for the apples? You want something that holds its shape a bit but still softens nicely. I reach for Honeycrisp or Granny Smith, but honestly, whatever great baking apples you have on hand will work!
Here’s what you’ll need to gather up:
- 1 1/4 cups all-purpose flour
- 1/2 teaspoon salt
- 1/2 cup (1 stick) unsalted butter, cut into small cubes (Remember: Cold!)
- 3 to 4 tablespoons ice water
- 4 medium baking apples (like Honeycrisp or Granny Smith), peeled, cored, and thinly sliced
- 1/4 cup granulated sugar
- 1 tablespoon lemon juice (This keeps our apples bright!)
- 1 teaspoon ground cinnamon
- 2 tablespoons apricot jam or apple jelly, warmed (This is for that gorgeous glossy top!)
Once you have your ingredients assembled, hop over to see my favorite apple cinnamon oatmeal for a cozy breakfast idea!
Step-by-Step Instructions for the Best Apple Tart
Ready to see how this simple dessert comes together? This is where the magic really happens, and I swear, if you follow these steps exactly—especially concerning the cold butter—you are going to nail this apple tart recipe!
Making the Flaky Crust for Your Apple Tart
First things first, we need that gorgeous, flaky base. Grab your biggest bowl because we’re doing this by hand! Whisk your flour and salt together first. Now, it’s time for the cold butter cubes. You want to use either a pastry blender or just your fingertips to work that butter into the flour. Keep rubbing it in until the mix looks like coarse sand with some nice pea-sized chunks of butter still visible. Those chunks are crucial for flakiness! Next, drizzle in your ice water, a tablespoon at a time. Mix it just until the dough starts clinging together—stop mixing right there! Divide it into a disk, wrap it tight, and let it hang out in the fridge for a good 30 minutes. That chilling time makes all the difference, trust me.
Assembling the Rustic Apple Tart Filling
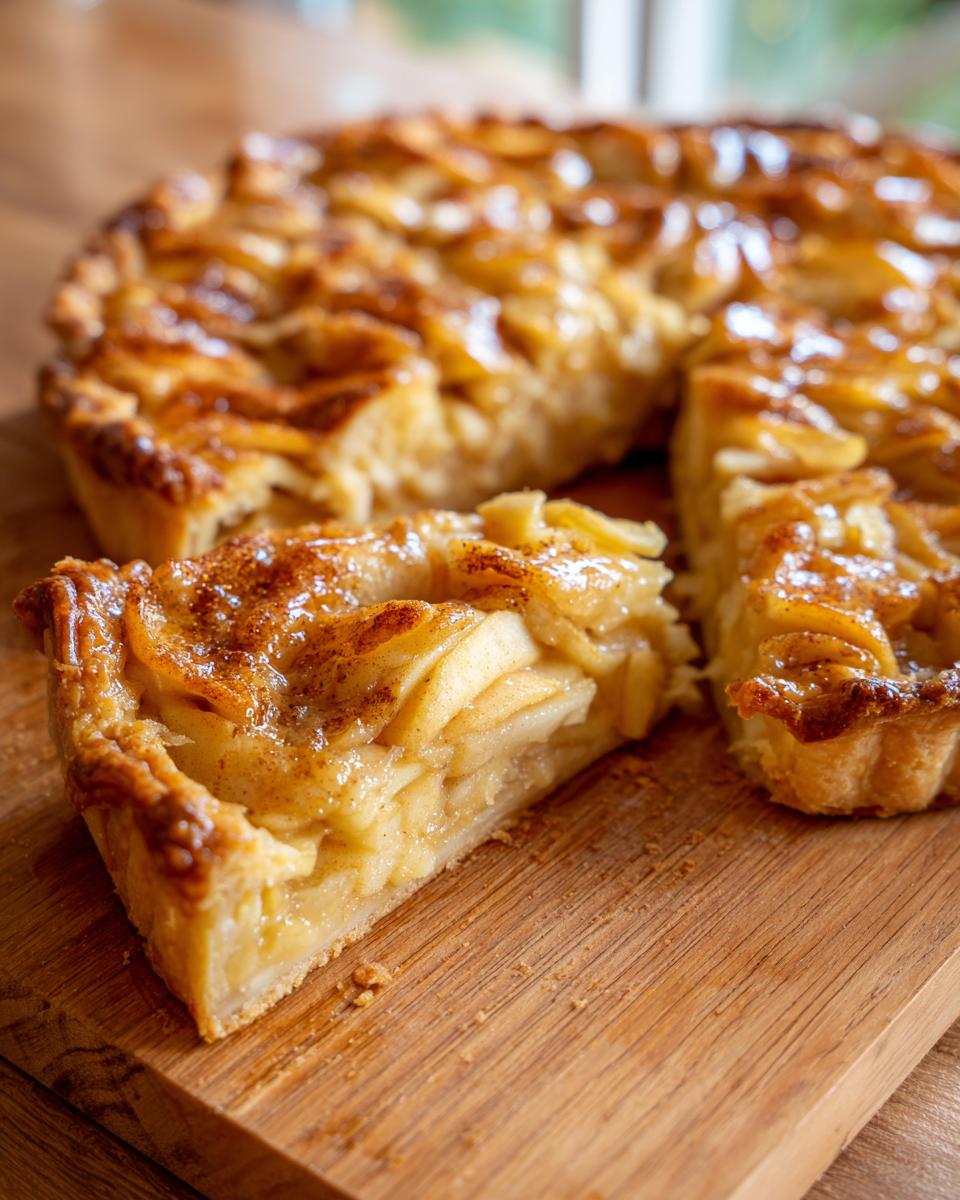
While the dough is chilling, go ahead and get your oven warmed up to 375 degrees Fahrenheit (190 Celsius). Line a baking sheet with parchment paper—this is non-negotiable for easy cleanup later! Once your dough is chilled, flour your surface lightly and roll it out into a rough 12-inch circle. You don’t need perfect edges; remember, we’re aiming for a rustic apple tart! Now, in a separate bowl, toss those thin apple slices with the sugar, cinnamon, and lemon juice until they are nicely coated. Arrange those apples beautifully over the dough, leaving about an inch and a half border all the way around. To make that border, just fold the edges up and over the apples. It doesn’t have to be neat; that folded-over edge is what makes it look so wonderfully homemade!
Baking and Glazing Your Classic Apple Pastry
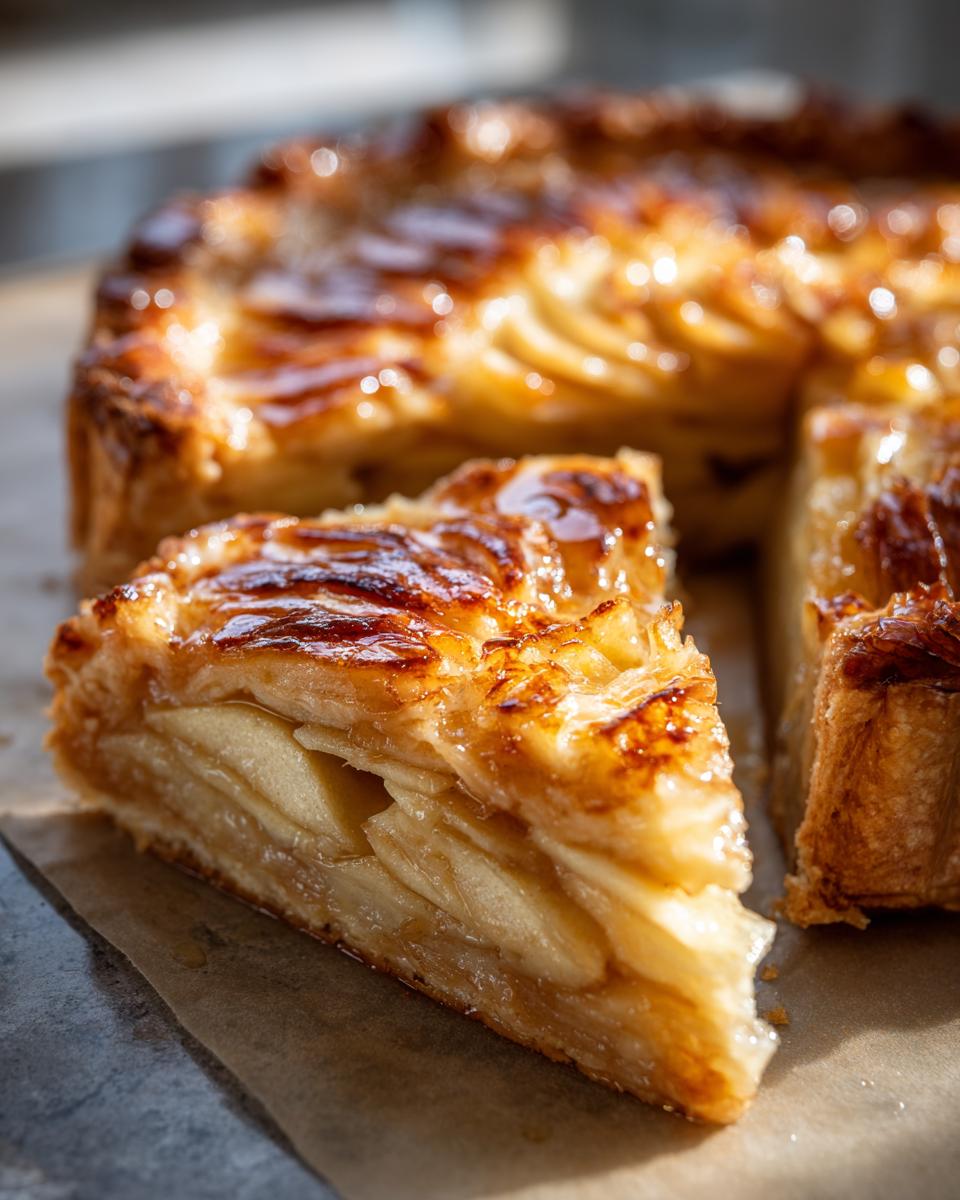
Pop that beautiful creation into the preheated oven. You’ll bake this lovely classic apple pastry for about 35 to 45 minutes. You’re looking for the crust to deepen to a perfect golden brown, and the apples should look soft and tender when you poke them gently. While it’s still warm—this is important—grab your apricot jam or jelly and warm it up just a touch so it’s runny. Then, gently brush the warm glaze right over the top of the apples. It gives the whole thing the most beautiful, professional shine! Let it cool down just a bit before slicing, or you might lose some of those precious juices.
If you need a quick baking fix right now, check out my recipe for 375°F apple fritters!
Expert Tips for a Foolproof Apple Tart
Even though this is designed to be an easy apple tart, there are just a couple of little tricks I learned after making about a hundred of these that ensure you get that bakery case quality right in your own kitchen. The biggest fear with any fruit tart is that dreaded soggy bottom, right? My absolute favorite trick for that is actually right there in the notes: blind baking! If you have time, pre-bake that crust by itself for about 10 minutes before you load it up with apples. It crisps up the pastry so beautifully!
Also, we talked about apples a bit, but let me stress this again: use apples that you know will hold up. Granny Smiths are fantastic because they give you that lovely tartness and stand firm, but if you want something sweeter for your homemade apple tart, Gala or Fuji are great substitutes. Don’t be shy about adding that lemon juice; it brightens up the flavor profile immensely.
And hey, if rolling dough sounds like too much effort this week, don’t stress! My promise is accessibility, so remember that store-bought puff pastry works like an absolute charm here, too. It’s still delicious!
Want a great way to use any leftover apples? You should look at my wonderful fluffy apple pancakes recipe!
Variations on the Traditional French Apple Tart
While I absolutely adore the classic, rustic assembly we just made, sometimes you need to switch things up, right? That’s the fun of baking—you can take a great foundation and build something completely new! If you are genuinely short on time, this recipe transforms beautifully into a puff pastry apple tart. Just grab a sheet of store-bought puff pastry, roll it out, and use the exact same apple mixture right in the middle. It bakes up faster, too, which is a win!
For those who like a little extra richness, you can easily turn this into a caramelized apple tart. Before you layer the apples, sauté them gently in a tablespoon of butter and a splash of vanilla until they just start to soften and caramelize slightly. Wow, the depth of flavor that adds!
Another favorite in my kitchen is turning it into an apple crumb tart. Just skip the folded crust border entirely and sprinkle a simple mixture of flour, brown sugar, and cold butter (cut it in until crumbly!) right over the top of the apples before baking. It gives it that wonderful texture contrast. You can find some inspiration for rich caramel flavors over at my county fair caramel apples post!
Serving Suggestions for Your Perfect Apple Tart
Now that you have this stunning, fragrant apple tart cooling, what should you serve it with? This is meant to feel comforting, especially when we talk about fall dessert recipes, so don’t overcomplicate the topping!
Honestly, a slice of this, still slightly warm, is heavenly on its own. But if you want that extra bit of bliss, you can’t go wrong with a scoop of good quality vanilla bean ice cream. The contrast between the warm, spiced apples and the cold creaminess is just perfection.
Alternatively, a big dollop of freshly whipped cream, maybe just barely sweetened, plays up the buttery crust beautifully. Or, if you’re making a big pot of coffee, you absolutely must try this tart alongside my salted caramel latte. It’s the dream team!
Storage and Reheating Instructions for Leftover Apple Tart
Don’t you just hate throwing away leftovers? Since this apple tart has so much wonderful fruit and butter, it lasts surprisingly well. If you have any leftover slices, keep them covered tightly at room temperature for up to a full day; the flavor deepens overnight, which I love! After that, I definitely recommend moving it to the fridge where it’ll keep beautifully for another three days. Never, *ever* try to reheat this in the microwave—it makes the crust soft and sad!
For the best results when reheating, just pop a slice directly onto a small baking sheet and warm it up in a 300-degree oven for about 8 to 10 minutes. That quick blast of dry heat gets that flaky crust back to life! Once you’ve had your fill, make sure you check out my recipe for slow cooker apple butter to use up any real leftovers!
Frequently Asked Questions About Making an Apple Tart
What are the absolute best apples to use for this apple tart?
That is such a great question! For the best texture in your **Tarte aux Pommes**, you want apples that hold their shape somewhat so they don’t turn into complete mush during baking. I always recommend Granny Smith because they give you that lovely tart bite that balances the pastry’s sweetness. However, Honeycrisp or even firm Gala work wonderfully too if you prefer a sweeter result in your **simple apple dessert**. Avoid super soft apples like Red Delicious—they just break down too easily!
I’m in a huge rush! Can I use store-bought dough?
Yes, please! If you are making this on a busy weeknight, I totally give you permission to use store-bought pastry dough. That’s the beauty of this accessible recipe. Just make sure you are using a good quality all-butter pie dough or puff pastry if you go that route. Handling the store-bought version just takes a little finesse when rolling it out, but it saves you at least 30 minutes of chilling time. It still turns out delicious!
Why does my homemade crust always turn out soggy on the bottom?
Oh, the dreaded soggy bottom! Trust me, I battled that for years before I figured out the foolproof technique. The main reasons are usually adding the apples before the butter is cold enough, or the dough not being chilled long enough. The pea-sized pieces of butter melt too fast, releasing steam directly into the crust instead of creating those beautiful flaky layers. Like I mentioned above, giving that dough a good 30-minute chill, or even blind baking it for 10 minutes, fixes almost every soggy crust issue!
How important is the apricot jam glaze?
It’s not strictly necessary, but I highly, highly recommend it for presentation! The glaze (made from any warmed jelly or jam) is what gives the **apple tart** that magazine-worthy shine. It seals the moisture in slightly and really makes those concentric apple slices just pop visually. If you skip it, maybe just dust it lightly with powdered sugar instead for a more rustic finish.
If you’re keen on learning more about techniques from the pros, check out this great article on rustic French apple tart styles!
Need a drink pairing? Try this easy apple cider cocktail!
Sharing Your Baking Success
Alright, my friend, you have successfully created your very own masterpiece! Seriously, making homemade pastry from scratch is something to be proud of. I would absolutely *love* to see your beautiful work. Did you arrange your apples in perfect concentric circles, or did you go full-on rustic and just pile them in?
When you get a moment, please come back and leave a rating for this apple tart recipe. It helps other bakers know they can trust these steps! And if you snap a picture, please tag me on social media so I can see your amazing creation. What was your favorite part—was it the smell while it baked, or that first glorious bite of buttery crust? Drop a comment below and tell me everything!
If you want to learn more about how we make all our recipes approachable here at Bliss Batter, take a peek at our About page!
PrintEasy Classic French Apple Tart (Tarte aux Pommes)

You can create this delicious French apple tart, or Tarte aux Pommes, using simple steps. This recipe focuses on a buttery, flaky crust and tender apples for a classic, impressive dessert.
- Prep Time: 25 min
- Cook Time: 45 min
- Total Time: 80 min
- Yield: 6 servings 1x
- Category: Dessert
- Method: Baking
- Cuisine: French
- Diet: Vegetarian
Ingredients
- 1 1/4 cups all-purpose flour
- 1/2 teaspoon salt
- 1/2 cup (1 stick) cold unsalted butter, cut into small cubes
- 3 to 4 tablespoons ice water
- 4 medium baking apples (like Honeycrisp or Granny Smith), peeled, cored, and thinly sliced
- 1/4 cup granulated sugar
- 1 tablespoon lemon juice
- 1 teaspoon ground cinnamon
- 2 tablespoons apricot jam or apple jelly, warmed (for glaze)
Instructions
- Prepare the crust: In a large bowl, whisk together the flour and salt. Cut in the cold butter using a pastry blender or your fingertips until the mixture resembles coarse crumbs with some pea-sized pieces of butter remaining.
- Add the ice water one tablespoon at a time, mixing until the dough just comes together. Do not overmix. Form the dough into a disk, wrap it in plastic wrap, and chill it in the refrigerator for at least 30 minutes.
- Preheat your oven to 375 degrees Fahrenheit (190 degrees Celsius). Line a baking sheet with parchment paper.
- On a lightly floured surface, roll out the chilled dough into a rough 12-inch circle. Carefully transfer the dough to the prepared baking sheet.
- In a separate bowl, gently toss the thinly sliced apples with the granulated sugar, lemon juice, and cinnamon until the apples are evenly coated.
- Arrange the apple slices over the dough, leaving a 1.5-inch border around the edge. You can layer them in concentric circles for a classic look, or arrange them more rustically.
- Fold the edges of the dough up and over the apples to create a border, forming a rustic crust around the filling.
- Bake for 35 to 45 minutes, or until the crust is golden brown and the apples are tender.
- While the tart is still warm, gently brush the top of the apples with the warmed apricot jam or jelly for a glossy finish.
- Let the tart cool slightly before slicing and serving. This homemade apple tart is best served warm.
Notes
- For a crispier bottom crust, you can blind bake the crust for 10 minutes before adding the apples.
- If you prefer a sweeter tart, use Gala or Fuji apples instead of tart Granny Smiths.
- This recipe works well with store-bought puff pastry for an even easier apple tart.
Nutrition
- Serving Size: 1 slice
- Calories: 310
- Sugar: 22
- Sodium: 150
- Fat: 16
- Saturated Fat: 10
- Unsaturated Fat: 6
- Trans Fat: 0
- Carbohydrates: 38
- Fiber: 3
- Protein: 4
- Cholesterol: 40