
Oh, planning a party or just needing a snack that looks totally gourmet but takes absolutely zero effort? I get it. Between trying to keep up with corporate events and finding time for my own kitchen therapy, I know how vital a reliable, quick appetizer is. That’s why I spent ages perfecting this recipe for you: The Ultimate Creamy 5-Minute No-Cook Black and Green Olive Dip. Trust me, this olive dip shortcut is a lifesaver. When I started Bliss Batter, my goal was to bring that high-end entertaining feel down to earth, and this recipe nails it. It’s flavorful, it’s fast, and it always gets rave reviews!
- Why This Creamy olive dip Recipe is Your New Go-To Appetizer
- Gathering Ingredients for Your Ultimate olive dip
- How to Prepare This Easy olive dip Recipe Step-by-Step
- Expert Tips for the Best olive dip Every Time
- Making Variations of Your Favorite olive dip
- Serving Suggestions for this Flavorful olive dip
- Storage and Make Ahead Tips for Your olive dip
- Frequently Asked Questions About Making olive dip
- Estimated Nutritional Data for This Cold olive dip
Why This Creamy olive dip Recipe is Your New Go-To Appetizer
When I was deep in my corporate events planning days, the last thing I wanted to do after work was babysit something in the oven. That’s where this creamy olive dip truly shines! It’s one of those amazing quick appetizer dips that feels sophisticated but requires almost zero active work from you. Seriously, it hits that perfect sweet spot for cold dips for entertaining because it’s ready whenever you are.
Speed and Simplicity: Making the 5 Minute olive dip
Five minutes. That’s the magic number here, folks! You can whip this up while your guests are still walking in the door. Because there’s absolutely no baking involved, this recipe is truly a no bake olive spread champion. You toss everything in the food processor, maybe clean up two dishes while it runs, and boom—gourmet party food achieved. It’s my secret weapon when I realize I forgot to prep anything substantial.
Gathering Ingredients for Your Ultimate olive dip
Okay, getting started is the easy part, but grabbing the right ingredients for this easy olive dip recipe makes all the difference. Since the flavor is so concentrated, quality matters! You’ll need 8 ounces of cream cheese—and please, make sure it’s fully softened. We want smooth results, not chunky roadblocks in your machine!
For the olives, I love a mix of 1 cup black and 1 cup green, but use what you love! Just drain them really well. Then we throw in the supporting cast: a couple of minced garlic cloves for that savory punch, a bit of sour cream or Greek yogurt for tang, and just a dash of lemon juice and oregano to wake everything up.
Ingredient Clarifications and Tips
Let’s talk about that cream cheese again. If it’s fridge-cold, you won’t get that gorgeous, smooth, almost whipped olive dip texture when you blend it. Set it out for at least an hour before you plan to mix. Also, whether you use sour cream or Greek yogurt totally depends on what you have; the yogurt will make it slightly tangier, which I actually love for cutting through the saltiness of the olives!
How to Prepare This Easy olive dip Recipe Step-by-Step
This is where the magic happens, and honestly, it’s so straightforward you’ll wonder why you haven’t made this easy olive dip recipe a million times already! Grab your food processor—this is a non-negotiable tool for this smooth, creamy result.
First things first, load up that processor bowl. You want the softened cream cheese, both types of drained olives, your sour cream (or yogurt if you went that route), the minced garlic, that lovely splash of lemon juice, oregano, and pepper to go right in together. Don’t forget to drain those olives well, or things can get a little runny!
Next, you just pulse! Process the mixture until you get to your preferred consistency. Then, here’s a critical step that transforms this from just blended ingredients into a truly great appetizer: transfer it to a serving bowl, cover it up, and let it chill for at least 15 minutes. This resting time is non-negotiable; it lets all those salty, tangy, garlicky flavors actually marry each other.
Achieving the Perfect Creamy olive dip Texture
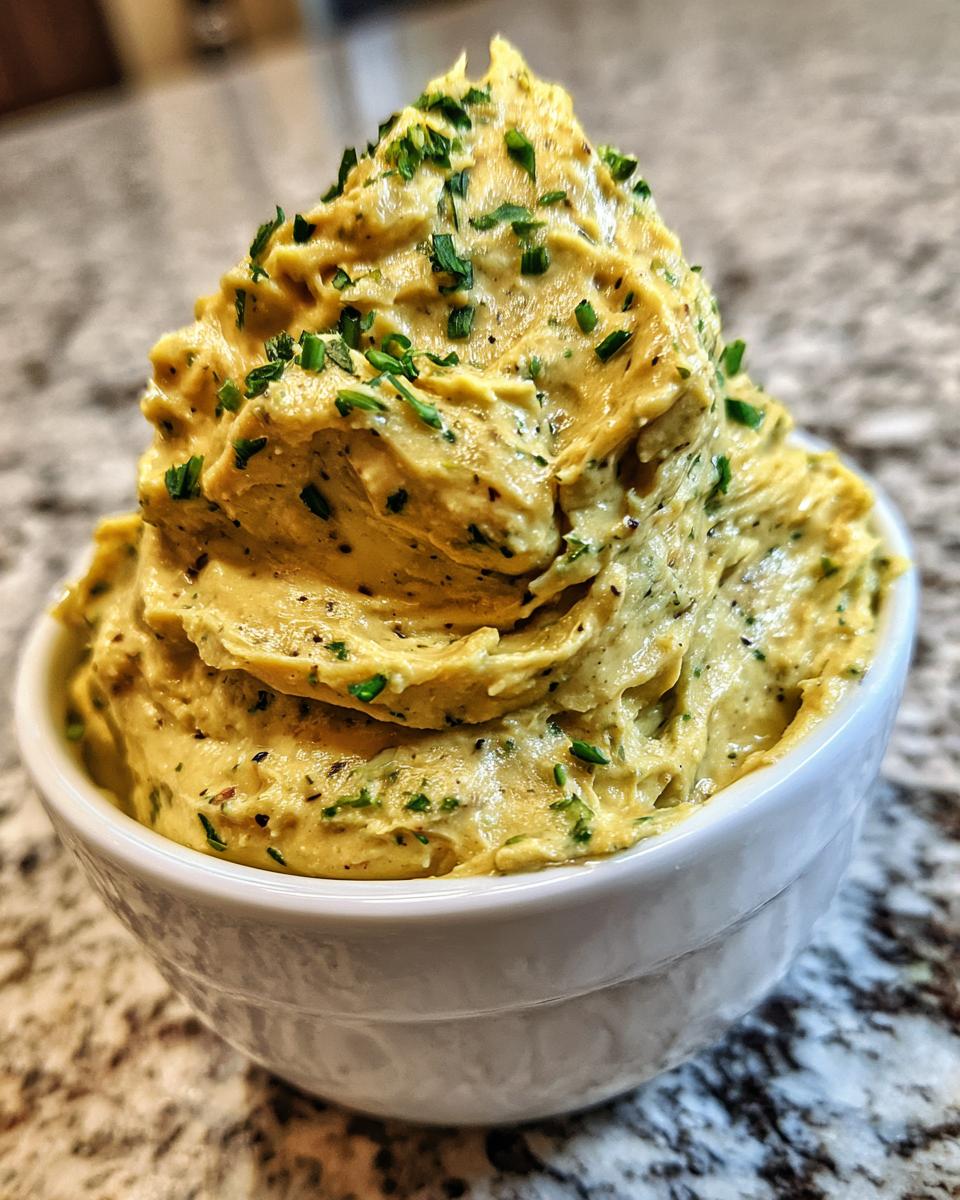
When you’re processing, watch closely! If you want that gorgeous, super-smooth, classic creamy olive dip that looks almost like mousse, let the machine run until it’s uniform. But if you’re aiming for something closer to a chunky or rustic tapenade style dip, pulse just a few times and stop when you still see some visible flecks of olive. Honestly, I prefer the slightly chunky version—it’s more satisfying to scoop up onto a cracker!

Expert Tips for the Best olive dip Every Time
You’ve got your ingredients in line and your processor ready to go, but I want to share a few little insider tricks that take this from “good” to the absolute “best olive dip for parties.” Remember, even the simplest recipes benefit from that little extra love and knowing how to adjust on the fly! I always keep recipes like my homemade queso dip in mind—sometimes you just need that reliable go-to!
First, taste testing is everything! Before you even think about chilling this easy olive dip recipe, give it a good taste test. Olives vary wildly in saltiness, right? If it tastes a little flat, add a tiny squeeze more fresh lemon juice—that acidity brightens everything up beautifully. If it needs a little kick, don’t be shy with that fresh black pepper. I personally add a grind or two more than the recipe calls for because I like that little bite.
Now, if you’ve been craving that strong, salty, spreadable texture closer to a classic Mediterranean spread, try this little technique I picked up. Instead of dumping everything in at once with the cream cheese, pulse just the olives and the garlic first. Really break those down until they are almost a paste. Then, add the softening cream cheese and the rest of the liquids. This pre-processing makes it feel much more like a concentrated tapenade style dip that’s just been made incredibly creamy. It’s a game-changer for depth of flavor!
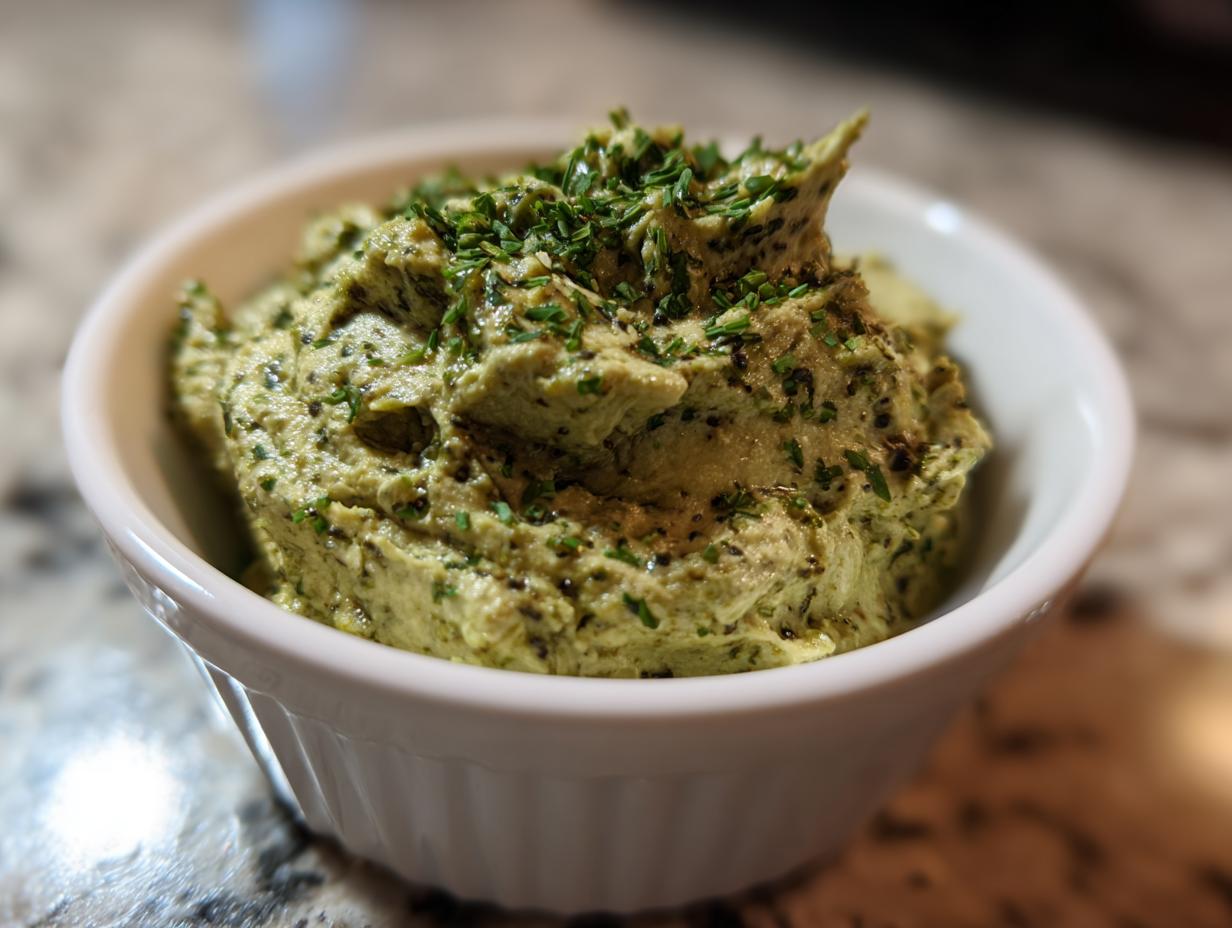
For presentation, a little trick I use when serving this cold dip for entertaining is to swirl the top gently with the back of a spoon right before serving to create little valleys. Then, I drizzle just a tiny thread of good quality olive oil—the expensive stuff you usually save—right over the top. It looks gorgeous against the parsley garnish and adds a lovely fresh finish. Seriously, these small steps show you’ve put heart into even the fastest appetizer!
Making Variations of Your Favorite olive dip
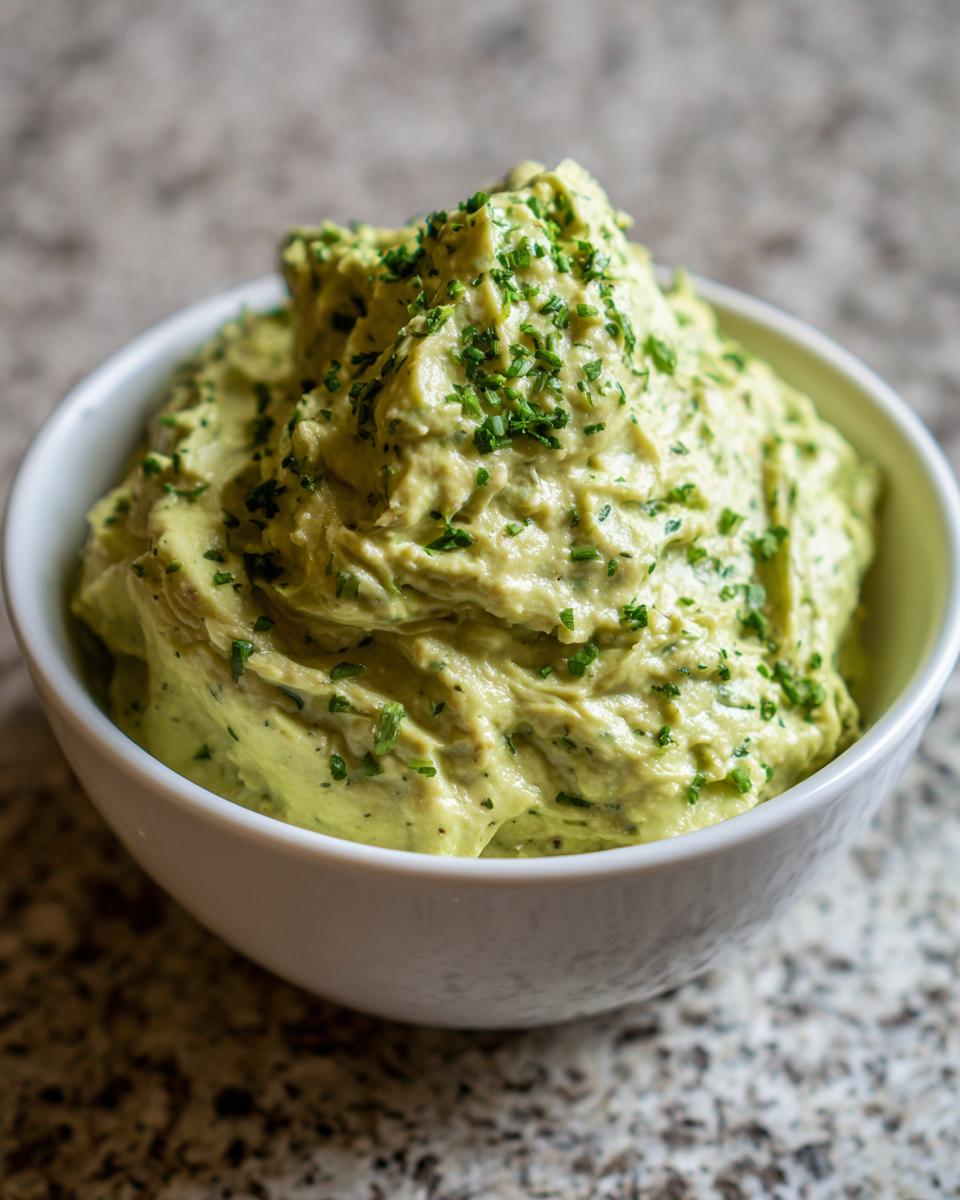
One of the greatest things about this base creamy olive dip recipe is how easily it morphs into exactly what you’re craving! Sometimes you just have a huge jar of one kind of olive staring at you from the pantry, and that’s totally fine. For a vibrant, briny kick, you could make this strictly a green olive dip recipe—just swap out the black olives entirely. It really pops against crusty bread.
If you prefer something deeper in color and perhaps earthier, focusing on the black olives gives you fantastic black olive dip ideas. It’s less tangy, richer, and pairs beautifully with rosemary crackers.
Now, I know I promised no-bake, but sometimes you want warmth! If you are craving that gooey texture mentioned in other recipes, you can absolutely pivot. For a cheat’s version of a baked cheese olive dip, simply mix everything *except* the sour cream/yogurt, add about half a cup of shredded Monterey Jack cheese, put it in a small oven-safe dish, and bake at 350°F until warm and bubbly on top. It’s not the original 5-minute method, but wow, is it delicious!
Serving Suggestions for this Flavorful olive dip
Okay, you’ve made the best olive dip in five minutes, and now it’s chilled perfectly. What do we serve it with? This is where you can really level up your hosting game without adding a single minute to your prep time! Because this dip is so rich and savory, it pairs beautifully with things that offer different textures.
For the absolute easiest serving, you need some sturdy flavorful dips for crackers and bread! Thick, crisp crackers are wonderful, but if you happen to have some warm, soft pretzels on hand—oh my gosh, you have to try them alongside this dip. You can find my favorite recipe for those soft pretzels recipe linked here!
If you’re setting up a lovely appetizer spread, remember that this olive dip works perfectly as one of your simple cocktail party appetizers. It stands up beautifully next to cheese boards or hummus spreads. Since this is best enjoyed as a cold dip for entertaining, arrange some colorful dipping vessels around the bowl: think crisp cucumber slices, bell pepper strips, endive leaves, or even little toasted baguette rounds.
It’s seriously versatile, too. Don’t just limit yourself to crackers! It’s amazing spooned over a baked potato or used as a sandwich spread if you happen to have leftovers. Honestly, the dipping options are endless!
Storage and Make Ahead Tips for Your olive dip
One of the reasons I love this particular make ahead appetizers addition to my party rotation is how simple the planning actually is. Since this is a fantastic cold dip for entertaining, you truly benefit from making it ahead of time! The original notes mention that the flavors blend beautifully after chilling, so don’t skip that resting period in the fridge.
When it comes to storing leftovers—if you even have any, wow!—keep the 5 minute dips covered tightly in an airtight container in the refrigerator. Because it’s centered around cream cheese, it stays perfectly fresh for about three days. I actually think the flavor deepens slightly on day two, which is such a bonus when you’re planning for a weekend event!
If you need to make it further ahead, say for an upcoming gathering next week, you can freeze it, but I’ve recently heard from a few of you that freezing changes the texture a little bit, making it slightly grainier upon thawing. For the absolute best creamy result, I stick to making it no more than 24 hours in advance and letting it chill for a few hours before serving. For sure, give it a quick stir with a fork before putting it out for your guests. And please, once it’s been sitting out for a party or two, just toss the leftovers if they’ve been out longer than a couple of hours. Food safety first, always!
If you decide to serve it warm (like that cheesy variation we talked about!), remember that you need to bake it until it’s piping hot all the way through. But for this original recipe, serving it cool—straight from the fridge’s chill—is definitely the way to go. You can check out some other great make ahead appetizers inspiration on another favorite blog, too!
Frequently Asked Questions About Making olive dip
Can I make this a whipped olive dip without a food processor?
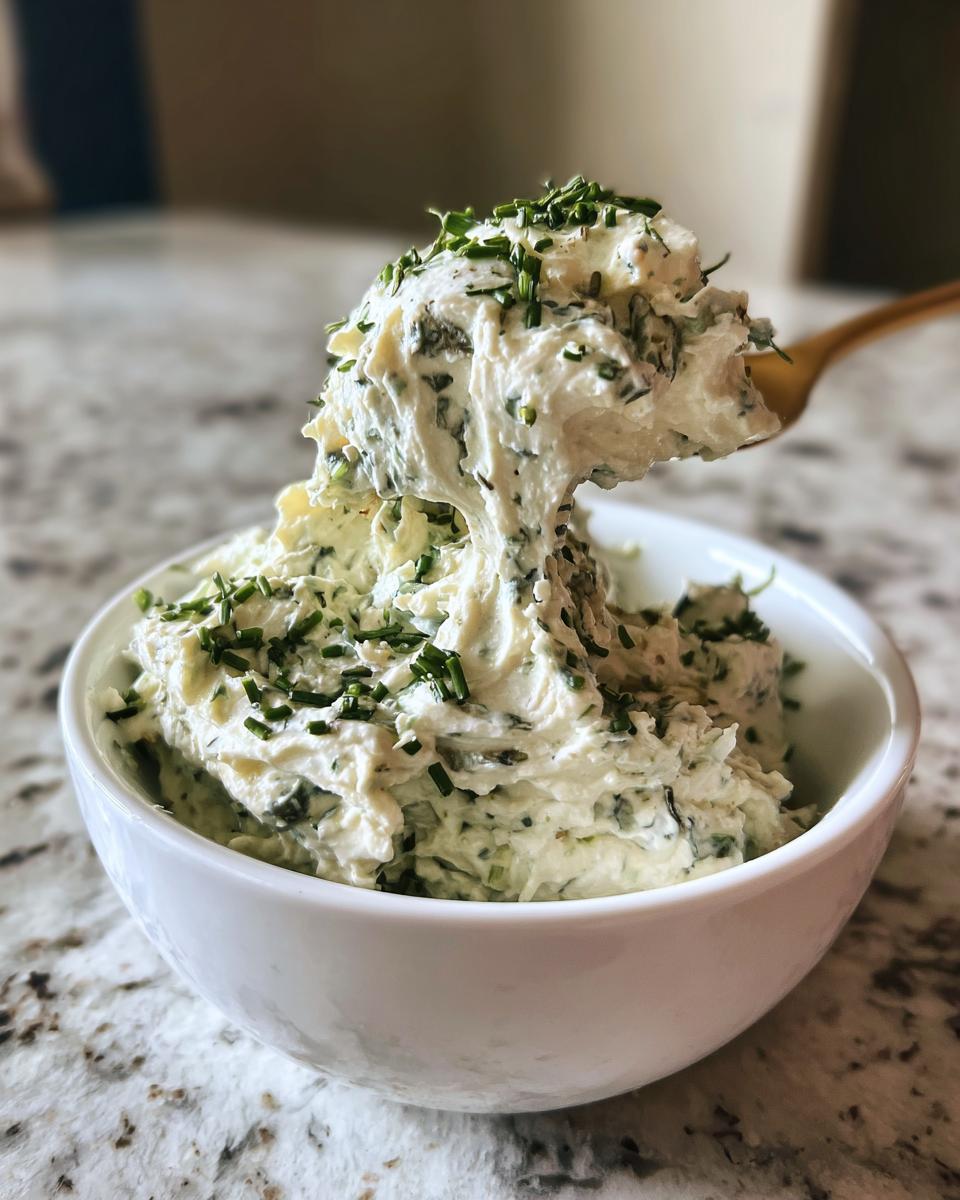
That’s a great question, especially since we all have busy kitchens! While the food processor is what gives us that truly smooth, creamy finish—like the kind you see in store-bought spreads—you can certainly try making this a slightly coarser, whipped olive dip by hand. You’ll need to make absolutely sure your cream cheese is very, very soft—like room temperature soft. Start by vigorously mashing the cream cheese with a fork and using a whisk for the sour cream and seasonings. Then, you’ll need to chop your olives *very* finely by hand before folding them in. It won’t be as perfectly blended, but it will still taste amazing!
Is this green olive dip recipe better than a traditional tapenade?
Oh, they are totally different treasures! A true tapenade is usually bound only by olive oil—it’s more intensely salty and briny, with a much oilier, almost paste-like texture. If you are looking for a classic green olive dip recipe that’s meant for scooping up in big piles with crackers, mine is better because the dairy base makes it rich and cool. If you want that super intense olive flavor straight from the Mediterranean for crusty bread, you might want to look up a traditional oil-based one. This recipe is my go-to for parties because it’s inherently creamy and milder.
How long does this cold dip for entertaining last if I make it ahead?
This recipe is fantastic for making ahead, as I mentioned earlier! Because it relies on cream cheese, it holds up really well in the fridge. I’d plan on keeping it covered tightly for up to three days. I actually prefer setting it out about 20 minutes before guests arrive, even though it’s a cold dip for entertaining, just so it’s not ice-cold and the flavors are a little more open. It’s one of the best make ahead appetizers because it tastes *better* the next day!
Can I swap the black and green olives for Kalamatas if I prefer that flavor?
Absolutely, please do! Kalamata olives would make this dip slightly richer and add a purple hue, moving it away from the bright look of the standard green olive dip recipe but adding wonderful depth. Just remember that Kalamatas are usually packed differently, so you must drain them really well, just like the others. You might want to add just a splash more lemon juice to balance the richer, fruitier flavor of the Kalamatas!
Estimated Nutritional Data for This Cold olive dip
Since I know a lot of you are balancing delicious indulgence with portion control—myself included when I’m planning spreads for parties—I pulled together the estimated nutritional breakdown for this marvelous olive dip. We all deserve to enjoy these wonderful simple cocktail party appetizers without worry, right?
Keep in mind, because we are dealing with salty olives and varied brands of cream cheese, these stats are just an estimate based on the standard recipe. Think of them as a helpful guide, not a strict diet requirement! If you use Greek yogurt instead of sour cream, or if you use lower-sodium olives, your numbers will shift a little bit.
Here is the breakdown for approximately 2 tablespoons (a standard serving size):
- Serving Size: 2 tablespoons
- Calories: 95
- Total Fat: 8g (Be mindful of the saturated fat too, which is around 4g)
- Sodium: 280mg (This can vary a lot based on your olives!)
- Protein: 3g
- Total Carbohydrates: 2g
- Sugar: 1g
It’s a wonderfully rich dip, which is why the fat content is what it is—that comes mostly from the cream cheese, which gives us that fantastic creamy base! Enjoy your snack, and don’t let reading those numbers stop you from having a scoop (or two!) with your favorite crackers.
PrintThe Ultimate Creamy 5-Minute No-Cook Black and Green Olive Dip

Create this simple, flavorful olive dip in just five minutes. It is a perfect, no-bake appetizer for parties or a quick snack.
- Prep Time: 5 min
- Cook Time: 0 min
- Total Time: 5 min
- Yield: About 2 cups 1x
- Category: Appetizer
- Method: No Bake
- Cuisine: American
- Diet: Vegetarian
Ingredients
- 8 ounces cream cheese, softened
- 1 cup pitted black olives, drained
- 1 cup pitted green olives, drained
- 1/4 cup sour cream or plain Greek yogurt
- 2 cloves garlic, minced
- 1 tablespoon fresh lemon juice
- 1 teaspoon dried oregano
- 1/4 teaspoon black pepper
- Optional garnish: chopped fresh parsley
Instructions
- Place the softened cream cheese, drained black olives, drained green olives, sour cream (or yogurt), minced garlic, lemon juice, oregano, and black pepper into a food processor.
- Process the mixture until it is mostly smooth but still has some texture. Do not over-process if you prefer a slightly chunky dip.
- Taste the dip and add more pepper or lemon juice if desired.
- Transfer the creamy olive dip to a serving bowl.
- Cover the bowl and chill in the refrigerator for at least 15 minutes to allow the flavors to blend. This step makes it a great make-ahead appetizer.
- Garnish with fresh parsley before serving with crackers, vegetable sticks, or crusty bread.
Notes
- For a stronger tapenade style dip, pulse the olives first before adding the cream cheese.
- If you only have one type of olive, you can use 2 cups of just green olives or just black olives for a variation.
- This cold dip is best served within 3 days.
Nutrition
- Serving Size: 2 tablespoons
- Calories: 95
- Sugar: 1
- Sodium: 280
- Fat: 8
- Saturated Fat: 4
- Unsaturated Fat: 4
- Trans Fat: 0
- Carbohydrates: 2
- Fiber: 0
- Protein: 3
- Cholesterol: 15