
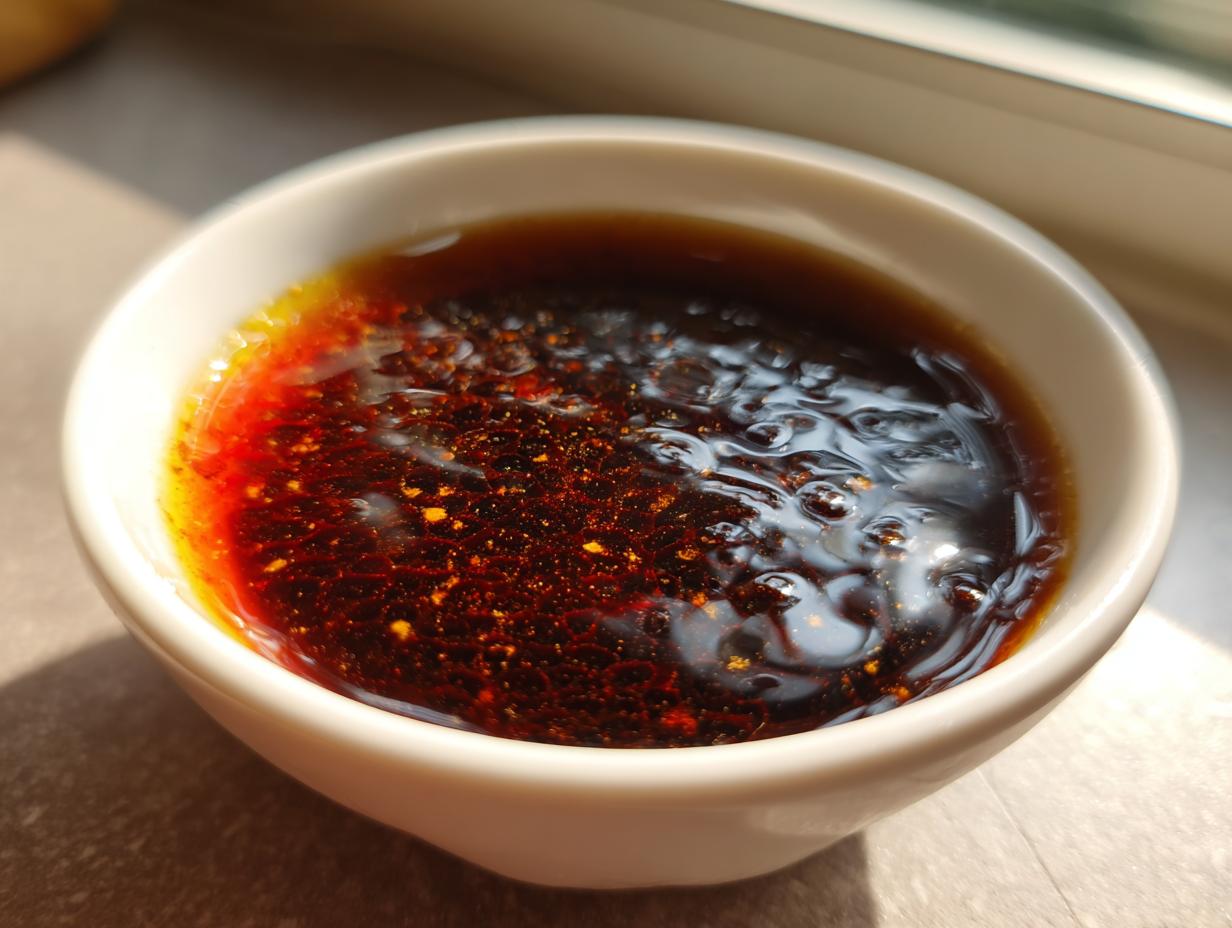
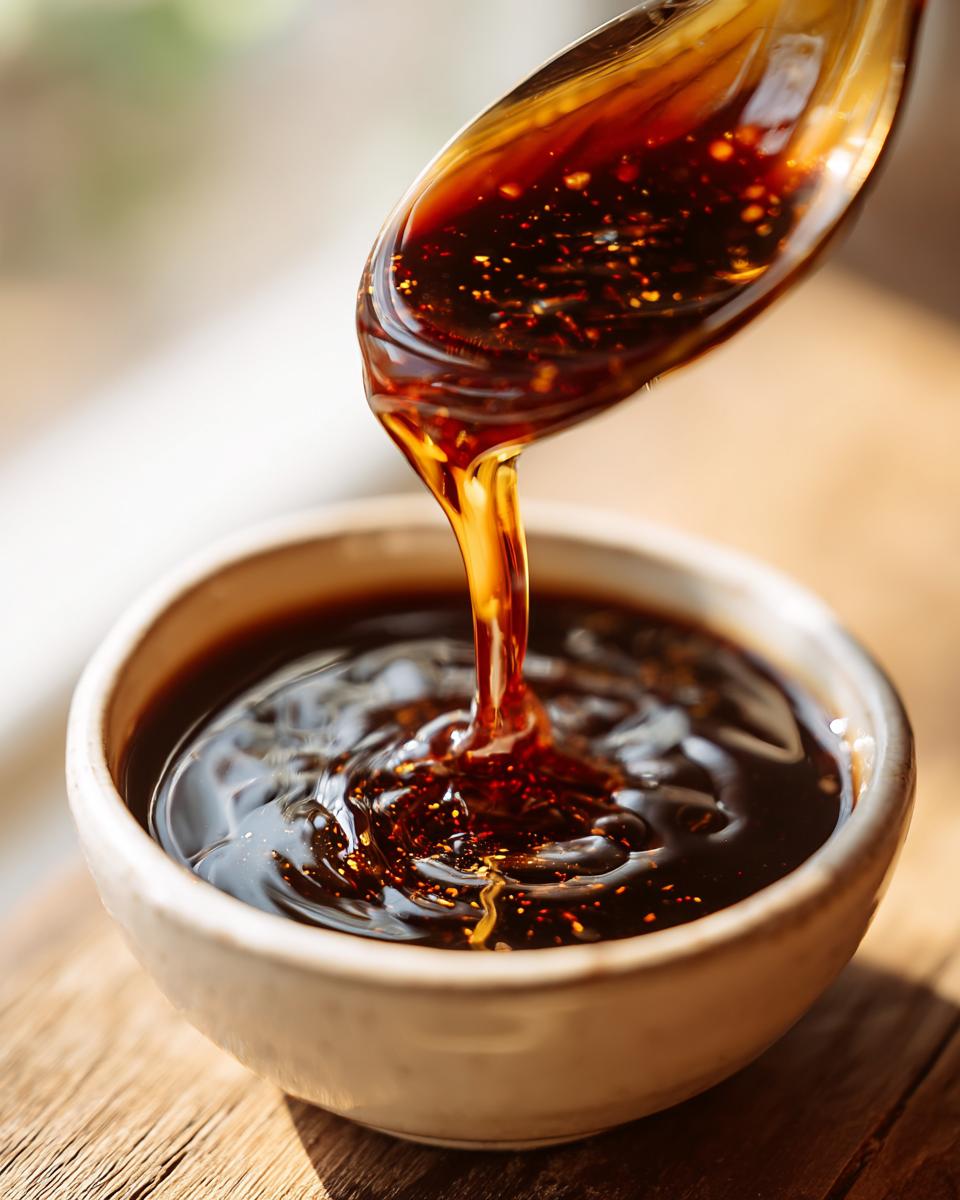
Oh, let’s talk about those sad, thin bottles of sauce lurking in the back of the fridge. You know the ones? They promise flavor but deliver vaguely sweet, salty brown liquid. We spend all this time planning delicious meals, but sometimes the shortcut sauce just lets us down! Well, I promise you, those days are over. I’ve channeled all my event planning focus—the kind where everything has to be perfect and on time—into crafting the most incredible **teriyaki sauce** you will ever taste. And the best part? It’s thick, it’s gloriously glossy, and it’s ready in under 12 minutes flat!
When I was planning big corporate events, I learned that timing and precision make all the difference between a disaster and a masterpiece. I applied that same level of meticulous testing right here in my kitchen with this recipe. We aren’t settling for ‘good enough.’ We are aiming for that sticky, deeply flavorful glaze that makes takeout taste like leftovers. Ditch the store brands; trust me on this one. Making this from scratch is faster than driving to the store sometimes, and the flavor upgrade is massive. You’re going to love having this staple ready for quick dinner ideas anytime!
- Why This Homemade Teriyaki Sauce Beats the Bottle
- Gathering Ingredients for Your Quick Teriyaki Sauce
- Step-by-Step Instructions: How to Make Teriyaki
- Versatile Uses for Your Sweet and Savory Sauce
- Tips for Perfect Homemade Sauce Recipes Every Time
- Storage and Reheating Your Homemade Teriyaki Sauce
- Frequently Asked Questions About Making Teriyaki Sauce
- Nutritional Estimate for This Teriyaki Sauce
- Share Your Quick Teriyaki Sauce Success
Why This Homemade Teriyaki Sauce Beats the Bottle
Why bother with this recipe when you can just grab a bottle? Because store-bought sauce is often watery, overly sweet, and full of ingredients I can’t even pronounce! When you make your **Homemade Sauce Recipes** from scratch, you get complete control. I spent so much time testing this out because I hate disappointing my family with a sad glaze. This is the secret to truly *Better Than Takeout Recipes*, and it’s easy enough for any Tuesday night!
- Unmatched Fresh Flavor: You get the bright punch of fresh garlic and ginger, not powdered dust.
- Perfect Viscosity: It sticks beautifully to everything, unlike thin, runny bottled versions.
- Speedy Setup: From pantry to simmering in about five minutes flat—who has time for complicated Asian cooking on a weeknight?
- Control Over Sweetness: We use brown sugar for depth, but you control how much goes in, keeping it balanced.
This is what **From Scratch Cooking** is all about—taking simple, good things and making them amazing, fast! If you want to know more about the tested perfection behind all my recipes, you can check out my About Me page.
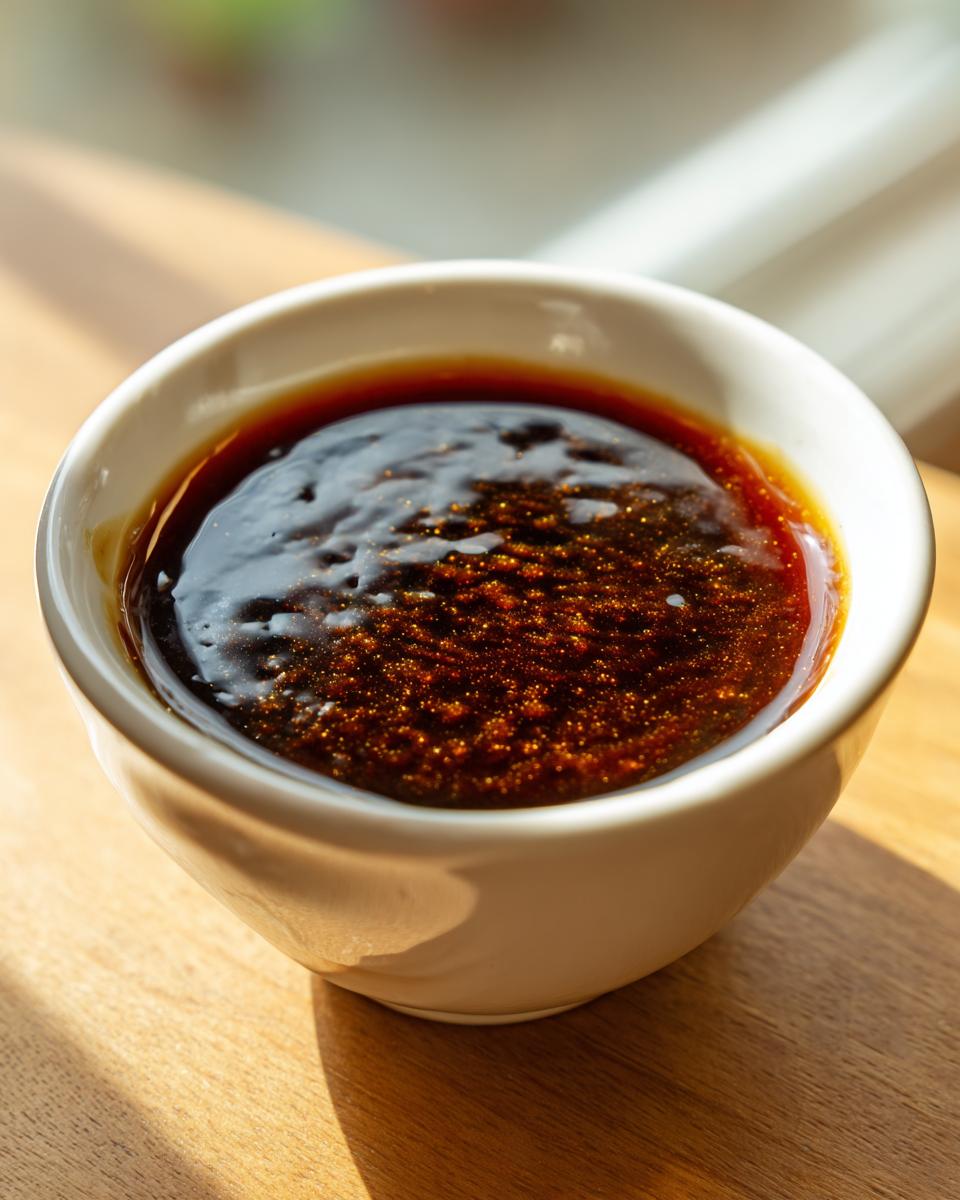
Achieving That Perfect Thick Sauce Recipe Consistency
This is where the magic happens, truly. If you want that gorgeous, shiny, restaurant-quality coating, you need the cornstarch slurry. Just mixing cornstarch and cold water until it’s completely smooth and then slowly whisking it into the simmering liquid creates that incredible, glossy texture we crave. It instantly transforms your thin mix into a perfect **Thick Sauce Recipe**.
Gathering Ingredients for Your Quick Teriyaki Sauce
Okay, let’s get down to the goods because this homemade **teriyaki sauce** relies on things you probably already have tucked away! I’m all about making things accessible, so you won’t need a trip to a specialty Asian market for this. Everything here is what I consider essential pantry staple sauces. During my testing phase, I made sure the ratio of salty soy sauce to sweet brown sugar was just right—that essential sweet and savory balance that makes it addictive!
Remember, my goal is always perfection, even in the simplest recipes. Every single ingredient here has been chosen and measured precisely to ensure you get that perfect, rich flavor every single time. Once you try this, you won’t ever look at the stuff in the big bottles the same way again. If you’re looking for other easy flavor boosters, check out my recipe for easy homemade garlic butter!
Ingredient Notes and Substitutions for Your Teriyaki Sauce
Listen closely, because how you prep these few items makes a difference. The aromatics need to be fresh! That means you really need to mince your garlic cloves—don’t even think about using the dried stuff in a jar here. For the ginger, you want about a teaspoon of *freshly grated* ginger. Take the time to grate it finely right before you start; that bright, zesty flavor is critical.
Now, for the little swaps. If you can’t find mirin (that sweet rice wine), don’t panic! You can use plain water mixed with a tiny splash of white vinegar to mimic that slight tang, but mirin is worth grabbing when you can. And about the sugar: I swear by packed brown sugar for that molasses depth, but if you need a healthier alternative, honey or maple syrup works beautifully, though it might change the final color just a bit.
Step-by-Step Instructions: How to Make Teriyaki
This is the part where all that planning really pays off! We’re moving fast here because the goal is to have the best homemade **teriyaki sauce** ready in about 12 minutes total. You’ll grab a small saucepan—no need to wash out that big mixing bowl from the last recipe, thank goodness! First, everything goes into the pot except that cornstarch business. We’re talking soy sauce, brown sugar, mirin, vinegar, and those lovely aromatics—the ginger and garlic we prepped earlier. Whisk it gently over medium heat until that brown sugar disappears completely, usually right before it starts bubbling.
Let it just kiss the heat for a couple of minutes so those flavors really marry. Don’t walk away during this part! It’s crucial to keep an eye on it so the sugar doesn’t scorch on the bottom. This process is what takes us from ‘just mixed’ to ‘deeply flavored.’ Honestly, whisking is your best friend here; keep a little motion going. If you’re looking for more super fast flavor builders, you can check out my tips for easy weeknight dinners while your sauce simmers!
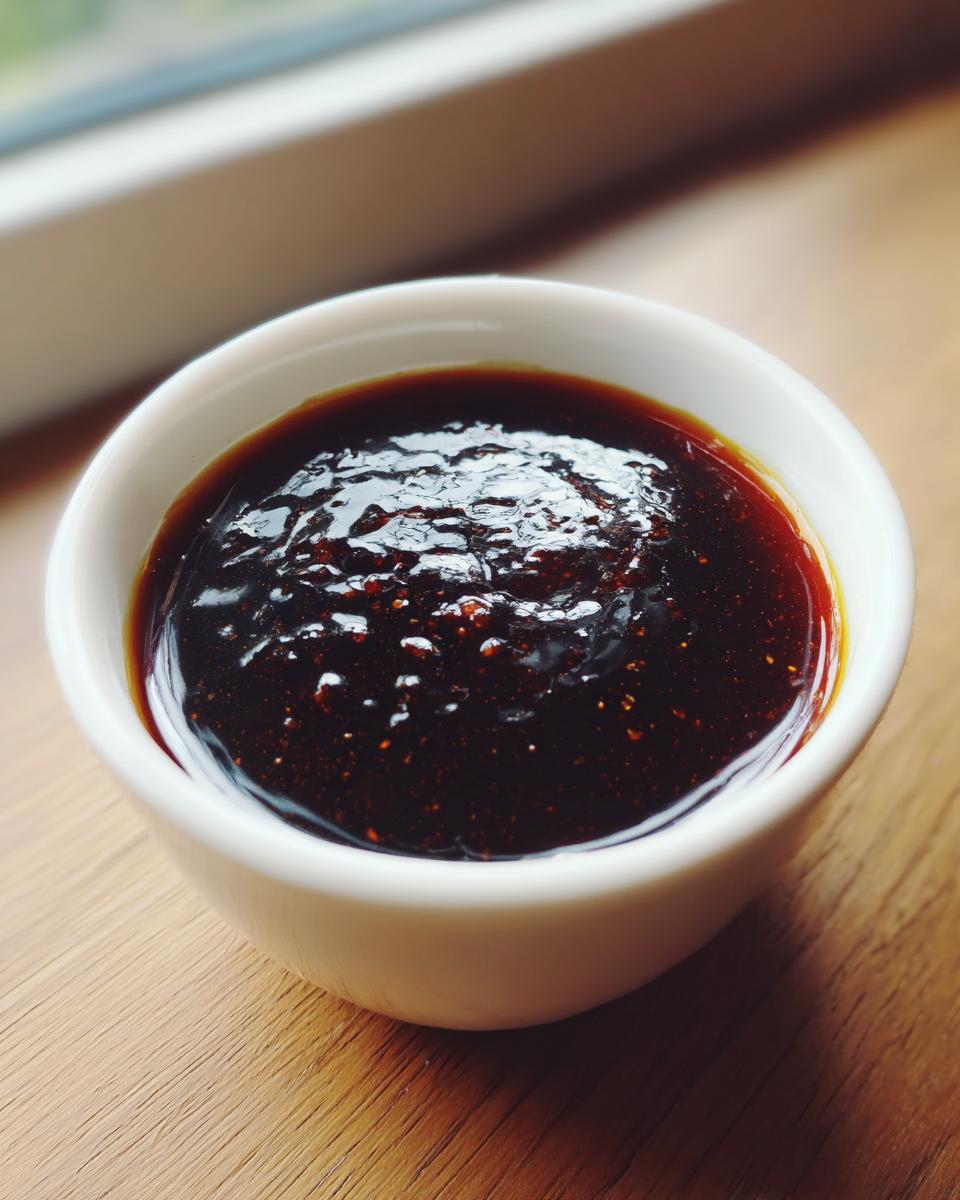
The Crucial Slurry Step for a Glossy Teriyaki Sauce
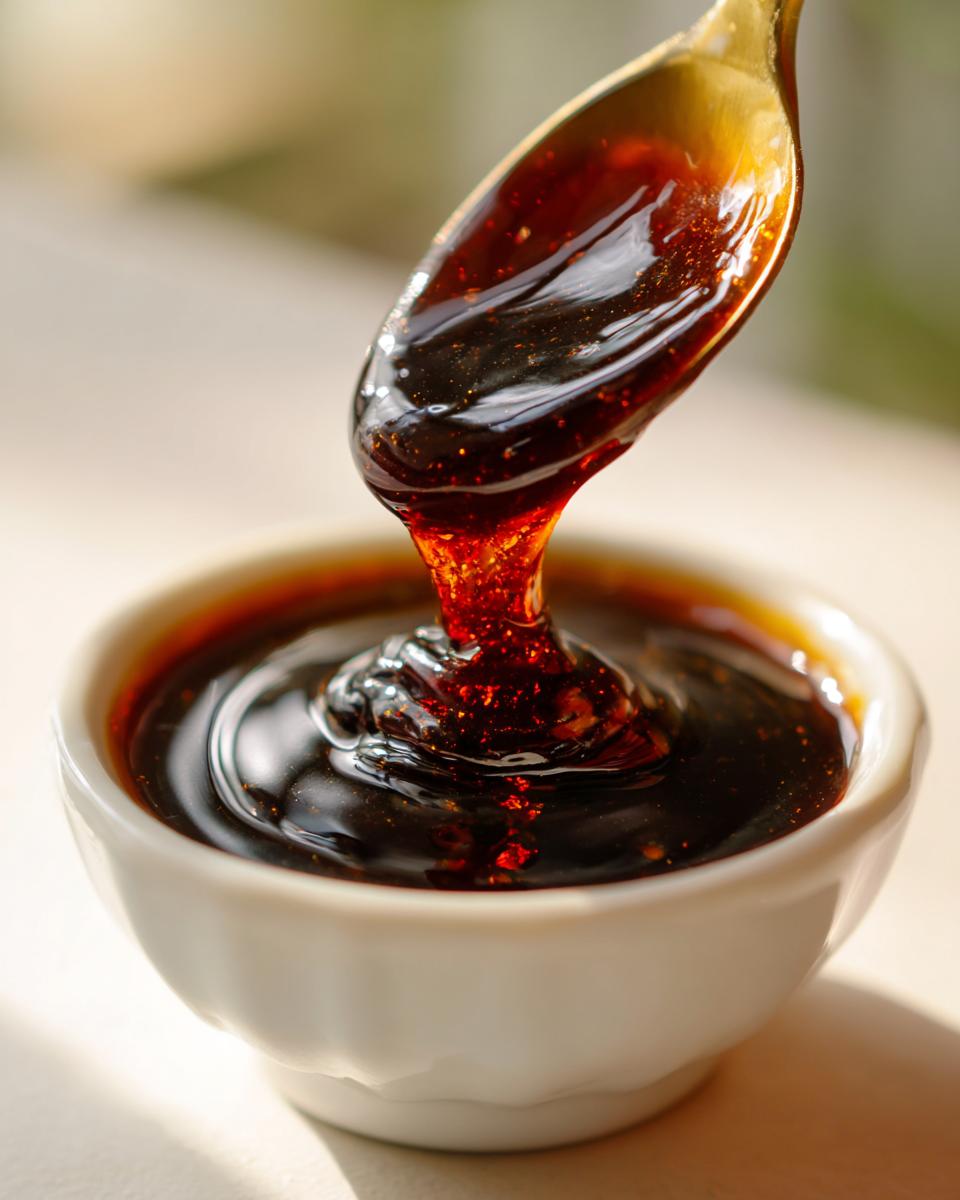
Here’s my biggest baker’s tip bleeding into sauce making: lumps happen when you rush. Before you add the thickener, make your slurry—just combine cornstarch and cold water until it’s totally smooth, like silk. Once your sauce is simmering, and you mean *simmering*, slowly drizzle that slurry in while whisking non-stop. This constant whisking is the secret to avoiding lumps and achieving that deep, **glossy teriyaki sauce** finish. Cook it just until it bubbles and thickens up enough to coat the back of a spoon. That’s it!
Versatile Uses for Your Sweet and Savory Sauce
Now that you have this glorious, sticky homemade sauce, what on earth are you going to do with it? Honestly, that’s the best part! Because we made a proper **Sweet and Savory Sauce**, it works in so many ways. I often use it as a quick, brilliant **Asian Marinade** for chicken thighs or tofu—just toss your protein in it and let it sit while you chop some veggies.
But if you want that beautiful shine, you need to use it as a glaze at the very end of cooking. My biggest piece of advice here is to plan ahead: if you want to use it as both a marinade *and* a finishing glaze, remember to scoop out about a quarter cup of the sauce *before* you add that cornstarch slurry in Step 4! That reserved portion is perfect for drizzling right before serving.
It’s fantastic tossed directly into a quick vegetable stir-fry, too. Just pour it in, cook for 60 seconds until everything is coated, and bam—dinner is done. It makes the best rich, flavorful drizzle over rice bowls or pan-seared salmon. Seriously, this single batch is the key to so many easy Asian sauce applications!
Tips for Perfect Homemade Sauce Recipes Every Time
Even though this is super straightforward, I know how cooking stress can creep in! That’s why I always save a few troubleshooting tips for our **Homemade Sauce Recipes**. If you followed the steps and your sauce looks a little too thin after simmering, don’t sweat it—you can always whisk in just a tiny bit more cornstarch slurry, but *very* slowly. You want to avoid lumps, so make sure you mix the extra bit with cold water first before dribbling it in.
On the other hand, if you see the sugar starting to scorch on the bottom of the pan when you first heat it up, immediately pull the pan off the burner and give it a good stir. Sugar burns fast, and burnt sugar tastes… well, terribly bitter! Just pull it off for 30 seconds, whisk it out, and put it back on low heat. Remember, precision matters, even when you’re rushing toward dinner!
If you ever have questions about ingredient amounts or need a quick lifeline, feel free to reach out to me through my contact page. We’re in this kitchen adventure together!
Storage and Reheating Your Homemade Teriyaki Sauce
Once you’ve whipped up this incredible batch of homemade **teriyaki sauce**, you want to make sure it lasts so you can enjoy that ‘better than takeout’ flavor all week, right? Good news: this sauce keeps so well! The key is containment. You need an airtight container—a clean glass jar with a tight-fitting lid works perfectly in my house. Pop it right into the refrigerator.
If you store it properly, this sauce should stay wonderfully flavorful for at least a week, maybe even 10 days. I usually plan to use it up within seven days, just to keep that fresh ginger tasting its best. Don’t be surprised if it looks a little thicker or even slightly gelled when you pull it out of the fridge! That’s just that cornstarch doing its job, and it’s completely normal for a proper **teriyaki sauce**.
Reheating is super simple, but you have to be gentle. I never microwave the whole jar, just scoop out what I need. Place your portion in a tiny saucepan over low heat. A gentle whisk while it warms up will bring back that beautiful, glossy texture almost instantly. If you find it’s *too* thick after reheating, just add a teaspoon of water at a time until it loosens up to your preferred consistency. See? Even storage is foolproof when you follow a few simple steps!
Frequently Asked Questions About Making Teriyaki Sauce
Okay, I always get these questions when I share this recipe because, let’s be honest, making sauce from scratch can feel intimidating at first! But once you see how simple this is, you’ll be hooked on these **Homemade Sauce Recipes**. Here are a few things I hear most often when people try this recipe for the first time.
Can I use honey or maple syrup instead of brown sugar?
Absolutely, you can tailor the sweetness! If you swap the brown sugar for honey or maple syrup, you’re moving towards a **Healthy Sauce Alternatives** vibe. I recommend cutting back by about 25% from the original sugar measurement because those alternatives are often sweeter. Remember, this is your kitchen, so taste as you go! It works fantastically if you’re aiming for a slightly lighter flavor profile.
How do I use this as a dipping sauce recipe instead of a glaze?
This is a great choice! If your main goal is to have a dipping sauce—say, for spring rolls or dumplings—you need to make sure you reserve some sauce *before* you add the cornstarch slurry! The slurry is what forces it to gel into a thick glaze. If you want a thinner consistency for dipping, simply skip the cornstarch entirely and just let the ingredients simmer together for a full 4 or 5 minutes to allow some water to evaporate. That’s the secret to a perfect **Dipping Sauce Recipe** that isn’t gloopy!
Can I turn this into a low-carb or keto teriyaki sauce?
Oh, that’s a fantastic question, especially for my friends watching their sugar intake! Yes, you certainly can adapt this; it just requires a swap. You can replace the brown sugar with a granulated sugar substitute that measures cup-for-cup, like erythritol or xylitol. Keep the rest of the ingredients the same, but for the thickening agent, you might want to skip the cornstarch entirely, as that adds carbs. Instead, try using xanthan gum—use just a tiny pinch (like 1/4 teaspoon) whisked in right at the end, and be careful, it thickens FAST!
How long can I store this teriyaki sauce in the fridge?
Since this is made with fresh ingredients and is so incredibly flavorful, it’s best to treat it like fresh leftovers. Pop it into an airtight container—I always use a mason jar—and it should be good for about 7 to 10 days in the refrigerator. It will always be thicker when cold than when warm, so keep that in mind! If you have any usage questions down the line, remember you can always read the site policies over on my Terms of Use page.
Nutritional Estimate for This Teriyaki Sauce
Now, I know that when we are making something this flavorful, sometimes we skip asking about the numbers, but I always want you to have the full picture! Since my primary focus here at Bliss Batter is always baking and creating joy, these estimates come from careful calculation based on the recipe amounts, but please know they are just guidelines!
These figures are calculated based on a serving size of roughly two tablespoons of the finished sauce, which yields about 1 cup total. When you use low-sodium soy sauce and standard brown sugar, here is what you can generally expect from this wonderful **teriyaki sauce**:
- Calories: Around 55 per serving
- Sugar: Roughly 10 grams (that’s where the flavor lives, friends!)
- Sodium: Approximately 450mg (This is why I insist on low-sodium soy sauce—it cuts that number down significantly!)
- Protein: About 1 gram
- Fat: Less than 1 gram
I always want to be super transparent, so here is the standard disclaimer: I am a baker, not a certified nutritionist! These numbers are just estimates based on the basic ingredients listed. If you substitute the brown sugar for honey, or use low-sodium versus regular soy sauce, those values shift. But the main takeaway is this is a way better, fresher option than whatever highly processed bottle you have hiding in the cupboard!
Share Your Quick Teriyaki Sauce Success
Well, there you have it! The secret to ditching those sad, bottled sauces forever is out. I truly hope this quick method for making amazing, thick, homemade **teriyaki sauce** brings so much joy to your weeknight table. My whole philosophy here at Bliss Batter is that we create happiness, one perfectly glazed piece of chicken or stir-fry at a time!
I would absolutely love to know how this recipe turned out for you! Did you use it as an **Asian Marinade**? Did you manage to get that beautiful, glossy finish everyone talks about? Please take a moment to leave your star rating right below this section and drop a little comment sharing your experience. Your feedback means the world to me; it helps me know I’m sending you foolproof recipes that truly work in real home kitchens, just like mine.
If you snap a picture of your amazing creation—maybe some shiny chicken or glistening broccoli—tag me on social media! Seeing your home baking (or sauce-making!) success is truly my favorite part of this whole adventure. It reminds me exactly why I left the corporate world to share these simple, joyful recipes with you all. Happy cooking, my friends! And as always, you can review my site policies anytime over on the Privacy Policy page if you have any questions about how we operate!
PrintQuick Homemade Teriyaki Sauce: Better Than Store-Bought
Make this easy homemade teriyaki sauce in under 10 minutes. It creates a thick, glossy, sweet, and savory glaze perfect for chicken, vegetables, or stir-fries. Stop buying bottled sauce and start making this pantry staple from scratch.
- Prep Time: 5 min
- Cook Time: 7 min
- Total Time: 12 min
- Yield: About 1 cup 1x
- Category: Sauce
- Method: Stovetop Cooking
- Cuisine: Asian
- Diet: Vegetarian
Ingredients
- 1/2 cup low sodium soy sauce
- 1/4 cup brown sugar (packed)
- 2 tablespoons mirin (or substitute with water and 1 teaspoon white vinegar)
- 1 tablespoon rice vinegar
- 1 teaspoon fresh ginger, grated
- 2 cloves garlic, minced
- 1 teaspoon sesame oil
- 1 tablespoon cornstarch mixed with 2 tablespoons cold water (slurry)
Instructions
- Combine the soy sauce, brown sugar, mirin, rice vinegar, grated ginger, minced garlic, and sesame oil in a small saucepan.
- Place the saucepan over medium heat. Whisk the ingredients together until the sugar dissolves completely.
- Bring the mixture to a gentle simmer, stirring occasionally. Let it simmer for about 2 minutes.
- Whisk the cornstarch and cold water together in a small bowl until smooth to create the slurry.
- Slowly pour the cornstarch slurry into the simmering sauce while whisking constantly.
- Continue to cook and whisk for 1 to 2 minutes, or until the sauce thickens and becomes glossy. It should coat the back of a spoon.
- Remove the sauce from the heat. It will thicken slightly more as it cools.
- Use immediately as a glaze or marinade, or store it in an airtight container in the refrigerator.
Notes
- For a thicker sauce, increase the cornstarch slightly, but add it slowly to avoid lumps.
- You can substitute the brown sugar with honey or maple syrup for a different sweetness profile.
- This sauce works wonderfully as a dipping sauce for spring rolls or dumplings.
- If you are using this as a marinade, reserve some sauce before adding the cornstarch slurry to use as a finishing glaze.
Nutrition
- Serving Size: 2 tablespoons
- Calories: 55
- Sugar: 10
- Sodium: 450
- Fat: 0.5
- Saturated Fat: 0.1
- Unsaturated Fat: 0.4
- Trans Fat: 0
- Carbohydrates: 12
- Fiber: 0.1
- Protein: 1
- Cholesterol: 0