
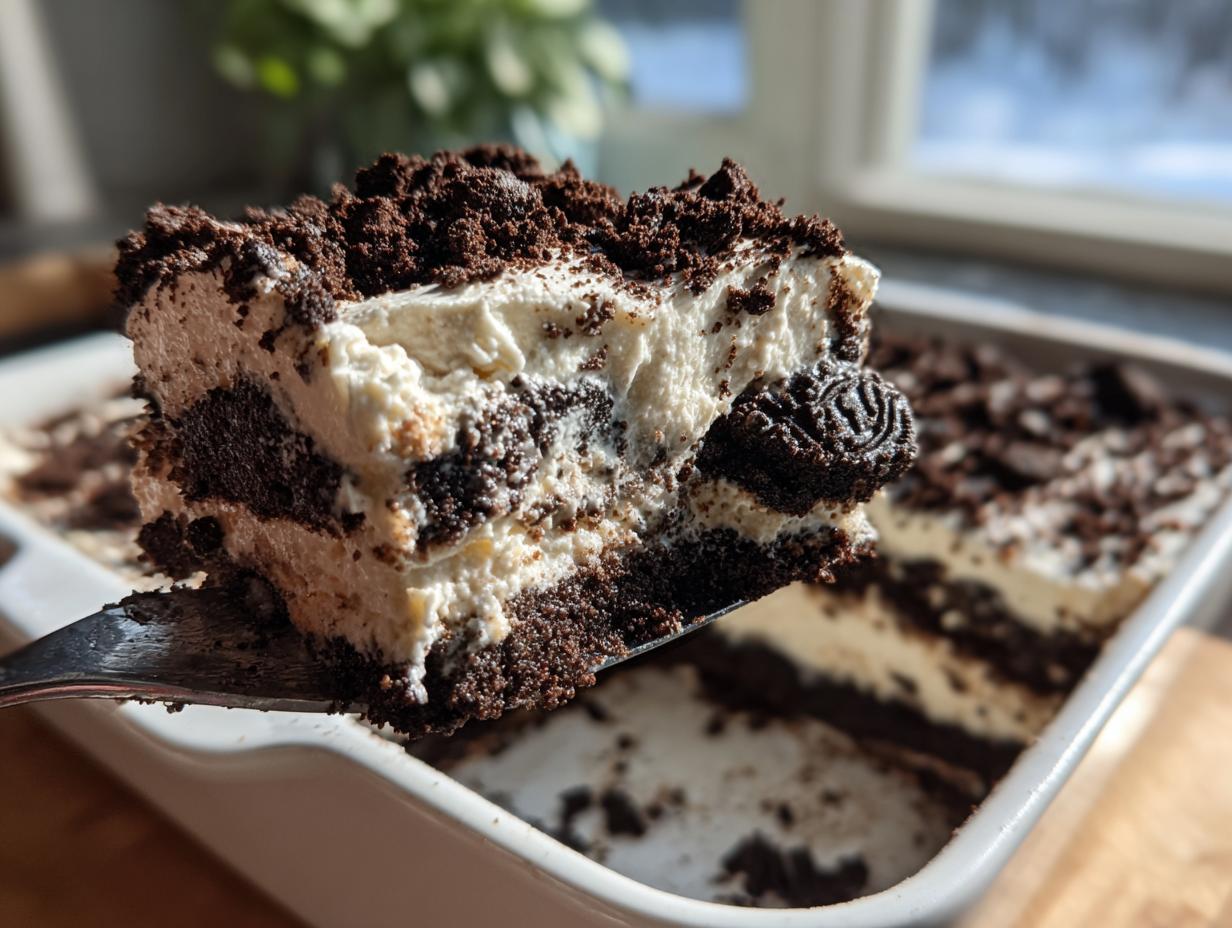
Do you ever just crave that one dessert that instantly sends you back to childhood parties or summer barbecues? I totally get it! That’s why I’m sharing what I truly believe is the ultimate, easy, no-bake dirt cake recipe. Forget complicated steps; if you want a foolproof classic that always brings smiles, this is your winner. As the founder here at Bliss Batter, I focus on recipes that work every single time, and this one needs zero oven time, proving you don’t need to be a pastry chef to make magic happen. Get ready for the creamiest, crunchiest dessert you can whip up in minutes!
- Why This Easy Dirt Cake Recipe Is a Crowd Pleaser (Best Dirt Cake)
- Ingredients for the Ultimate Oreo Dirt Cake
- Assembling Your Creamy Layered Dessert: Step-by-Step Dirt Cake Instructions
- Tips for the Best Dirt Cake Success
- Make Ahead Dessert: Storing Your Dirt Cake
- Variations on the Classic Dirt Cake
- Serving Suggestions for This Nostalgic Dessert
- Frequently Asked Questions About Oreo Dirt Cake
- Nutritional Estimate for This Simple Sweet Treats Recipe
- Share Your Dirt Cake Creations!
Why This Easy Dirt Cake Recipe Is a Crowd Pleaser (Best Dirt Cake)
I’ve planned huge corporate events in my career, but let me tell you, nothing beats the pure joy of serving up this dirt cake. It’s my absolute favorite No Bake Dessert because it’s nostalgic, fun, and shockingly easy. When I first brought a gigantic platter of this to a friend’s 4th of July party, people lined up immediately. They couldn’t believe something so fun tasted so rich and creamy! It’s truly the Best Dirt Cake because it satisfies everyone—kids love the look, and adults love the taste.
Simple Sweet Treats: No Fuss, Maximum Flavor
If you are facing a last-minute potluck or just need a quick fix for that sweet tooth, this is your ticket. We’re talking about a true Fun Family Dessert that requires absolutely zero time near a hot oven. You mix the layers, you chill it, done! That minimal fuss is why I always keep the ingredients stocked. It’s proof that simple sweet treats can be decadent.
Ingredients for the Ultimate Oreo Dirt Cake
Alright, let’s talk about what you need to whip up this incredible dirt cake. Because this is a no-bake dessert where every ingredient really shines through, remember my promise: using good quality, everyday stuff makes the difference! We aren’t using any fancy extras here, just simple ingredients assembled perfectly. The magic relies on the right consistency for both the pudding and the cream cheese layer. You’ll notice everything needs to be the right temperature—softened or cold—to blend correctly.
For the full list, gather:
- 1 package (8 ounces) cream cheese, softened
- 1 cup unsalted butter, softened
- 1 cup powdered sugar
- 1 container (12 ounces) frozen whipped topping, thawed (or substitute with homemade whipped cream)
- 2 packages (3.9 ounces each) instant chocolate pudding mix
- 3 cups cold milk
- 1 package (14.3 ounces) Oreo cookies, crushed (I usually count out about 35 cookies!)
- Gummy worms, for decoration—don’t skip these!
Ingredient Notes and Substitutions for Your Dirt Cake
When I develop these recipes, I always try to keep things flexible. For the cookies, while any chocolate sandwich cookie works, I stick to the classic Oreo for that authentic look and taste. If you are making individual Dirt Cups Recipe, you might want finer crumbs. For the topping, frozen whipped topping is easiest, but if you whip heavy cream until stiff peaks form, your cream cheese base will be richer—just fold it in very gently!
Assembling Your Creamy Layered Dessert: Step-by-Step Dirt Cake Instructions
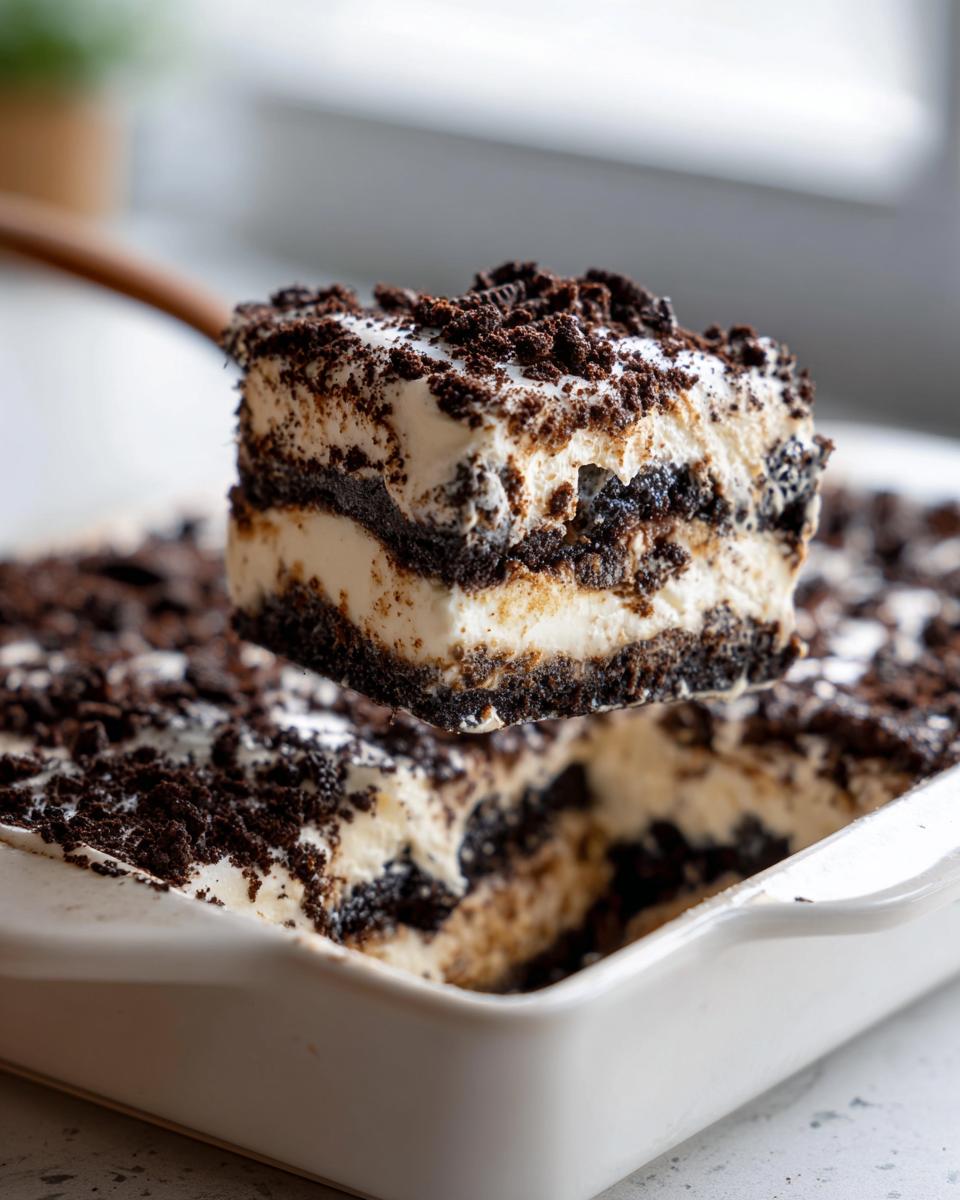
Putting this creamy layered dessert together is the fun part, and honestly, it’s what separates a messy blob from a beautiful presentation! This process is so straightforward, it makes detailed meal planning for dinner look like rocket science. The goal is distinct layers—you want clearly defined stripes of cream and cookie, even if you’re only using a casual trifle dish. And trust me when I say that chilling time isn’t optional; it’s essential for getting that perfect ‘set’ texture.
Preparing the Cream Cheese Base for the Dirt Cake
First things first: make sure your butter and cream cheese are genuinely soft! If they’re cold, you’ll end up with lumps, and nobody wants a lumpy base under their cookies. Use your mixer to beat those two ingredients with the powdered sugar until it’s wonderfully light and smooth. Then, gently, and I mean gently, fold in your thawed whipped topping. We aren’t trying to deflate that topping, so slow and steady wins this race!
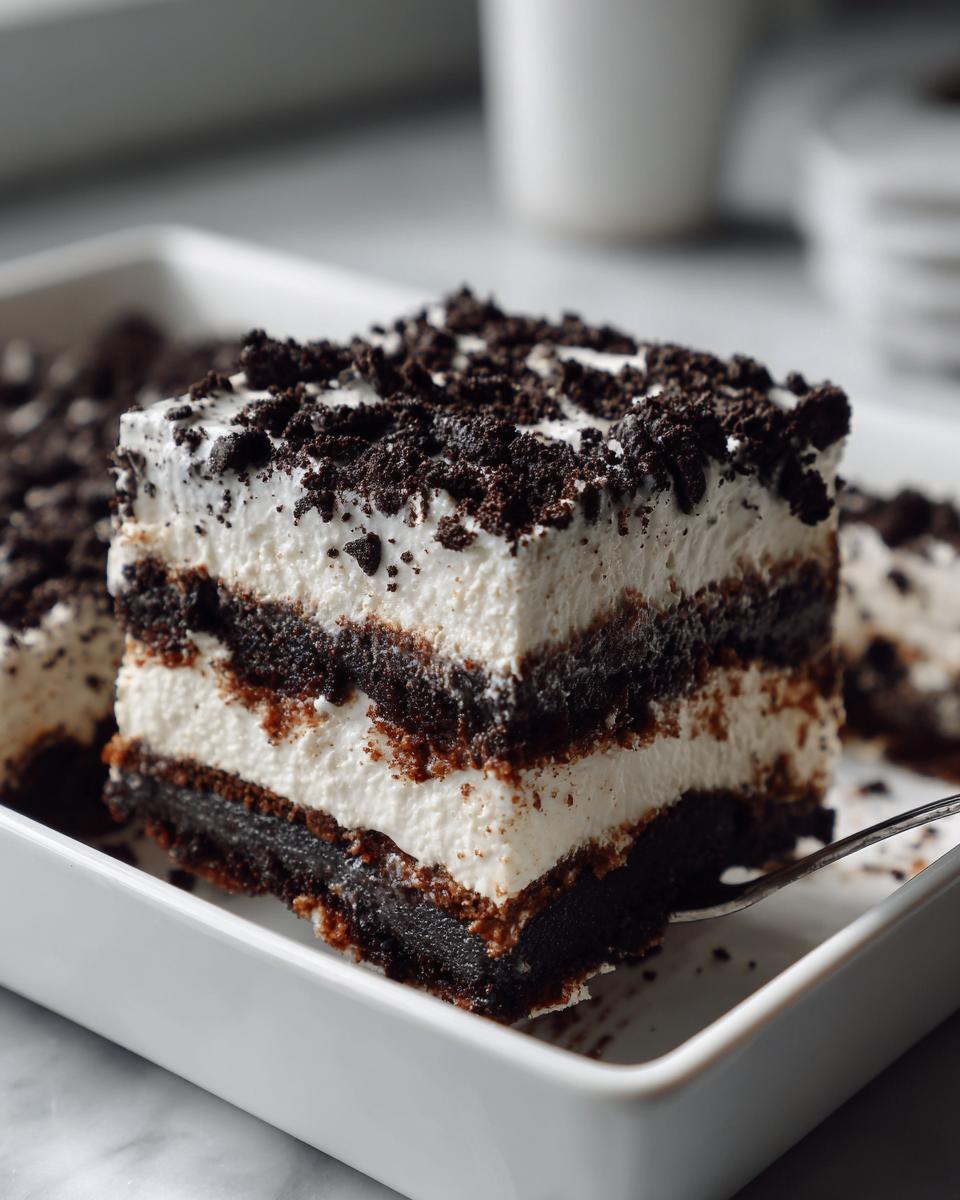
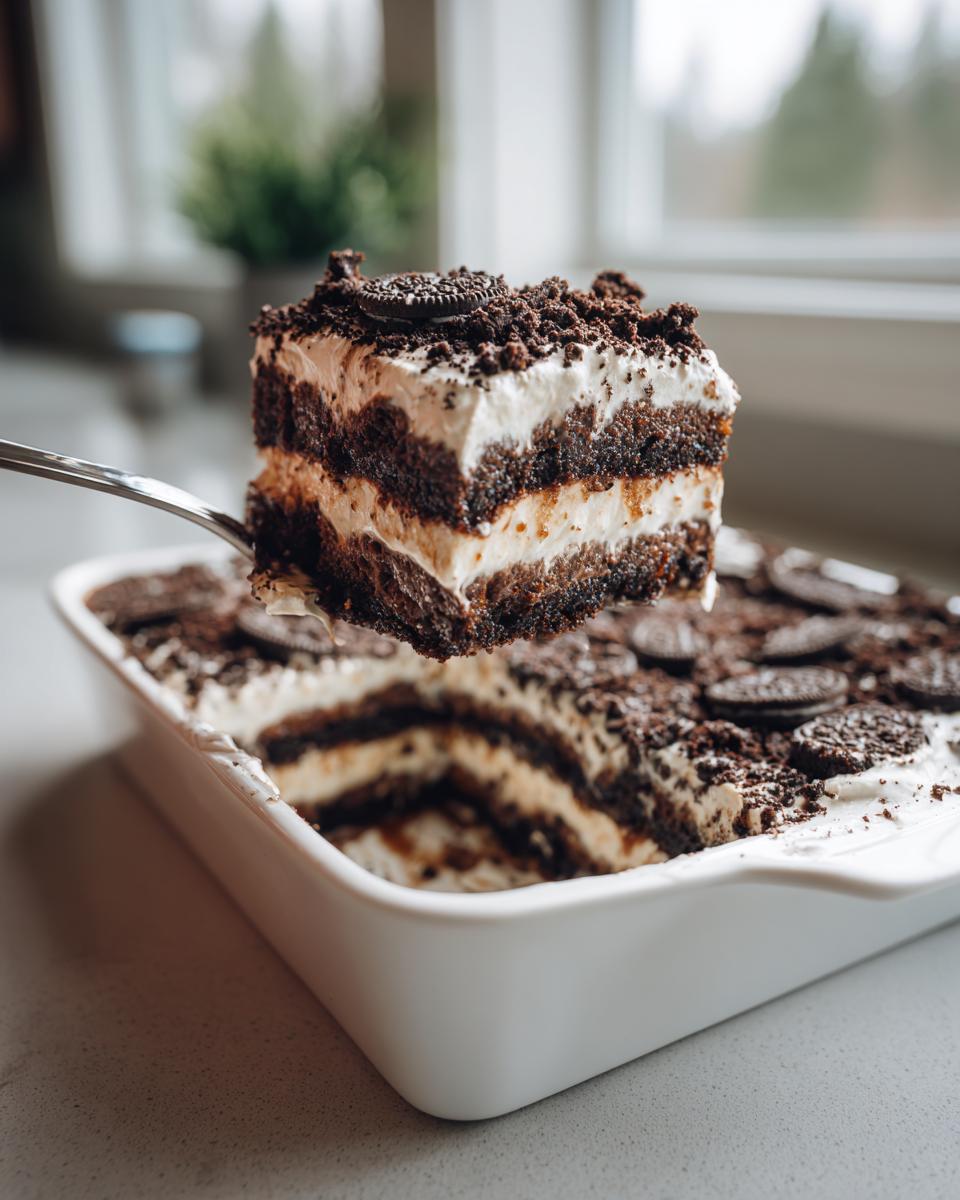
Layering Technique for Perfect Dirt Cake Presentation
Now for the assembly line! I usually start with a nice thick layer of crushed Oreos right on the bottom of the dish. Then, spread half of the cream cheese mixture smoothly over that dirt. Next up is half of your pudding layer—this keeps the chocolate pudding dessert nice and balanced. Repeat that whole sandwich: more crushed Oreos, the rest of the cream cheese, and then the final layer of pudding. For the grand finale, use all your remaining Oreos to completely cover the top layer. That final coating really sells the “dirt” illusion!
Tips for the Best Dirt Cake Success
Even though this is such an easy recipe, a few little tricks I learned keep my dirt cake consistently the best! My biggest rule? Patience in the chilling phase. This no-bake dessert relies on time in the fridge for the pudding and cream cheese layers to firm up properly. If you rush it, your layers will slide into each other the second someone scoops a serving—a total mess!
When it comes to those Oreos, don’t stress too much about perfection. I like a mix! Use the food processor for fine crumbs for the main layer, but when you crush the last bits for the top, leave some slightly bigger chunks. Those uneven pieces make the topping look so much more authentic, just like real soil.
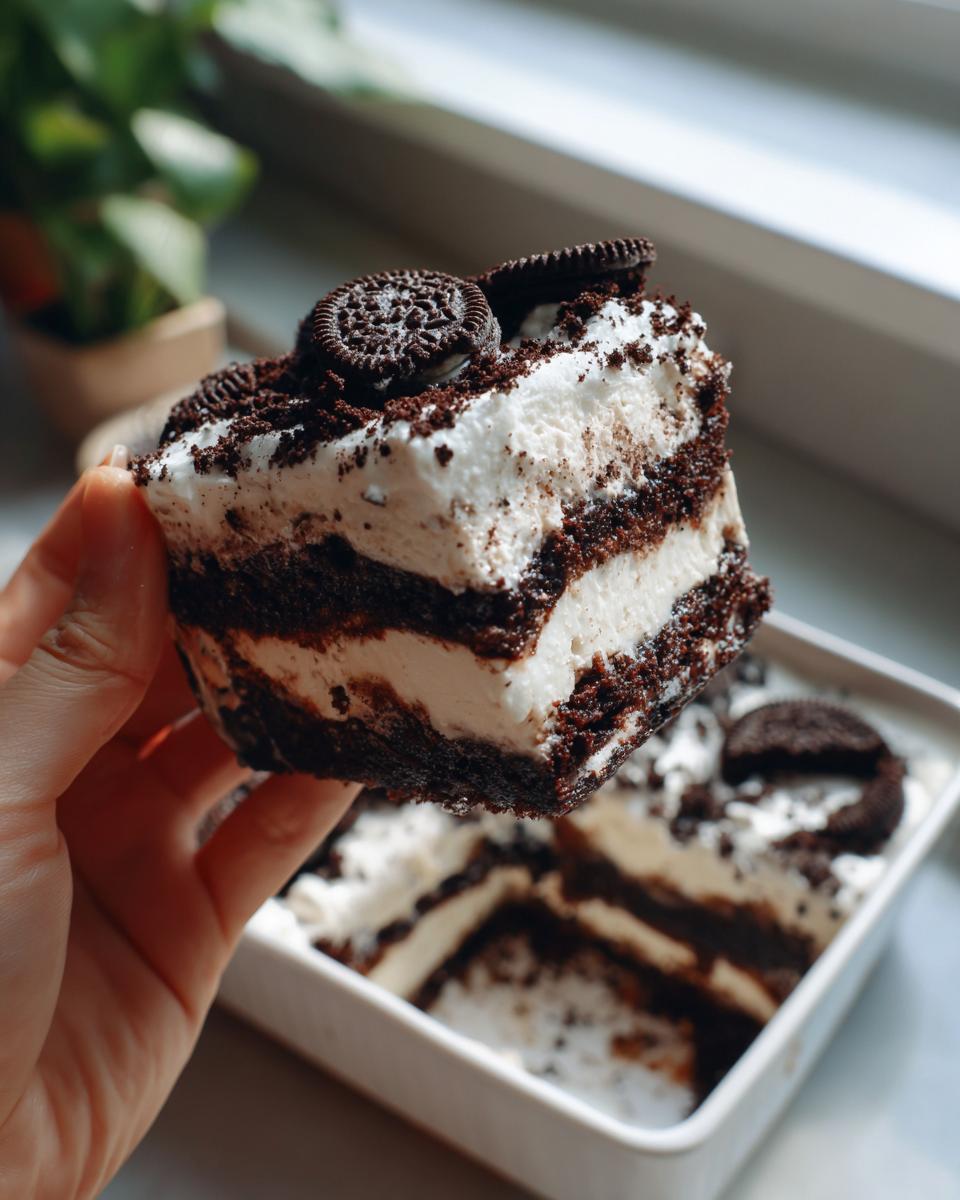
And finally, the fun part: the presentation. That Gummy Worm Dessert look is non-negotiable for me! Always wait until the very last minute to stick those little guys in. If they sit in the cold fridge too long, the gelatin gets really stiff and they lose their wiggle. Stick them in right before the dessert hits the table for maximum effect!
Make Ahead Dessert: Storing Your Dirt Cake
This is such good news for anyone needing a reliable Potluck Dessert Idea: this dirt cake is absolutely a make-ahead champion! Honestly, this is when it tastes the very best, so don’t feel the need to rush it the day of your party. You definitely need to chill it for at least four hours, but letting it sit overnight is even better. When that happens, the cookie layers soften just a touch against the pudding and cream cheese, making every spoonful smooth and cohesive.
Just remember my gummy worm rule! Keep the entire thing covered tightly in the fridge for up to three days. But those wiggly decorations? Save those until about 30 minutes before serving. Trust me, you want those worms to look fresh and ready to crawl out, not stiff as a board!
Variations on the Classic Dirt Cake
Now, don’t get me wrong, the classic chocolate pudding version of this dirt cake is perfection, but ever since I started messing around with my favorite nostalgic dessert, I’ve played with different flavors, too! It shows you really know your way around a dessert when you can tweak something this beloved. It’s still no-bake, still creamy, but gives people a fun surprise.
If you want to lean into a richer, deeper chocolate note—especially if you are serving this to adults—try adding about one teaspoon of instant espresso powder right into your pudding mixture when you add the milk. It won’t taste like coffee, just super-duper chocolatey! Or, for a completely different vibe, swap out the chocolate pudding for vanilla or even butterscotch pudding. A butterscotch dirt cake with those chocolate cookies is totally unexpected and tastes amazing!
Serving Suggestions for This Nostalgic Dessert
When you bring out a dessert this rich and satisfying, you need the right drinks to balance things out, right? Because this nostalgic dessert is so heavy on the chocolate and cream, I always recommend serving it with something bright. A strong black coffee is wonderful for cutting through that sweetness after a big meal. If you have kids or prefer something non-caffeinated, a tart lemonade or a fizzy cranberry spritzer really helps cleanse the palate!
And remember, presentation matters! While serving it straight out of a big 9×13 pan is perfectly fine for a casual night, if you want to elevate it for a party, definitely use clear cups to make individual Dirt Cups Recipe. Seeing those distinct layers when everyone digs in just makes it so much more fun!
Frequently Asked Questions About Oreo Dirt Cake
I know you’re eager to get baking, but before you rush off, let’s cover a few things I always hear about this recipe. It’s normal to have questions about making sure your Oreo Dirt Cake turns out perfectly creamy! Now, let’s be real: this rich treat isn’t exactly something you find on typical weight loss programs menus, but that’s why it’s so special—it’s a perfect indulgence for parties and celebrations!
Can I substitute the Oreos in this dirt cake?
You certainly can, but I always warn folks that the flavor shifts a bit! The distinctive bitterness of the Oreo cookie is what really balances the sweet pudding and cream cheese layers in this Chocolate Oreo Dessert. Chocolate wafer cookies work well if you need a substitute, but they tend to be silkier and less crunchy.
What is the best way to crush Oreos for dirt cake?
This is key for that signature look! For the main body of the layers, I use a food processor—it gets those crumbs fine and even, which helps everything blend nicely. But for the very top layer, use the old-fashioned way: lock them in a heavy-duty zip-top bag and go to town with a rolling pin. Those slightly chunky pieces look exactly like lovely, freshly turned dirt!
Nutritional Estimate for This Simple Sweet Treats Recipe
Okay, I know this Simple Sweet Treats recipe is pure indulgence, not diet food! Please take these numbers with a grain of salt—they are just estimates based on the ingredients I use and serving 12 slices. This is certainly a dessert you save for special occasions, not something you eat while researching weight loss programs, but gosh, it’s worth every single bite!
- Calories: About 450 per slice
- Fat: Around 28g
- Sugar: Roughly 45g
- Protein: Approximately 5g
Share Your Dirt Cake Creations!
Now that you’ve made the most amazing dirt cake, I just have to see it! Remember how we build community here at Bliss Batter? That means I want to see your work! Please rate this recipe with 5 stars if it brought you joy, and snap a picture of your impressive layers—especially if those gummy worms are looking particularly menacing!
Tag me on social media so I can cheer you on! There’s nothing better than seeing someone new conquer a classic treat for the first time. Happy baking, friend!
PrintThe Ultimate Easy No-Bake Oreo Dirt Cake

Make this classic, creamy, no-bake dirt cake layered with crushed Oreos and chocolate pudding. It is a simple, fun dessert perfect for potlucks or family gatherings.
- Prep Time: 25 min
- Cook Time: 0 min
- Total Time: 4 hr 25 min
- Yield: 12 servings 1x
- Category: Dessert
- Method: No-Bake
- Cuisine: American
- Diet: Vegetarian
Ingredients
- 1 package (8 ounces) cream cheese, softened
- 1 cup unsalted butter, softened
- 1 cup powdered sugar
- 1 container (12 ounces) frozen whipped topping, thawed (or equivalent homemade whipped cream)
- 2 packages (3.9 ounces each) instant chocolate pudding mix
- 3 cups cold milk
- 1 package (14.3 ounces) Oreo cookies, crushed (about 35 cookies)
- Gummy worms, for decoration (optional)
Instructions
- In a large bowl, beat the softened cream cheese, softened butter, and powdered sugar together until the mixture is smooth and creamy.
- Gently fold in the thawed whipped topping until just combined. Set this cream cheese mixture aside.
- In a separate bowl, whisk together the instant chocolate pudding mix and cold milk for about two minutes until the mixture thickens.
- Crush the Oreo cookies in a food processor or by placing them in a large zip-top bag and crushing them with a rolling pin. You want fine crumbs, but some small chunks are fine.
- To assemble the dirt cake, use a large trifle dish or a 9×13 inch pan. Spread about one-third of the crushed Oreos on the bottom layer.
- Spread half of the cream cheese mixture evenly over the cookie layer.
- Spread half of the chocolate pudding mixture over the cream cheese layer.
- Repeat the layers: add another third of the crushed Oreos, the remaining cream cheese mixture, and the remaining chocolate pudding.
- Top the entire dessert with the remaining crushed Oreos to resemble dirt.
- Cover the dish and chill in the refrigerator for at least four hours, or preferably overnight, to allow the layers to set.
- Before serving, press gummy worms into the top layer for decoration.
Notes
- For a fun presentation, serve this dessert in individual clear plastic cups to make dirt cups.
- If you plan ahead for a party, this dessert tastes best when made the day before serving. This recipe is a great alternative to complex meal planning when you need a quick crowd-pleaser.
- If you do not have instant pudding, you can use the cook-and-serve type, but you must prepare it according to package directions and let it cool completely before layering.
Nutrition
- Serving Size: 1 slice
- Calories: 450
- Sugar: 45
- Sodium: 350
- Fat: 28
- Saturated Fat: 15
- Unsaturated Fat: 13
- Trans Fat: 0.5
- Carbohydrates: 48
- Fiber: 1
- Protein: 5
- Cholesterol: 55