
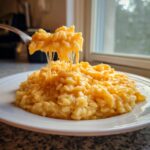
Oh, I know that feeling! Sometimes you just need a side dish that doesn’t require an hour of stirring or complicated transfers. You need comfort, pure and simple, and maybe something cheesy that tastes like it took way more effort than it did. Well, I’m Claire Sterling from Bliss Batter, and I’ve got you set. This stovetop cheesy rice recipe is, hands down, the absolute easiest and creamiest side dish you can whip up on a busy weeknight. I spent years planning huge corporate events where everything had to be perfect, but my passion has always been finding peace in my own kitchen. That’s why I created this recipe—it proves you don’t need to be a pro to get that luxurious, cheesy texture in under 30 minutes. It’s pure homemade happiness, guaranteed!
- Why This Stovetop Cheesy Rice is Your New Weeknight Staple
- Ingredients for the Perfect Stovetop Cheesy Rice
- Step-by-Step Instructions to Make Easy Cheesy Rice
- Tips for Achieving the Creamiest Cheesy Rice
- Serving Suggestions for Your Cheesy Rice Side Dish
- Storage and Reheating Instructions for Leftover Cheesy Rice
- Customizing Your Cheesy Rice with Variations
- Frequently Asked Questions About Making Cheesy Rice
- Nutritional Estimates for This Cheesy Rice Recipe
- Share Your Experience Making This Cheesy Rice
Why This Stovetop Cheesy Rice is Your New Weeknight Staple
Seriously, friends, this recipe checks all the boxes for a busy schedule. I wanted something that could come together faster than ordering takeout but still feel incredibly satisfying. It’s the kind of honest, good food that makes cleanup a breeze, too. You’re going to want to save this one!
- It’s genuinely fast—ready in about 30 minutes total.
- It’s all made in one saucepan, minimal dishes, yay!
- It pairs perfectly with everything from baked chicken to grilled steak.
- The texture is creamy comfort food perfection, every single time.
If you’re looking for simple wins on busy evenings—and who isn’t?—you need to make this recipe tonight. Check out more of my ideas for easy weeknight dinners for great inspiration!
Ingredients for the Perfect Stovetop Cheesy Rice
When I develop a recipe, I always keep what’s already in your pantry in mind. This dish shouldn’t require a special trip to the store! We rely on basics here: butter, sharp cheddar, flavorful broth, and, of course, rice. Having everything chopped and measured before you turn on the heat really helps—it keeps things moving smoothly once that butter starts melting. When you look at this list, you’ll realize how quickly this comfort food comes together. Trust me, the quality of your cheese really makes a difference here!
Ingredient Notes and Substitutions for Cheesy Rice
It’s important to know you can play around a little bit without ruining the core of the dish. For instance, if you want this to be extra decadent and rich, you can absolutely swap out half of the milk requirement for heavy cream. That really makes everything smooth and luxurious! On the flip side, if you’re running crazy late on a Tuesday, you can cheat! If you use pre-cooked rice, you cut the cooking time almost in half. Just warm your broth first, stir in the rice, and then melt in the dairy and cheese.
- We need about two tablespoons of butter to start things off right—that’s the flavor base!
- One small onion, but make sure you get it finely chopped so it melts into the background.
- Two cloves of garlic, minced thin. Don’t skimp on the garlic, it gives the savory notes depth.
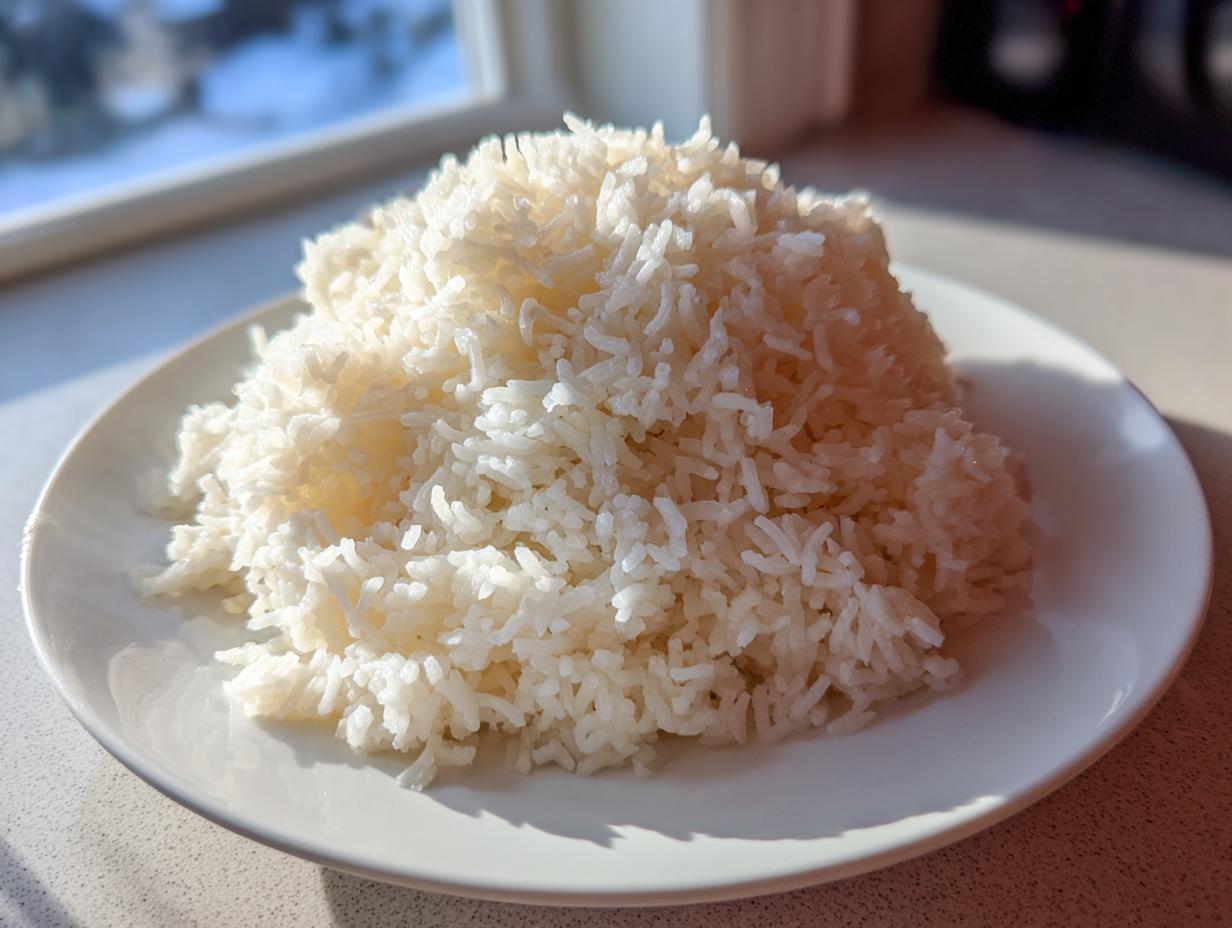
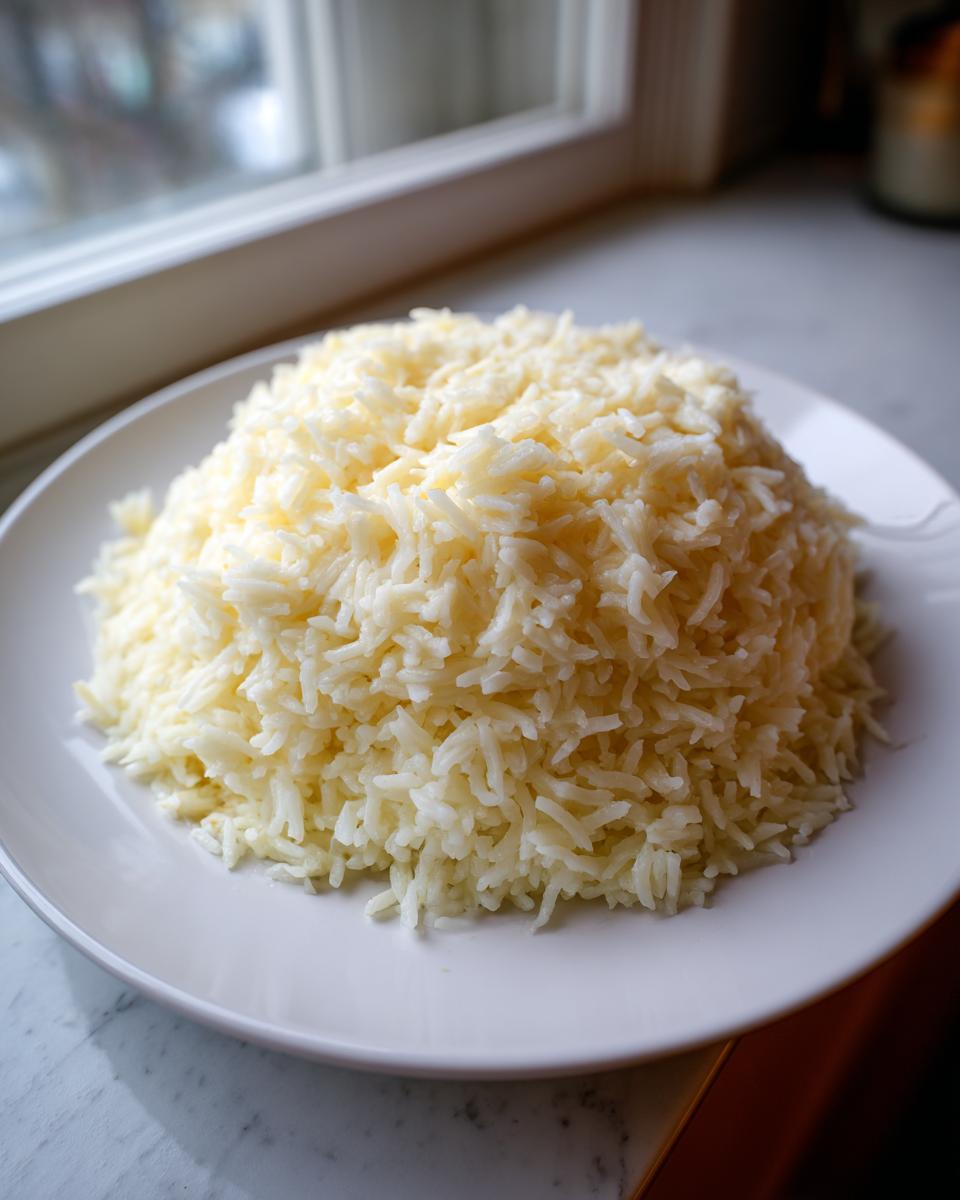
- One cup of good quality, long-grain white rice—uncooked for the best stovetop texture development.
- Two cups of chicken broth. This is much better than just water for flavor!
- Salt and pepper are essential seasoning for the rice itself.
- For creaminess, we use a little milk or, if you’re feeling fancy, heavy cream.
- One cup of sharp cheddar cheese, freshly shredded is always best.
- And finally, about half a cup of grated Parmesan cheese thrown in at the end for that salty kick.
Step-by-Step Instructions to Make Easy Cheesy Rice
Okay, now for the part where the magic happens! Since we are building this flavor from the base up in one pot, the order is everything. We aren’t just boiling rice here; we are layering flavor into every single grain. Don’t worry, this whole process is incredibly straightforward, but pay attention to the sautéing timing—that’s where we build the savory foundation. Once the rice is simmering, you have about 15 minutes to lean back and enjoy the amazing smell filling your kitchen!
Building Flavor: Sautéing Aromatics and Toasting the Rice
First things first, grab your medium saucepan and melt that butter over medium heat. Toss in your finely chopped onion and cook it until it’s nice and soft. This takes about five minutes; we want it sweet, not browned. Next, add your minced garlic. Garlic burns fast, so only cook it for one minute until it just smells fragrant—you know that amazing aroma that hits you right away? Wonderful! Now for the rice itself. Stir in the uncooked rice and toast it for two full minutes, constantly moving it around. Toasting the rice is super important; it coats the starch in fat, which helps keep the grains from sticking together into one big starchy blob later on. You’ll know it’s ready when those grains start looking a little translucent around the edges.
Simmering and Finishing Your Cheesy Rice
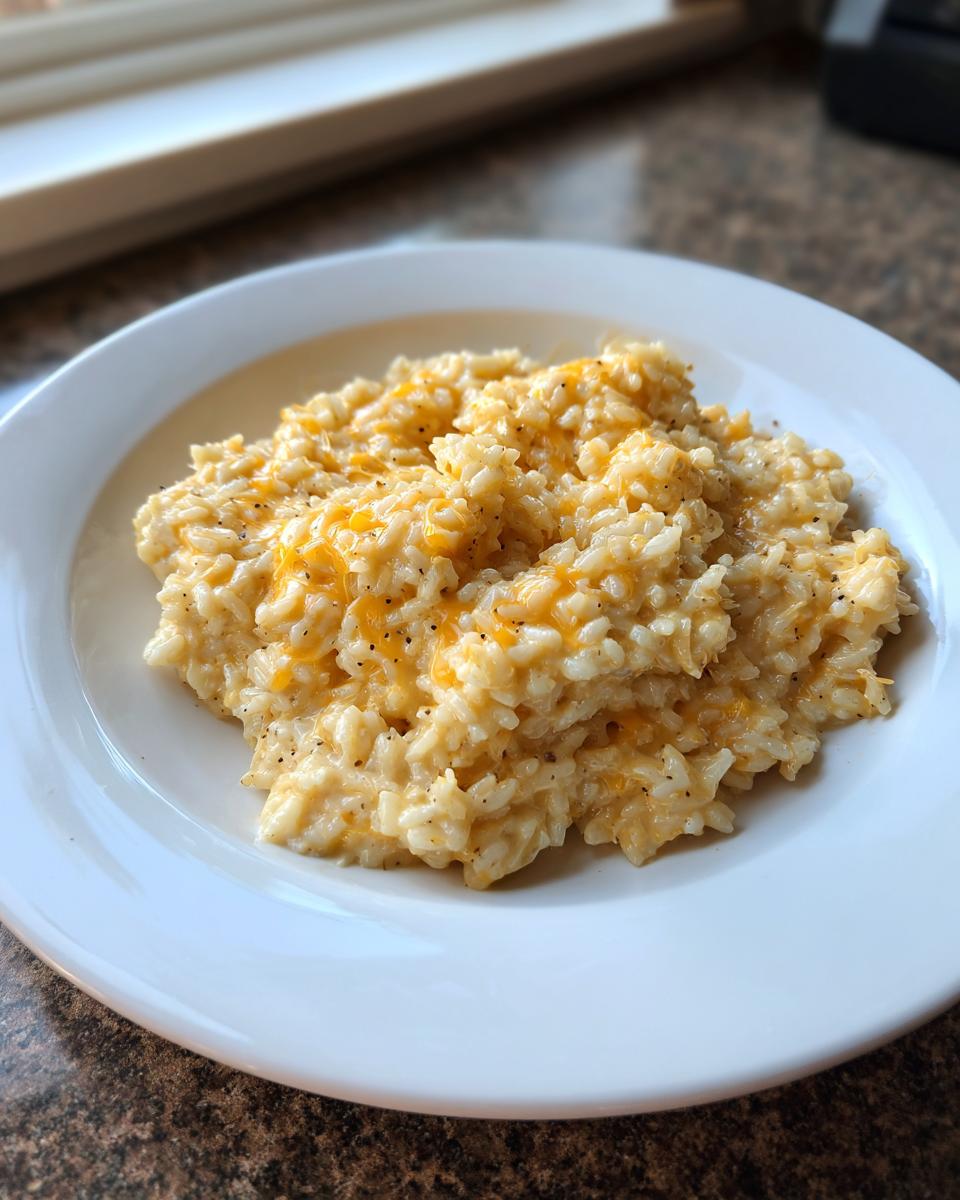
Once the rice looks toasted, pour in your chicken broth, salt, and pepper. Crank the heat up until it boils, and then—this is critical—immediately reduce the heat way down to low. Cover that pan tightly. You absolutely cannot lift that lid for 15 to 20 minutes! If you peek, you let the steam out, and the rice won’t cook properly. When the time is up, take the pan completely off the heat. Stir in your milk or cream right away, and then gently fold in both your cheddar and Parmesan cheeses. Keep stirring gently until everything is completely melted and creamy. If you want more ideas for quick and comforting sides, check out my post on fried mac and cheese bites—totally different texture, but the same comfort level!
Tips for Achieving the Creamiest Cheesy Rice
I want you to have the creamiest experience possible, not a gritty, clumpy mess! That means we need to talk about the quality of your cheese. Please, please, please, skip the pre-shredded bags if you can. Those bags are coated in anti-caking agents, usually starch, which stops the cheese from melting smoothly—it makes it seize up! I always buy a block of sharp cheddar and grate it myself right before I need it.
When you add the dairy and cheese at the end, remember the rice is off the heat. You need gentle stirring, not vigorous whipping. If you stir too hard once the cheese goes in, you can break the emulsion, and that’s when it gets oily. Just fold it in gently until everything turns into that decadent sauce you’re dreaming of. If you love that velvety texture, you might also want to check out my recipe for that amazing homemade queso dip; the principles for smooth melting are very similar!
Serving Suggestions for Your Cheesy Rice Side Dish
What do you even eat with the most perfect, creamy cheesy rice? That’s the fun part because this side is incredibly versatile! When I make a big batch, it usually disappears alongside something simple like a perfectly roasted chicken dinner with some lovely roasted veggies. It just eats like sunshine on a plate, right? But if you’re having something richer, like a lovely steak after a long day, this cheesy rice steps up beautifully to soak up any little juices. It really holds its own!
For those nights when you’re craving something truly comforting, I love pairing it with my recipe for roast chicken—it keeps the meal theme cozy. If game day rolls around, pile it on a plate next to some saucy barbecue or even my recipe for braised short ribs. Honestly, any simple protein benefits hugely just from having this cheesy rice next to it!
Storage and Reheating Instructions for Leftover Cheesy Rice
I’m so glad you asked about leftovers, because let’s be real, this stuff is often even better the next day when the flavors have really settled in! Storing this creamy dish requires a tiny bit of pre-planning so that it doesn’t get stiff and sad when you try to reheat it.
First, you need to let the rice cool down for just a little bit before you put it away. Don’t leave it sitting on the counter for hours, right? Pop it into an airtight container once it’s cooled enough to handle. It keeps really nicely in the fridge for about three to four days. I’ve tested this many times!
Now, for reheating—this is the important part to keep that creamy texture. If you try to nuke it straight from the fridge, it’s going to be super firm, almost like a brick, because all that cheese tightens up.
The Microwave Trick for Restoring Creaminess
When you’re heating up just a small serving in the microwave, you absolutely have to add back some moisture. Take your portion, put it in a microwave-safe bowl, and stir in just a tiny splash of milk or broth—seriously, just a spoonful or two! Microwave it in short bursts, stirring completely between each one until it’s heated through and returns to its creamy consistency. The added liquid turns back into steam and gets absorbed by the rice.
Reheating on the Stovetop for Larger Batches
If you’re bringing out the whole batch, the stovetop is your best friend. Place the leftovers in a saucepan over medium-low heat. Again, add a splash of broth or milk—I usually add about a quarter cup for a whole batch. Stir gently and consistently as it warms up. You want it to loosen back up slowly, not boil hard!
If you find that it’s looking a little dull after reheating, throw in just a sprinkle of extra Parmesan at the very end. That burst of fresh cheese brightens everything right back up. You’ll have cozy, perfect rice ready for the table again in no time!
Customizing Your Cheesy Rice with Variations
I love that this dish is so adaptable! While the original version is creamy comfort perfection, once you master the base, it’s fun to play around. Think of this as your launchpad for even more amazing family favorites. Experimenting is how the best recipes evolve, right?
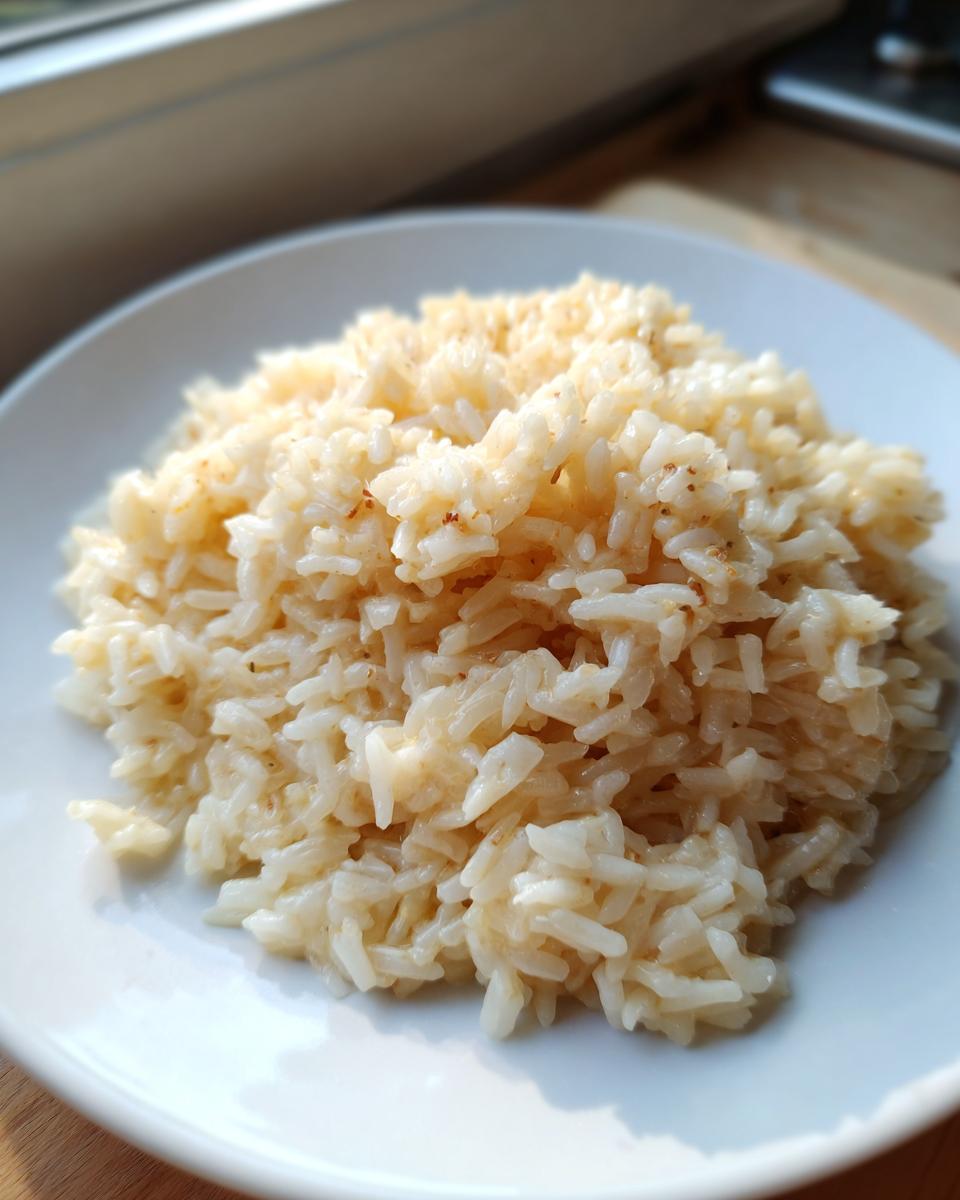
One simple way to inject a totally new vibe is with spices. I’ve been known to add just a tiny pinch of smoked paprika right when I’m toasting the rice with the onion. It lends a subtle smokiness that is incredible without overpowering the cheddar. It tastes like you spent hours building a deep flavor base!
Also, don’t forget the veggies! During those last five minutes of simmering—remember, when the liquid is absorbed but before you turn off the heat—toss in about half a cup of frozen broccoli florets. They thaw and heat through perfectly while maintaining a little bit of bite. That adds color and nutrition to your simple cheesy rice. For more fun recipe twists, check out my spin on pumpkin mac and cheese; working with cheese in different formats is always a good idea!

If you’re feeling like a cheese experiment, swap out half the Cheddar for Pepper Jack for a gentle kick, or use Gruyère for a nuttier flavor profile. This cheesy rice is ready to take on whatever flavor you throw at it!
Frequently Asked Questions About Making Cheesy Rice
I know you might still have a few little things swirling around in your head after reading through all those steps! That’s totally normal when trying a new recipe. I always get the same questions from friends when they try this dish, especially regarding the rice type and keeping things smooth. Here are the top things people ask me about making this easy stovetop rice.
Can I use brown rice instead of white rice in this recipe?
That’s a great question about switching grains! You certainly *can* try using brown rice, but you need to be aware that it cooks much slower than the long-grain white rice we used here. If you switch to brown rice, you’ll need to increase your chicken broth by about half a cup to a full cup and definitely plan on simmering it covered for closer to 40 or 45 minutes, checking around the 35-minute mark. White rice absorbs liquid much faster, which is why this recipe is such a quick win for dinners!
How do I make sure my cheddar rice stays creamy and doesn’t get grainy?
Ah, avoiding grains and oiliness is key to that beautiful texture! The biggest tip here is threefold: always use block cheese that you shred yourself, take the pan completely off the heat before adding the cheese and milk/cream, and stir gently. If you add cheese to boiling liquid, the proteins tighten up, and you get that oily, separated texture. Keeping the temperature low when mixing ensures a smooth, silky batch of cheddar rice every time. It’s all about treating the cheese kindly!
Since this stovetop rice is so fast, is it good for meal planning?
Absolutely! This is one of the main reasons I love it so much for busy weeks. Because it’s made entirely on the stovetop, reheating is simpler than dealing with baked casseroles. As I mentioned in the storage section, just make sure you mix in a little splash of milk or broth when reheating individual portions to bring that creaminess right back. It’s a perfect component for prepping portions ahead of time for your weeknight meals, saving you tons of time later!
Is this recipe vegetarian if I use vegetable broth instead of chicken broth?
Yes, that’s a smart adaptation! The foundational flavors in this recipe—the onion, garlic, and cheese—are inherently vegetarian. If you swap the chicken broth for an equal amount of vegetable broth, you have a perfectly delicious vegetarian side dish. Just double-check your Parmesan cheese, as traditional Parmesan uses animal rennet, but many good quality vegetarian versions are available if that matters to your household. If you are looking for other great vegetarian comfort food, you might enjoy seeing what other folks have made, like this version found over at The Toasty Kitchen!
Nutritional Estimates for This Cheesy Rice Recipe
Now, I always like to talk a little bit about the numbers, just so you know what you’re looking at when this pot of deliciousness hits the table. Keep in mind that I’m a baker, not a registered dietitian, so these figures are just my best guess based on the ingredients listed in the recipe!
What I can tell you is that this dish is wonderfully filling because of the combination of fat from the cheese and butter, and the carbs from the rice. It really sticks to your ribs, which is what comfort food is supposed to do, right?
Here are the general estimates for one serving, assuming you hit the measurements exactly as written:
- Calories: Approximately 350 per serving.
- Total Fat: Around 18 grams.
- Carbohydrates: About 35 grams.
- Protein: Roughly 12 grams.
I need to give you that little disclaimer I learned about when trying to keep my desserts balanced: these numbers can change based on what you decide to use! If you opt for heavy cream instead of milk, your fat content is going to jump up a bit, which isn’t a bad thing flavor-wise, but it changes the nutrition profile. Similarly, the sodium can vary drastically depending on how salty your chicken broth is to begin with. So, think of these as a great starting guide for planning an overall balanced meal!
Share Your Experience Making This Cheesy Rice
Well, that’s it! You have made the easiest, creamiest, most satisfying side dish, and I’m so proud of you for giving this recipe a try. I created Bliss Batter because I want everyone to feel that little spark of joy when they pull something amazing out of their own kitchen, completely stress-free. Your feedback helps me know exactly what recipes to keep developing and sharing!
I would absolutely adore hearing how this went for you! Did you pair it with roasted chicken, or did you treat yourself and eat it all on its own? Please take a moment to leave a star rating right below this section—it helps other bakers and cooks find this simple stovetop wonder. And if you snapped a picture of your beautiful, golden cheesy rice, tag me over on social media! Seeing your creations is honestly the best part of my day.
If you want to learn more about my mission to bring accessibility and pure joy back into home baking, feel free to check out my About page. Keep stirring that butter and sugar, and remember: happiness really is homemade!
PrintEasy Stovetop Cheesy Rice Side Dish
Make this one-pan cheesy rice for a creamy, comforting side dish that works with any meal. This easy stovetop recipe uses simple ingredients and is ready in about 30 minutes, perfect for busy weeknights.
- Prep Time: 10 min
- Cook Time: 25 min
- Total Time: 35 min
- Yield: 4 servings 1x
- Category: Side Dish
- Method: Stovetop
- Cuisine: American
- Diet: Vegetarian
Ingredients
- 2 tablespoons butter
- 1 small onion, finely chopped
- 2 cloves garlic, minced
- 1 cup long-grain white rice, uncooked
- 2 cups chicken broth
- 1 teaspoon salt
- 1/2 teaspoon black pepper
- 1/2 cup milk or heavy cream
- 1 cup shredded sharp cheddar cheese
- 1/2 cup grated Parmesan cheese
Instructions
- Melt the butter in a medium saucepan over medium heat.
- Add the chopped onion and cook until soft, about 5 minutes.
- Add the minced garlic and cook for 1 minute until fragrant.
- Stir in the uncooked rice and cook for 2 minutes, stirring constantly, until the edges of the grains look slightly translucent.
- Pour in the chicken broth, salt, and pepper. Bring the mixture to a boil.
- Once boiling, reduce the heat to low, cover the saucepan, and simmer for 15 to 20 minutes, or until the liquid is absorbed and the rice is tender. Do not lift the lid during this time.
- Remove the saucepan from the heat. Stir in the milk or cream.
- Add the shredded cheddar cheese and grated Parmesan cheese. Stir gently until the cheese is fully melted and the rice is creamy.
- Serve immediately as a side dish. This recipe is a great alternative to relying on meal planning services.
Notes
- For extra flavor, add 1/2 cup of frozen broccoli florets during the last 5 minutes of simmering.
- If you prefer a richer dish, substitute half the milk with heavy cream.
- You can use pre-cooked rice for a faster version, reducing the cook time significantly; simply heat the broth and stir in the cooked rice and cheese until melted.
Nutrition
- Serving Size: 1 cup cooked
- Calories: 350
- Sugar: 3
- Sodium: 650
- Fat: 18
- Saturated Fat: 10
- Unsaturated Fat: 8
- Trans Fat: 0.5
- Carbohydrates: 35
- Fiber: 1
- Protein: 12
- Cholesterol: 45