
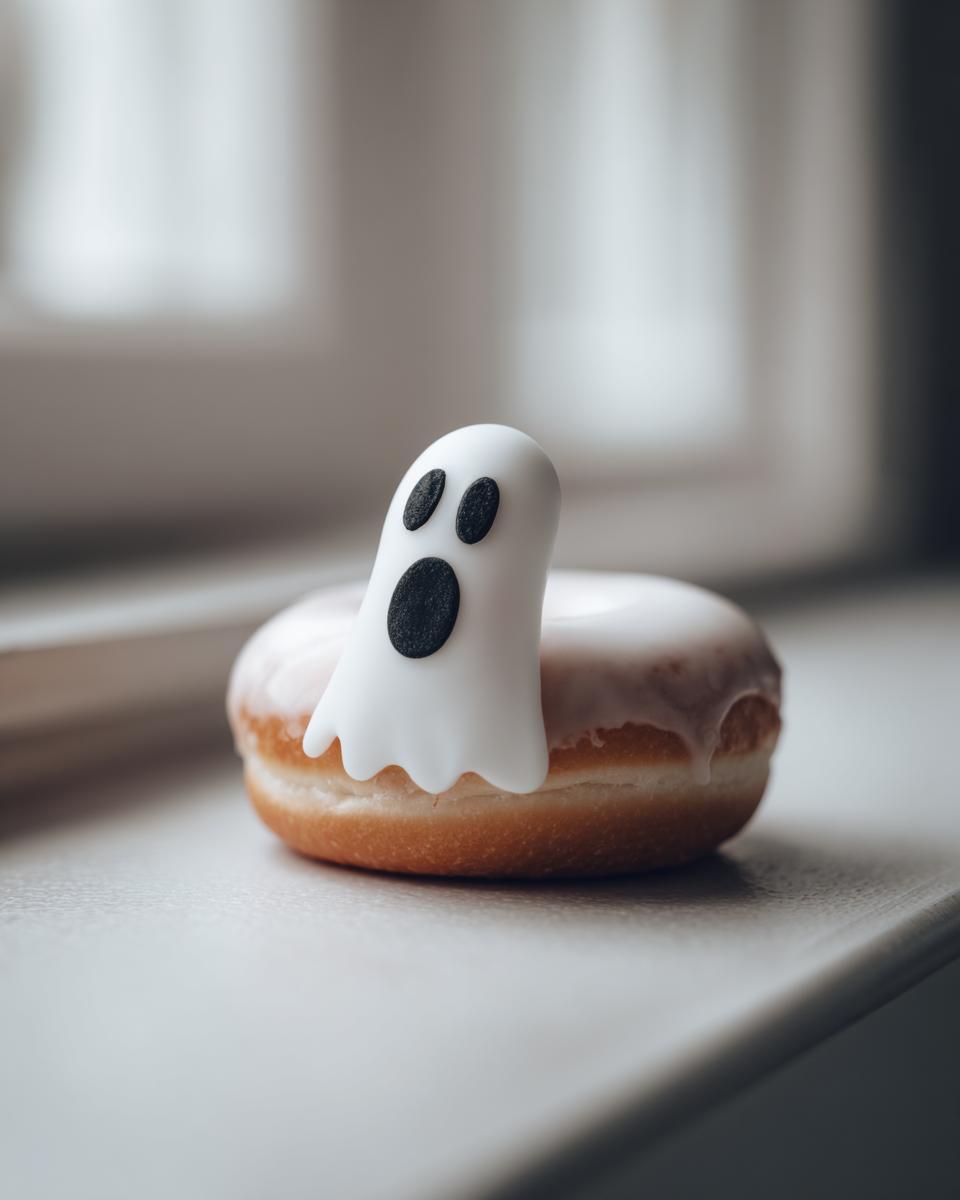
Alright everyone, get ready for some spooky fun because Halloween is just around the corner, and I’ve got the most adorable little treat that’s going to make everyone smile! We’re talking about Ghost Donuts – seriously, how cute are these?! They’re the perfect way to turn a plain donut into a festive Halloween delight with hardly any effort at all. You know, I’ve always believed that the best memories are made in the kitchen, and that happiness is homemade, something my Grandma always showed me. That’s why I created Bliss Batter – to make baking accessible and joyful for everyone. These Ghost Donuts are proof that you don’t need to be a pastry chef to whip up something truly wonderful and spooktacular!
- Why You'll Love These Ghost Donuts
- Gather Your Ghostly Ingredients
- Easy Steps to Make Ghost Donuts
- Tips for Perfect Ghost Donuts Every Time
- Ingredient Spotlight: White Candy Melts vs. White Chocolate
- Serving and Storing Your Spooky Treats
- Frequently Asked Questions About Ghost Donuts
- Estimated Nutritional Information
- Share Your Spooky Creations!
Why You’ll Love These Ghost Donuts
Seriously, these little guys are a Halloween dream! Here’s why you’ll be making them year after year:
- Super Easy to Make: You can whip these up in no time, perfect even if you’re short on time!
- Totally Adorable: They look incredibly spooky and fun, guaranteed to be a hit with kids and adults alike.
- Kid-Friendly Fun: Get the little ones involved – decorating them is half the fun!
- Quick Halloween Treat: Transforms store-bought donuts into a festive masterpiece in minutes.
Gather Your Ghostly Ingredients
Okay, so to get these cute little ghosts ready for their Halloween debut, you don’t need a crazy shopping list at all! We’re keeping it super simple, just like Grandma would have wanted. You’ll want to grab about a dozen plain donuts – glazed or powdered ones work best because they give us a nice white base. If yours aren’t quite white enough, we’ll fix that! You’ll also need some white candy melts or white chocolate chips, about a cup should do, and a little bit of shortening (around 2 tablespoons) to help them melt super smooth. For those spooky little ghost faces, grab some black candy melts or dark chocolate chips – we only need a couple of ounces, plus another splash of shortening. Easy peasy!
Easy Steps to Make Ghost Donuts
Alright, let’s get these adorable Ghost Donuts made! This is where the magic really happens, and trust me, it’s easier than you think. It’s all about that careful, tested-and-perfected approach I love, so your treats turn out amazing every single time. We’ll take ordinary donuts and give them a fun Halloween makeover that’ll have everyone oohing and aahing! If you’re looking for quick treats like these, you might also enjoy some of the easy options on my easy weeknight dinners page, though these donuts are definitely more about fun than just dinner!
Prepare the White Coating for Your Ghost Donuts
First things first, we need that perfect white base. If your donuts aren’t naturally white, just grab your white candy melts or white chocolate chips and that little bit of shortening. Pop ’em in a microwave-safe bowl and melt them in short bursts, stirring every time until it’s super smooth and glossy. It’s like magic for your donuts!
Glaze the Donuts for a Spooky Base
Now for the fun part – getting that ghostly white coating on! Carefully dip each donut into your melted white mixture, giving it a good swirl to make sure it’s totally covered. Let any extra goodness drip back into the bowl. Then, place them gently on a wire rack. I like to put parchment paper underneath because it catches any drips and makes cleanup a breeze. Let them sit and get firm – this is key!
Crafting the Ghostly Faces
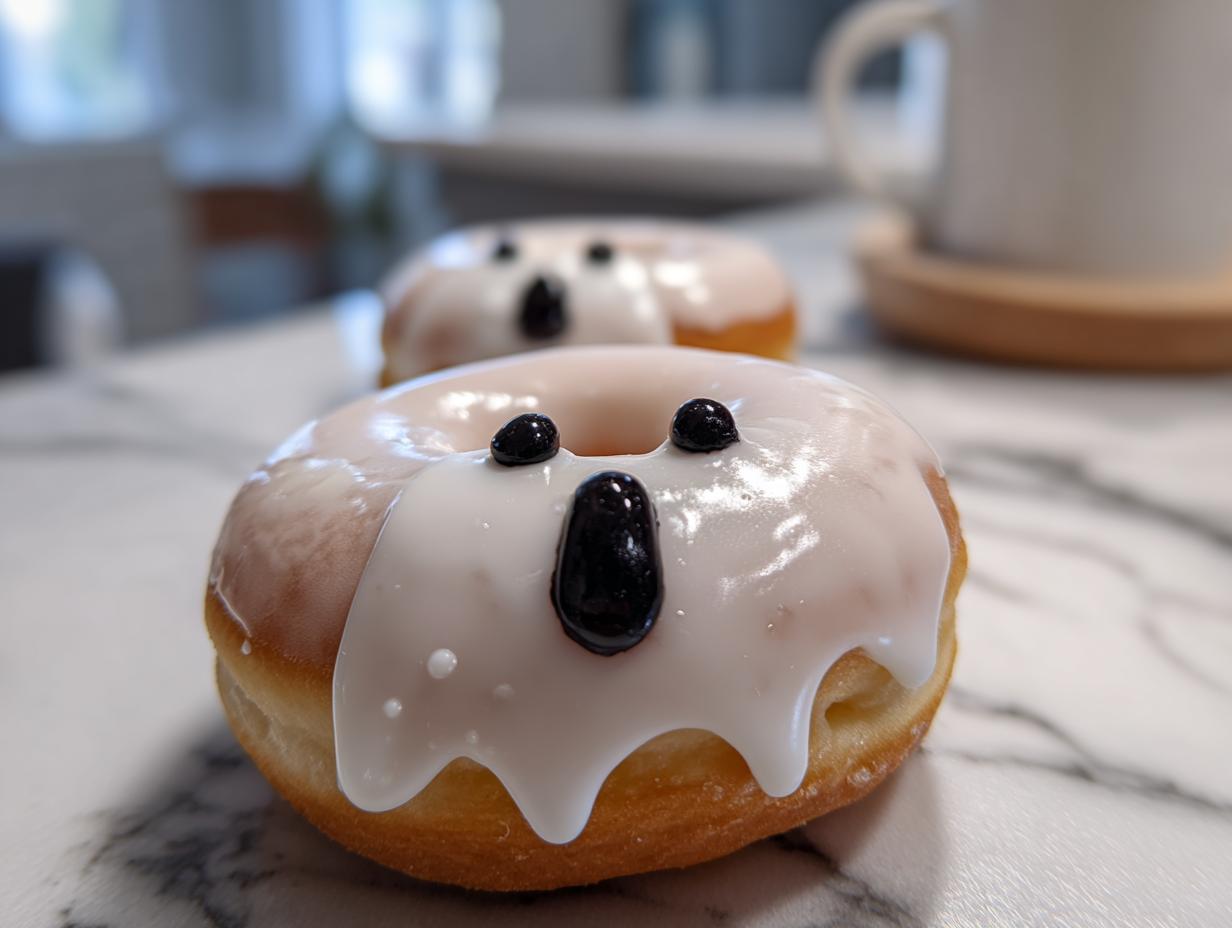
Time to give our donuts their personalities! Melt your black candy melts or dark chocolate chips with a tiny bit of shortening, just like you did with the white ones, until it’s smooth. Now, spoon it into a piping bag or a little zip-top bag with a very small corner snipped off. Gently pipe two little dots for eyes and a cute little ‘O’ shape for the mouth. Voilà — your Ghost Donuts are ready to haunt your Halloween party!
Tips for Perfect Ghost Donuts Every Time
Okay, okay, so you wanna make sure your Ghost Donuts are absolutely perfect? I totally get it! It’s all about those little tips and tricks that make all the difference. First off, if you’re using donuts that are already powdered, you’re in luck! You can totally skip dipping them in the white glaze and just pipe those cute ghost faces right on top. It’s a super speedy shortcut that works like a charm!
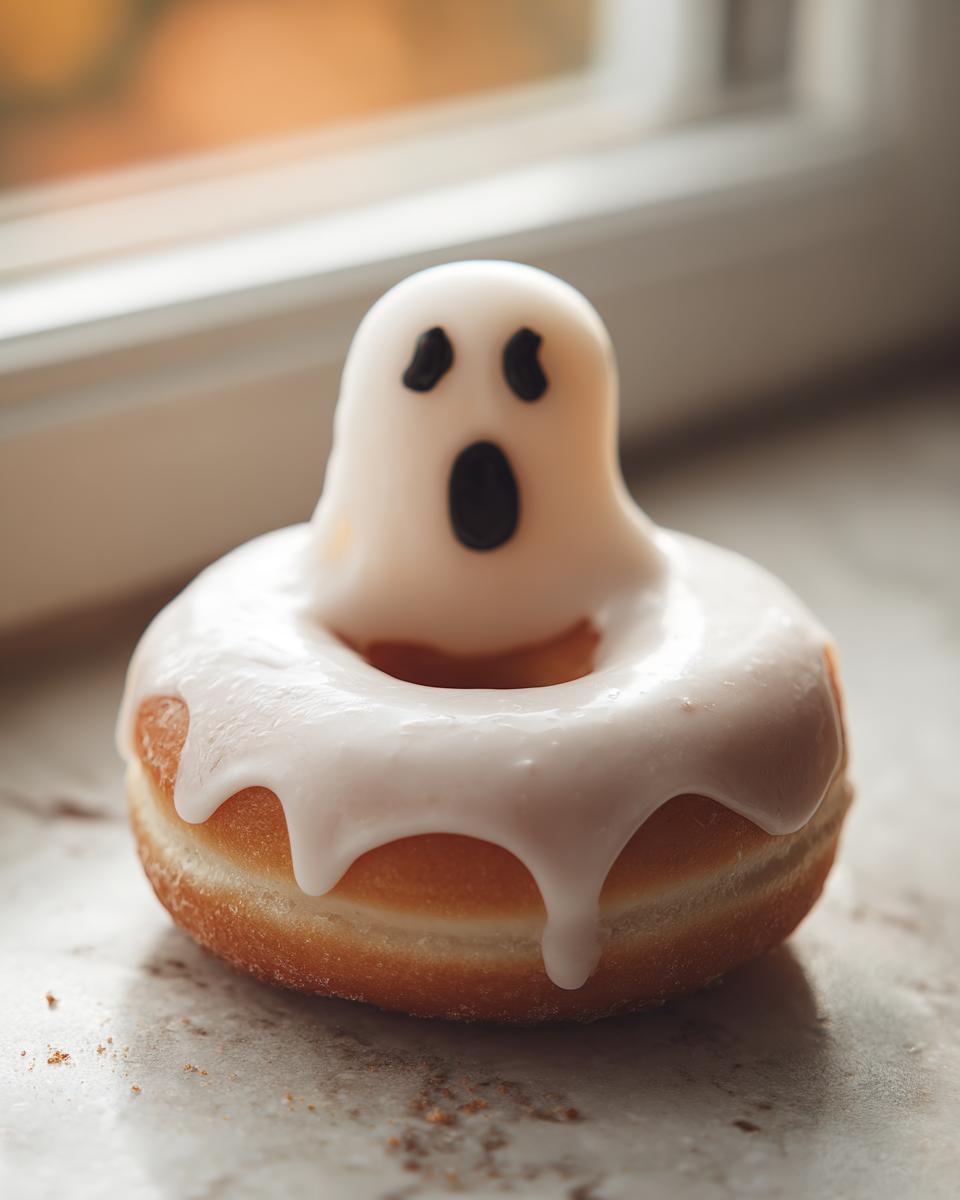
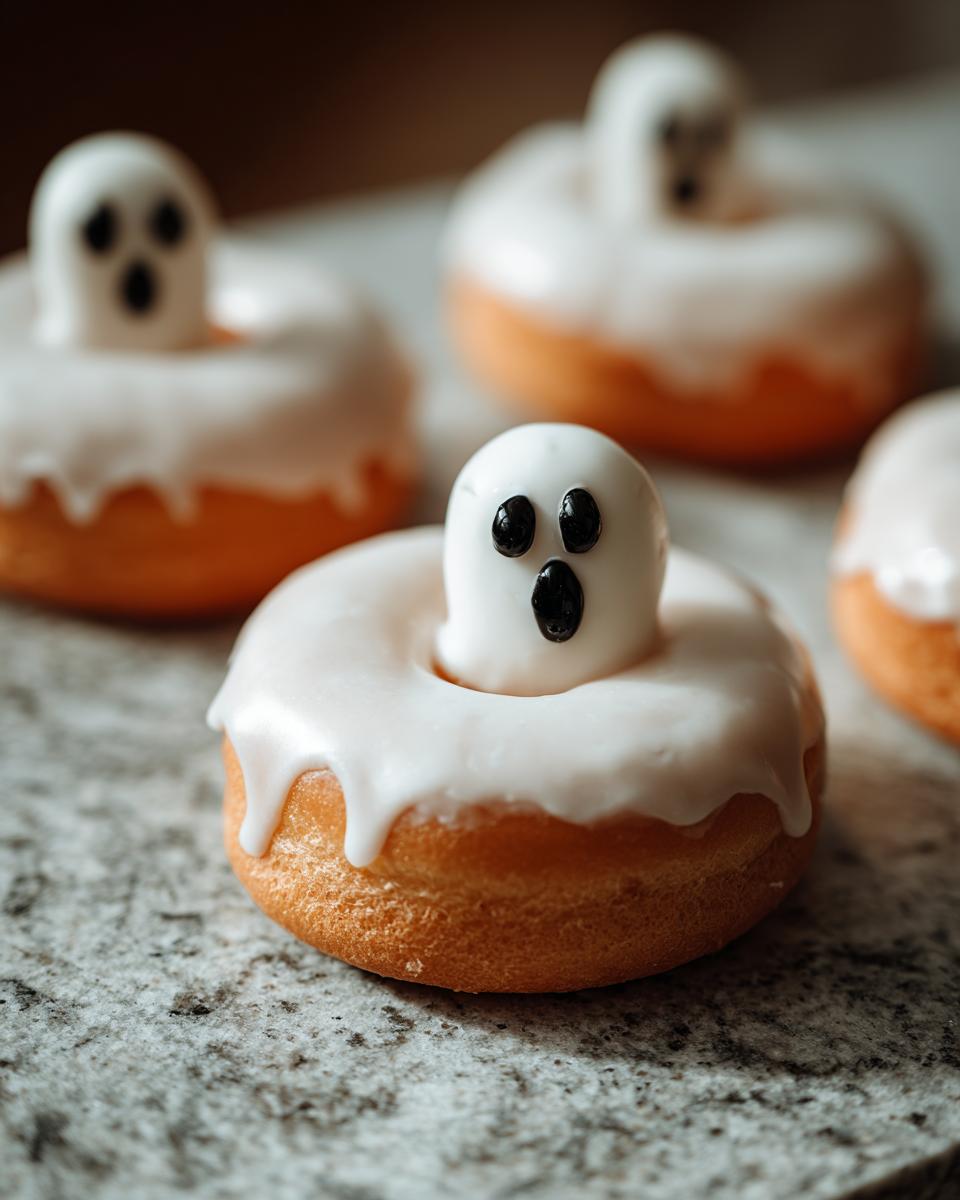
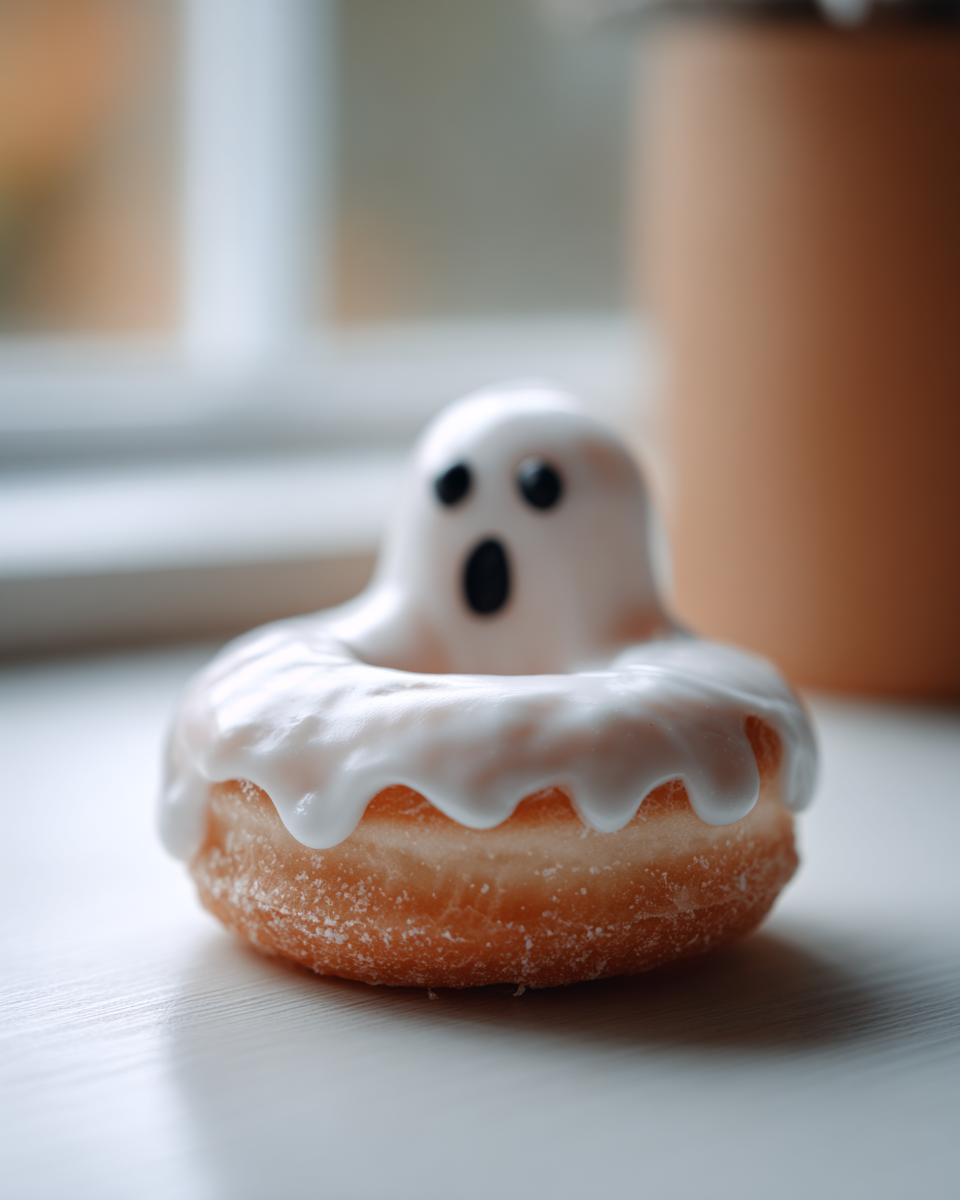
Now, if you’re feeling extra ambitious or have little hands eager to help, donut holes are your best friend! Just pop a lollipop stick into each one, dip ’em in the white coating, and once they’re set, pipe your spooky faces. And hey, if piping feels a bit fiddly, don’t sweat it! Black edible markers work like a dream for those little eyes and smiles, or you can always use some black icing from a tube. As Claire always says, we want accessible baking, so whatever makes it easier for you to whip up these fun Halloween breakfast treats, go for it! These are fantastic for any dessert table or just a fun afternoon snack.
Ingredient Spotlight: White Candy Melts vs. White Chocolate
So, why candy melts or white chocolate for our Ghost Donuts? It’s all about getting that smooth, perfect coating that sets up nicely and makes decorating a breeze. White candy melts are fantastic because they melt beautifully, they’re super easy to work with, and they set up firm and glossy without a lot of fuss. White chocolate chips can work too, but they can sometimes seize up if they get too hot or if there’s any water involved, and they might not set quite as hard. For these cute, easy ghosts, candy melts are usually my go-to for reliability!
Serving and Storing Your Spooky Treats
These adorable Ghost Donuts are best served fresh, but they’re pretty resilient! For the ultimate spooky experience, I like to serve them the same day they’re decorated. If you happen to have any left over (which is rare in my house!), just pop them into an airtight container. They’ll stay good at room temperature for about 2-3 days. Just make sure they’re not stacked too high, or those cute ghost faces might get a little smushed! They’re perfect for a fun Halloween party or just as a special treat throughout the spooky season.
Frequently Asked Questions About Ghost Donuts
Got questions about making these adorable little Ghost Donuts? I’ve got you covered with some quick answers!
Can I use regular frosting instead of candy melts for the ghost coating?
You can, but it’s a bit trickier! Regular buttercream frosting doesn’t set up as firm as candy melts, so your ghosts might be a little soft and harder to decorate. Candy melts give you that nice, clean, hard shell that’s perfect for piping faces on.
What’s the best way to achieve clean ghost faces on my Ghost Donuts?
Make sure that white coating is completely set before you start piping! Working with smooth, medium-consistency melted chocolate in a small piping bag or even a zip-top bag with a tiny corner snipped off really helps with control for those dotted eyes and ‘O’ mouths.
Are these Ghost Donuts suitable for a bake sale?
Absolutely! These Ghost Donuts are fantastic for bake sales. They’re visually appealing, easy to package individually or in small boxes, and they’re a crowd-pleaser for all ages. Plus, they’re quick to make, which is a huge bonus when you’re prepping for a big event!
Estimated Nutritional Information
Just a little heads-up, the nutritional info for these Ghost Donuts is an estimate, ’cause you know, brands can be different and how much glaze we use can vary! But generally, one of these sweet little ghosts has about 350 calories, around 20g of fat, leaving you with about 40g of carbs and 30g of sugar. It’s a fun treat for Halloween!
Share Your Spooky Creations!
Have you made these super fun Ghost Donuts? I bet they turned out amazing! Tell me all about it in the comments below – I’d love to hear how they went and if your little ghosts were a hit! And please, if you snapped any pics, share them with me on social media! Seeing your creations always makes my day. You can also find more fun ideas on my contact page.
PrintGhost Donuts

Easy and cute ghost donuts perfect for a Halloween treat.
- Prep Time: 15 min
- Cook Time: 5 min
- Total Time: 20 min
- Yield: 12 donuts 1x
- Category: Dessert
- Method: Decorating
- Cuisine: American
- Diet: Vegetarian
Ingredients
- 12 plain donuts (glazed or powdered)
- 1 cup white candy melts or white chocolate chips
- 2 tablespoons vegetable shortening or coconut oil
- 2 ounces black candy melts or dark chocolate chips
- 1 tablespoon vegetable shortening or coconut oil
Instructions
- If your donuts are not white, prepare a simple white glaze by melting 1 cup white candy melts with 2 tablespoons shortening. Stir until smooth.
- Dip each donut into the white glaze, ensuring it is fully coated. Let excess glaze drip off. Place donuts on a wire rack set over parchment paper to set.
- Melt the black candy melts with 1 tablespoon shortening in a separate microwave-safe bowl. Stir until smooth.
- Transfer the melted black candy to a piping bag or a small zip-top bag with a tiny corner snipped off.
- Pipe ghost faces onto the set white donuts. Create two small dots for eyes and an ‘O’ shape for the mouth.
- Allow the faces to set completely before serving.
Notes
- For powdered donuts, you can skip the white glaze and pipe faces directly onto the powdered surface.
- If using donut holes, insert a lollipop stick into each and dip them in the white glaze. Once set, pipe on the ghost faces.
- You can also use black edible marker or black icing for the faces.
Nutrition
- Serving Size: 1 donut
- Calories: 350
- Sugar: 30g
- Sodium: 150mg
- Fat: 20g
- Saturated Fat: 10g
- Unsaturated Fat: 10g
- Trans Fat: 0g
- Carbohydrates: 40g
- Fiber: 1g
- Protein: 3g
- Cholesterol: 5mg