
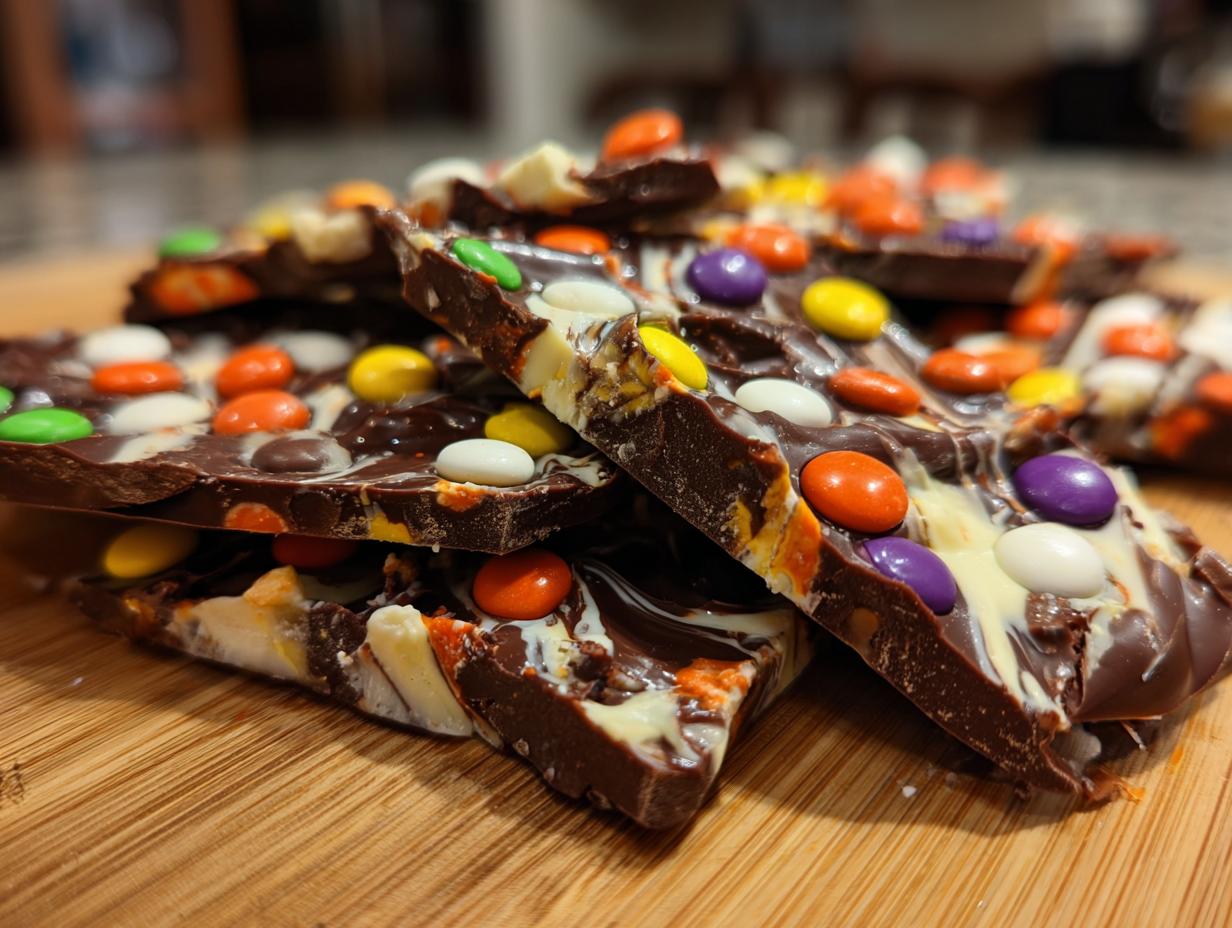
So, Halloween is over and you’ve got a mountain of candy staring you down, right? Don’t worry, I totally get it! My own kitchen used to be a graveyard of half-eaten fun-size bars until I discovered this absolute game-changer: Halloween Candy Bark. Seriously, this is the easiest, most colorful, and downright delicious way to turn all those leftover sweets into a brand new treat. It reminds me so much of my Grandma’s kitchen, where nothing ever went to waste and every bit of baking felt pure joy. We believe that the best memories are made in the kitchen, and happiness is homemade. That feeling is exactly what we’re all about here at Bliss Batter. My mission is to share foolproof recipes like this one, empowering you to create something wonderful, just like this bark, which is meticulously tested and perfected, just like all our recipes!
- Why You'll Love This Halloween Candy Bark
- Ingredients for Your Halloween Candy Bark
- Essential Equipment for Making Halloween Candy Bark
- Step-by-Step Guide to Creating Your Halloween Candy Bark
- Ingredient Notes and Substitution Ideas
- Tips for Perfect Post-Halloween Treat
- Frequently Asked Questions About Halloween Candy Bark
- Nutritional Information for Halloween Candy Bark
- Share Your Creations!
Why You’ll Love This Halloween Candy Bark
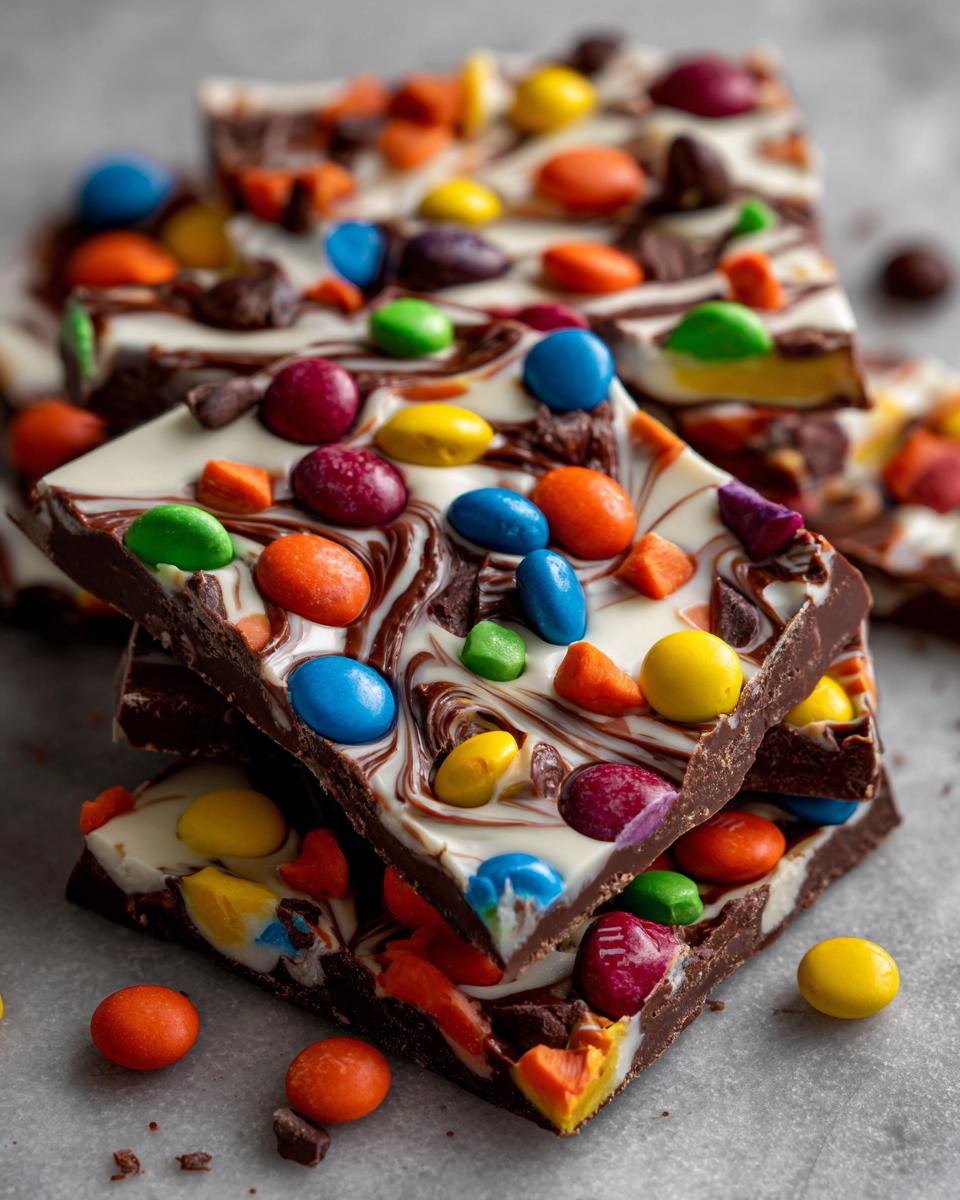
Trust me, this Halloween Candy Bark is a winner! It’s ridiculously easy to whip up – serious magic happens in minutes. Plus, it’s the perfect way to use up all that leftover candy that’s just begging to be transformed. You get amazing flavor, a gorgeous, colorful mosaic in every bite, and absolutely zero food waste. It’s a post-Halloween treat that just keeps on giving!
Ingredients for Your Halloween Candy Bark
Get ready to make the best Halloween Candy Bark with just a few things! You’ll need about 12 ounces of really good quality chocolate – whatever kind you love, or you can even mix ’em up! Dark, milk, or white chocolate all work like a charm. Then, grab about 1 to 2 cups of your chopped-up leftover Halloween candy. Think fun-size bars, M&Ms, candy corn, little gummies – whatever’s in your candy pile! Sometimes, I like to toss in a quarter cup of chopped nuts, some crunchy pretzels, or even festive sprinkles for extra flair.
Essential Equipment for Making Halloween Candy Bark
To make this super simple Halloween Candy Bark, you won’t need a whole lot! Just grab a sturdy baking sheet – a standard 9×13 inch one works great. You’ll also want some parchment paper or a silicone baking mat to make cleanup a breeze and ensure your bark doesn’t stick. A good old-fashioned chef’s knife or a pizza cutter is perfect for chopping up all that leftover candy, and a microwave-safe bowl or a double boiler setup will be your best friend for melting that gorgeous chocolate. Oh, and a spoon or spatula for spreading the chocolate and sprinkling goodies!
Step-by-Step Guide to Creating Your Halloween Candy Bark
Alright, let’s get this candy party started! Making your own outrageously fun Halloween Candy Bark is way simpler than you might think. My grandma always said the most magical things happen with a little bit of patience and the right steps, and that’s totally true here. You’ll see how easily these instructions come together, giving you a beautiful, edible mosaic that tastes even better than it looks – and you can even link to my easy chocolate chip cookies if you need a break from the candy theme!
Preparing for Your Halloween Candy Bark Creation
First things first, let’s get our workspace ready! Grab a baking sheet and line it with parchment paper or one of those handy silicone mats. This is our little trick to make sure the bark lifts off perfectly later – no sticking, no fuss! Next, it’s candy-chopping time. Take all those glorious fun-size bars and smaller candies and give them a good chop. You don’t want huge chunks, but rather bite-sized pieces so you get a little bit of everything in each shard. If you’ve got chewy caramel or gooey nougat bits, chop them small so they distribute evenly and don’t pull out of the chocolate when you break the bark.
Melting Chocolate for the Perfect Halloween Candy Bark
Now for the star of the show: the chocolate! You can totally do this in the microwave, which is my go-to for a quick fix. Just put your chocolate in a microwave-safe bowl and heat it in 30-second bursts, stirring really well between each interval. Keep going until it’s smooth as silk! Be careful not to overheat it, or it can seize up and get grainy – yikes! If you’re feeling a little more old-school or just prefer it, a double boiler is fantastic too. Just get some water simmering in a pot, pop your chocolate in a heatproof bowl on top (making sure the bowl doesn’t touch the water!), and stir until it’s all melted and gorgeous. This step is crucial for that smooth base in your Halloween Candy Bark!
Assembling Your Candy Mosaic Bark
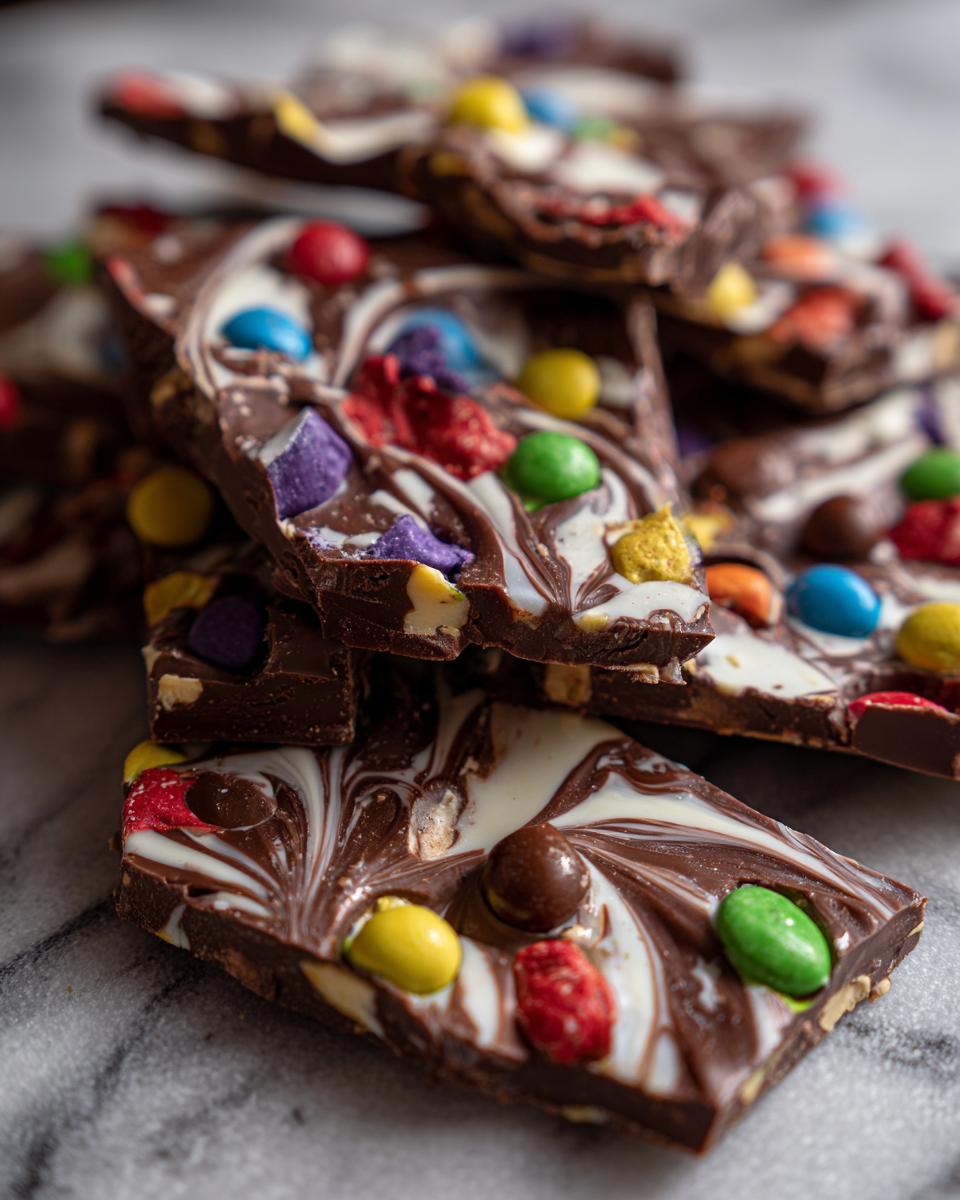
Once your chocolate is perfectly melted and smooth, pour it right onto that prepared baking sheet. Using your spatula or spoon, spread it out evenly into a thin layer, about a quarter-inch thick. Don’t stress about perfection here – a rustic look is part of the charm! As soon as the chocolate is spread, rain down all those delicious chopped candies and any fun extras like nuts or pretzels you’re using. Gently press them into the chocolate just a little bit so they stick like glue. This is where the magic happens, creating your beautiful candy mosaic bark!
Setting and Breaking Your Halloween Candy Bark
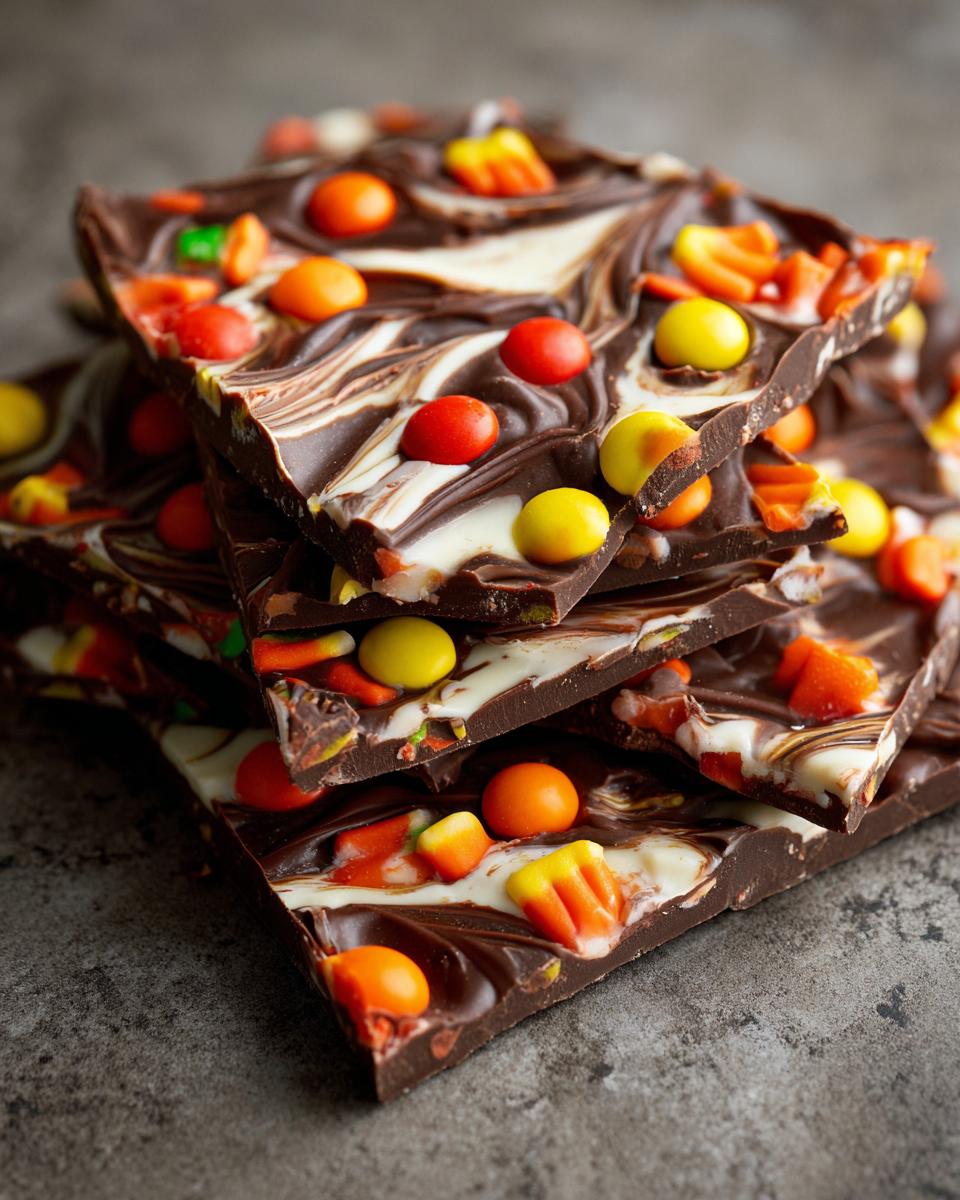
Now comes the hardest part: waiting! You can let your amazing bark set up at room temperature, which usually takes a couple of hours. For those of us who are impatient (guilty as charged!), pop the whole sheet pan into the fridge for about 30 to 60 minutes. It’ll firm up super fast. Once it’s completely hard and solid, it’s time for the fun break! Just pick up the sheet of bark and snap it into irregular, jagged pieces with your hands. It’s always a surprise to see what candy bits end up in each shard. Ta-da! Your stunning Halloween Candy Bark is ready to enjoy!
Ingredient Notes and Substitution Ideas
When it comes to making your Halloween Candy Bark, the ingredients are pretty flexible, but a few things make a big difference! For the chocolate, seriously, use the good stuff. It melts so much better and tastes way richer than those candy melts. I love a good dark chocolate, but milk or white chocolate works beautifully too, or even a swirl of two different kinds! If you can’t get the quality chocolate you want, then maybe consider weight loss programs to focus on health, but for this bark, quality chocolate makes it shine. As for the candy, get creative! Peanut butter cups and pretzels are a classic combo, but don’t be afraid to try a little bit of everything. If you’re out of nuts, no worries, omit them! The beauty of this bark is its adaptability, just like finding the right best meal delivery services to fit your needs.
Tips for Perfect Post-Halloween Treat
Making the perfect Halloween Candy Bark is all about a few key things! First, always, always use good quality chocolate. It really does melt better and tastes so much richer, giving your post-Halloween treat that bakery-level finish. When it comes to candy combos, don’t be afraid to experiment! My tested favorites include peanut butter cups and crunchy pretzels – that salty-sweet thing is unstoppable. For a really festive pop, candy corn is a must! Also, try to chop your candies relatively uniformly. It makes the bark look more professional and ensures you get a mix of flavors in every single bite. It’s all about those little details that make your creation truly special!
Frequently Asked Questions About Halloween Candy Bark
Got questions about this amazing Halloween Candy Bark? I’ve got you covered! It’s so easy, but a few tips can make it even better.
Can I use different types of chocolate for my Halloween Candy Bark?
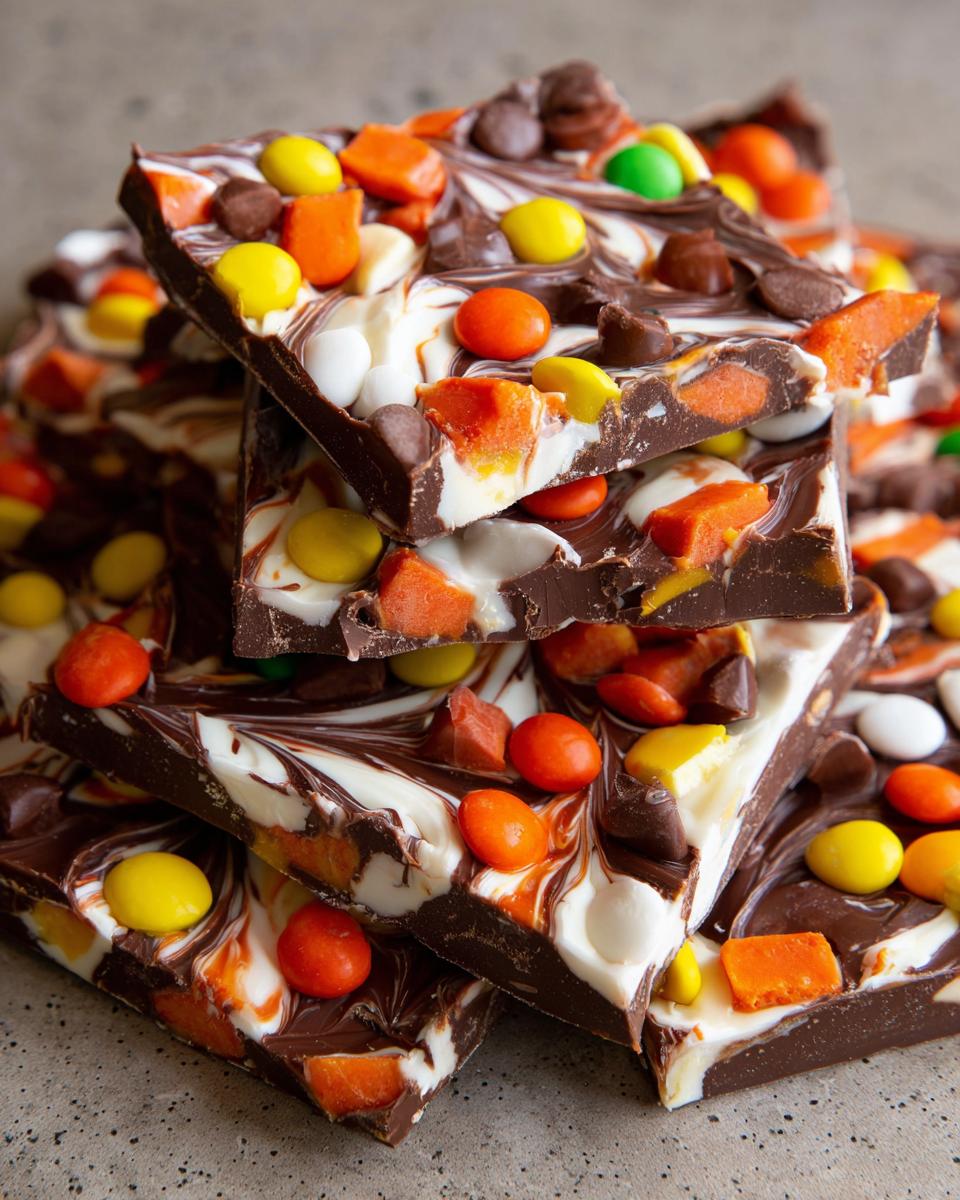
Absolutely! You can use dark, milk, or white chocolate. Mixing them and swirling them together creates a gorgeous marbled effect that looks extra fancy!
How should I store leftover Halloween Candy Bark?
To keep your delicious leftover candy chocolate bark fresh, store it in an airtight container at room temperature. It’ll be good for at least a week, maybe even longer depending on the candies you used!
What are the best candy combinations for mixed candy brittle?
Oh, the possibilities! For the best mixed candy brittle, try pairing salty pretzels with peanut butter cups, or go for a classic mix of M&Ms, chopped chocolate bars, and maybe even a few gummy worms for a chewy surprise!
Nutritional Information for Halloween Candy Bark
Just a friendly heads-up, the nutritional info for this amazing Halloween Candy Bark is just an estimate! Since everyone uses slightly different candies and chocolate, the numbers can wiggle around a bit. But generally, one ounce gives you around 150 calories, 15g of sugar, and 9g of fat. It’s a sweet treat, after all!
Share Your Creations!
I just LOVE seeing what you all come up with! So, seriously, go ahead and whip up your own batch of Halloween Candy Bark. Tell me in the comments below what crazy candy combos you tried, or how you liked the recipe! Rating it is super helpful too. Can’t wait to see your masterpieces!
PrintHalloween Candy Bark
Transform leftover Halloween candy into a colorful and delicious chocolate bark. This easy recipe uses melted chocolate and your favorite chopped candies to create a unique post-Halloween treat.
- Prep Time: 15 min
- Cook Time: 5 min
- Total Time: 20 min
- Yield: About 1.5 lbs 1x
- Category: Dessert
- Method: No-Bake
- Cuisine: American
- Diet: Vegetarian
Ingredients
- 12 ounces good quality chocolate (dark, milk, white, or a combination)
- 1–2 cups chopped leftover Halloween candy (fun-size bars, M&Ms, candy corn, gummies, etc.)
- Optional: 1/4 cup chopped nuts, pretzels, or sprinkles
Instructions
- Prepare a baking sheet by lining it with parchment paper or a silicone baking mat.
- Chop your leftover Halloween candy into small, bite-sized pieces. If using candy bars with caramel or nougat, ensure they are chopped small enough to distribute evenly.
- Melt the chocolate. If using a microwave, heat in 30-second intervals, stirring between each, until smooth. Alternatively, use a double boiler over simmering water, stirring until melted and smooth. Avoid overheating.
- If using multiple types of chocolate, you can pour them into the baking sheet and swirl them together with a toothpick or spoon for a marbled effect.
- Spread the melted chocolate evenly over the prepared baking sheet to about 1/4 inch thickness.
- Immediately sprinkle the chopped candy and any optional additions (nuts, pretzels) evenly over the melted chocolate. Press them gently into the chocolate so they adhere.
- Let the bark set completely at room temperature, or speed up the process by placing it in the refrigerator for about 30-60 minutes, or until firm.
- Once hardened, break the bark into irregular pieces.
Notes
- For best results, use good quality chocolate. It melts better and has a superior taste and texture.
- Chop candies uniformly for even distribution and easier eating.
- Experiment with different candy combinations. Peanut butter cups and pretzels are a popular choice.
- This bark is a great way to use up excess candy and prevent waste.
- Consider this a fun alternative to traditional meal planning, offering a sweet treat.
Nutrition
- Serving Size: 1 ounce
- Calories: 150
- Sugar: 15g
- Sodium: 20mg
- Fat: 9g
- Saturated Fat: 5g
- Unsaturated Fat: 4g
- Trans Fat: 0g
- Carbohydrates: 18g
- Fiber: 1g
- Protein: 2g
- Cholesterol: 5mg