
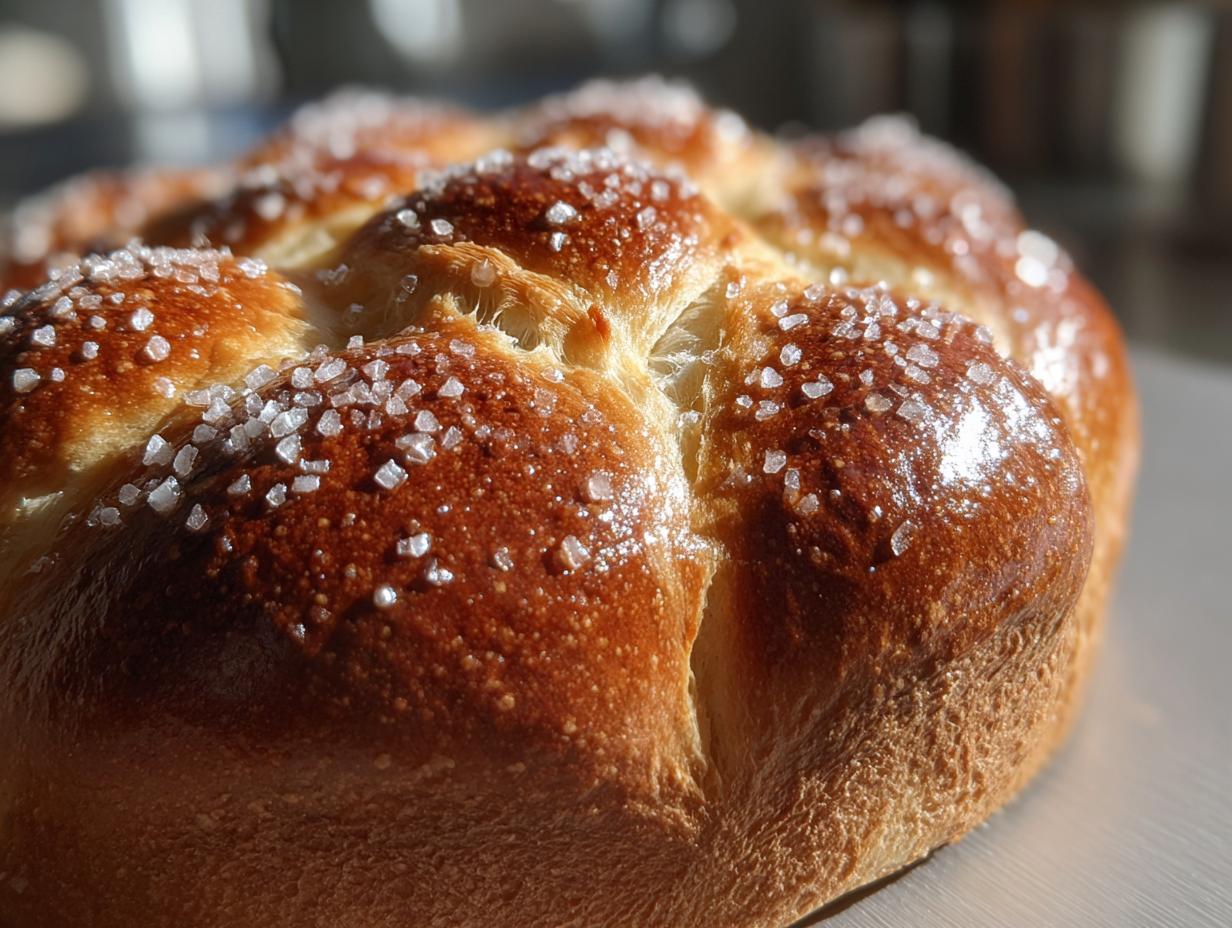
There’s something truly magical about Dia de los Muertos, isn’t there? It’s a time when the veil between worlds feels just a little bit thinner, and we honor our loved ones who have passed on. And at the heart of these beautiful traditions lies Pan de Muerto, the Bread of the Dead. This isn’t just any bread; it’s a symbol of remembrance, a sweet offering placed on altars to welcome spirits home. I’ve always loved how Claire Sterling, the heart behind Bliss Batter, brings that same passion for heritage and connection into her baking. This recipe is more than just flour and sugar; it’s a taste of tradition, bursting with comforting flavors like orange and anise, and made with so much love, it’s almost like baking a hug for your ancestors.
- Why You'll Love This Pan de Muerto Recipe
- Ingredients for Your Pan de Muerto
- Crafting Your Traditional Altar Bread: Step-by-Step
- Tips for Perfect Pan de Muerto
- Ingredient Notes and Substitutions for Pan de Muerto
- Serving and Storing Your Mexican Day of Dead Bread
- Frequently Asked Questions about Pan de Muerto
- Nutritional Estimate for Pan de Muerto
- Share Your Pan de Muerto Creations!
Why You’ll Love This Pan de Muerto Recipe
Seriously, if you’re looking for a way to connect with the beautiful traditions of Dia de los Muertos, this Pan de Muerto recipe is IT! It’s not just about making a pretty loaf; it’s about creating something with meaning.
- Rich with Tradition: It’s more than just bread; it’s an authentic offering for your altar, a way to honor family history.
- Incredible Flavor: The lovely hint of orange blossom water or zest, maybe a whisper of anise… trust me, it smells and tastes divine!
- Perfect Texture: It bakes up beautifully tender and slightly dense, just begging to be dipped into hot cocoa.
- Family Favorite: It’s the perfect centerpiece for your Dia de los Muertos celebrations, bringing everyone together.
Ingredients for Your Pan de Muerto
Alright, let’s get our ingredients ready for this beautiful Pan de Muerto! Having everything prepped makes the whole process so much smoother, just like Claire always says. It’s like playing chef, you know? These are the stars of our show for this traditional Mexican Day of the Dead bread:
- 1 cup warm milk (aim for that cozy 105-115°F range, perfect for waking up our yeast!)
- 2 ¼ teaspoons active dry yeast
- ½ cup granulated sugar, divided (we’ll use some now and some later!)
- 4 ½ cups all-purpose flour, plus a little extra for dusting our workspace – always good to have on hand!
- ½ teaspoon salt (essential for balancing all that sweetness)
- 4 large eggs, make sure they’re at room temperature! This really helps them incorporate better into the dough.
- ½ cup (that’s one stick!) of unsalted butter, softened. You want it squishy but not melted.
- 1 teaspoon orange blossom water OR ½ teaspoon orange zest (either one gives it that lovely bright perfume!)
- ½ teaspoon anise extract (optional, but oh-so-worth-it if you love that little extra something!)
- For Decoration: Just some little dough scraps you save from shaping the main loaf – they’re perfect for making those iconic bones and skulls.
- For the Glaze: 2 tablespoons of melted butter. Simple, classic.
- For the Topping: ¼ cup granulated sugar. For that sweet dusting we all love.
Crafting Your Traditional Altar Bread: Step-by-Step
Alright, let’s get our hands doughy and make some magic! Making Pan de Muerto is really a journey, and following these steps will get you to that beautiful, fragrant bread you see on all the altars. Remember, Claire always says the key is just taking it one step at a time, and you’ll be amazed at what you can create. Don’t worry about being perfect; the love you put into it is what truly counts!
Preparing the Yeast Mixture for Pan de Muerto
First up, let’s get our yeast all happy and bubbly! In a little bowl, just stir together that warm milk, the yeast, and about a teaspoon of your sugar. Let it hang out for about 5 to 10 minutes. You’ll know it’s ready when it gets nice and foamy on top – like a tiny, yeasty jacuzzi!
Combining Dry Ingredients for Your Orange Anise Sweet Bread
While that yeast is doing its thing, grab a big bowl and just whisk together your flour and salt. Super simple, right? This is like the foundation for our delicious bread.
Mixing Wet Ingredients for the Pan de Muerto Dough
In another bowl, whisk up those room temperature eggs, the rest of the sugar, your softened butter, and the star flavorings – that lovely orange blossom water (or gorgeous zest!) and the optional anise extract. Just give it a good whirl until it’s all nicely combined.
Forming the Pan de Muerto Dough
Now, pour that foamy yeast mixture and the creamy egg mixture into your big bowl of flour. Give it a good stir until it gets shaggy, looking like a messy, delicious cloud. Turn that dough out onto your floured counter and get ready to knead! You’ll want to work it for about 8 to 10 minutes until it’s super smooth and feels nice and elastic, almost like play-doh. If you’ve ever made our Chocolate Chip Banana Bread, you know that kneading is where the real texture magic happens!
First Rise: Allowing Your Pan de Muerto to Double
Pop that smooth dough into a lightly oiled bowl. Cover it up with some plastic wrap and find a nice, warm spot for it. Let it rest and rise for about 1 to 1.5 hours, or until it’s basically doubled in size. This is where the dough develops all its lovely flavor and airy texture.
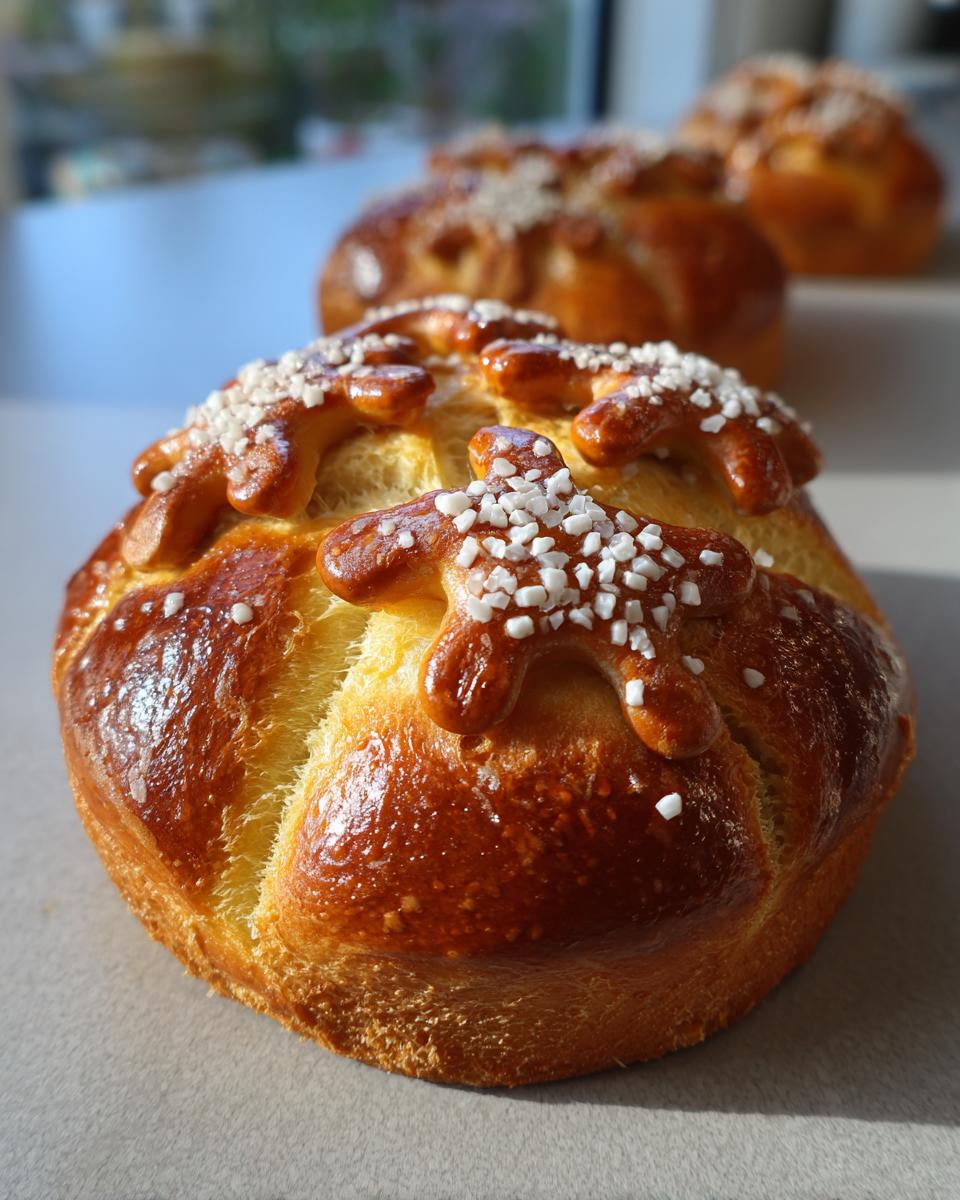
Shaping the Pan de Muerto Loaf and Decorations
Once it’s puffed up, give it a gentle little punch down. Now, divide your dough. You’ll want a bigger piece for the main round loaf and a smaller piece to make those classic bone and skull decorations. Roll out the smaller piece and cut out your shapes – get creative! Arrange them on top of your round loaf, which you’ve placed on a parchment-lined baking sheet. It starts to look like real Pan de Muerto now!
Second Rise and Oven Preparation
Gently cover your shaped loaf with plastic wrap again. Let it have another little rest and rise for about 30 to 45 minutes. While it’s doing that, go ahead and preheat your oven to 350°F (175°C). Getting the oven nice and ready is key so the bread bakes evenly.
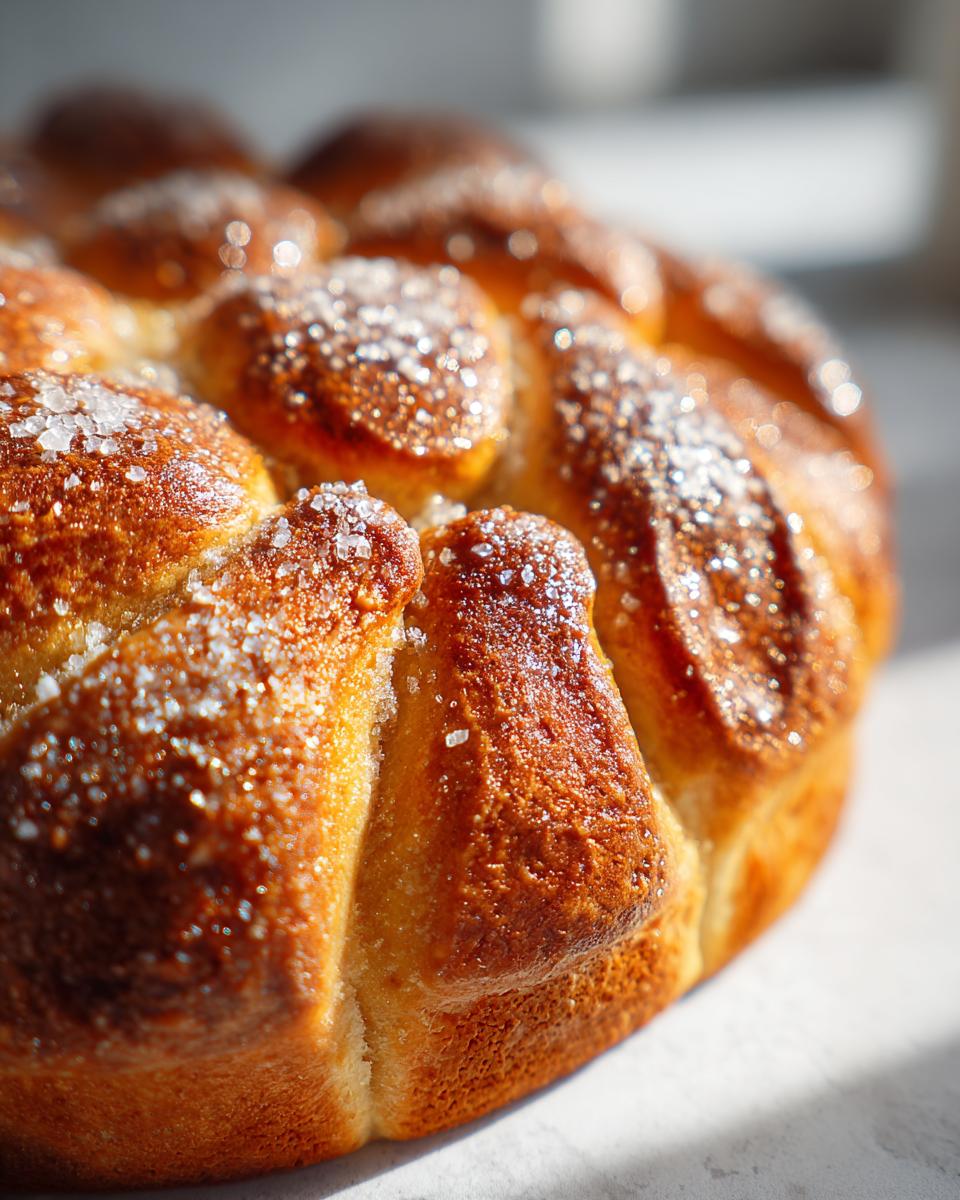
Baking Your Pan de Muerto to Golden Perfection
Slide that beautiful loaf into the preheated oven. Bake it for about 30 to 40 minutes. You’ll know it’s ready when it’s a lovely golden brown color and, if you tap the bottom, it sounds nice and hollow. That sound means it’s perfectly baked through!
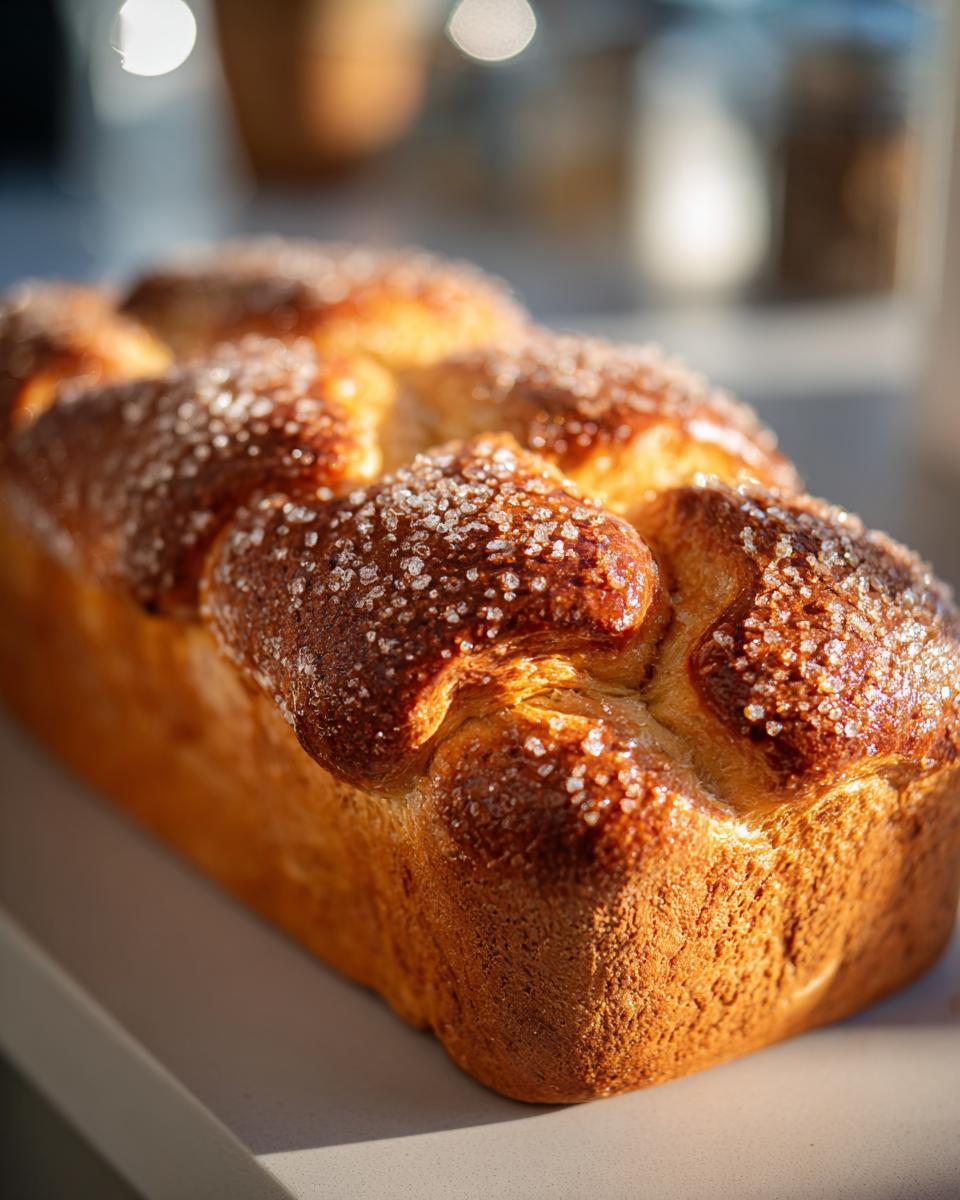
Finishing Touches: Glaze and Sugar Topping
As soon as it comes out of the oven, while it’s still piping hot, brush the top generously with that melted butter. Then, sprinkle it all over with your sugar. It’ll get a lovely little crunch and sparkle. Now, the hardest part: let it cool completely on a wire rack before you slice into it. Patience is a virtue, especially at this stage or when waiting for dough to rise!
Tips for Perfect Pan de Muerto
Okay, so making Pan de Muerto is super rewarding, but like any good bake, a few little tricks can make all the difference. I’ve learned a bunch of these from my own kitchen experiments and, of course, from the wisdom Claire shares over at Bliss Batter! If you want your bread to be *extra* special for your altar or just for everyone to devour, here are a few pointers.
First off, don’t skimp on the quality of your ingredients! Using good butter and fresh eggs, like the recipe calls for, really does make the flavor pop. And remember how Claire talked about using fresh zest instead of dried? For this bread, fresh is definitely best. Also, when you’re kneading, don’t be afraid to give it a good stretch! That makes the dough elastic and gives you that lovely, soft bite. It’s like the principle she uses for her amazing Chocolate Zucchini Bread – the more you work the dough, the better the texture!
One thing I sometimes struggle with is getting the decorations to stick. Make sure your main loaf is still a little bit moist, not totally dry, when you add the bones and skulls. A tiny bit of egg wash can help them adhere too, though the recipe doesn’t explicitly call for it. And when it comes to proofing, remember that warm spots can be anywhere! Sometimes my oven with just the light on is perfect, other times it’s a sunny windowsill. Just keep an eye on it!
Ingredient Notes and Substitutions for Pan de Muerto
Let’s talk ingredients for our beautiful Pan de Muerto! Sometimes you might be missing something, or just want to tweak it a bit, and that’s totally okay! Remember, baking is about making it your own, just like Claire Sterling encourages on her blog.
If you can’t find orange blossom water, don’t fret! Just use the zest from one whole orange. It gives a lovely citrusy hint that works beautifully. For the anise extract, it’s totally optional, but if you’re a fan, a little goes a long way. If you don’t have it, no worries at all – the orange flavor is usually enough!

And for the milk? Whole milk is best for richness, but you could probably get away with 2% in a pinch. Just make sure it’s nice and warm, not hot, to keep our yeast happy!
Serving and Storing Your Mexican Day of Dead Bread
Okay, so your gorgeous Pan de Muerto is baked, brushed, and sprinkled – now what? This bread is just begging to be enjoyed! It’s absolutely divine with a warm mug of spiced hot chocolate or a good cup of coffee. Truly, dipping this tender, fragrant bread into a rich beverage is pure bliss. It’s also a perfect pairing with a refreshing glass of Horchata!
Got leftovers? Don’t worry! Pan de Muerto keeps pretty well. Just wrap it up snugly in plastic wrap or pop it into an airtight container once it’s completely cooled. It should stay fresh on the counter for about 2-3 days. If it starts to feel a little less soft, you can always give it a quick 10-15 second zap in the microwave to warm it up and bring back some of that lovely tenderness. Just be careful not to overdo it!
Frequently Asked Questions about Pan de Muerto
I get so many questions about this beautiful bread, and I love sharing all the little ins and outs! Here are some that pop up most often about our Pan de Muerto.
What is the cultural significance of Pan de Muerto?
Oh, this is such a special part! Pan de Muerto is more than just a yummy bread; it’s a vital part of the Dia de los Muertos celebration. It’s traditionally placed on altars as an offering to welcome back the spirits of loved ones. The shapes are symbolic, and the sweet, fragrant aroma is meant to invite them home.
Can I make Pan de Muerto ahead of time?
Yes, you totally can! You can make the dough up to a day in advance and let it do its first rise in the refrigerator overnight. Or, bake the bread a day or two before Dia de los Muertos. It stays pretty fresh when stored properly, and honestly, it’s delicious even a little stale, especially for dipping!
What are the traditional flavorings for Pan de Muerto?
The most classic flavors you’ll find are orange blossom water or fresh citrus zest, often orange. Many recipes also include a touch of anise extract, which gives it this wonderfully aromatic and slightly licorice-like note. It’s that combination that makes it smell so inviting!
Nutritional Estimate for Pan de Muerto
Just a little heads-up, these numbers are estimates and can change depending on the exact ingredients and how you make it! But, for a typical slice of this delicious Pan de Muerto, you’re generally looking at:
- Calories: Around 350
- Fat: About 15g (with 9g saturated)
- Protein: Roughly 7g
- Carbohydrates: Around 50g
- Sugar: About 25g
- Sodium: Roughly 200mg
It’s a treat, for sure, meant to be savored!
Share Your Pan de Muerto Creations!
I absolutely L O V E seeing your baking adventures! Have you made this Pan de Muerto? Did you put it on an altar, or just devour it with coffee? Please, please leave a comment below and tell me all about it! If you share a pic on social media, tag us at @BlissBatterBakes so I can ooh and aah over your beautiful creations. And if you loved it, a quick rating helps others find this recipe too! You can learn more about my baking philosophy over on our about page!
PrintPan de Muerto (Bread of the Dead)
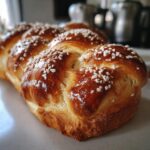
A traditional lightly sweet Mexican yeast bread flavored with orange blossom water or citrus zest, decorated with bone-shaped dough pieces, perfect for Dia de los Muertos altars and family gatherings.
- Prep Time: 30 minutes
- Cook Time: 40 minutes
- Total Time: 2 hours 10 minutes
- Yield: 1 loaf 1x
- Category: Dessert
- Method: Baking
- Cuisine: Mexican
- Diet: Vegetarian
Ingredients
- 1 cup warm milk (105-115°F)
- 2 ¼ teaspoons active dry yeast
- ½ cup granulated sugar, divided
- 4 ½ cups all-purpose flour, plus more for dusting
- ½ teaspoon salt
- 4 large eggs, room temperature
- ½ cup (1 stick) unsalted butter, softened
- 1 teaspoon orange blossom water or ½ teaspoon orange zest
- ½ teaspoon anise extract (optional)
- For Decoration: Dough scraps for bones and skulls
- For Glaze: 2 tablespoons melted butter
- For Topping: ¼ cup granulated sugar
Instructions
- In a small bowl, combine warm milk, yeast, and 1 teaspoon of sugar. Let stand for 5-10 minutes until foamy.
- In a large bowl, whisk together flour and salt.
- In a separate bowl, whisk together eggs, remaining sugar, softened butter, orange blossom water (or zest), and anise extract (if using) until well combined.
- Pour the yeast mixture and the egg mixture into the flour mixture. Mix until a shaggy dough forms.
- Turn the dough out onto a lightly floured surface and knead for 8-10 minutes until smooth and elastic.
- Place the dough in a lightly oiled bowl, cover with plastic wrap, and let rise in a warm place for 1-1.5 hours, or until doubled in size.
- Punch down the dough and divide it into two portions: one large portion for the loaf and a smaller portion for decorations.
- Shape the larger portion into a round loaf and place it on a baking sheet lined with parchment paper.
- Roll out the smaller portion of dough and cut out bone shapes and skull shapes for decoration. Arrange these on top of the loaf.
- Cover the loaf loosely with plastic wrap and let it rise for another 30-45 minutes.
- Preheat your oven to 350°F (175°C).
- Bake for 30-40 minutes, or until golden brown and hollow-sounding when tapped.
- Remove from oven and immediately brush the top with melted butter.
- Sprinkle generously with sugar.
- Let cool completely before serving.
Notes
- You can substitute lemon zest for orange zest if preferred.
- For a richer flavor, you can add a pinch of ground cinnamon to the dough.
- This bread is delicious served with hot cocoa or coffee.
Nutrition
- Serving Size: 1 slice
- Calories: 350
- Sugar: 25g
- Sodium: 200mg
- Fat: 15g
- Saturated Fat: 9g
- Unsaturated Fat: 6g
- Trans Fat: 0g
- Carbohydrates: 50g
- Fiber: 2g
- Protein: 7g
- Cholesterol: 90mg