
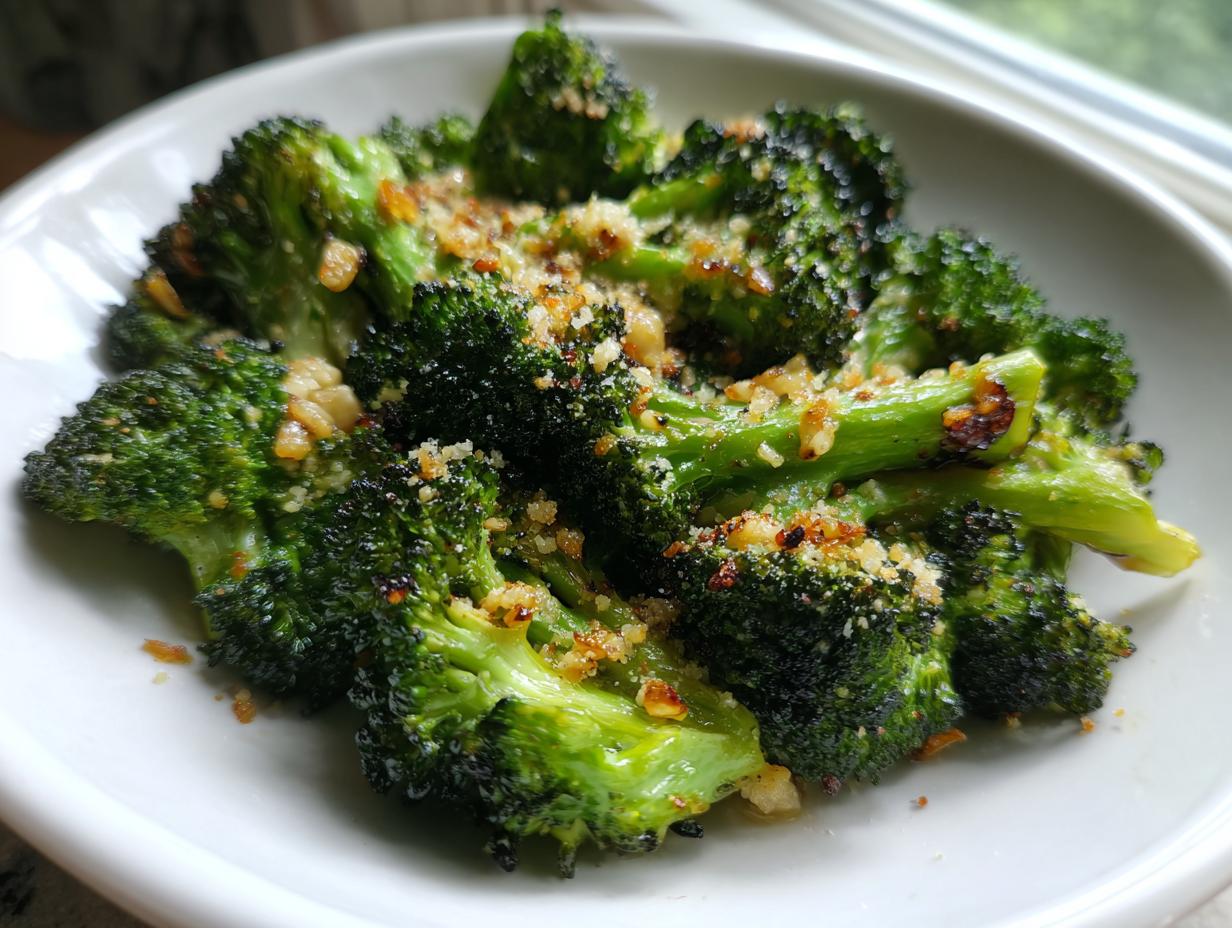
Does your family automatically slide the green veggies to the side of the plate, giving them the side-eye? Happens to the best of us! I used to struggle getting my family excited about plain broccoli, but then I found the absolute trick: smashing them! Seriously, this technique transforms boring florets into a crunchy, flavorful masterpiece. We’re talking about our favorite easy vegetable side dish called smashed broccoli, and trust me, it’s a game-changer.
Here at Bliss Batter, founder Claire Sterling is all about giving you recipes that work—tried and tested right here in a real home kitchen so you don’t have to worry about complicated steps. This method ensures you get crispy edges every single time. Forget limp, steamed greens; this is the broccoli makeover you’ve been waiting for. It’s simple, it’s effective, and it’s about to steal the show at dinner!
- Why You Will Love This Crispy Smashed Broccoli Recipe
- Gather Your Ingredients for Smashed Parmesan Garlic Broccoli
- Expert Tips for Perfect Smashed Broccoli
- How to Prepare Your Roasted Smashed Broccoli
- Making Smashed Broccoli a Complete Meal Addition
- Variations on the Smashed Broccoli Recipe
- Storage and Reheating Instructions for Smashed Broccoli
- Frequently Asked Questions About Smashed Broccoli
- Nutritional Estimate for Garlic Parmesan Smashed Broccoli
Why You Will Love This Crispy Smashed Broccoli Recipe
I know, I know, you think broccoli is just… broccoli. But trust me when I say smashing them before they hit the oven changes absolutely everything. This isn’t just another side dish; it’s an event! You’ll want to save this recipe immediately because it ticks all the boxes we home cooks look for:
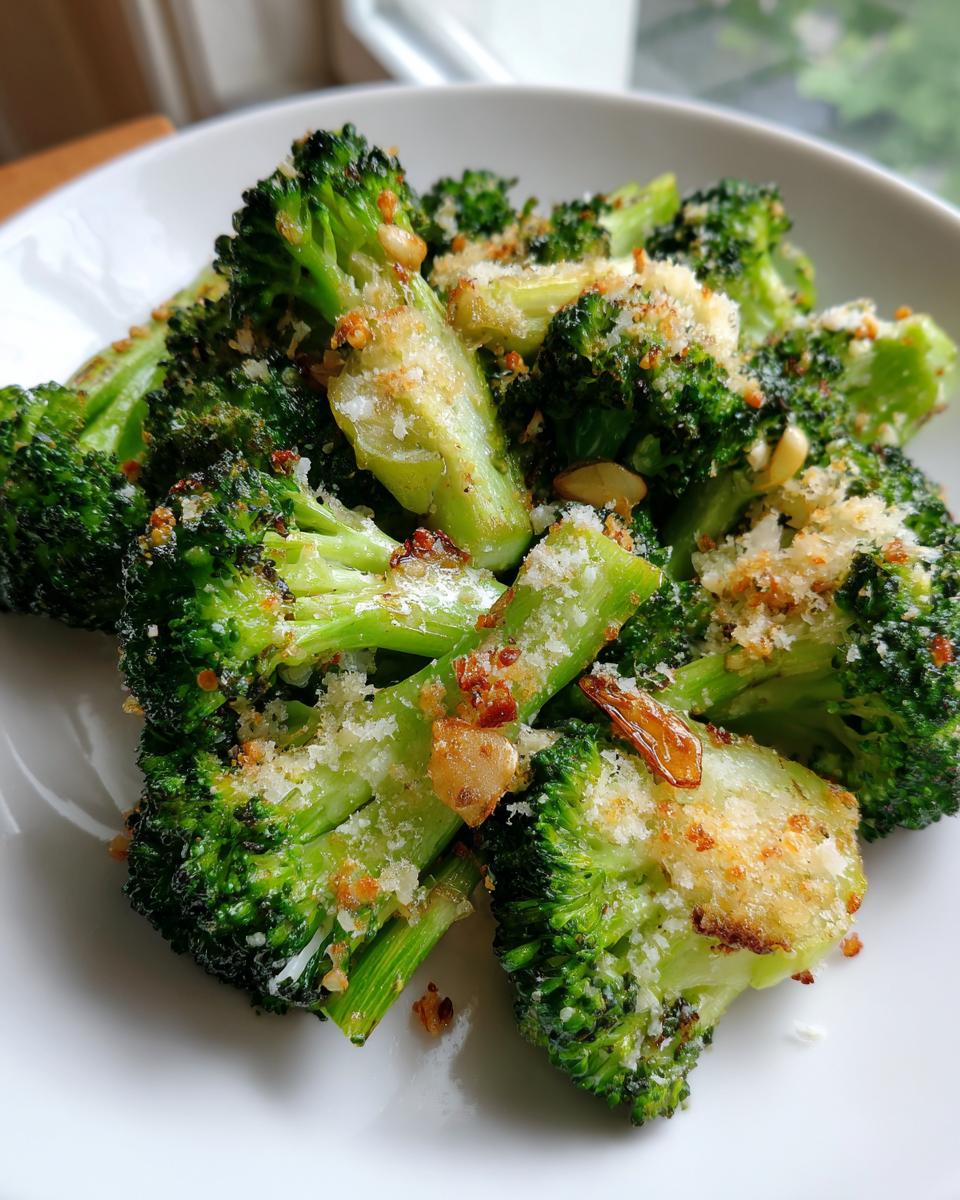
- The Ultimate Texture Combo: This is the #1 reason! You get that satisfying crunch from the super crispy edges, while the inside stays perfectly bright green and tender. It’s the best broccoli side dish because it finally delivers on texture.
- Flavor Explosion: We aren’t messing around with blandness here. That blend of roasted garlic and salty Parmesan cheese coats every flat surface, making this one of the most flavorful broccoli recipes out there.
- Shockingly Easy: It feels fancy, right? Like something you’d order at a trendy restaurant. But honestly, I can whip this up faster than I can get the kids to finish their homework. It’s the definition of an easy vegetable side dish.
- Sheet Pan Perfection: Everything happens really quickly on one baking sheet. Minimal cleanup means you’re done faster, which is crucial for those hectic weeknights when you need simple side dish ideas fast.
Gather Your Ingredients for Smashed Parmesan Garlic Broccoli
Okay, let’s get straight to the fun part! The best thing about this smashed broccoli recipe is that it relies on simple, high-quality pantry staples. Remember what I said about quality ingredients making the difference? That’s our philosophy here at Bliss Batter! When you use good olive oil and actual Parmesan, the final flavor sings. You don’t need a ton of fuss, just the right elements.
You’ll need everything listed below. I suggest getting your lemon ready beforehand, as that final squeeze right before serving really wakes up the whole dish. Check out how I handle our roasted Brussels sprouts—the same principle of high heat and flavorful coating applies here!
- 2 large heads broccoli, cut into florets (Make sure they are all roughly the same size so they cook evenly!)
- 3 tablespoons olive oil (Use the good stuff; it really matters for roasting!)
- 3 cloves garlic, minced (Don’t be shy with the garlic; it’s what makes this savory.)
- 1/2 teaspoon salt
- 1/4 teaspoon black pepper
- 1/4 cup grated Parmesan cheese (Freshly grated is always superior, just saying!)
- 1 tablespoon lemon juice (Freshly squeezed, please—it’s non-negotiable!)
That’s it! See? Nothing complicated. We are turning these humble greens into the most irresistible, best broccoli side dish you’ve ever made using just these seven things.
Expert Tips for Perfect Smashed Broccoli
When you’re going for that crispy texture everyone raves about, technique matters way more than fancy ingredients. If you skip these steps, you might end up with watery vegetables instead of the gorgeous smashed broccoli we are aiming for. We want maximum crunch here!
One of the biggest hang-ups people have is sogginess, especially if they are looking for a low carb broccoli side that rivals something you might get through a meal planning service. Rest assured, we can nail the crisp factor right at home!
Achieving Tender Broccoli Crispy Edges
Here’s the secret sauce to that contrast: you absolutely must dry the florets really, really well after boiling. Seriously, blot them with paper towels until you think you can’t possibly blot any more moisture out. Why? Because water steams, and steam leads to mush. We boil for only 3 to 4 minutes—just enough to take the raw edge off. When you gently smash the par-cooked florets, you create all these nooks and crannies. Those flat spots maximize the surface area touching the hot pan, which is exactly what allows those edges to crisp up beautifully when roasting! Don’t skip the drying!
How to Prepare Your Roasted Smashed Broccoli
This is where the magic happens! Making this truly roasted smashed broccoli is all about timing and technique. We are basically setting the stage for maximum crispiness, so read these steps carefully. It’s only 35 minutes total, but those 35 minutes are high-impact! Preheat your oven right now to 400°F (200°C). Seriously, get it warming up!
Since we are using a sheet pan for this process, you’ll want to line it with parchment paper first. It saves so much scrubbing later, and trust me, you want to save your energy for eating this delicious side! If you’re looking for another great sheet pan wonder, check out my sheet pan chicken fajitas—I love throwing things in the oven together.
Prepping and Boiling the Broccoli Florets
First things first, get a nice pot of salted water going for a quick blanch. We aren’t trying to cook the broccoli through! We just want to soften it up enough so it can be smashed without shattering into little pieces. Drop those florets in, set a timer for exactly three to four minutes, and watch for that vibrant, bright green color. As soon as they hit that sweet spot, drain them really well—remember what I said about drying them out?
The Technique: Smashing the Smashed Broccoli
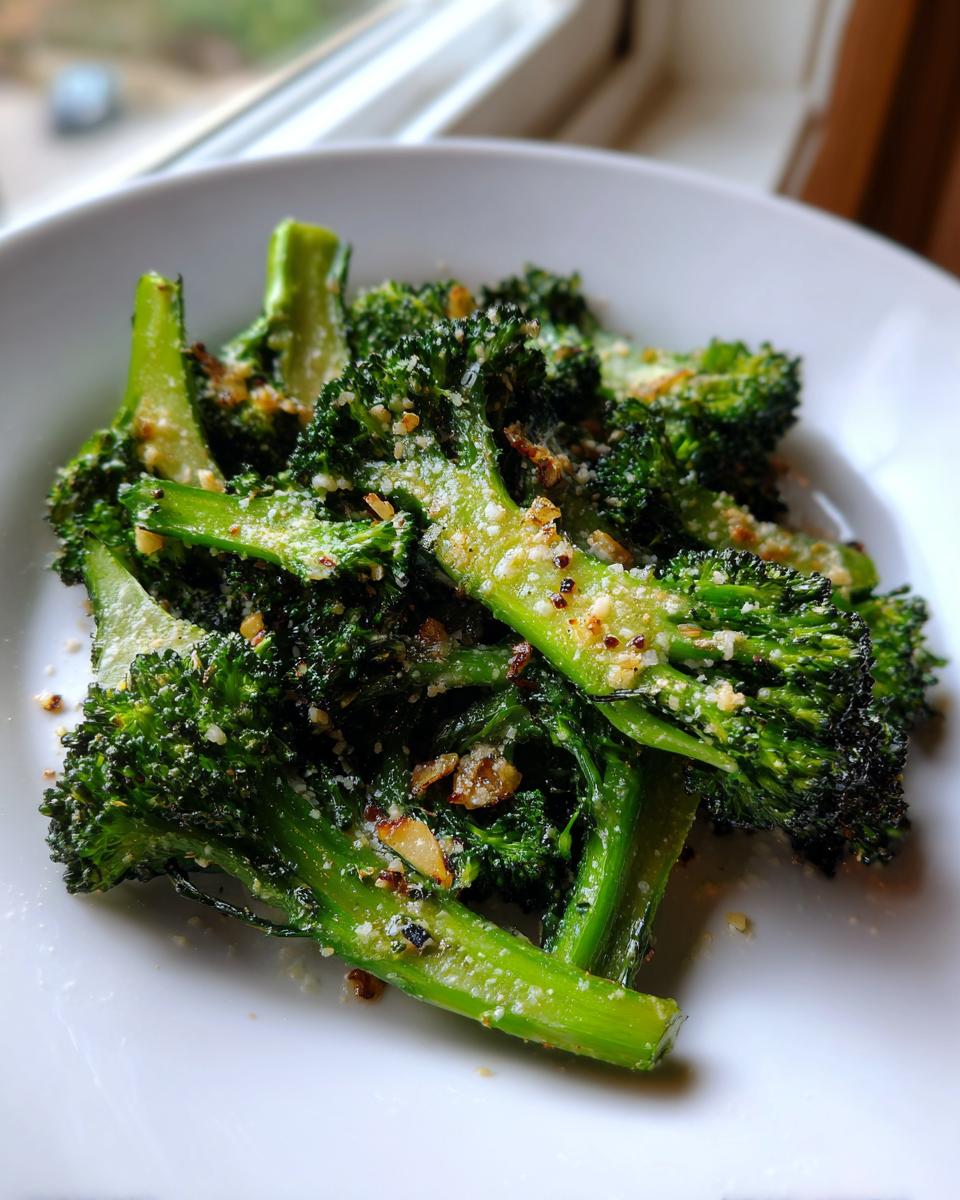
Now for the fun, slightly aggressive part! Spread those damp-but-not-wet florets single-layer on your prepared baking sheet. Grab the bottom of a sturdy drinking glass, or if you’re feeling very rustic, use a potato masher. Gently push down on each floret. You aren’t trying to make mush! You want it flattened—like a thick little pancake—but still holding its general shape. This flattening is what gives you those fantastic, study edges that crisp up later. It’s the crucial step for turning standard broccoli into crispy smashed broccoli!
Roasting and Adding the Parmesan Cheese
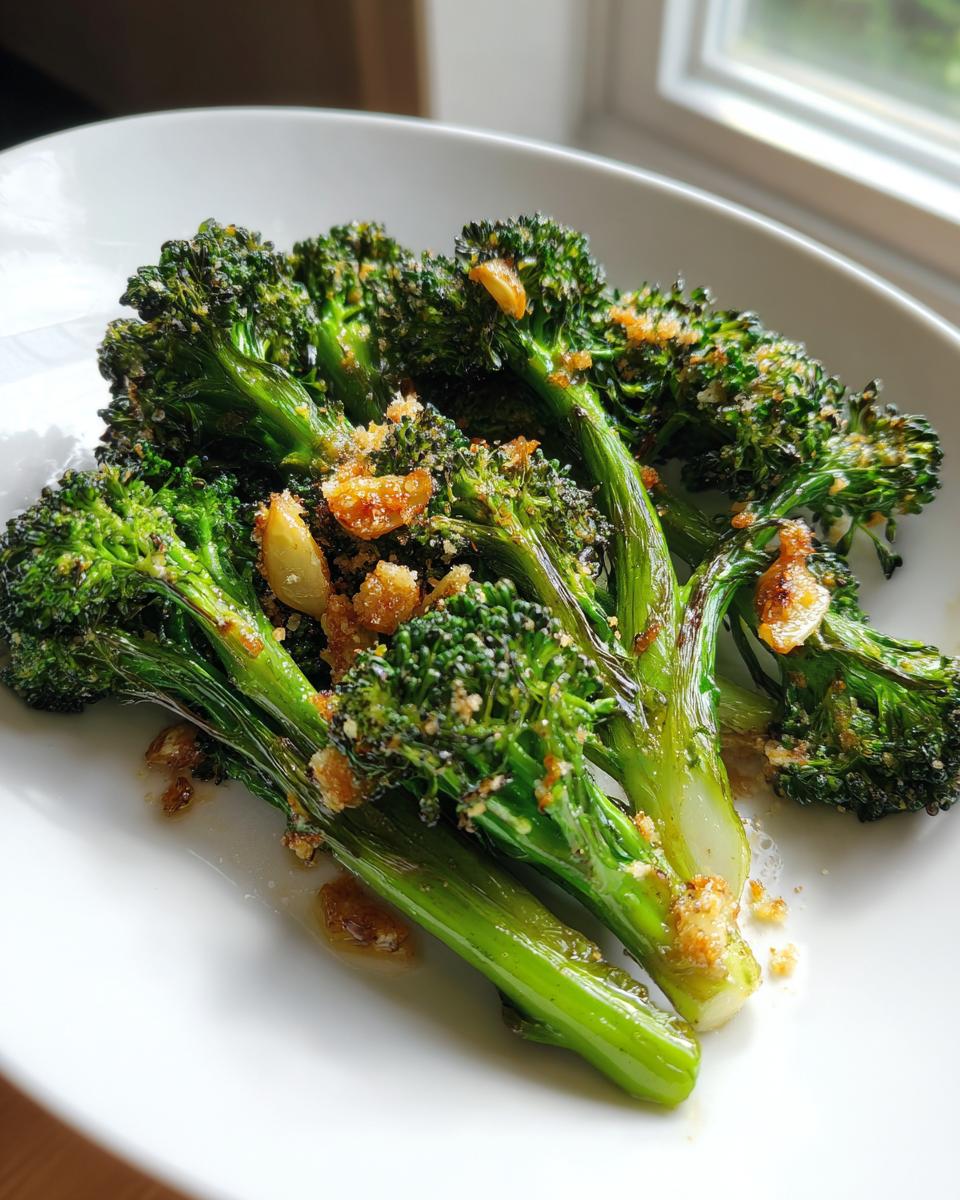
Once they’re all lovely and flat, it’s time to dress them up. Whisk together your olive oil, minced garlic, salt, and pepper. Drizzle that fragrant mixture all over the flattened pieces, making sure every bit gets coated. Pop that pan straight into the preheated 400°F oven for about 15 minutes. When you pull them out, they should look a little charred and exciting. Now, sprinkle that grated Parmesan cheese liberally over the top. Back they go for just another 5 to 8 minutes. You are watching for two things: the edges looking dark brown and crispy, and that beautiful, bubbly, golden Parmesan crust forming. It smells incredible!
Making Smashed Broccoli a Complete Meal Addition
Honestly, once you nail this recipe, you’ll find yourself making it constantly because it pairs with everything! This broccoli makeover elevates any simple plate. Roast up some chicken thighs or maybe bake a quick salmon fillet, and you have a complete, healthy meal in no time. It’s such a fantastic, vibrant addition to anything you’re serving, proving that an easy vegetable side dish can absolutely be the star.
Since this garlic parmesan smashed broccoli is loaded with flavor, it doesn’t really need much else besides that main protein. If you are looking to streamline your weeknight cooking even more, check out my thoughts on easy weeknight dinners—this side dish fits perfectly into those concepts!
If you are feeling ambitious, tossing these crispy bits into a big bowl of pasta—maybe with a little cream sauce—makes a surprisingly decadent main course too. It’s just that good!
Variations on the Smashed Broccoli Recipe
Once you master the basic smashed broccoli technique—the boiling, the smashing, the roasting—you can really have some fun switching up the flavor profile! I love having a base recipe down so well that I can treat it like a canvas. Since this recipe is naturally vegetarian and low-carb friendly, it’s super adaptable for different cravings. Don’t be afraid to get creative; that’s how we invent new family favorites!
If you’re tired of the lemon tang, swapping it out for balsamic vinegar after roasting gives it a completely different, deeper profile. It caramelizes beautifully on those crispy spots! Or, if you need a little wake-up call, throw in some crushed red pepper flakes along with the garlic and oil mix before the first roast. It makes a fantastic fiery kick!
Also, while this recipe is amazing as is, if you need a richer side dish, you can absolutely add some meat! My brother always crumbles a little cooked bacon over his batch right when it comes out of the oven, along with the Parmesan. If you’re into making everything cheesy and spicy, check out how I do my chili cheese fries—you can adopt that flavor profile here for a real flavor bomb!
If you’re looking for other ways to spruce up your vegetable game that aren’t broccoli, I saw this neat idea over at Daily Venture Hub about other ways to spice up greens, so don’t be afraid to experiment with different herbs!
Storage and Reheating Instructions for Smashed Broccoli
Even the best sides don’t always get eaten in one sitting, right? I’m always happy when I have leftovers of this garlic parmesan smashed broccoli because it tastes almost as good the next day—if you reheat it properly! We want those lovely crispy edges to return, not turn into a soggy mess, so we need to be smart about storage and reheating.
When storing, make sure it’s fully cooled down first. I just pop the leftovers into a regular sturdy airtight container. Don’t crowd them too much! They keep perfectly fine in the fridge for about three to four days. I always try to keep this recipe in mind when I’m thinking about meal planning for the week because it holds up better than a lot of other roasted veggies.
Now, reheating is the critical moment for getting that texture back. You need high, dry heat to crisp those edges up again. Please, for the love of roasted vegetables, stay away from the microwave if you can! A microwave just steams everything and you’ll lose all that hard work we put into getting it crunchy.
If you have time, the oven is your absolute best friend. Spread the cooled broccoli back out on a baking sheet—making sure they aren’t overlapping at all—and bake them at about 375°F (190°C) for about 5 to 8 minutes. If you have an air fryer, that’s even faster and works wonders! Just a few minutes at medium heat will get the outsides perfectly toasted again. Enjoy those leftovers!
Frequently Asked Questions About Smashed Broccoli
It’s completely normal to have questions when you’re trying a new technique, even if it’s just flattening a vegetable! Smashing broccoli is unusual, so I get why you might pause before trying it. Here are the things I get asked most often about making this smashed broccoli recipe. If you’re looking for more guidance after this, I have tons of tips for pairing sides, like my classic tomato soup recipe!
Can I make this a keto meal planning option?
Absolutely, yes! This is one of my favorite dishes precisely because it is naturally a wonderful low carb broccoli side. It’s so much better than relying on pre-packaged options. Honestly, when comparing the flavor and cost to using a dedicated keto meal plan delivery service, making this at home is a huge win. You control the oil and the cheese, and the freshness is unbeatable. It fits perfectly into almost any low-carb structure!
What is the secret to getting crispy smashed broccoli?
If you remember just one thing, remember this: DRY! The biggest culprit for mushy vegetables when roasting is water, so you have got to dry those florets really well after you blanch them. Make sure they are patted down thoroughly before you smash them. Then, the second key is the high heat—we roast at 400°F! This combination ensures you get that fantastic, crisp texture. If you follow those two steps, you’ll always have that perfect crispy smashed broccoli!
Can I skip the initial boiling step?
Oof, I wouldn’t recommend it if you’re aiming for that “tender center” everyone loves! If you try to smash raw broccoli, it’s going to shatter into tiny pieces, and those tiny bits will burn before the larger pieces get tender. The quick boil takes the hard, raw edge off so you can flatten it correctly and ensures you get those lovely, tender broccoli crispy edges instead of crunchy stems.
What if I only have cheddar cheese instead of Parmesan?
While Parmesan is my absolute go-to for that salty, nutty bite that bakes up perfectly, you can certainly use other hard cheeses. If you want to try the broccoli with cheese side using cheddar, here’s my advice: wait until the very last minute to add it. Harder cheeses like Parmesan melt and crisp beautifully. Cheddar has a higher fat content and can sometimes just turn oily if baked for too long at high heat. Sprinkle it in the last 3 minutes and watch it closely!
Nutritional Estimate for Garlic Parmesan Smashed Broccoli
Now, let’s talk about the good stuff in terms of macros! I always appreciate knowing what’s going into my body, especially when I’m serving something that tastes this indulgent. Even though this is a total splurge on flavor, it keeps things wonderfully light and veggie-forward. Remember, since we are relying on simple, fresh ingredients here, these numbers are pretty accurate for the base recipe!
This estimate is calculated serving 4 people based on the amounts listed. Just like when I make my hearty lentil soup recipe, keep in mind that additions like extra oil or heavy cheeses on top will naturally shift these numbers up. Think of this as our baseline for the perfect, flavorful broccoli recipes!
- Serving Size: 1 serving
- Calories: 120
- Fat: 8g (Saturated Fat: 3g)
- Carbohydrates: 10g (Fiber: 4g, Sugar: 2g)
- Protein: 6g
- Cholesterol: 8mg
- Sodium: 350mg
See? A little over 100 calories for a huge serving of delicious, crispy goodness! It’s an amazing, naturally low sugar option that proves you don’t need to rely on overly strict plans if you focus on whole foods. If you are looking for something warm and comforting to go alongside this, my lentil soup is exactly what you need!
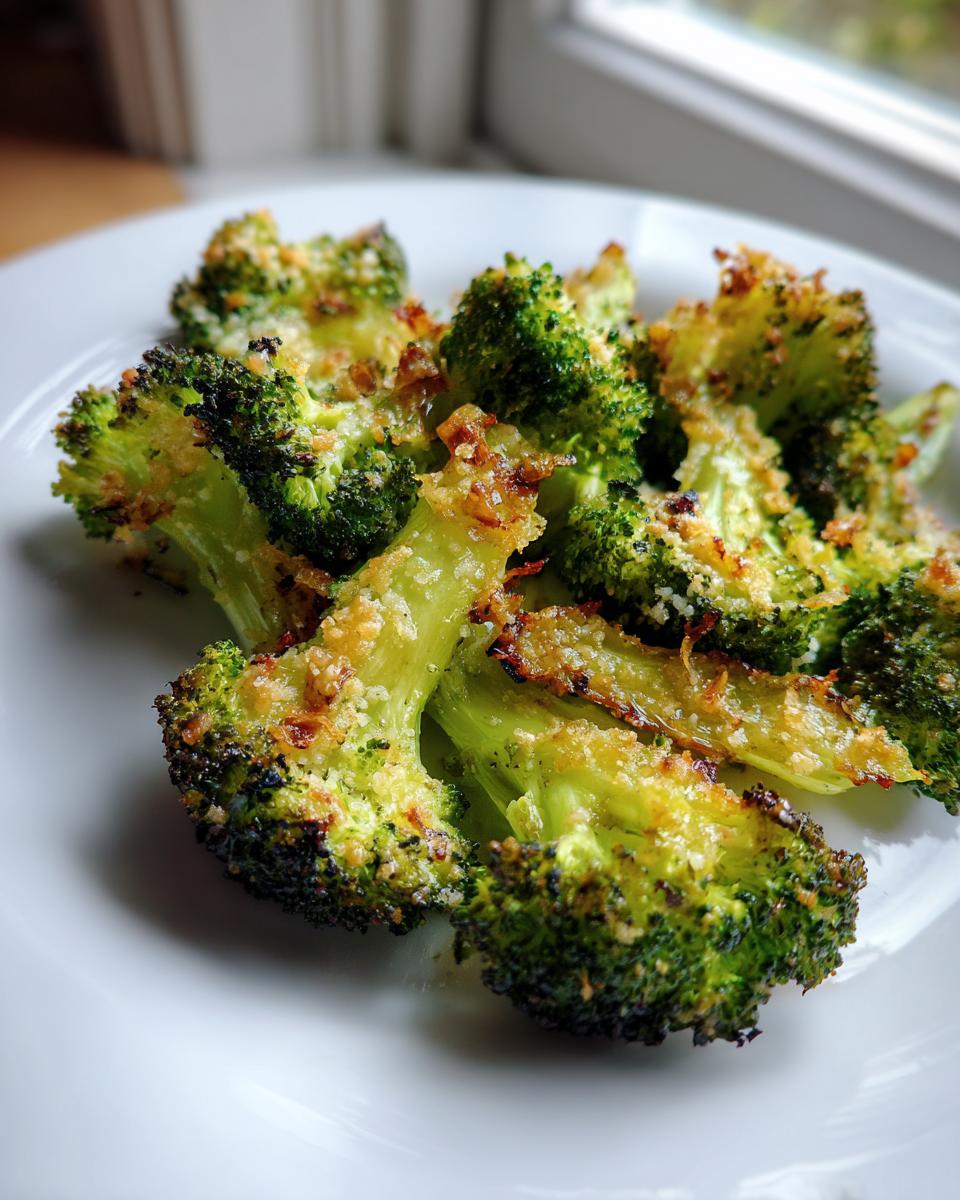
PrintCrispy Parmesan Smashed Broccoli

Make simple broccoli flavorful and texturally interesting by smashing the florets and roasting them until the edges are crispy.
- Prep Time: 10 min
- Cook Time: 25 min
- Total Time: 35 min
- Yield: 4 servings 1x
- Category: Side Dish
- Method: Roasting
- Cuisine: American
- Diet: Vegetarian
Ingredients
- 2 large heads broccoli, cut into florets
- 3 tablespoons olive oil
- 3 cloves garlic, minced
- 1/2 teaspoon salt
- 1/4 teaspoon black pepper
- 1/4 cup grated Parmesan cheese
- 1 tablespoon lemon juice
Instructions
- Preheat your oven to 400°F (200°C). Line a baking sheet with parchment paper.
- Place the broccoli florets in a large pot of salted water. Boil for 3 to 4 minutes until the broccoli is bright green and slightly tender. Drain well.
- Spread the drained broccoli onto the prepared baking sheet. Use the bottom of a glass or a potato masher to gently smash each floret until it is flattened but still holds together.
- In a small bowl, whisk together the olive oil, minced garlic, salt, and pepper. Drizzle this mixture evenly over the smashed broccoli.
- Roast for 15 minutes.
- Remove the baking sheet from the oven. Sprinkle the grated Parmesan cheese over the broccoli.
- Return to the oven and roast for another 5 to 8 minutes, or until the edges are crispy and the cheese is golden brown.
- Remove from the oven, drizzle with fresh lemon juice, and serve immediately.
Notes
- For extra crispiness, make sure the broccoli is very dry after boiling before you smash it.
- This recipe works well for low carb broccoli side dishes.
- If you are planning meals, this side dish pairs well with many main courses, similar to using meal planning services.
Nutrition
- Serving Size: 1 serving
- Calories: 120
- Sugar: 2
- Sodium: 350
- Fat: 8
- Saturated Fat: 3
- Unsaturated Fat: 5
- Trans Fat: 0
- Carbohydrates: 10
- Fiber: 4
- Protein: 6
- Cholesterol: 8