
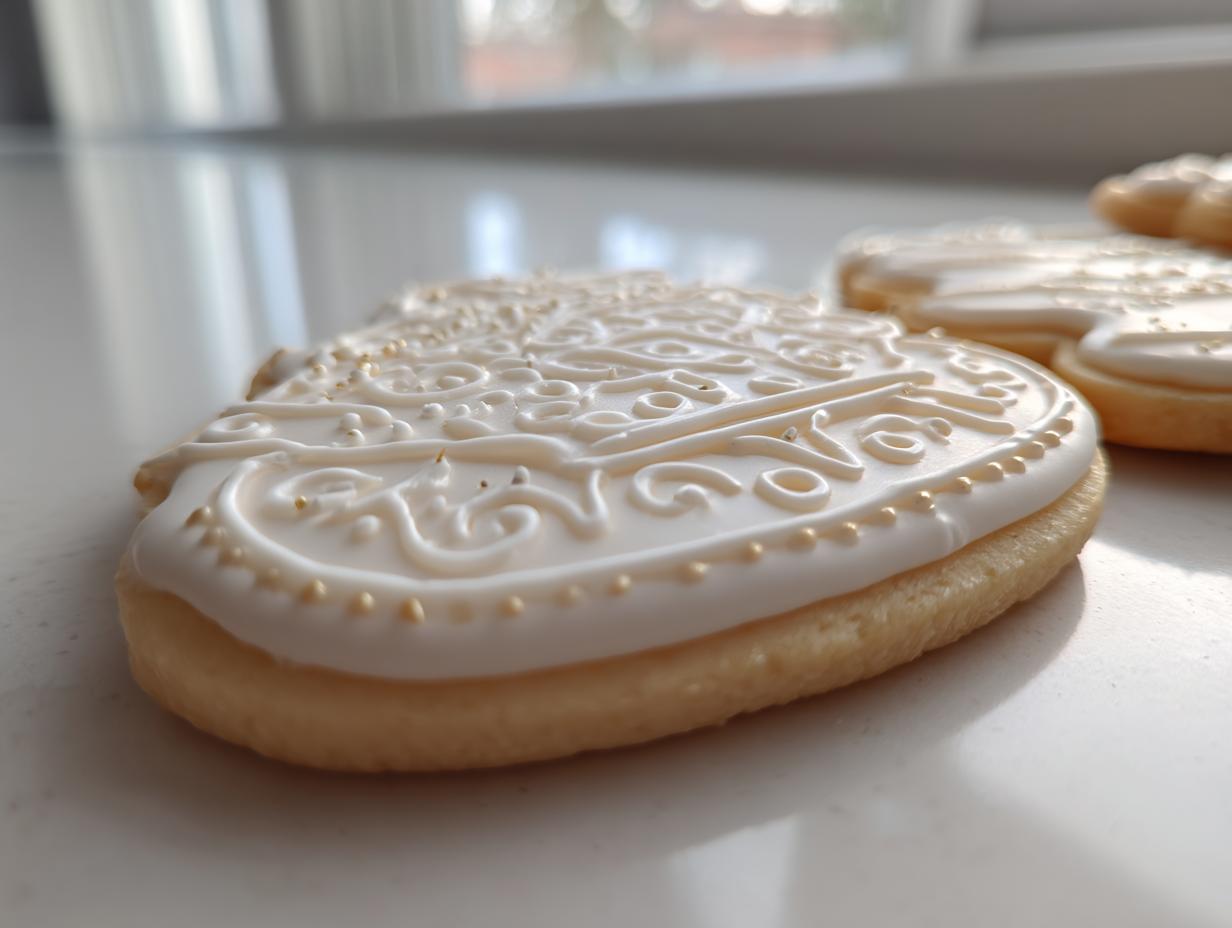
Oh, the magic of a perfectly decorated sugar cookie! When those cookies come out of the oven, they beg for the right shiny finish, right? For years, I was stuck in event planning, managing massive, complicated tasks, but honestly, my greatest joy came from nailing the flawless drizzle on a dozen cookies. It’s proof that sometimes the simplest things, when done perfectly, are the best! Forget those messy, crumbly frostings. We are whipping up the Ultimate Hard-Drying Royal Icing for Sugar Cookies today. This sugar cookie icing is unbelievably smooth, gets that gorgeous glossy cookie icing finish, and is so easy even if you’ve never piped before. It gives you the confidence to make treats worthy of gifting! If you want to know more about my journey from corporate chaos to calm baking, check out my About Page!
- Why This is the Best sugar cookie icing Recipe You Will Ever Need
- Ingredients for Your Ultimate Hard-Drying sugar cookie icing
- How to Prepare Your Smooth sugar cookie Glaze Instructions
- Tips for Success with Icing That Hardens for Cookies
- Coloring Your sugar cookie icing for Holiday Cookie Decorating
- Storage and Reheating Instructions for Leftover sugar cookie icing
- Serving Suggestions for Perfectly Decorated Cookies
- Frequently Asked Questions About This Glossy Cookie Icing Tutorial
- Share Your Perfect sugar cookie icing Creations
Why This is the Best sugar cookie icing Recipe You Will Ever Need
Listen, I get it. You want a sugar cookie icing that looks magazine-perfect but doesn’t require a pastry degree to pull off. This royal base is exactly what you’ve been searching for. It checks all the boxes for beautiful, stackable cookies. It’s my absolute favorite base for holiday decorating!
- It dries firm and hard, so your cookies don’t stick together in the tin.
- The finish is naturally smooth and shines beautifully under light.
- Minimal ingredients mean less chance of something going wrong, trust me!
When you pair this with my favorite sugar cookie base, you’ve got a winning combo every single time.
Perfect for Beginners: A No-Fail sugar cookie icing Recipe
If the thought of dealing with raw egg whites and stabilizers gives you the jitters, stop worrying! This is why I insist on using meringue powder. It gives you the stability and drying power of classic royal icing, but it’s so much safer and easier to handle. It really is the ultimate beginner cookie decorating icing because it rarely lets you down.
We sift everything and then just let the mixer do the heavy lifting. That consistent, reliable result is why I call this recipe ‘No-Fail.’ You deserve beautiful cookies without the stress!
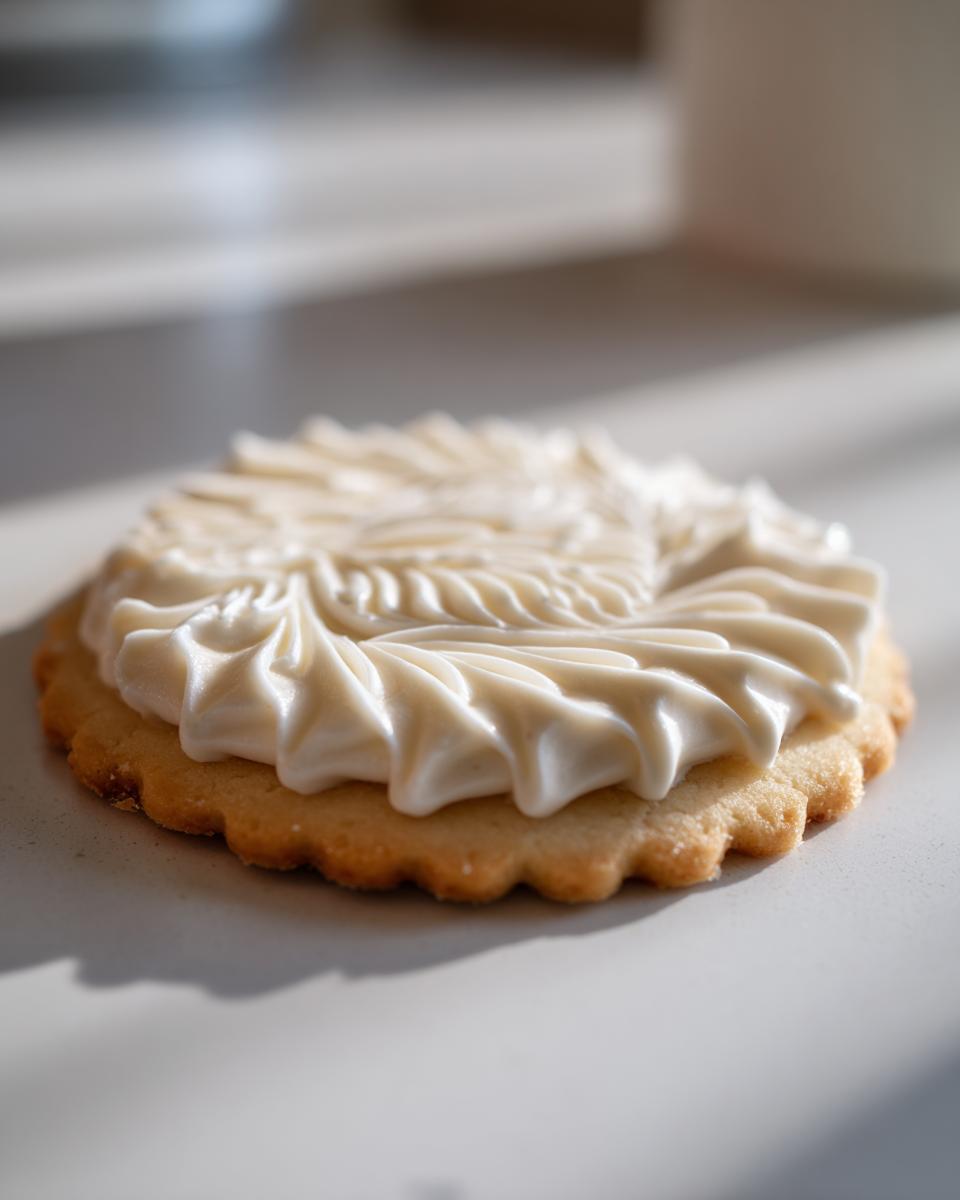
Achieving That Smooth, Glossy Cookie Icing Finish
The difference between a decent icing and an amazing glossy cookie icing is all about air incorporation. That super smooth texture you see on commercial cookies? We are getting that right here! The key is running the mixer on high speed for a solid 5 to 7 minutes after the initial mixing.
This step whips tons of tiny air bubbles into the sugar cookie icing mixture. When it dries, those bubbles create that beautiful, reflective sheen. It’s physics, but it looks like pure magic on your cookies!
Ingredients for Your Ultimate Hard-Drying sugar cookie icing
The secret to this fantastic sugar cookie icing is that it uses just a handful of things you probably already have! No weird specialty items needed to get that firm, beautiful coat on your cookies. I promise, measuring precisely here makes all the difference for that perfect smooth sugar cookie glaze we are aiming for.
Here’s what you’ll need to whip up a batch that covers about two dozen standard cookies:
- 4 cups confectioners’ sugar, sifted—don’t skip the sifting!
- 3 tablespoons meringue powder
- 6 tablespoons warm water
- 1 teaspoon vanilla extract
- Optional: Food coloring gel
Ingredient Notes and Substitutions for easy sugar cookie icing recipe
Let’s talk about why these are the best choices for an easy sugar cookie icing recipe. Meringue powder is my MVP here! It’s what helps the icing dry hard and prevents that sticky, soft middle. If you try using plain egg whites, you’re entering a whole new world of stabilization issues, so stick with the powder for the most reliable results.
Also, if you plan on coloring your icing—and who doesn’t?—you must use gel food coloring, not the liquid drops from the grocery store. Liquid drops add too much water and will thin out your perfectly stiff icing. We want intense color without sacrificing the texture needed for piping those cute little details!
How to Prepare Your Smooth sugar cookie Glaze Instructions
Okay, now for the fun part! Getting this sugar cookie icing ready takes barely any time at all, but the technique is what gets you that professional, seamless look. We’re going to mix everything low and slow first, and then really crank up the speed to get the shine we crave. Don’t worry if you think you messed up the measurements; this recipe is forgiving, but precision helps!
Grab your stand mixer or a hand mixer. First, combine all your dry ingredients—the sifted powdered sugar and the meringue powder—right into the bowl. This is crucial! We don’t want a pocket of dry powder lurking somewhere.
- Whisk the dry stuff together really well.
- Pour in your 6 tablespoons of warm water and the vanilla extract.
- Start mixing on low speed until everything is just damp. Seriously, keep it low so you don’t get a powdered sugar cloud explosion!
- Once it looks like wet sand, bump that speed up to medium-high! We’re whipping this for 5 to 7 solid minutes. Watch it turn pale and develop those stiff peaks.
If you need to add color, do it in a separate bowl after this whipping stage. And if you’re looking for dinner ideas while you wait for your cookies to cool, check out my Easy Weeknight Dinners post!
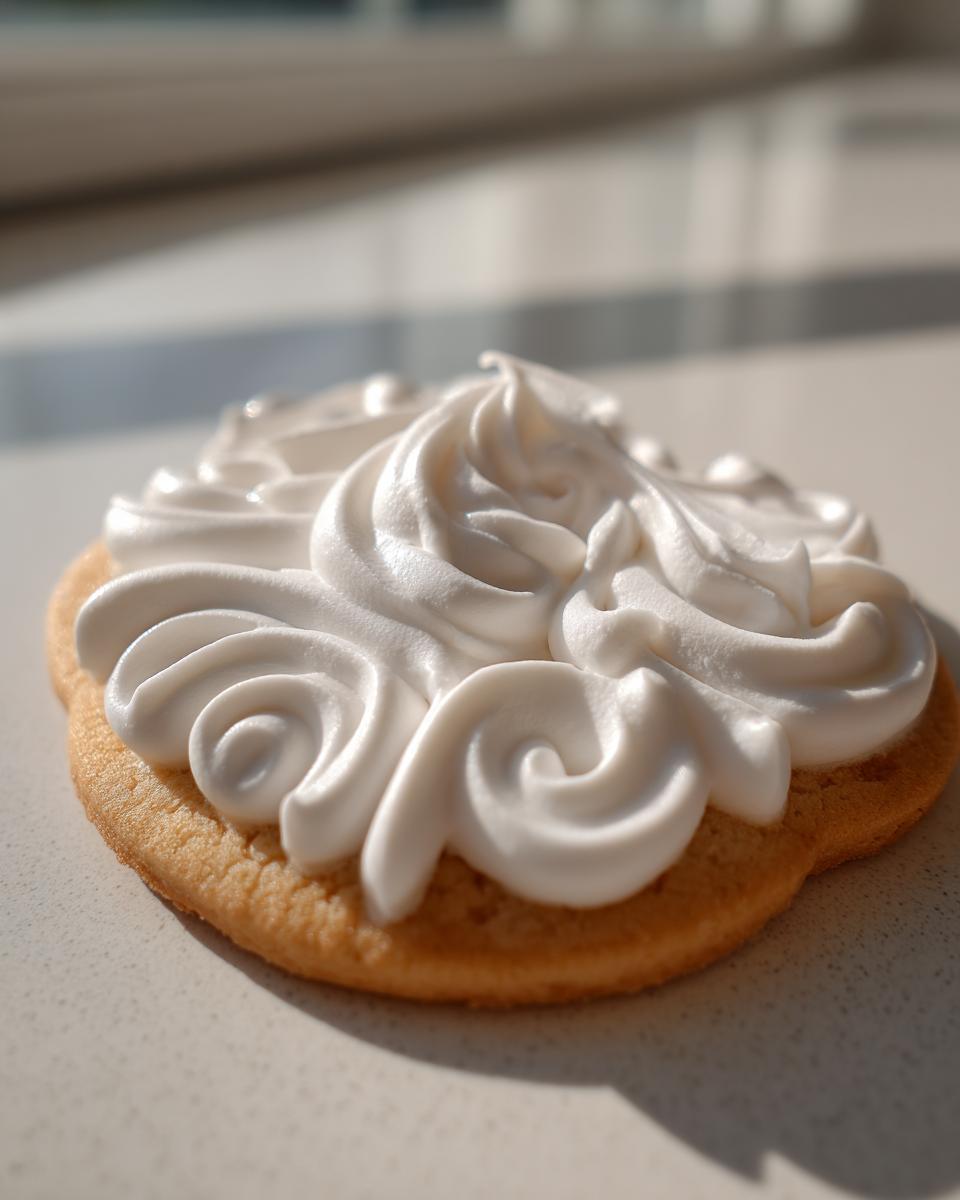
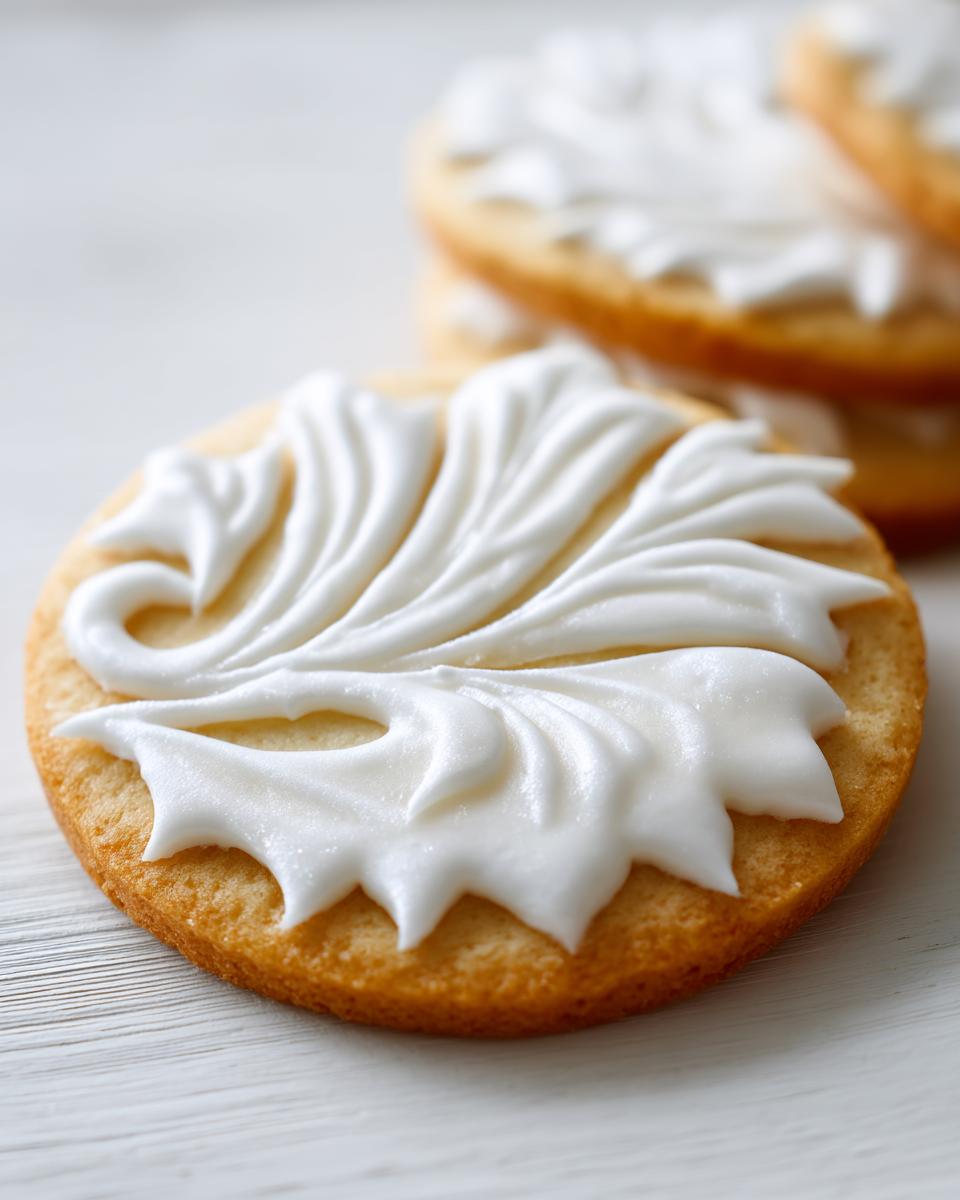
Mastering Icing Consistency for Piping and Flooding
This is the most important part of using sugar cookie icing! You need two textures from one batch, and it’s easy once you know the trick. For piping strong borders and writing details, you want a thick icing—it should hold its shape straight out of the bag. That’s what we get after that 7-minute whip!
For flooding—filling in the middle—we need it thinner. This is where you add water, just a half teaspoon at a time. To test if it’s ready for flooding, lift your whisk right out of the bowl. The icing that drizzles off should sink back into the bowl and disappear after about 10 seconds. That’s the famous ’10-second ribbon test’! Getting this right is essential for clean lines and smooth tops, which is why mastering the icing consistency for piping makes all the difference.
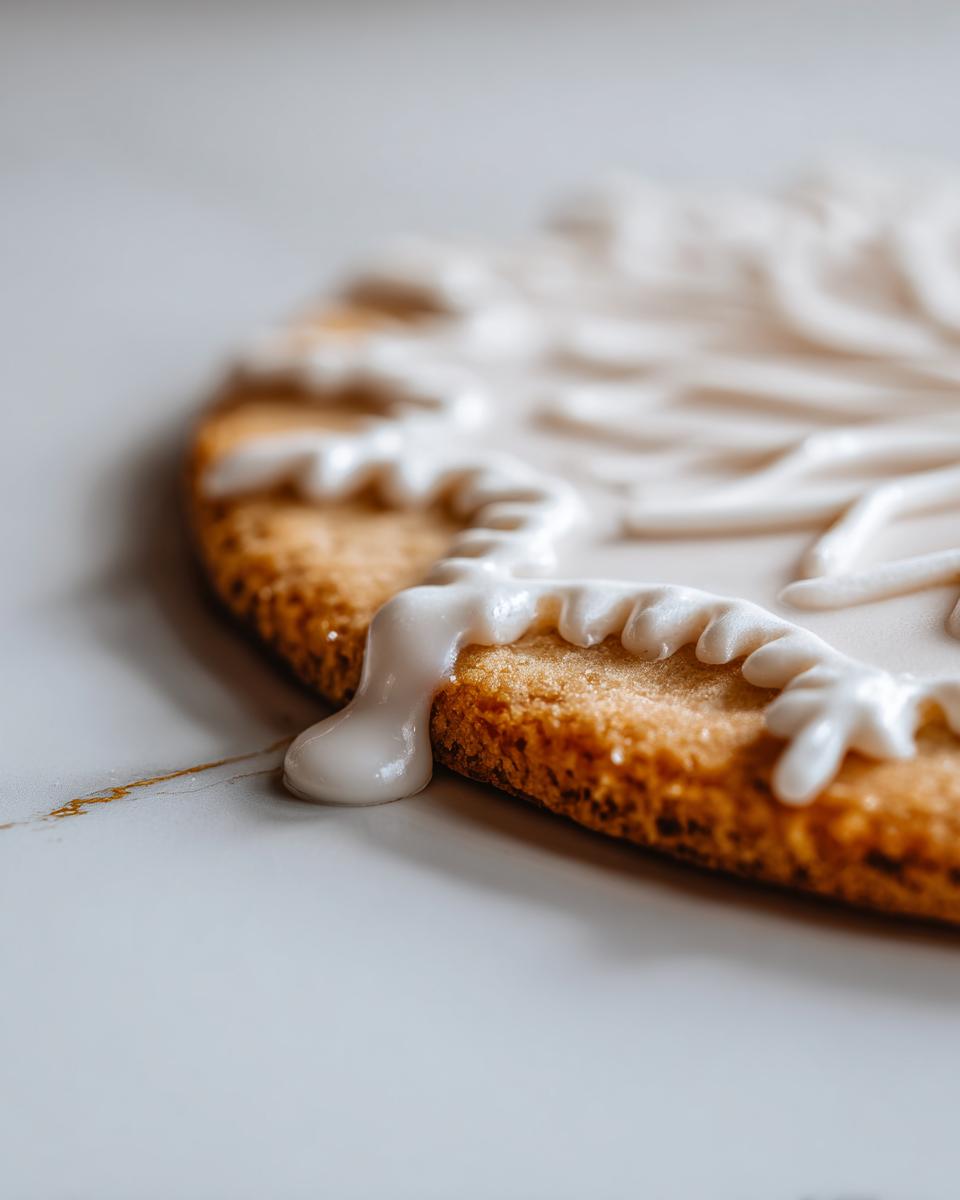
Tips for Success with Icing That Hardens for Cookies
You’ve mixed this beautiful batch of icing that hardens for cookies, so let’s make sure it behaves perfectly! Remember those notes I left myself on the recipe card? They aren’t suggestions; they’re commandments for perfection! For instance, never skip sifting that powdered sugar. I learned this the hard way during a stressful holiday gift exchange years ago. I rushed, skipped the sifting, and ended up with tiny, embarrassing lumps in my perfectly piped holly leaves. Never again!
If you work ahead, store any unused icing in an airtight container at room temperature—don’t refrigerate it! When you pull it out later, it will look stiff, but don’t panic. Just add a teeny drop of water, give it a quick re-whip with a fork, and it’s ready to roll.
The best part about this recipe is that firm, dry texture. It sets up so well that you can stack your cookies without fear of smearing your beautiful designs. It’s truly the best feeling when you package up a stack and they stay pristine!
If you’re planning on baking my other favorite, my classic chocolate chip cookies, remember that they need to cool completely before you even think about touching them with this icing!
Coloring Your sugar cookie icing for Holiday Cookie Decorating
Now that we have the perfect base for our sugar cookie icing, let’s talk about making it festive! This royal icing base is honestly the best canvas because it takes color so beautifully, which is what you need for serious holiday cookie decorating icing.
My biggest rule here is to use gel food coloring—always! If you try to use liquid coloring, even just a couple of drops, you’re adding water, and that water will instantly thin out the icing. Suddenly, your thick piping consistency turns into runny flood consistency, and all your beautiful piping plans go out the window.
Just use the tip of a toothpick to scoop a tiny bit of gel color onto your icing, then mix it gently with a small spatula until it’s uniform. A little bit goes a long, long way! For more baking inspiration that pairs well with decorated cookies, peek at my post on Chai Spice Cookies!
Storage and Reheating Instructions for Leftover sugar cookie icing
What happens when you have extra sugar cookie icing? Because this is a royal icing, it’s surprisingly resilient! You absolutely must store any leftovers in an airtight container at room temperature. Do not put it in the fridge! If you use the fridge, it gets sticky and weird when it comes back to temp—trust me on that one.
If you pull it out the next day and it looks a little stiff—which it will—don’t throw it out! Just add a tiny drop of water, maybe a half teaspoon max, and then whip it up again with a fork or a tiny mixer attachment. It comes right back to life, ready for the next batch of cookies!
Serving Suggestions for Perfectly Decorated Cookies
Because this sugar cookie icing dries so hard and firm, these cookies are ready for prime time! Forget sad, smushed cookies at the bottom of the party tray. These are sturdy; you can stack them tight in tins for gifting or even ship them safely across the country.
I love making a big batch for the holidays and layering them between sheets of wax paper just like my mom used to do. They look so professional! When you serve them, they look amazing next to something warm, like a mug of my cozy apple cider cocktail. The clean lines of the icing really sparkle then!
Frequently Asked Questions About This Glossy Cookie Icing Tutorial
I know when you are trying a new technique, questions pop up! That’s totally normal. My goal with this sugar cookie icing is to make decorating stress-free. Here are the things I always get asked when people try this recipe for the first time. If you learn how to troubleshoot these little hiccups, you’ll be making bakery-quality cookies in no time!
How long does this sugar cookie icing take to dry completely?
It really depends on the weather in your kitchen! If it’s super dry, you might feel the surface harden in an hour or two. But for the icing to be truly solid—so you can stack them or put them in a box—you should plan on several hours, sometimes even overnight. Humidity is the biggest enemy of icing that hardens; if it’s raining outside, give it extra time to cure!
Can I make this quick cookie icing recipe without meringue powder?
Oh, I wish I could say yes, but for this specific result—that glossy, hard-drying finish—meringue powder is really the star! It provides the protein structure we need to get that firmness. If you absolutely must skip it, you could experiment with pasteurized egg whites, but honestly, for a quick cookie icing recipe that you want to rely on, the meringue powder is worth keeping stocked in the pantry.
Why is my homemade sugar cookie glaze lumpy?
Lumps, ugh! That’s usually impatience talking, bless our hearts. The only way to get that perfectly smooth sugar cookie glaze is to sift your confectioners’ sugar before you even think about adding liquid! Those large clumps of powdered sugar just don’t dissolve easily once the water hits them. Sifting removes the lumps upfront so the mixer can do its job creating tiny, smooth air bubbles. If you still see lumps, sift it right into the bowl a second time—it’s the best way to fix it!
For more advanced tips, you might find this external guide on making icing that hardens helpful, but remember, mine is tested right here in my own kitchen!
When you’re done decorating, if you’re having a cup of tea instead of coffee later, try my salted caramel latte recipe!
Share Your Perfect sugar cookie icing Creations
I am just so excited for you to try this sugar cookie icing! When you finish decorating your first batch, please snap a picture and tag me! I absolutely love seeing your beautiful, glossy results. Don’t forget to rate the recipe right here on the page—that feedback helps me know if I nailed the texture for you. Let’s spread a little baking bliss together! If you need to reach out with questions later, use my Contact Page!
PrintThe Ultimate Hard-Drying Royal Icing for Sugar Cookies

Make smooth, glossy sugar cookie icing that dries hard and firm, perfect for detailed decorating and gifting. This easy, no-fail recipe uses simple pantry ingredients.
- Prep Time: 10 min
- Cook Time: 0 min
- Total Time: 10 min
- Yield: Covers about 2 dozen 3-inch cookies 1x
- Category: Baking
- Method: Mixing
- Cuisine: American
- Diet: Vegetarian
Ingredients
- 4 cups confectioners’ sugar, sifted
- 3 tablespoons meringue powder
- 6 tablespoons warm water
- 1 teaspoon vanilla extract
- Optional: Food coloring gel
Instructions
- In a medium bowl, whisk together the sifted confectioners’ sugar and meringue powder until fully combined.
- Add the warm water and vanilla extract to the dry ingredients.
- Using an electric mixer on low speed, mix until the ingredients are just combined and no dry streaks remain.
- Increase the mixer speed to medium-high and beat for 5 to 7 minutes until the icing is very smooth, thick, and holds stiff peaks. This whipping action incorporates air for a glossy finish.
- Check the consistency. For piping details, the icing should be thick. For flooding, add water one teaspoon at a time until the icing flows slowly off the whisk in a ribbon that sinks back into the bowl after about 10 seconds.
- If coloring, add gel food coloring now and mix until the color is uniform.
- To use for outlining and piping, place the thick icing into piping bags fitted with small tips.
- To flood, apply the thinner icing over the outlined areas. Let the icing dry completely, which may take several hours depending on humidity, until it is hard to the touch.
Notes
- For a truly smooth, glossy cookie icing, sift your confectioners’ sugar before measuring to prevent lumps.
- If the icing seems too thick after resting, add water a half teaspoon at a time until you reach the desired consistency for piping or flooding.
- This icing dries firm, making it ideal for stacking cookies or packaging them as gifts.
- Store unused icing in an airtight container at room temperature for up to two days; add a drop or two of water and re-whip if it thickens upon standing.
Nutrition
- Serving Size: 1/4 cup
- Calories: 450
- Sugar: 110
- Sodium: 5
- Fat: 0
- Saturated Fat: 0
- Unsaturated Fat: 0
- Trans Fat: 0
- Carbohydrates: 112
- Fiber: 0
- Protein: 1
- Cholesterol: 0