
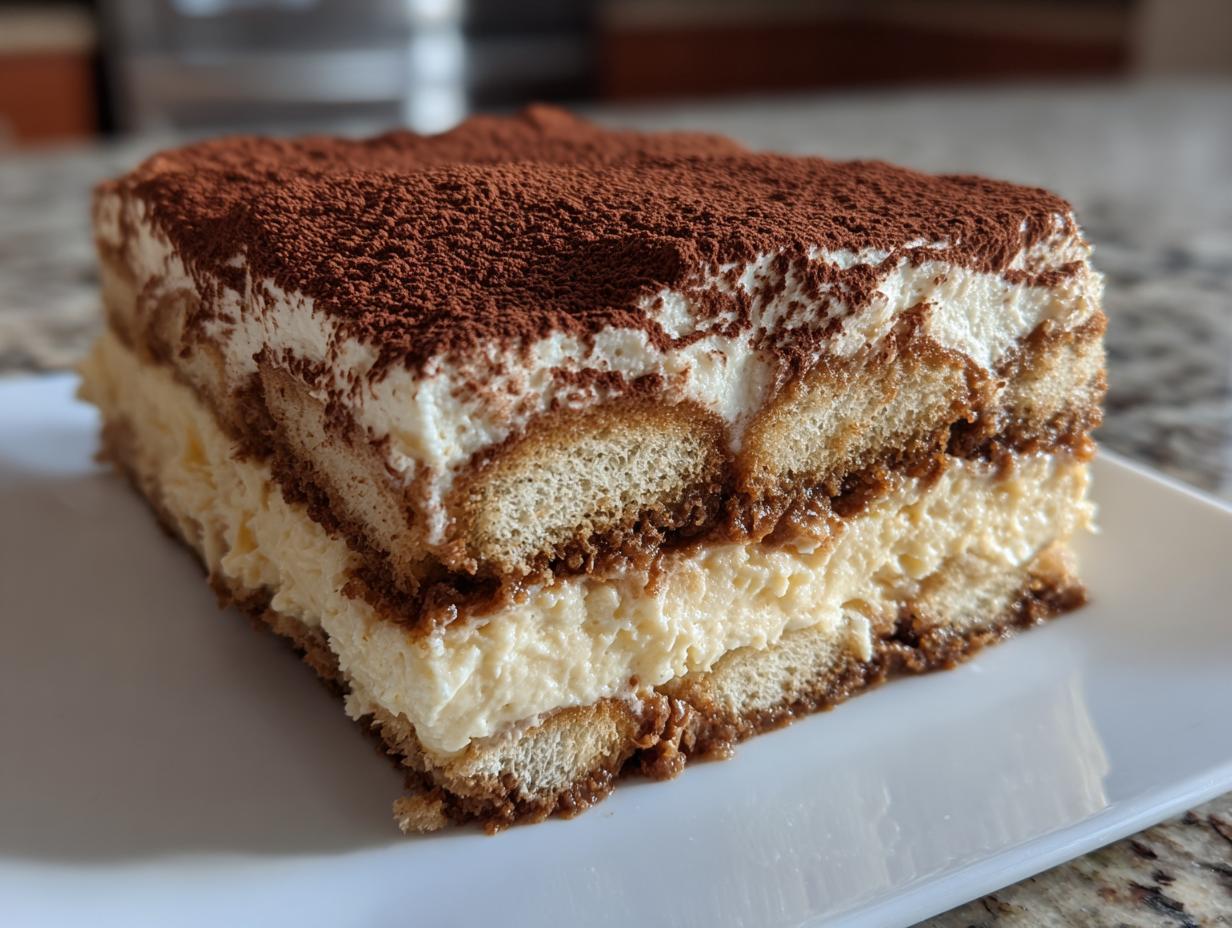
Oh, the romance of Italian desserts! Is there anything better than that first, glorious bite of something deeply rich, cool, and kissed with intense coffee flavor? Trust me, I’ve made hundreds of desserts over the years, but nothing quite hits the spot like a truly perfect Tiramisu. This is hands-down my favorite no-bake showstopper. It looks fancy, but honestly, it’s surprisingly straightforward once you know the secrets to that cloud-like mascarpone cream and the perfect espresso soak. When my event schedule got crazy, this recipe was my escape—a pure, comforting bake that didn’t even need the oven. We always reserve this for those nights when we just need a little slice of Italian sunshine, and I know you’re going to feel the same way about this classic.
We use the gentle sabayon method to make the filling perfectly safe and unbelievably luxurious. I learned this trick years ago and haven’t looked back! I want you to feel confident making this beautiful layered dessert for your next gathering. Find all my trusted tips on achieving those distinct soft layers right over here on my About Page if you want to learn more about my baking philosophy!
- Why This Authentic Tiramisu Recipe Works Every Time
- Gathering Ingredients for Your Classic Tiramisu Recipe
- Step-by-Step Instructions: How to Make Tiramisu
- Tips for Perfect Tiramisu Assembly and Setting
- Serving and Storing Your Homemade Tiramisu
- Variations on the Classic Tiramisu
- Frequently Asked Questions About Making Tiramisu
- Nutritional Estimates for This Tiramisu
- Share Your Tiramisu Creations
Why This Authentic Tiramisu Recipe Works Every Time
When you’re aiming for that true Italian trattoria flavor in your Tiramisu, you can’t cut corners on a few crucial steps. That reliance on quality ingredients and careful construction is why this recipe always gets rave reviews from my friends. It’s dependable, deeply flavorful, and honestly, impossible to mess up if you follow the rhythm.
- We cook the yolks using the gentle sabayon method! This warms them up, making the filling super creamy and completely safe, while adding beautiful structure to the mascarpone cream we are aiming for.
- If it doesn’t say mascarpone, it’s not real Tiramisu. Seriously, don’t swap that out! It must be full-fat and softened just right.
- The espresso bath needs to be strong and cooled down. Weak coffee makes for a flat dessert, plain and simple.
Key Components of a Perfect Tiramisu
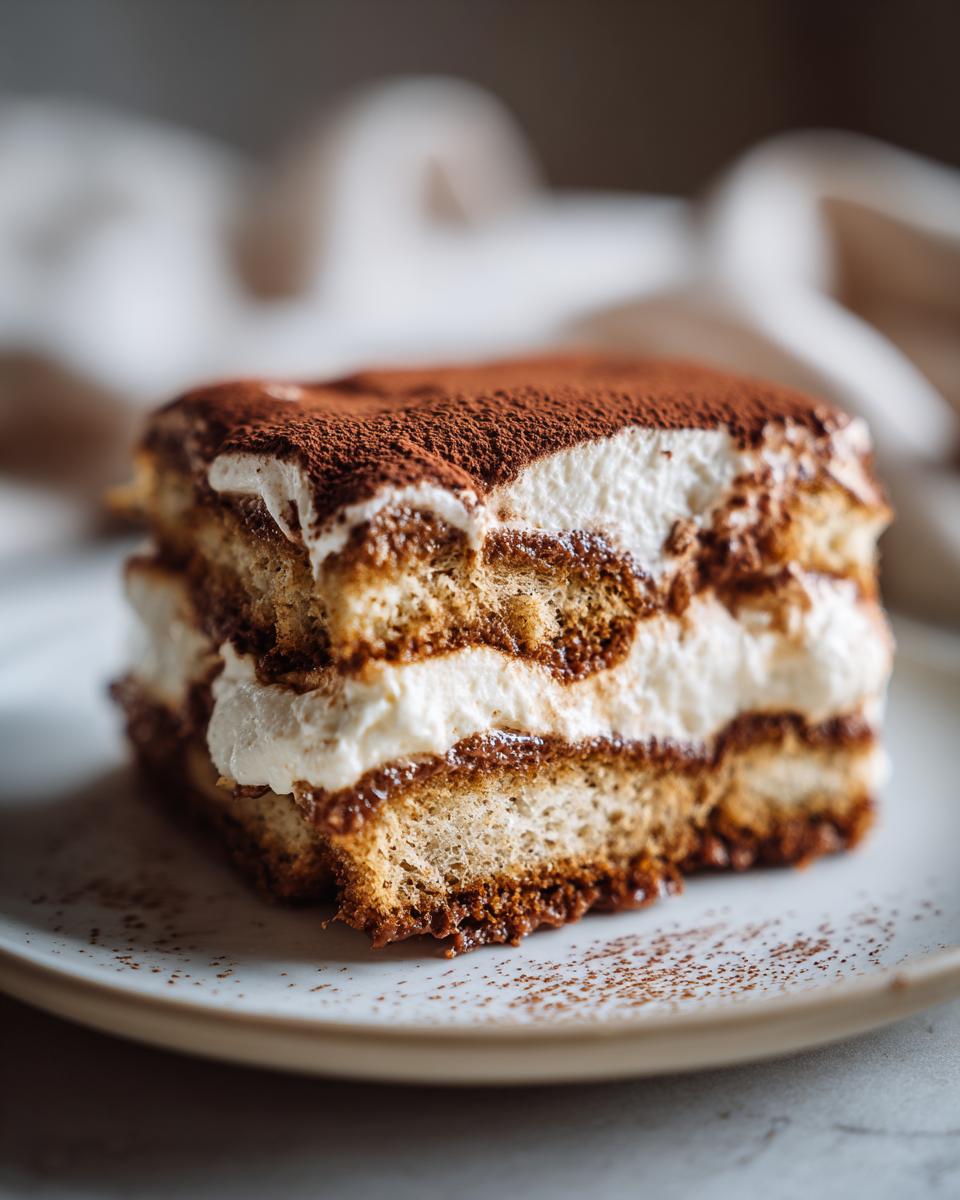
It all comes down to three things working in perfect harmony. First, the coffee soak: it has to be bold enough that you can taste it, but quick enough that the biscuits don’t turn to mush. Second, the cream structure; we whip the heavy cream separately so we can fold it in gently, giving us that airy lift without compromising the density of the cheese base. And finally, the ladyfingers—they are the foundation, so they need to absorb liquid but remain slightly cake-like when you cut into the finished dessert.
Gathering Ingredients for Your Classic Tiramisu Recipe
Okay, let’s talk ingredients! Since this is a no-bake masterpiece, the quality of what goes into that mascarpone cream really matters. When you’re making this beautiful Tiramisu, you want to gather these things. We need six big egg yolks for our rich base—we’ll be heating those—plus that granulated sugar to sweeten things up. You’ll need a full cup and a half of heavy whipping cream; make absolutely sure it’s icy cold, or it won’t whip up right!
The star is the 16 ounces of mascarpone cheese; make sure it’s softened a little first. For the soaking liquid, you must have 1 ½ cups of strong brewed espresso that is completely cooled down. I’ve even got a great guide on making cold brew if you need a shortcut on that espresso base! And don’t forget the good ladyfingers—the Italian Savoiardi kind are best—plus plenty of cocoa powder for dusting. The Marsala wine or dark rum is optional, but oh boy, does it add that authentic kick!
Ingredient Notes and Substitutions for Tiramisu
Let’s dig into the details a bit because that’s where the magic happens! Marsala wine is traditionally used because its slightly nutty, oxidized sweetness complements the coffee perfectly without overpowering it. If you can’t find Marsala, a good quality dark rum or even a tablespoon of coffee liqueur works wonders in the soak. If you don’t have espresso on hand, don’t panic! Just brew up some very strong coffee; we just need that intense coffee hit.
And when it comes to the cream, please, please, please use heavy whipping cream straight from the back of the fridge. If it’s even slightly warm, it won’t form those stiff peaks we need to keep our mascarpone filling light and airy. We want that gorgeous structure holding everything up while it chills!
Step-by-Step Instructions: How to Make Tiramisu
Alright, let’s get into the actual building of this incredible Italian no-bake layered dessert. This is where we need to focus on temperature and gentleness, especially if you’re like me and use the sabayon method to make sure those yolks are perfectly treated. I know it sounds fussy, but trust me, this step makes the difference between good and truly spectacular Tiramisu!
First up, we make that sabayon base. Set up your double boiler—a heatproof bowl over simmering water—and whisk those egg yolks and sugar constantly until it gets pale, thick, and registers about 160 degrees. This cooks the yolks through beautifully! Pull it off the heat and keep whisking until it cools down completely. If you rush this part, I promise you’ll know later, so be patient here! This careful cooking ensures your final mascarpone dessert with coffee filling is safe and stable, so don’t skip this step.
Next, whip your cold heavy cream until you get those lovely stiff peaks. Set that aside. Then, take your slightly softened mascarpone and gently mix it into that cooled yolk mixture until it’s smooth. Now comes the most delicate part of making this Tiramisu: folding. You add about a third of the whipped cream in first, just to lighten the base. Then, gently fold everything else in until you see no more white streaks. Don’t you dare overmix, or you’ll deflate all that air we worked so hard to incorporate!
Creating the Safe and Velvety Mascarpone Dessert with Coffee Filling
This stage defines the richness of your final product. The whole point of heating those yolks gently is twofold: it adds stability to the mixture, and it makes the final cream silky smooth, not grainy at all. Think of it like creating a safety net for your delicious cheese base! Once the mascarpone is incorporated into the cooled egg mixture, it will feel thick, almost like frosting.
The heavy cream is our insurance policy for lightness. When you fold it in, use a big silicone spatula and cut down the middle, then sweep up and over the side of the bowl. Go slow! You want beautiful ribbons of cream marrying the mascarpone mixture, not a flat soup. If you can still see some pale streaks when you think you’re done, stop mixing—it will combine more when you layer it.
Assembling Your Espresso Ladyfinger Mascarpone Layers
Now for the fun assembly! Pour your cooled espresso (with the optional liquor) into a shallow dish where you can easily maneuver the ladyfingers. This is critical: You must dip and turn each ladyfinger quickly—literally one second on each side. If you let them sit, they will dissolve into the cream later, and we want structure, not mush! That quick dip is the major secret.
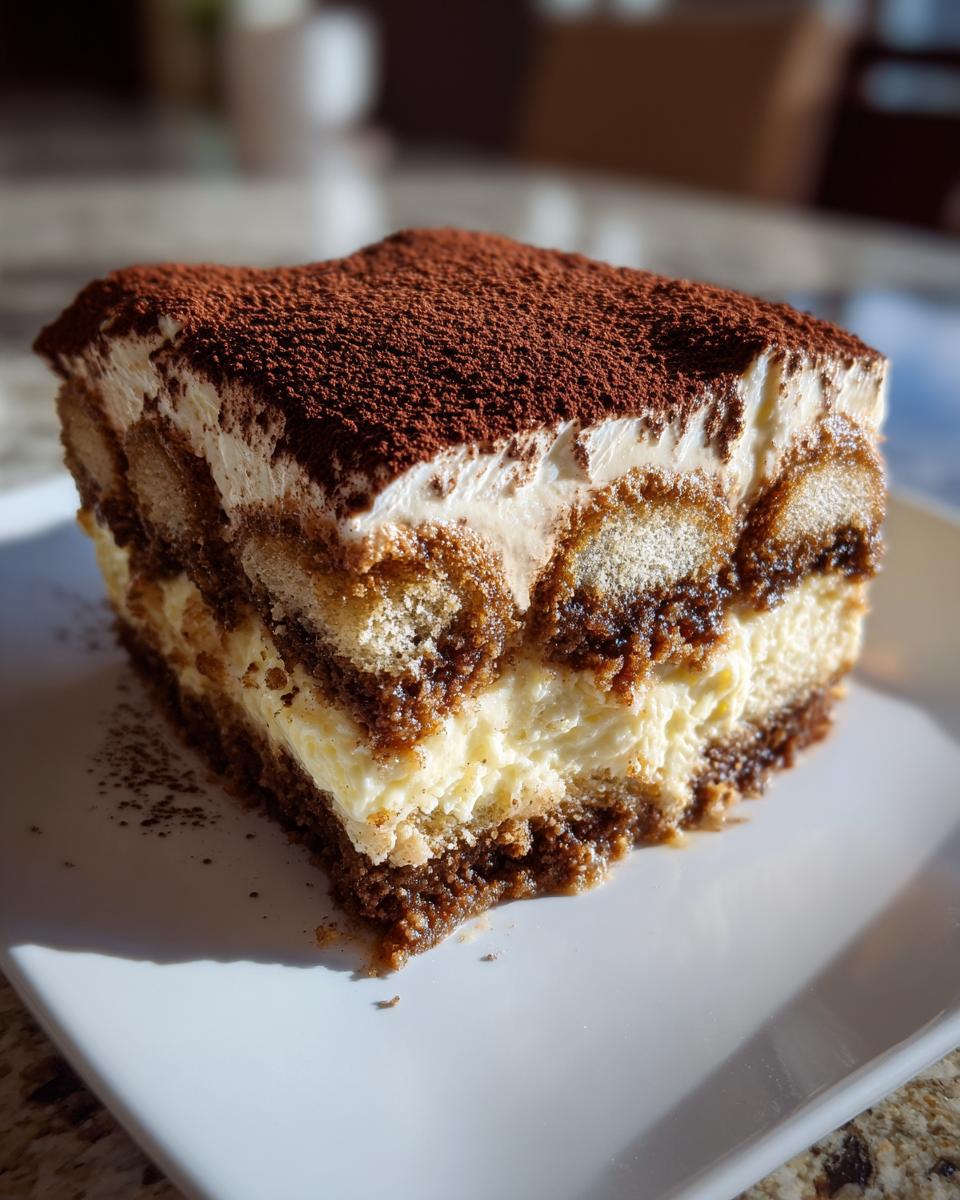
Arrange those lightly soaked biscuits snugly on the bottom of your 9×13 dish. Don’t leave huge gaps! Then, take half of that incredible cream and spread it evenly right on top. You want a nice, thick layer. Repeat the process: dip the remaining biscuits, place them on top of the cream, and cover the whole thing with the rest of that velvety mascarpone mixture. Smooth the top out nicely, because that’s the surface that we’ll dust with cocoa later!
Tips for Perfect Tiramisu Assembly and Setting
Okay, you’ve got your layers built—don’t touch that dish yet! This is the hardest part because it requires patience, but it is absolutely non-negotiable for a proper Tiramisu. You simply must let this chill for a long time. I know you want to make that espresso ladyfinger mascarpone dessert right now, but resist that urge!
You need a minimum of six hours in the refrigerator. Honestly, overnight is always better! That chilling time isn’t just about making it firm enough to slice; it’s when all those intense flavors—the bitterness of the coffee, the richness of the cream, the lightness of the soaked biscuits—actually marry together. If you cut it too soon, the texture will be sloppy, and the flavor won’t be developed. Think of chilling time as a crucial, no-bake step! If you’ve ever struggled with lasagnas getting too soupy before, this waiting game is just as important for layering success. Check out my tips for perfect layered desserts to get an idea of why structure matters!
Serving and Storing Your Homemade Tiramisu
The moment of truth is finally here! Your Tiramisu is set, firm, and ready to be unveiled. Remember that beautiful, smooth layer of mascarpone cream you smoothed down before the long chill? Now it’s showtime. The very last thing you do before you place this fantastic dessert on the table is dust it with cocoa powder.
Don’t dust it the night before! If you do, the moisture from the cream will actually soak up the cocoa, turning that beautiful matte brown finish into a dark, slightly muddy patch. Use a fine-mesh sieve and dust it generously right before you slice into it. That high-contrast look of the pale cream peeking out from under the dark cocoa? That’s what makes it look professional!
Now, let’s talk storage because honestly, this dessert tastes even better the next day. Keep any leftovers tightly covered with plastic wrap in the refrigerator. Because of the dairy and eggs, you should aim to finish it within three or four days, though I doubt you’ll have any left!
If you need to freeze it—maybe you made an extra batch—you can! Just make sure it’s very tightly wrapped first, maybe in a layer of plastic wrap followed by foil, to prevent freezer burn. It freezes surprisingly well, provided you skip the cocoa dusting until after it thaws. To thaw, just move it to the fridge overnight. It comes out perfectly, although I still think the fresh batch is unbeatable!
Variations on the Classic Tiramisu
While the traditional espresso and Marsala combination is divine perfection in my book, it’s fun to switch things up once you’ve mastered the basics of this rich Tiramisu. If you’re looking for a little twist next time, try swapping the alcohol in the soak! Kahlua or a good dark rum gives the ladyfingers a totally different flavor profile—kind of deeper and more chocolate-forward.
For a lighter seasonal taste, you could even use a strong, cooled black tea infused with orange zest instead of espresso. Imagine that delicate citrus lifting the cream! If you enjoy trying new cocktail flavors, I have a whole list of fun flavor combinations you can adapt for your next batch right here: check out my favorite drink recipes that might inspire your next Tiramisu flavor profile!
Frequently Asked Questions About Making Tiramisu
I get so many questions about this recipe after people try it the first time! It’s totally normal to have a few burning inquiries when you tackle a classic like this beautiful Italian no-bake layered dessert. Here are the things I hear most often when folks are assembling their first perfect Tiramisu.
Can I make this authentic Tiramisu recipe without alcohol?
Absolutely! The nice thing about this recipe is its total flexibility. If you skip the Marsala or rum, you don’t want to leave that soak plain, though. To keep that depth of flavor, try dissolving about 1 teaspoon of pure vanilla extract or even a tiny splash of almond extract into your cooled espresso. It keeps that rich character without any booze. It’s a wonderful alternative for my friends who aren’t fans of alcohol in their dessert, and it still results in a phenomenal Tiramisu.
What is the best way to prevent my Tiramisu from being soggy?
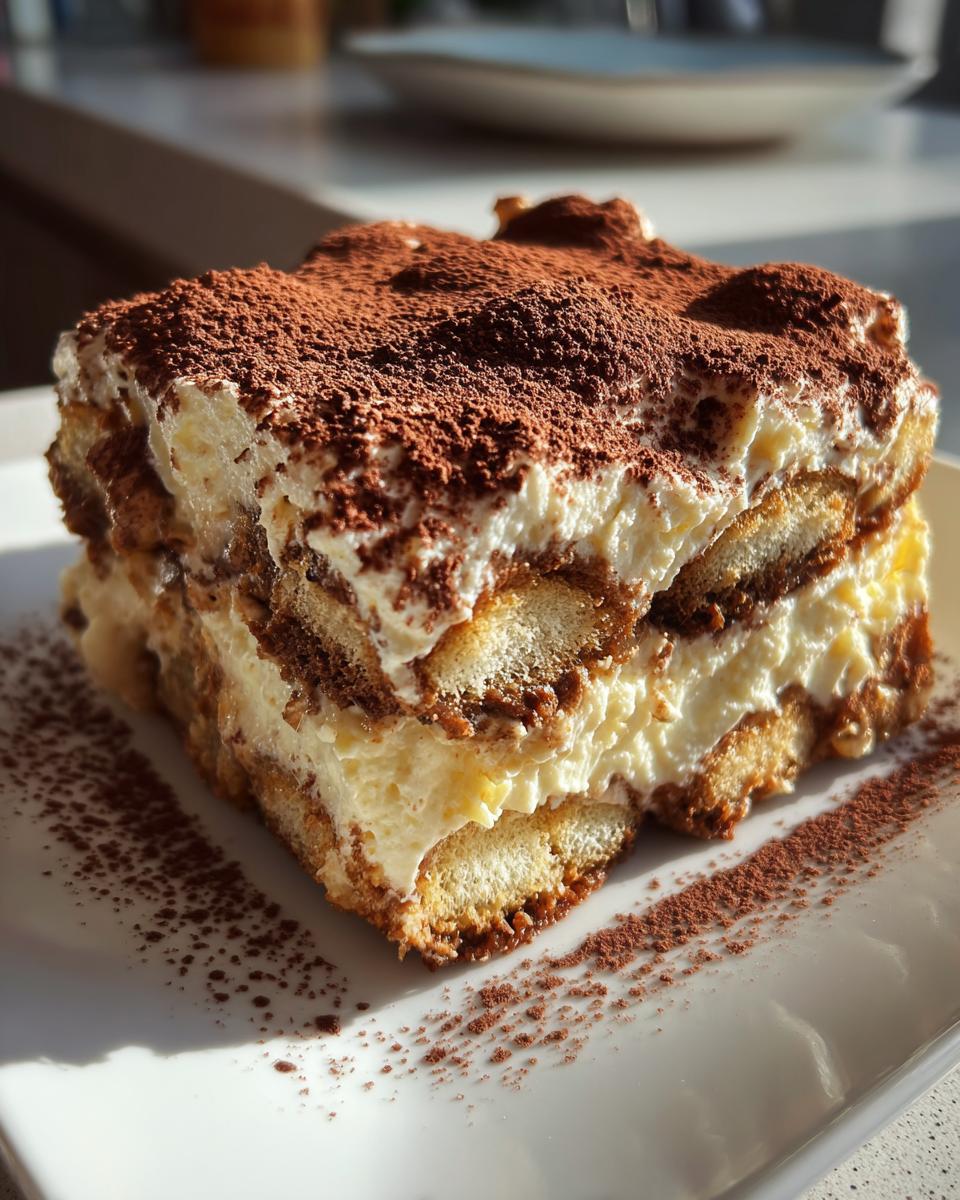
Oh, that dreaded soggy layer! The secret to a fantastic espresso ladyfinger mascarpone structure is the lightning-fast dip. You are not making sponge cake; you are just giving the biscuit a quick kiss of liquid. Grab the Savoiardi—those firm, dry Italian ladyfingers—and literally dip one side for barely one count, flip it, and dip the other for one count. Pull it out immediately! They should still feel slightly dry in the middle when you layer them; they’ll absorb the moisture from the mascarpone cream as they chill.
If you are worried about the base, I always remind people to make sure their cream isn’t too runny! If you follow the folding instructions for the mascarpone dessert with coffee filling perfectly, you should have a sturdy layer that won’t make the bottoms weep. For more general guidance on keeping food structured for parties, take a peek at some of my tips for great party appetizers!
Nutritional Estimates for This Tiramisu
Now, I know when we are baking for pure joy, we don’t usually worry about the numbers, but I believe in being upfront about what’s in our treats! Because this recipe relies on rich ingredients like egg yolks, full-fat mascarpone, and heavy cream, the profile is certainly decadent. Please remember, these figures are just my best estimates based on the ingredients listed, and if you decide to add more alcohol or use a different type of sugar, things will shift a bit.
These estimates are calculated per slice, based on a yield of 10 generous servings. It’s certainly a rich dessert, but remember, that richness is what makes it taste so unbelievably good and comforting!
- Serving Size: 1 slice
- Calories: 450
- Sugar: 35g
It clocks in a little higher on the fat content—we need that creamy mouthfeel from the mascarpone and butterfat in the cream! But hey, that’s what makes a proper, authentic dessert so satisfying, right? We aren’t making light sponge cake here; we’re making Italian cloud perfection!
Share Your Tiramisu Creations
I put my heart into developing every single recipe here at Bliss Batter, and honestly, seeing how you bring these desserts to life in your own kitchens is the very best part of my day. This gorgeous Tiramisu takes a little bit of patience, but when you finally dust that top with cocoa, you deserve a round of applause!
I would absolutely love, love, love to hear how yours turned out! Did you stick to the traditional Marsala, or did you try infusing your coffee with rum? Please leave a comment below—tell me what you thought of the texture and how long you managed to let it chill. Your feedback truly helps other bakers feel confident stepping into the kitchen.
If you snapped a picture of your perfectly layered dessert, please tag me on social media! I love featuring reader bakes on my stories. If you have any tricky questions that I haven’t covered, or if you just want to say hello, you can always reach out to me through my contact page. Happy baking, everyone! Let’s keep filling the world with homemade happiness, one chilled slice at a time!
PrintClassic Italian Tiramisu

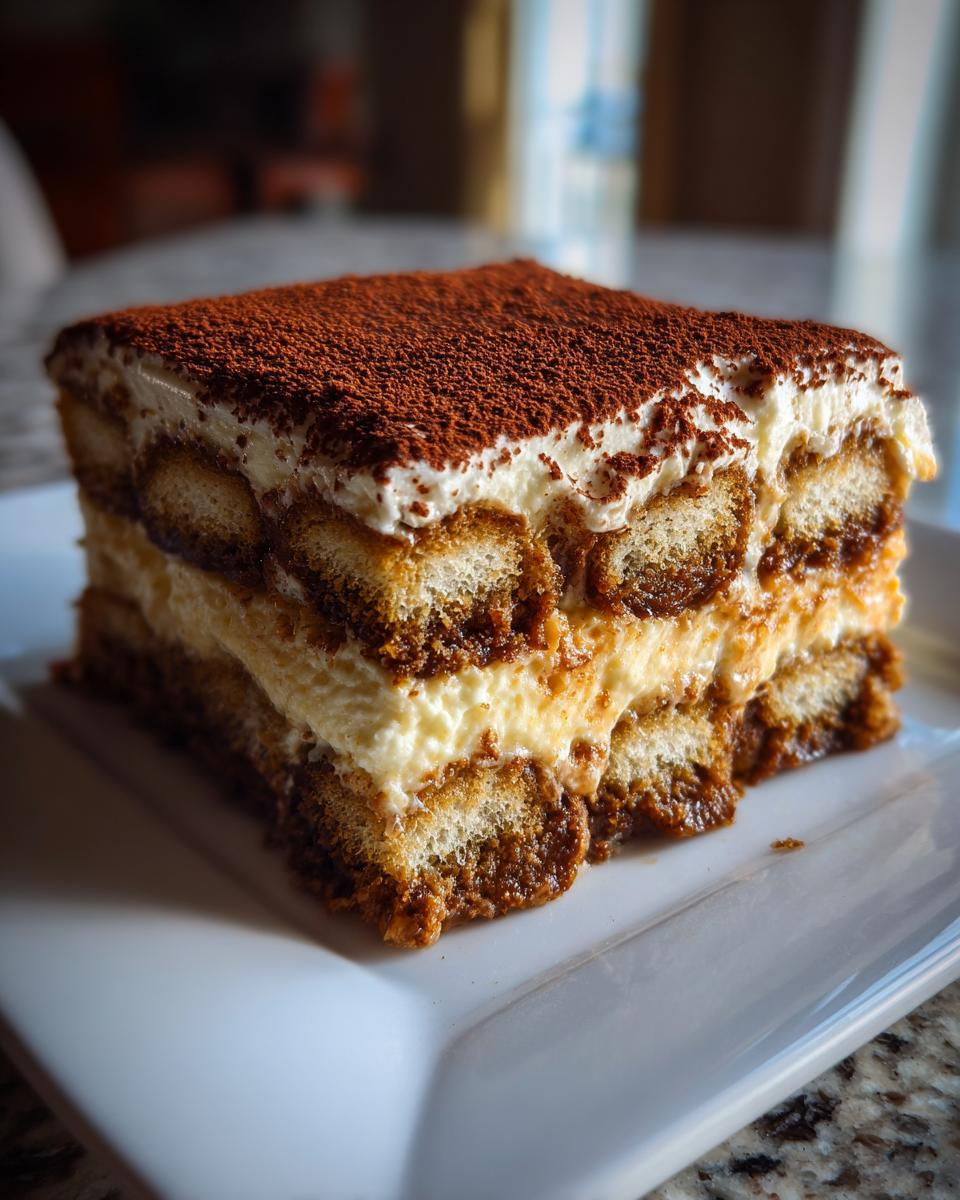
Make this rich, no-bake Italian dessert featuring espresso-soaked ladyfingers layered with a sweet mascarpone cream and dusted with cocoa powder.
- Prep Time: 30 min
- Cook Time: 5 min
- Total Time: 6 hours 35 min
- Yield: 10 servings 1x
- Category: Dessert
- Method: No-Bake Assembly
- Cuisine: Italian
- Diet: Vegetarian
Ingredients
- 6 large egg yolks
- 3/4 cup granulated sugar
- 1 1/2 cups heavy whipping cream, cold
- 16 ounces mascarpone cheese, softened
- 1 1/2 cups strong brewed espresso, cooled
- 1/4 cup Marsala wine or dark rum (optional)
- 2 packages (7 ounces each) ladyfingers (savoiardi)
- Unsweetened cocoa powder, for dusting
Instructions
- Prepare the Sabayon Base: In a heatproof bowl set over a saucepan of simmering water (ensure the water does not touch the bottom of the bowl), whisk the egg yolks and sugar constantly until the mixture is pale yellow, thick, and reaches 160 degrees Fahrenheit. This process cooks the yolks for safety. Remove from heat and continue whisking until cool.
- Make the Mascarpone Cream: In a separate large bowl, whip the cold heavy cream until stiff peaks form. In another bowl, gently mix the softened mascarpone cheese into the cooled egg yolk mixture until just combined and smooth.
- Fold Ingredients: Gently fold one-third of the whipped cream into the mascarpone mixture to lighten it. Then, gently fold in the remaining whipped cream until no streaks remain. Do not overmix.
- Prepare the Soaking Liquid: In a shallow dish, combine the cooled espresso and Marsala wine or rum, if using.
- Assemble the Tiramisu: Quickly dip each ladyfinger into the espresso mixture, turning once. Do not soak them too long, or they will become soggy.
- Arrange a single layer of dipped ladyfingers in the bottom of a 9×13 inch baking dish, breaking them as needed to fit.
- Spread half of the mascarpone cream evenly over the ladyfinger layer.
- Repeat the process: Dip and layer the remaining ladyfingers over the cream.
- Spread the remaining mascarpone cream over the second layer of ladyfingers, smoothing the top.
- Chill: Cover the dish tightly with plastic wrap and refrigerate for at least 6 hours, or preferably overnight, to allow the dessert to set and the flavors to meld.
- Serve: Before serving, dust the top generously with unsweetened cocoa powder. Slice and serve cold.
Notes
- If you prefer not to use raw eggs, the sabayon method described above cooks them safely.
- For a quick, flavorful coffee base, consider using a high-quality instant espresso powder dissolved in hot water.
- If you skip the alcohol, you can add 1 teaspoon of vanilla extract to the espresso for depth.
- This recipe works well when assembled in individual glasses or ramekins instead of a large dish.
- If you are looking for alternatives to traditional baking, this no-bake dessert is a great option, much like some recipes found through meal planning services.
Nutrition
- Serving Size: 1 slice
- Calories: 450
- Sugar: 35
- Sodium: 120
- Fat: 30
- Saturated Fat: 18
- Unsaturated Fat: 12
- Trans Fat: 1
- Carbohydrates: 38
- Fiber: 1
- Protein: 9
- Cholesterol: 250