
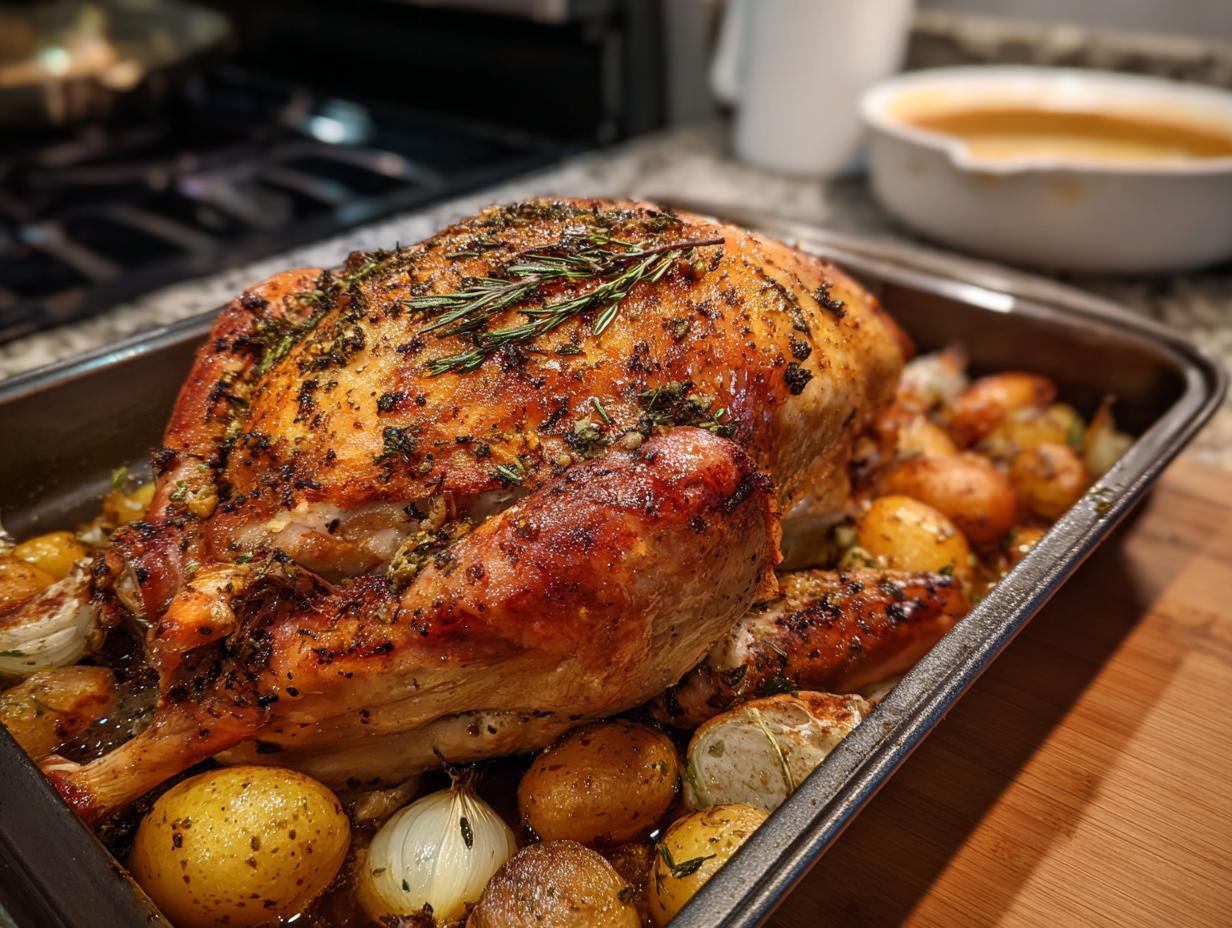
Oh, the dreaded dry Thanksgiving turkey. We’ve all been there, right? That moment you carve into the bird and… nope. Just nope. But what if I told you there’s a super simple secret that guarantees a ridiculously juicy, flavorful turkey every single time? Yep, it’s all about a good old-fashioned turkey brine. My Grandma Sterling made the most incredible turkeys, and her method was always this wonderful salt water soak that infused every bite with moisture and flavor. It’s truly foolproof, so no stress needed!
- Why This Turkey Brine Recipe Is Your Secret Weapon
- Mastering the Turkey Brine: Essential Ingredients
- How to Prepare Your Turkey Brine: Step-by-Step
- Tips for the Perfect Turkey Brine Experience
- Frequently Asked Questions About Turkey Brine
- Estimated Nutritional Information for Turkey Brine
- Share Your Brined Turkey Success!
Why This Turkey Brine Recipe Is Your Secret Weapon
Okay, so why ditch the bland bird and opt for this brine? Trust me, it’s a total game-changer! This recipe isn’t just about shaking salt in water; it’s about transforming your turkey into something truly spectacular. Here’s why it’s your new holiday secret:
- Unbelievably Juicy Meat: This is the big one! The salt solution actually helps the turkey’s muscle fibers hold onto more moisture, so you get that perfect, succulent bite every single time. No more dry disappointments!
- Deeply Flavorful: Don’t want a bland bird? Me neither! Brining infuses seasoning all the way down to the bone. It’s like giving your turkey a flavor spa treatment. You get those lovely herbal and peppery notes throughout.
- Tender Results, Always: That magical salt and sugar combo doesn’t just add flavor and moisture; it also helps break down the turkey’s proteins. This means super tender meat that practically melts in your mouth.
- Super Simple! Seriously, you don’t need to be a gourmet chef. The ingredients are basic, and the steps are easy to follow. It fits right into our Bliss Batter promise of accessible baking (and well, roasting!). These juicy turkey brining tips are foolproof!
Mastering the Turkey Brine: Essential Ingredients
Alright, let’s talk about what goes into this magical turkey brine! Getting the best brine ingredients is key, and honestly, it’s mostly pantry staples. You’ll need: a good 1 gallon of water, 1 cup of kosher salt (this is crucial for drawing out moisture and then letting the meat absorb it!), and 1/2 cup of granulated sugar. That sugar might sound a little odd, but trust me, it helps with browning and adds a touch of sweetness that just balances everything out beautifully. Seriously, these simple things make all the difference!

Ingredient Spotlight: The Power of Aromatics
Now for the fun stuff – the aromatics! These are like the perfume for your turkey. We’ve got 1 tablespoon of black peppercorns (give ’em a little crush if you remember!), 2 bay leaves (don’t skip these!), 1 lemon, halved (the citrus brightens everything up!), 4 sprigs of fresh thyme, and 2 sprigs of fresh rosemary. You can totally play around here – maybe add a few garlic cloves or even some star anise if you’re feeling fancy! The goal is to just give your turkey some lovely background notes.
How to Prepare Your Turkey Brine: Step-by-Step
So, how do you actually *make* this amazing turkey brine? It’s super easy, I promise! First things first, grab your biggest pot – the one that can actually fit the turkey later, or you can use a separate brining bag or container. Into that pot goes 1 gallon of water, our 1 cup of kosher salt, and the 1/2 cup of granulated sugar. Give it a good stir until it all dissolves. Then, toss in all those lovely aromatics we talked about: the peppercorns, bay leaves, halved lemon, thyme, and rosemary. Now, here’s the important part: bring this mixture to a gentle simmer on the stovetop just to help everything meld together, then take it off the heat. You absolutely *must* let this brine cool down completely. Like, seriously, completely cold. I usually make mine the day before and let it chill in the fridge overnight, or at least for a few hours. Adding a hot or even warm brine to your turkey would be a safety no-no!
Brining Time: How Long to Soak Your Turkey
Once your brine is nice and cold, it’s time to get your turkey in there! Pop your turkey into your brining bag or container and pour all that delicious, cooled brine over it. Make sure the turkey is totally submerged – no peeking out! Now, for the timing. This is key for a perfect turkey brine. For smaller birds, around 12 hours is usually plenty. But for those big, beautiful holiday birds (think 15-18 pounds or more), you can go up to 24 hours. Don’t go much longer than that, or you risk making your turkey a little too salty. It’s all about finding that sweet spot!
Post-Brine Care: Rinsing and Drying
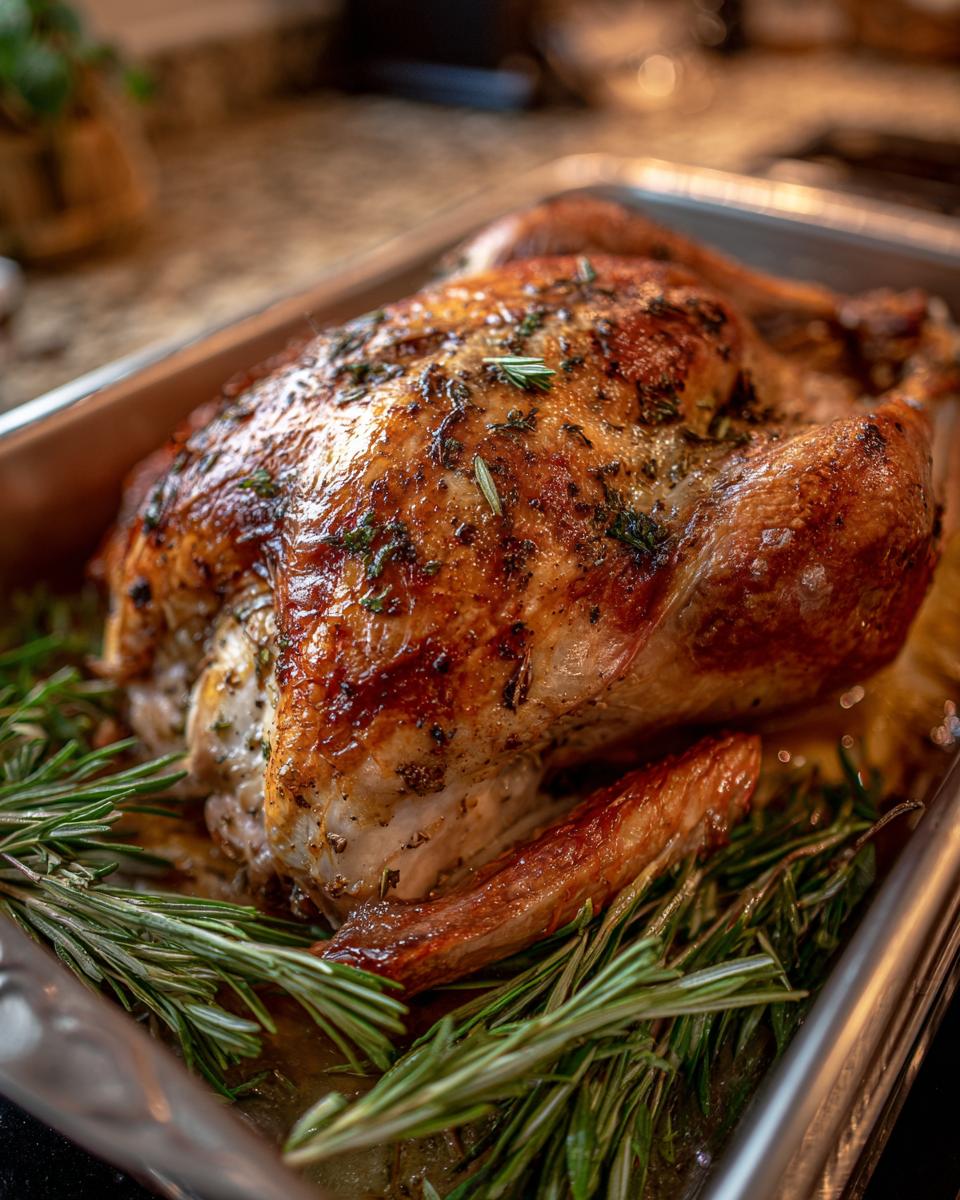
Okay, your turkey has had its spa treatment! Now, carefully lift it out of the brine. Don’t be tempted to skip this next step – it’s crucial! You need to rinse your turkey thoroughly, both inside and out, under cold running water. This washes away any excess salt that might be sitting on the surface. After rinsing, grab a few paper towels – it’ll take a good amount – and pat that bird completely dry. Getting the skin really, really dry is essential if you want that beautiful, crispy skin when it’s all roasted. Trust me, this step makes a world of difference!
Tips for the Perfect Turkey Brine Experience
Getting a perfectly brined turkey is easier than you think, but a few little tips can make all the difference! Think of me as your kitchen fairy godmother here. One of the most important things is making sure your turkey has enough room to swim! You’ll want a container that’s big enough to fully submerge your bird. A food-grade bucket or a really large pot works, but my favorite is a brining bag – they’re super sturdy and less messy. Also, make sure your delicious turkey brine covers the turkey completely. Nobody likes a partially brined bird! Remember, the goal is those juicy turkey brining tips, and full submersion is key to that amazing moisture. Don’t forget, the brine needs to be fridge-cold the whole time it’s with the turkey. If you’re looking for pointers on another bird, check out my roast chicken with vegetables – same principles apply for juicy meat!
Wet Brine vs. Dry Brine: Understanding Your Options
So, you’ve heard of dry brining, right? It’s basically rubbing salt and seasonings all over the turkey and letting it sit uncovered in the fridge. It’s great for crispy skin! But for me, when I really want that promise of *maximum* juiciness and a bird that’s impossibly tender all the way through, wet brining is the way to go. This recipe is a wet brine, meaning the turkey sits right in that flavorful liquid bath. It’s a bit more of a commitment with the liquid, but oh my goodness, the results are so worth it for that deep, all-over moisture!
Frequently Asked Questions About Turkey Brine
Got questions about this amazing turkey brine? I get it! It’s always good to have all the details. Here are a few things people often ask me:
Can I brine a turkey for longer than 24 hours?
While you *could* technically leave it longer, I really don’t recommend it. Brining for too long, especially with this recipe’s salt ratio, can actually start to make your turkey taste *too* salty. It can also mess with the texture, making it a bit mushy. Stick to that 12-24 hour window – it’s perfect for getting it super juicy without going overboard!
What happens if I don’t rinse the turkey after brining?
Oh, please don’t skip the rinse! If you don’t rinse your turkey, you’ll end up with a bird that’s way too salty on the outside, and no one wants that. The rinse is super important for washing off that extra surface salt so you get a perfectly seasoned turkey, not a salt lick. And remember to pat it dry really well after rinsing for that crispy skin!
Is this turkey brine recipe safe for smoking?
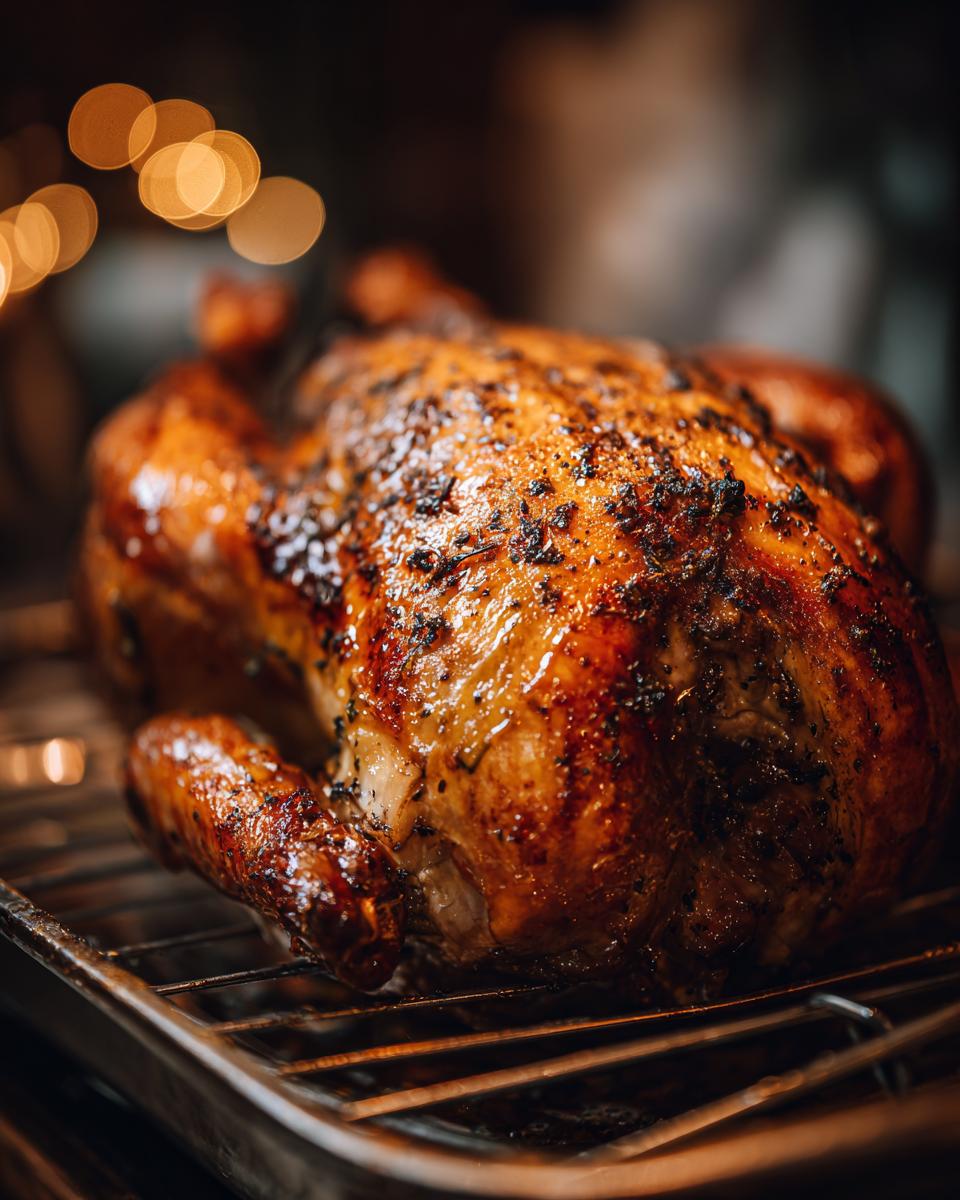
Absolutely! This turkey brine recipe is fantastic for smoking your bird. The salt bath infuses it with flavor and moisture, which is super important because smoking can sometimes dry out meat. Just make sure you thoroughly rinse and dry your turkey after brining before you get it on the smoker. It’ll come out incredibly tender and juicy!
Can I use a different type of salt?
You can use other types of salt, but you *must* adjust the amount! Kosher salt has larger, more irregular crystals, so 1 cup is the right amount. If you want to use fine sea salt or table salt, you’ll need to use about half that amount (around 1/2 cup) because it’s much denser. Always stick to kosher or sea salt if you can for the best brining action!
Estimated Nutritional Information for Turkey Brine
Just a little heads-up on the nutrition for this brine mixture itself, before your turkey goes in! Keep in mind these are estimates and can totally vary. We’re looking at roughly 50 calories, about 15g of carbohydrates (mostly from the sugar), and a hefty dose of sodium at around 2500mg per cup of brine. There’s no fat or protein in the brine itself. Happy brining!
Share Your Brined Turkey Success!
Have you tried this amazing turkey brine? I’d absolutely LOVE to hear all about it! Did it make your turkey unbelievably juicy? Share your delicious results in the comments below, or tag me on social media with a pic of your beautiful bird. Your success stories are the best part of this whole baking journey!
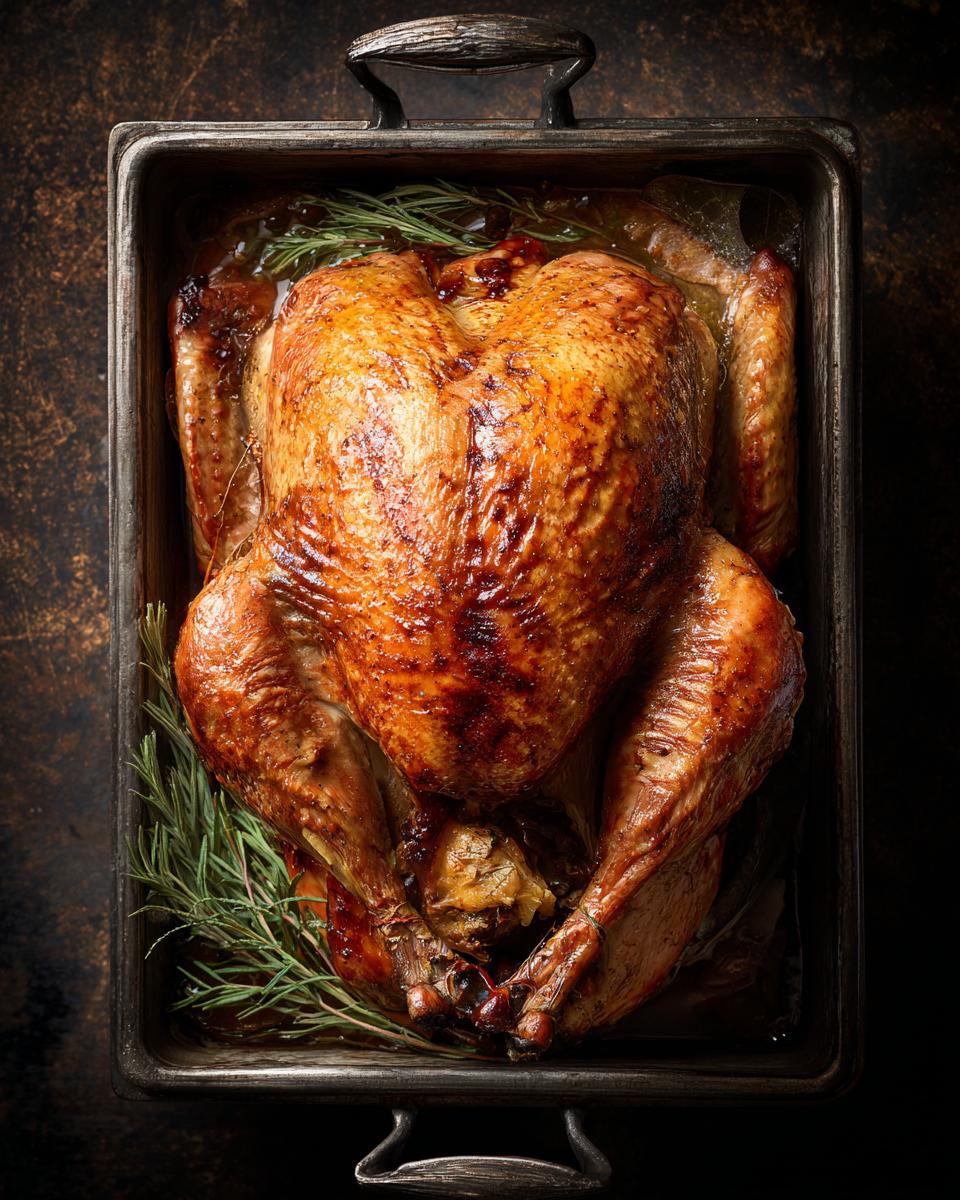
PrintClassic Turkey Brine Recipe

This classic turkey brine recipe ensures a juicy and flavorful turkey, perfect for any holiday meal. Learn how to brine your turkey for maximum moisture and taste.
- Prep Time: 15 minutes
- Cook Time: 0 minutes (brining time is separate)
- Total Time: 12-24 hours (brining)
- Yield: Sufficient for one 12-18 lb turkey 1x
- Category: Main Course
- Method: Brining
- Cuisine: American
- Diet: Vegetarian
Ingredients
- 1 gallon water
- 1 cup kosher salt
- 1/2 cup granulated sugar
- 1 tablespoon black peppercorns
- 2 bay leaves
- 1 lemon, halved
- 4 sprigs fresh thyme
- 2 sprigs fresh rosemary
Instructions
- In a large pot, combine 1 gallon of water, kosher salt, and granulated sugar. Stir until salt and sugar are dissolved.
- Add peppercorns, bay leaves, halved lemon, thyme, and rosemary to the pot.
- Bring the mixture to a simmer over medium heat, then remove from heat and let it cool completely.
- Once the brine is completely cool, place your turkey in a large brining bag or container.
- Pour the cooled brine over the turkey, ensuring it is fully submerged.
- Refrigerate for 12-24 hours, depending on the size of your turkey. For smaller birds, 12 hours is sufficient. For larger birds, up to 24 hours is recommended.
- Remove the turkey from the brine, rinse it thoroughly inside and out with cold water, and pat it dry with paper towels.
- Proceed with your preferred turkey cooking method (roasting, smoking, etc.).
Notes
- For a more complex flavor, you can add other aromatics like garlic cloves, star anise, or orange slices to the brine.
- Ensure your brining container is large enough to fully submerge the turkey.
- Do not over-brine, as this can make the turkey too salty.
- Rinsing the turkey after brining is crucial to remove excess salt.
Nutrition
- Serving Size: 1 cup brine (approximate, before adding turkey)
- Calories: 50
- Sugar: 15g
- Sodium: 2500mg
- Fat: 0g
- Saturated Fat: 0g
- Unsaturated Fat: 0g
- Trans Fat: 0g
- Carbohydrates: 15g
- Fiber: 0g
- Protein: 0g
- Cholesterol: 0mg