
Oh, you know those days when you just need something impossibly smooth and deeply comforting? Something that tastes exactly like home, but feels elegant enough for company? That’s exactly why I fell head-over-heels for making classic baked vanilla custard cups. Forget those wobbly, store-bought attempts; we’re making the real deal here! My goal at Bliss Batter, and something I learned from years away from the corporate rush, is turning simple ingredients like eggs and milk into pure magic. This recipe guarantees a perfect, creamy texture every single time because we treat those delicate eggs with the respect they deserve using gentle heat and a trusty water bath. Trust me, these individual dessert cups are about to become your go-to sweet egg custard recipe for instant happiness.
- Why You Will Love These Perfect Creamy Vanilla Custard Cups
- Essential Ingredients for Homemade Baked Custard
- Step-by-Step Instructions for Vanilla Custard Cups
- Expert Tips for Perfect Creamy Vanilla Custard Cups
- Ingredient Notes and Substitutions for Vanilla Custard Cups
- Serving Suggestions for Your Traditional Custard Cups
- Storage and Reheating Instructions for Make Ahead Custard Dessert
- Frequently Asked Questions About Vanilla Custard Cups
- Nutritional Estimates for Your Sweet Egg Custard Recipe
Why You Will Love These Perfect Creamy Vanilla Custard Cups
I promise you, these are the best individual dessert cups you’ll ever make. They are practically foolproof, which means you get that incredible homemade baked custard experience without the fuss. Seriously, it’s such an easy vanilla custard recipe.
- They bake up perfectly silky—the definition of perfect creamy custard.
- It’s an incredibly simple baked dessert that looks so fancy.
- Perfect portion control because they are made in individual ramekins!
Essential Ingredients for Homemade Baked Custard
When talking about desserts made with eggs and milk, the quality of those foundation items really jumps out at you, the baker. We aren’t sneaking in any weird thickeners here; this is pure, honest baking! For the best flavor in these dessert recipes, make sure you use full-fat milk—it’s non-negotiable for that rich mouthfeel we are aiming for. Don’t skimp on the vanilla either; this is where the “vanilla” in our vanilla custard cups comes from!
Here is what you need to pull together the magic for your six ramekin desserts:
- Four large eggs, plus two extra large egg yolks. Those extra yolks are our secret weapon for extra creaminess!
- Half a cup of plain granulated sugar.
- Just a quarter teaspoon of salt to balance the sweetness—trust me on this one.
- Two full cups of nice, rich whole milk.
- One teaspoon of pure vanilla extract. If you can find a beautiful French vanilla custard flavor, even better!
- A tiny, tiny pinch of freshly grated nutmeg for dusting right at the end.
Gathering these simple items is honestly the hardest part. From here on out, it’s just gentle mixing and patience!
Step-by-Step Instructions for Vanilla Custard Cups
Alright, this is where we turn those beautiful ingredients into actual dessert—and I promise, it’s easier than you think! Since we are shooting for that silky, perfect creamy custard, the main secret lies in how we handle the heat. Read these steps clearly, especially the water bath part, and you’ll nail this custard recipe for beginners.
Preparing the Oven and Ramekins for Your Vanilla Custard Cups
First things first, get your oven cranked up to 325°F. While it heats up, you need a big pan—the kind with high sides—and six of your ramekins or custard cups ready to go. Lightly grease those little cups. Most importantly, get a kettle boiling! That hot water is what we’ll use for the water bath, which is the only way to get that beautiful, even cook on your sweet egg custard recipe.
Creating the Smooth Custard Base for Individual Dessert Cups
In a medium bowl, gently whisk your eggs, yolks, sugar, and salt. I stress *gently*! We are dissolving sugar, not whipping cream; incorporating too much air will give you bubbles instead of silk. Next, warm your milk slowly on the stove until those tiny bubbles just start kissing the edges—don’t let it roll! Now, slowly pour the warm milk into your egg mixture while whisking constantly—always whisking! Finish it off with that lovely splash of vanilla, then strain the whole thing through a fine-mesh sieve. That straining step is what makes these individual dessert cups look professional.
Baking and Cooling Your Homemade Baked Custard
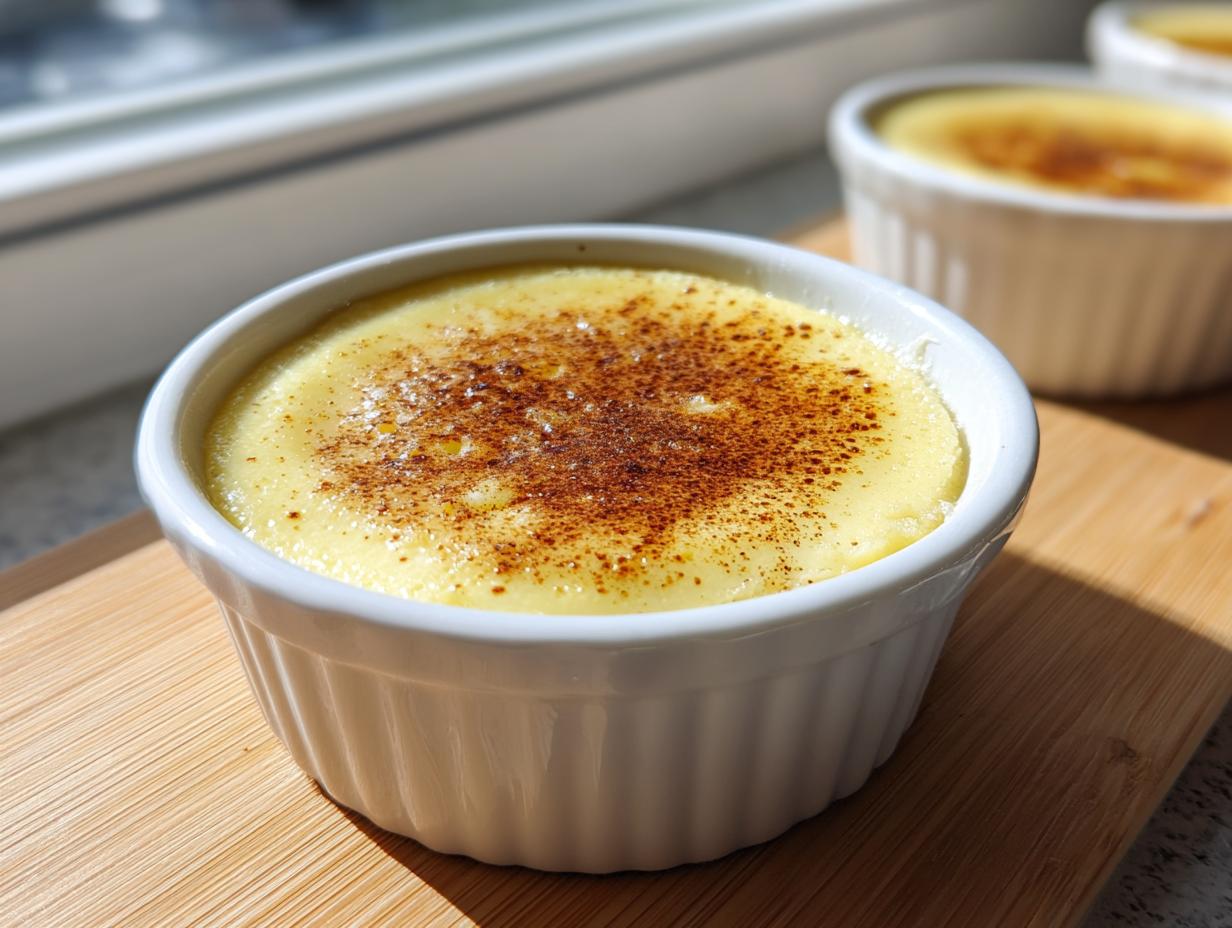
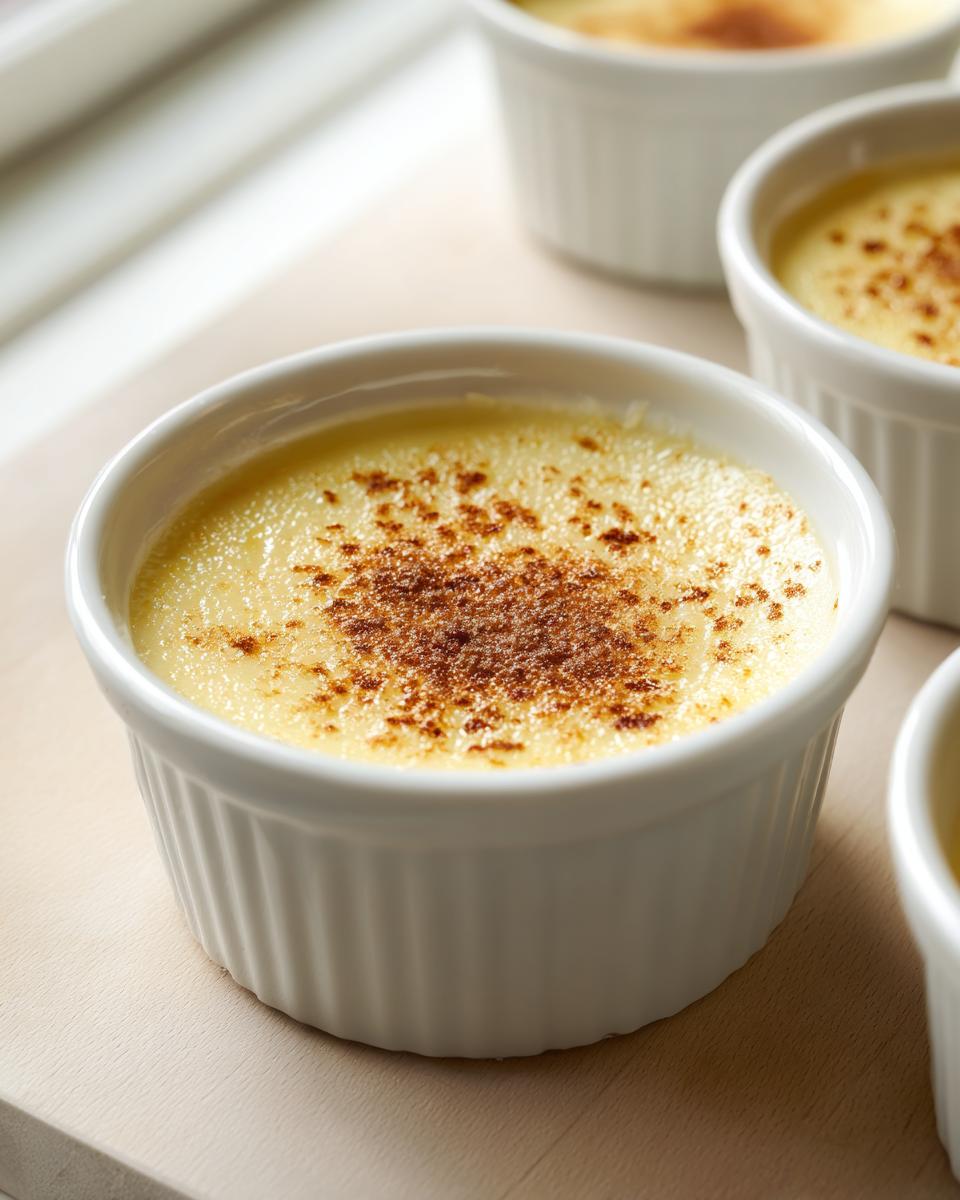
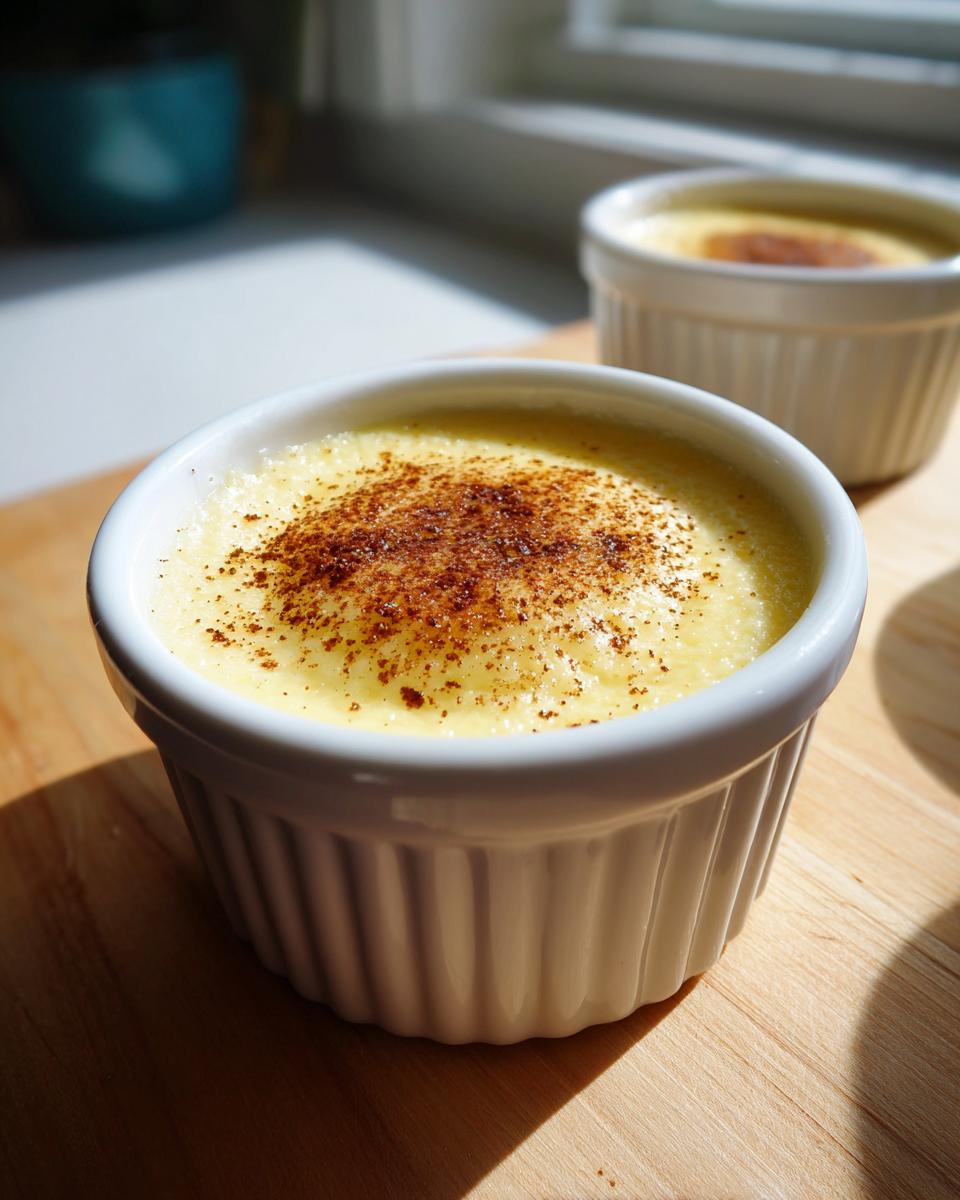
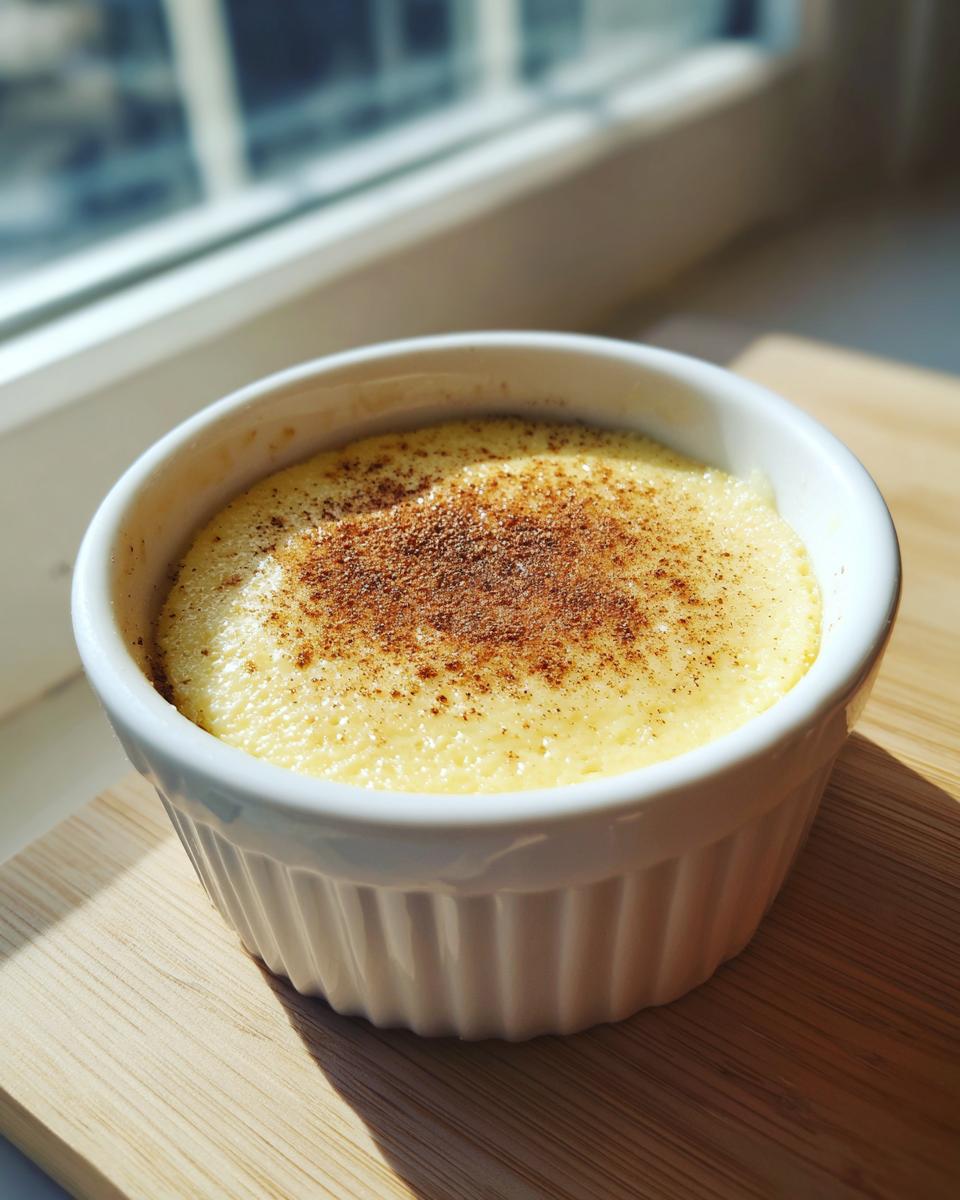
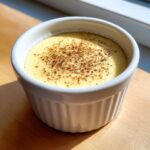
Place your filled ramekins into that big pan, and use tongs to carefully pour the boiling water into the pan until it reaches halfway up the sides of the cups. Slide it into the oven and bake for about 40 to 50 minutes. You’re looking for the edges to be set, but if you nudge the pan, the center should still have a slight wobble—it’s still cooking as it cools! Once done, carefully pull them out of the water bath and let them cool completely on a rack. These genuinely become amazing make ahead custard desserts when you cover and chill them for at least four hours. Right before serving, hit them with that tiny dusting of nutmeg!
Expert Tips for Perfect Creamy Vanilla Custard Cups
Making a truly beautiful, smooth custard comes down to listening to your mixture. My biggest piece of advice for achieving that ultra-silky, perfect creamy custard texture is respecting the temperature. If you rush warming the milk or pour it in too fast, you’re risking curdling, and nobody wants scrambled egg bits in their sweet egg custard recipe!
Always, always use that water bath, or *bain-marie*. It insulates the cups, meaning the direct heat from the oven doesn’t hit the sides too hard, which causes cracking. You want gentle, humid heat all the way around. Also, don’t skip straining!
If you’re worried about the custard jiggling too much when it comes out—don’t be! That slight wobble tells you it’s still moist inside. For the smoothest results, check out all my tricks for avoiding any custard fails over at my guide on easy egg custard tips. Planning ahead is the baker’s best friend here!
Ingredient Notes and Substitutions for Vanilla Custard Cups
Since this is fundamentally a desserts made with eggs and milk recipe, the main players need to shine! We absolutely need whole milk here; if you try to use 2% or skim, the custard won’t set quite right, and it won’t have that buttery mouthfeel you expect from traditional custard cups. If you’re looking to veer into French vanilla custard territory, swap out the regular vanilla for a whole vanilla bean scraped right into the milk while you warm it—it’s beautiful!
Now, about the eggs—they are the backbone of this easy vanilla custard recipe, so substitutions are tough. If you find yourself short on whole eggs but have extra yolks lying around, adding one extra yolk for every whole egg you’re missing can boost the richness. But please, don’t try to skip the yolks entirely, or you’ll end up with something closer to a thin, sweet scrambled egg! Stick to pure vanilla extract for the best flavor profile.
Serving Suggestions for Your Traditional Custard Cups
Wow, you’ve made it! Once those vanilla custard cups are perfectly chilled, the final step is making them look as good as they taste. Since this is a beautiful, simple baked dessert that relies on pure flavor, keeping the toppings easy is the way to go. I already told you my favorite is just a whisper of fresh nutmeg right before serving, but berries are always stunning.
Try piling a few fresh, tart raspberries on top—the acidity cuts through the richness perfectly. If you wanted something richer, a very light drizzle of butterscotch or caramel works miracles with this sweet egg custard recipe. Visit my main dessert recipes page for more inspiration, but honestly, these individual dessert cups shine all on their own.

Storage and Reheating Instructions for Make Ahead Custard Dessert
The best part about making these perfect vanilla custard cups is that they are truly fabulous make ahead custard desserts! Once fully cooled, cover each ramekin tightly with plastic wrap. They keep beautifully in the fridge for up to three days—the flavor actually deepens overnight! I really don’t recommend reheating them, though. The gentle baking and cooling process sets the eggs perfectly; warming them back up risks making the texture a little rubbery or watery. I always serve mine straight from the chill!
If you want more tips on planning these ahead of time, make sure you check out my guide on make ahead custard dessert planning!
Frequently Asked Questions About Vanilla Custard Cups
I always get so many questions once people see how easy these are, and that’s fantastic! Baking with eggs and milk can feel tricky if you aren’t used to it, so let’s clear up any last doubts about making these beautiful ramekin desserts.
Can I make these vanilla custard cups without a water bath?
Listen, I know the water bath sounds like an extra fussy step, but please don’t skip it! The hot water creates steam inside the oven, which cooks the custard gently and evenly. If you bake them directly on the rack, the edges will cook way too fast and get rubbery or cracked before the middle even sets. That steam is the secret to that perfect creamy custard texture!
What is the difference between this and creamy vanilla pudding recipe?
That’s a great question! A creamy vanilla pudding recipe usually gets its thickness from cornstarch or flour, which creates a softer, often denser, spoonable texture, sometimes served warm or cold. Our baked custard, on the other hand, sets using the proteins in the eggs—so when you slice it, it holds its shape beautifully and has that wonderful, delicate *quiver*. It’s firmer than pudding but melts in your mouth!
Also, people often ask if they can use sweeteners other than sugar, and I say stick to the sugar for this sweet egg custard recipe. Baking with honey or maple syrup drastically changes the liquid ratio and can really mess with the texture we worked so hard to achieve on those ramekin desserts!
Nutritional Estimates for Your Sweet Egg Custard Recipe
Now, I’m not a nutritionist, so take these numbers as a general guideline based on my standard recipe—we’re focused on flavor here, not calculus! But I know some of you like to keep track, and it’s good to know what’s in these rich, comforting vanilla custard cups. Since we are using whole milk and egg yolks, they do offer some nice protein and healthy fats, making this a very satisfying finish to any meal.
Here are the approximate values for one serving of this sweet egg custard recipe:
- Calories: Around 185
- Sugar: About 18g (Mostly from the granulated sugar and milk)
- Fat: Roughly 7g (That good stuff from the full-fat milk and yolks!)
- Protein: Approximately 10g
- Carbohydrates: Around 17g
If you are watching saturated fat, remember, using lower-fat milk will bring those numbers down slightly, but I truly believe the texture won’t be as lovely. For a lighter dessert, you could always try the stovetop variation I mentioned somewhere above and serve smaller portions! These are meant to be enjoyed guilt-free because they are homemade!
PrintClassic Baked Vanilla Custard Cups
Make perfect, creamy individual vanilla custard cups baked gently in a water bath. This simple recipe delivers a traditional, comforting dessert you can prepare with confidence.
- Prep Time: 15 min
- Cook Time: 50 min
- Total Time: 1 hour 5 min
- Yield: 6 servings 1x
- Category: Dessert
- Method: Baking
- Cuisine: American
- Diet: Vegetarian
Ingredients
- 4 large eggs
- 2 large egg yolks
- 1/2 cup granulated sugar
- 1/4 teaspoon salt
- 2 cups whole milk
- 1 teaspoon pure vanilla extract
- Pinch of freshly grated nutmeg (for topping)
Instructions
- Preheat your oven to 325 degrees Fahrenheit. Bring a kettle of water to a boil for the water bath.
- Lightly grease six 6-ounce ramekins or custard cups. Place the prepared ramekins into a large baking pan with high sides.
- In a medium bowl, whisk together the whole eggs, egg yolks, granulated sugar, and salt until the sugar dissolves and the mixture is smooth. Do not over-whisk to avoid incorporating too much air.
- Gently warm the whole milk in a saucepan over medium heat until small bubbles form around the edges. Do not let it boil.
- Slowly pour the warm milk into the egg mixture while constantly whisking. Stir in the vanilla extract.
- Strain the custard mixture through a fine-mesh sieve into a large measuring cup or bowl to remove any chalazae or unmixed bits, ensuring a smooth texture.
- Carefully pour the strained custard evenly into the prepared ramekins.
- Place the baking pan with the ramekins on the oven rack. Carefully pour the boiling water into the baking pan until the water reaches halfway up the sides of the ramekins. This water bath creates steam for even cooking.
- Bake for 40 to 50 minutes, or until the edges are set but the center still jiggles slightly when gently nudged.
- Carefully remove the ramekins from the water bath using tongs. Let them cool on a wire rack to room temperature.
- Once cool, cover each custard cup with plastic wrap and chill in the refrigerator for at least 4 hours, or preferably overnight, before serving.
- Before serving your individual dessert cups, sprinkle a tiny pinch of fresh nutmeg over the top of each one.
Notes
- For the creamiest texture, always strain your custard base before pouring it into the cups.
- If you prefer a stovetop custard, you can skip the oven and water bath, cooking the mixture gently over low heat until it thickens enough to coat the back of a spoon.
- These make-ahead custard desserts store well in the refrigerator for up to 3 days.
Nutrition
- Serving Size: 1 cup
- Calories: 185
- Sugar: 18
- Sodium: 110
- Fat: 7
- Saturated Fat: 4
- Unsaturated Fat: 3
- Trans Fat: 0
- Carbohydrates: 17
- Fiber: 0
- Protein: 10
- Cholesterol: 135