
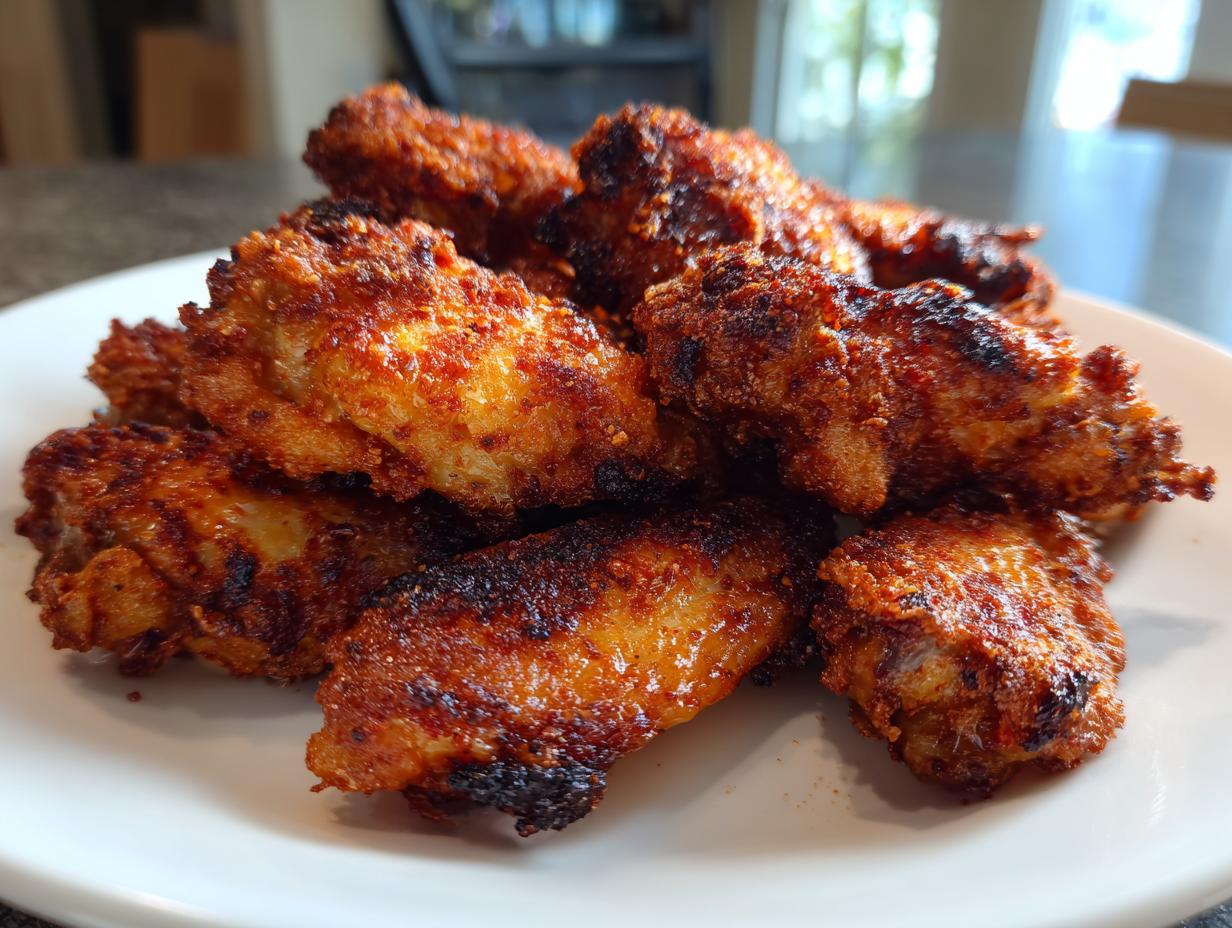
Oh, I know the struggle! You want that satisfying, shatteringly crisp skin on your chicken wings, but the thought of deep-frying? Total chaos and a massive cleanup. Forget it! That’s why I’m absolutely thrilled to share this game-changer for making crispy baked chicken wings right in your regular oven. Seriously, these are beyond good—they taste like they came from a fryer, but they are so much easier. When I was building Bliss Batter, my goal, thanks to the way my own grandmother taught me, was making sure complex results came from simple steps. You don’t need Martha Stewart’s kitchen or a fancy culinary degree. As Claire Sterling always says in our story, we’re here to prove anyone can make something truly wonderful with accessible recipes, and these wings really nail that promise!
- Why This Method Delivers the Best Crispy Baked Chicken Wings
- Gathering Ingredients for Crispy Baked Chicken Wings
- Preparing Your Oven for Perfect Crispy Baked Chicken Wings
- The Simple Seasoning Mix for Crispy Baked Chicken Wings
- Step-by-Step Instructions for Crispy Baked Chicken Wings
- Saucing Your Crispy Baked Chicken Wings After Baking
- Tips for Success with Crispy Baked Chicken Wings
- Storage and Reheating Crispy Baked Chicken Wings
- Frequently Asked Questions About Crispy Baked Chicken Wings
Why This Method Delivers the Best Crispy Baked Chicken Wings
Listen, I have tested wings until my husband finally begged me to stop turning on the oven! Frying is messy, and let’s face it, it’s overkill for a weeknight snack. What makes this recipe so amazing is that we cheat the system using a trick that gives you that signature crunch without ever hearing oil sizzle. This isn’t some random internet guess, either; this method is meticulously tested and perfected right here in my home kitchen, just like everything else we share at Bliss Batter. We skip the deep fryer, but we absolutely do not skip the crunch!
You get the ultimate texture—juicy meat inside and genuinely crisp skin—all thanks to one little powerhouse ingredient. Honestly, it’s the secret weapon that turns good wings into legendary ones. We make sure every step is clear so your wings turn out perfect the very first time you try this technique, which you can check out details on another favorite crispy appetizer, too!
The Science Behind Ultra Crispy Baked Chicken Wings
This is the cool part, so pay attention! The magic dust here is regular old baking powder. Sounds strange, doesn’t it? Well, baking powder is slightly alkaline, meaning it raises the pH level of the chicken skin when it mixes with the moisture. This chemical reaction basically tells the skin to dry out faster and absorb less moisture during baking. Fast drying equals maximum browning and that perfect, brittle crispiness we are looking for. Trust me, skip the water bath or the crazy long air-dry times; the baking powder does the heavy lifting for you!
Gathering Ingredients for Crispy Baked Chicken Wings
Okay, let’s talk about what you need to pull off these amazing crispy baked chicken wings. The ingredient list is wonderfully short, which is exactly how I like my appetizer recipes! I always aim for simplicity here so you can focus more on game day or movie night prep. You’ll want about two pounds of wings—make sure you get a mix of flats and drumettes, or just whatever your butcher has on hand, it all works out!
Besides the chicken, everything else is just spices and that secret ingredient. You probably have most of this sitting in your spice rack already. I know when I started looking for ways to make snacks easier, I wanted recipes that didn’t require a special trip to the store. If you’re looking for other easy appetizers, check out my guide on party snacks, but for now, grab your ingredients!
Ingredient Notes and Substitutions for Crispy Baked Chicken Wings
I have three non-negotiable rules for this list, so listen up! First: Baking powder, not baking soda. They are chemically different, and only the powder gives us the right pH boost for that beautiful crunch. Second: If you want to stick to just drumettes or just flats, go for it! They might cook for just a minute or two differently, but the texture will still be spot on.
Third, and this is important: Save your favorite sauce for *after* the baking process. The wings need to be dry and fully coated in the spices while they bake to get crispy. If you want them saucy, you toss them when they come out sizzling hot at the end. If you want them dry-rub style, they are ready to go straight to the plate!
Preparing Your Oven for Perfect Crispy Baked Chicken Wings
Before we even touch these wings with seasoning, we have to get the oven ready. This isn’t like a slow-roast situation; we need high, intense heat if we want these to mimic that deep-fried texture. So, crank that dial up to 425°F (220°C). That high temperature is absolutely essential for rendering all that skin fat quickly!
The next crucial piece of equipment is the wire rack. Don’t skip this! I always line a baking sheet with foil first—cleanup is practically zero that way—and then place a wire cooling rack on top. This elevation is what allows the hot air to circulate all the way around the wing. If the wings sit directly on the pan, the bottoms steam, and you wind up with soggy bellies. We want crispy baked chicken wings from top to bottom, right? For more ideas on making your weeknights smoother, check out my easy weeknight dinner collection!
The Essential Step: Drying the Chicken Wings
I cannot stress this enough: Moisture is the absolute enemy of crispiness. You must pat those wings bone-dry before seasoning them. Seriously, grab a whole stack of paper towels and just blot, blot, blot until you think they look dry, and then blot them one more time. This step is what separates perfectly crunchy wings from slightly chewy ones. We aren’t boiling them in the oven; we’re crisping them up!
The Simple Seasoning Mix for Crispy Baked Chicken Wings
Now that our wings are dry as a bone and the oven is screaming hot, it’s time for the flavor layer! This seasoning mix is what makes these crispy baked chicken wings taste incredible before we even get that satisfying crunch. You need a nice, sturdy bowl for this part. Into the bowl goes our secret crisping helper—the baking powder—along with your salt, garlic powder, onion powder, paprika for color, and that little kick of black pepper.
Whisk everything together really well so those spices aren’t just sitting in clumps. Give it a good stir. Once it looks uniform, add your patted-dry wings into the bowl. Now for the fun part: tossing! You need to use your hands here, folks; spatulas won’t cut it. Make sure every single nook and cranny of every wing is completely coated in that spice mixture. We’re building flavor *and* texture simultaneously!
Step-by-Step Instructions for Crispy Baked Chicken Wings
Alright, the oven is hot, the wings are seasoned, and we are ready for the hands-on part! Remember, we arranged these wings in a single layer, making sure they weren’t touching each other on that wire rack. Air circulation is key to success here, just like when I learned how to make the perfect pie crust—you can’t rush the process or cram everything in!
First, slide that baking sheet gently into the 425°F oven. Since we need the fat to render and the spice coating to set up hard, the initial bake time is crucial. We are going to leave them alone for a solid 20 minutes. Resist the urge to peek too much! This high heat is what starts melting that fat beneath the skin, drawing the moisture out, and preparing that incredible texture everyone comes to my kitchen for.
After that first bake, carefully pull the sheet out. Now, this next part requires a little careful maneuvering with tongs, but it’s fast. You need to flip every single wing over. This ensures that the topside, which was shielded during the first 20 minutes, gets direct heat contact for the final stage. If you love a spicy kick, maybe browse my notes on Buffalo wings before you get them sauced later! We’re targeting a total cook time of about 40 to 45 minutes for perfectly cooked, crispy baked chicken wings. You can also check out some other neat tricks for baking at this great resource.
Baking Times and Flipping for Even Crispy Baked Chicken Wings
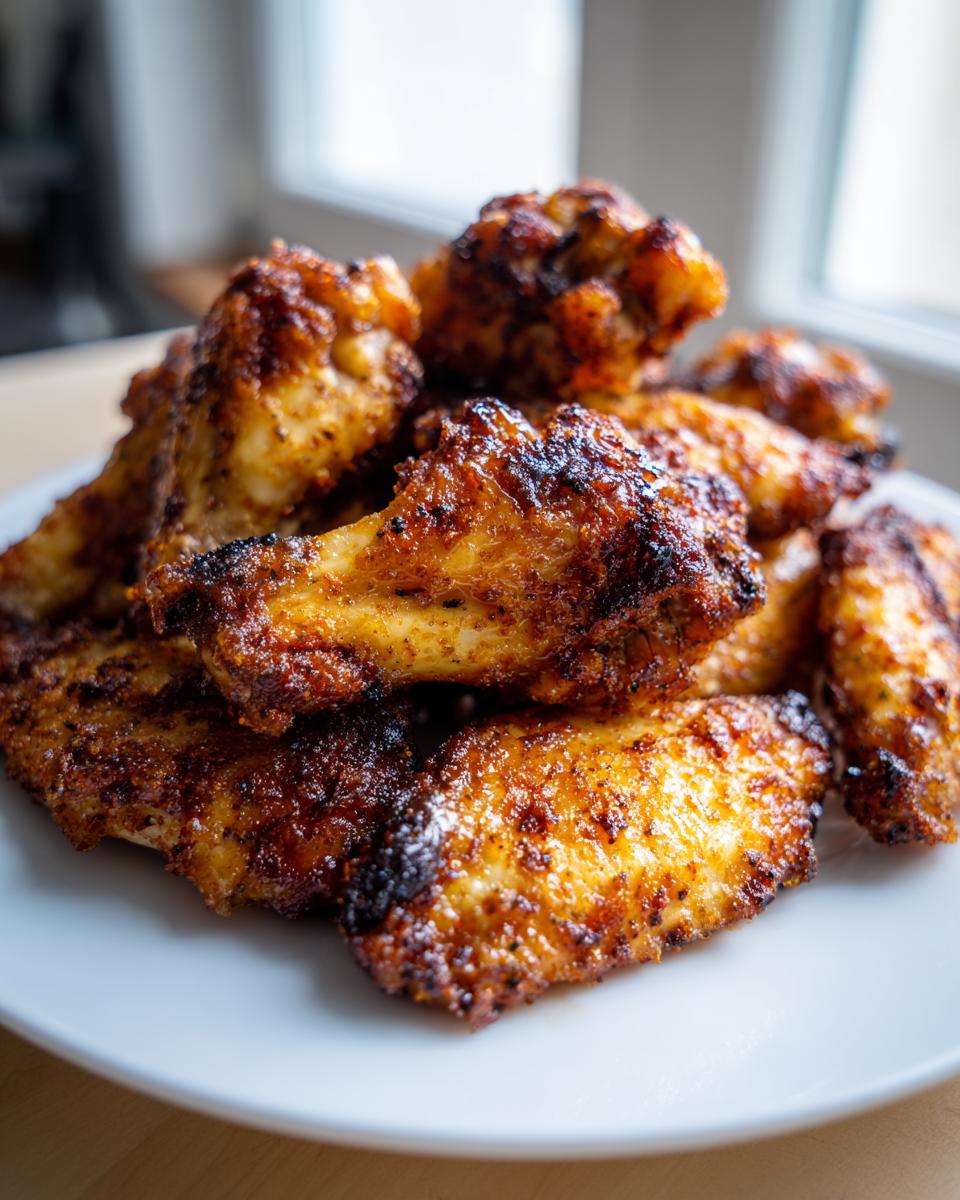
So, here’s the timeline summary: 20 minutes on the first side, then flip them! Pop them right back into that 425°F heat for another 20 to 25 minutes. You’ll know they are done when the skin looks deeply golden brown and feels totally firm when you tap it lightly. If you notice some spots are browning faster than others, feel free to rotate the pan halfway through that final stretch. We are aiming for that irresistible, crunchy exterior that tastes like you worked twice as hard!
Saucing Your Crispy Baked Chicken Wings After Baking
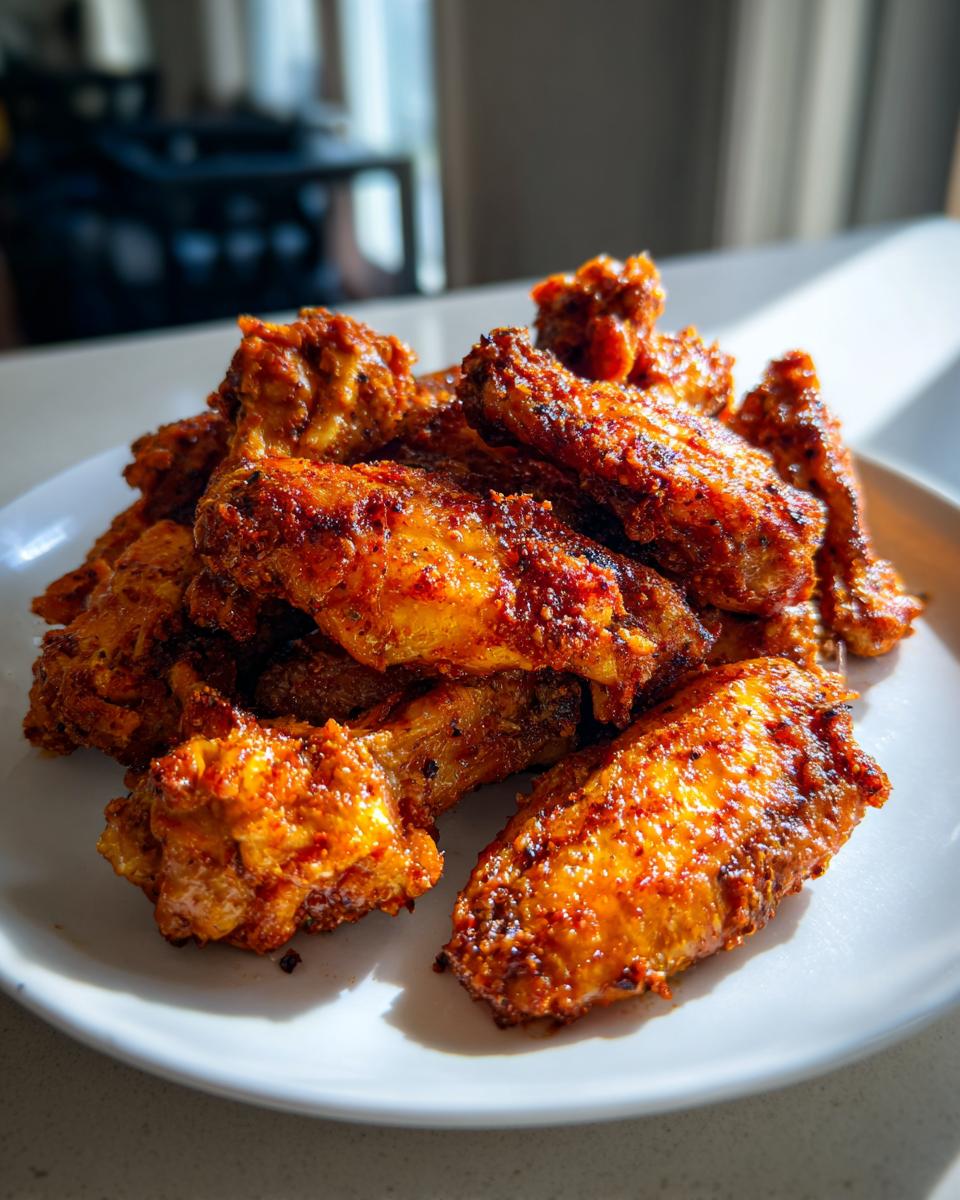
The moment of truth! Your crispy baked chicken wings are out of the oven—they look golden, they smell amazing, and the skin is singing! Now listen closely: if you want to add sauce, you must move fast. The longer you wait, the more that beautiful, hard-earned crispiness starts to soften up as the wings cool down.
If you’re using a sauce—say, a classic Buffalo, BBQ, or even a sweet glaze—get it warmed up slightly, maybe in a small saucepan. Dump your piping hot wings right into a large, clean bowl, pour your sauce over them, and toss them right away. The sticky, hot surface of the wing skin grabs that sauce instantly. If you are looking for other great party food ideas while the wings are still going strong, I have a fantastic recipe for cocktail meatballs that also disappears fast!
Tips for Success with Crispy Baked Chicken Wings
We’ve got the secret weapon (baking powder!) and the right temperature, but a few small tweaks will take your crispy baked chicken wings from great to absolutely unforgettable. My biggest tip, which I learned while trying to make four pounds of wings at once, is spacing. You cannot crowd that rack! If the wings are touching, they steam each other, and boom—you’ve lost the crunch on those touching spots. Give them room to breathe!
Also, patience really pays off right at the end. Serve these wings the second they come off that wire rack, whether they are sauced or dry. That window right after baking is the absolute peak of crispiness, and you don’t want to miss it. If that means holding your guests off for five extra minutes while you flip and sauce them, so be it! These beauties are worth the wait. For more amazing shareable food ideas for your next get-together, definitely check out my collection of party snacks. And hey, if you are looking for inspiration on texture, I saw someone use a method over at this site that also relies on high heat, so there are lots of ways to get crunchy!
Storage and Reheating Crispy Baked Chicken Wings
Now, if you manage to have any leftovers—which, highly doubtful, because these are addictive—you need to store them properly. Truth is, the skin texture of these crispy baked chicken wings will soften once they chill in the fridge, that’s just the way it goes! Don’t even think about trying to warm them up in the microwave, because that steaming action will make them chewy faster than you can say ‘game day’.
The only way to bring back that beautiful crunch is high, dry heat. Pop them back on a wire rack set over a baking sheet—you already have the perfect setup!—and heat them in a 400°F oven for about 5 to 8 minutes. If you have an air fryer, that’s even better; blast them for 3 minutes. That quick blast of heat wakes the skin right back up! If you’re planning your week ahead and wondering how to fit delicious snacks like this in, take a look at my tips on meal planning!
Frequently Asked Questions About Crispy Baked Chicken Wings
I know you probably have a million questions because everyone asks me something new every time I make a batch of these oven baked wings! It’s totally normal; baking wings can feel a bit tricky until you know the small secrets. I’ve pulled together the most common ones I hear from my friends and readers who are trying this recipe for the first time. Honestly, once you get the hang of the baking powder, it’s smooth sailing!
Can I make these crispy baked chicken wings ahead of time?
Look, the absolute best experience is when they come straight out of the oven and are piping hot—that’s when the crunch is unbeatable! If you *must* make them ahead of time, bake them fully until done, let them cool completely, and then store them in the fridge. When you’re ready to serve, reheat them on a wire rack in a 400°F oven for about 8 minutes. That dry heat is essential to bring back the crispiness we worked so hard for. Please skip the microwave, or you’ll be sad!
What is the best temperature for oven baked wings?
If you want truly crispy wings without frying, high heat is your best friend! We set the oven to 425°F (220°C). That high temperature is what accomplishes two things: it sets that baking powder coating instantly, and it forces the fat out of the skin very quickly. If you try to bake them at, say, 375°F like you might for a roast, you’ll end up with something much closer to steamed wings, and nobody wants that! Stick to 425°F for the full time, seriously.
For folks who need good inspiration for fast dinners when they aren’t making wings, I always send them over to my guide on easy weeknight dinners!
PrintUltra Crispy Baked Chicken Wings Without Frying

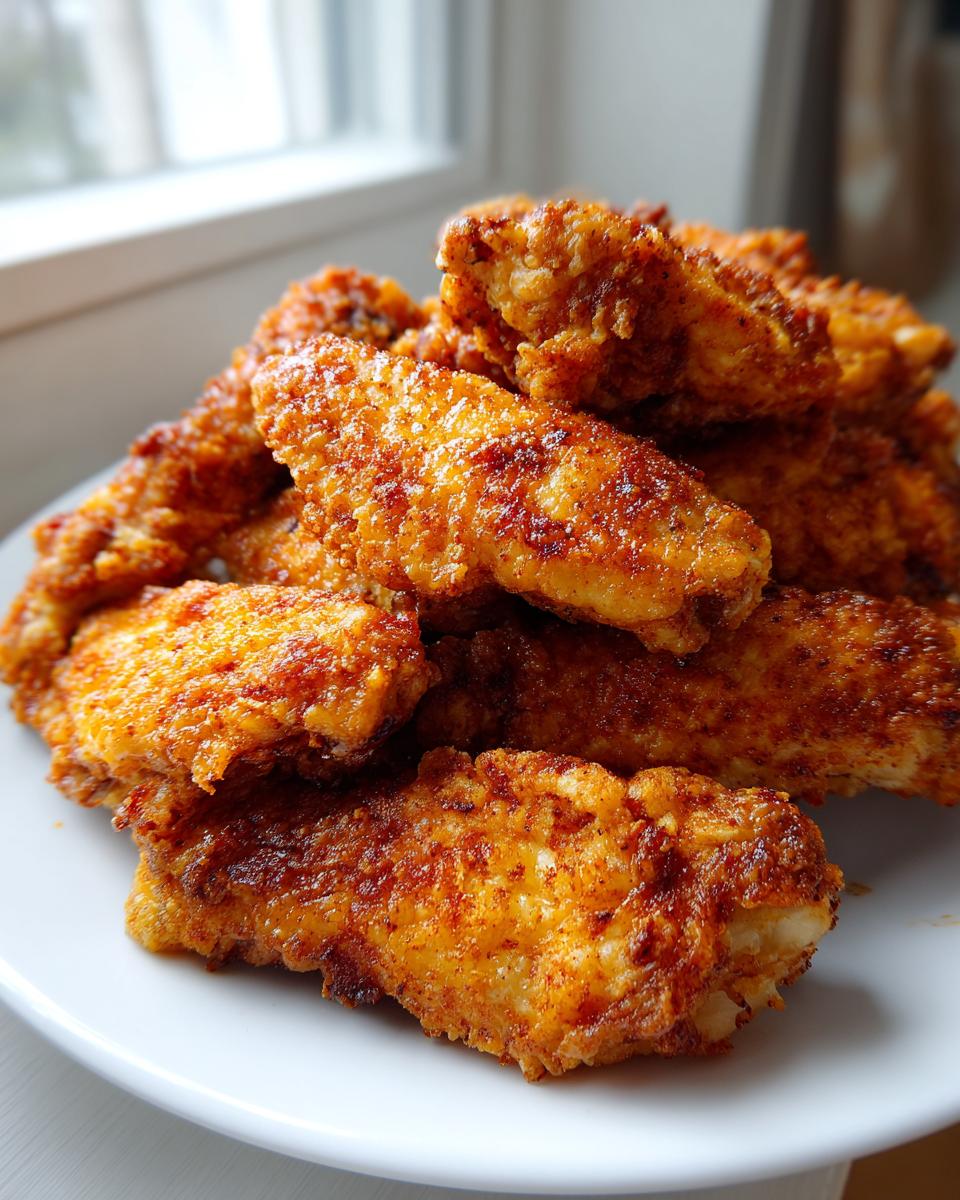
Follow this simple method to make incredibly crispy baked chicken wings in your oven. This recipe uses a baking powder trick to achieve a crunchy exterior and a juicy interior, avoiding the need for deep frying. It is perfect for game days or a satisfying snack.
- Prep Time: 15 min
- Cook Time: 45 min
- Total Time: 60 min
- Yield: 4 servings 1x
- Category: Appetizer
- Method: Baking
- Cuisine: American
- Diet: Low Fat
Ingredients
- 2 lbs chicken wings (flats and drumettes)
- 1 tablespoon baking powder (not baking soda)
- 1 teaspoon salt
- 1 teaspoon garlic powder
- 1 teaspoon onion powder
- 1 teaspoon paprika
- 1/2 teaspoon black pepper
- Optional: Your favorite sauce for tossing after baking
Instructions
- Preheat your oven to 425°F (220°C). Line a baking sheet with foil for easier cleanup. Place a wire cooling rack on top of the baking sheet.
- Pat the chicken wings completely dry using paper towels. This step is crucial for crispiness.
- In a large bowl, whisk together the baking powder, salt, garlic powder, onion powder, paprika, and black pepper.
- Add the dried chicken wings to the bowl and toss them thoroughly until every piece is evenly coated with the seasoning mixture.
- Arrange the coated wings in a single layer on the wire rack. Do not let the wings touch each other; space them out for air circulation.
- Bake for 20 minutes.
- Flip the wings over. Return them to the oven and bake for another 20 to 25 minutes, or until the skin is deeply golden brown and very crisp.
- Remove the wings from the oven. If you are using sauce, immediately toss the hot wings in your desired sauce until coated.
- Serve immediately with dipping sauces.
Notes
- Using baking powder helps raise the pH level of the skin, which promotes browning and crisping.
- For the crispiest results, ensure the wings are completely dry before seasoning.
- If you plan to use a sauce, toss the wings immediately after they come out of the oven so the sauce adheres to the hot, crisp skin.
- If you are looking for easy weeknight meals, this recipe is a great alternative to ordering takeout, similar to what you might find with some meal planning services.
Nutrition
- Serving Size: 4 wings
- Calories: 280
- Sugar: 0.5
- Sodium: 450
- Fat: 18
- Saturated Fat: 5
- Unsaturated Fat: 13
- Trans Fat: 0.1
- Carbohydrates: 1
- Fiber: 0.2
- Protein: 27
- Cholesterol: 95