
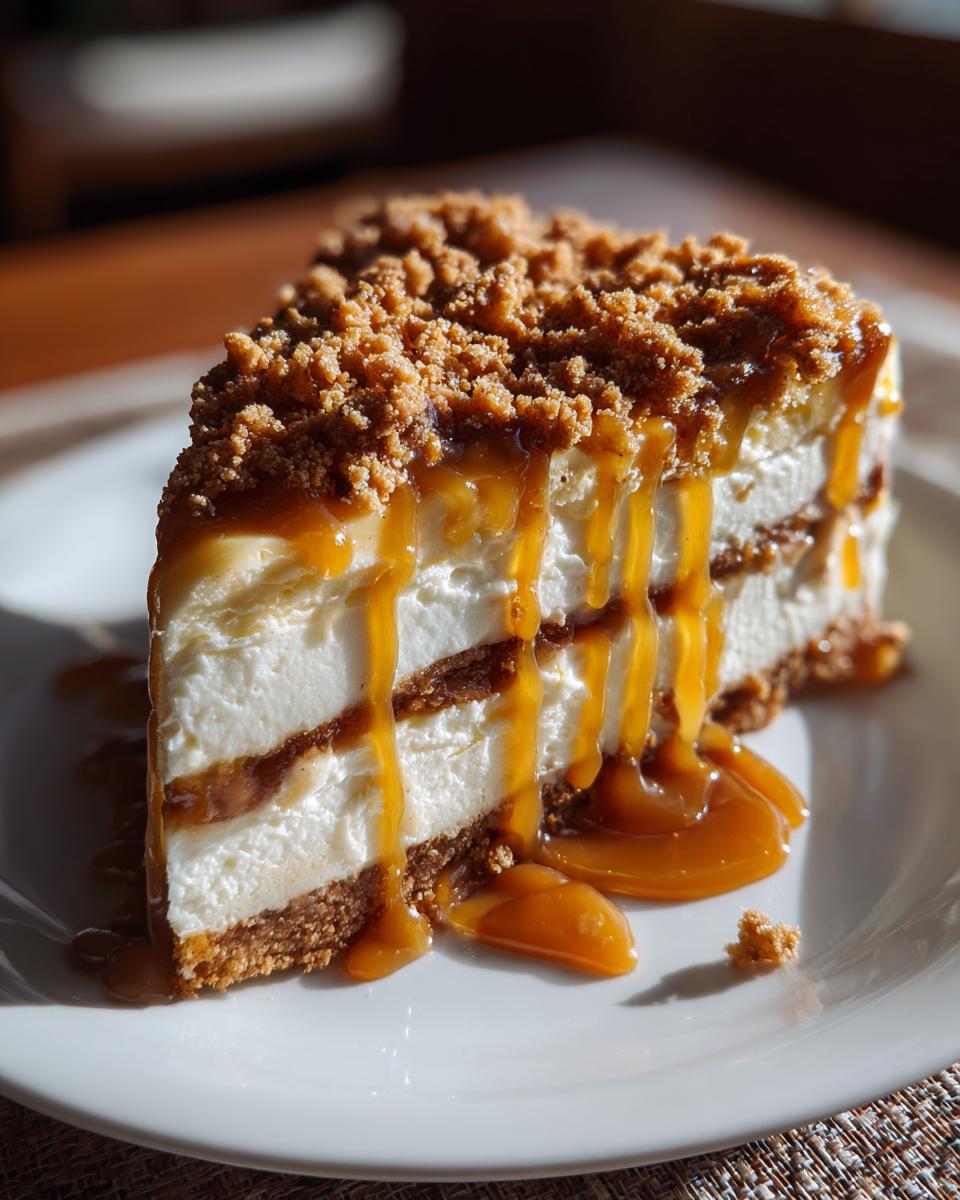
Oh my goodness, you know how much I adore taking two classic comfort desserts and smashing them together until they create pure magic? Well, get ready, because this is it! We’re talking about the ultimate baked Salted Caramel Apple Pie Cheesecake, crowned with a buttery crumble topping. It sounds fancy, but trust me, I believe in my mission here at Bliss Batter—making show-stopping desserts completely accessible to every home baker out there. If you’ve ever wanted to master a real showstopper, this apple pie cheesecake is the one that will have everyone begging for the recipe, especially when the leaves start turning!
- Why This Salted Caramel Apple Pie Cheesecake is a Must-Make
- Gathering Ingredients for the Best Apple Pie Cheesecake Recipe
- Step-by-Step Instructions for Baked Apple Pie Cheesecake
- Tips for the Ultimate Apple Crisp Cheesecake Success
- Variations: From No Bake Apple Pie Cheesecake to Apple Crumble Cheesecake
- Serving Suggestions for Your Homemade Apple Dessert
- Storage and Make-Ahead Tips for This Apple Pie Cheesecake
- Frequently Asked Questions About Apple Pie Cheesecake
- Share Your Salted Caramel Apple Pie Cheesecake Creations
- Estimated Nutritional Data for Apple Pie Cheesecake
Why This Salted Caramel Apple Pie Cheesecake is a Must-Make
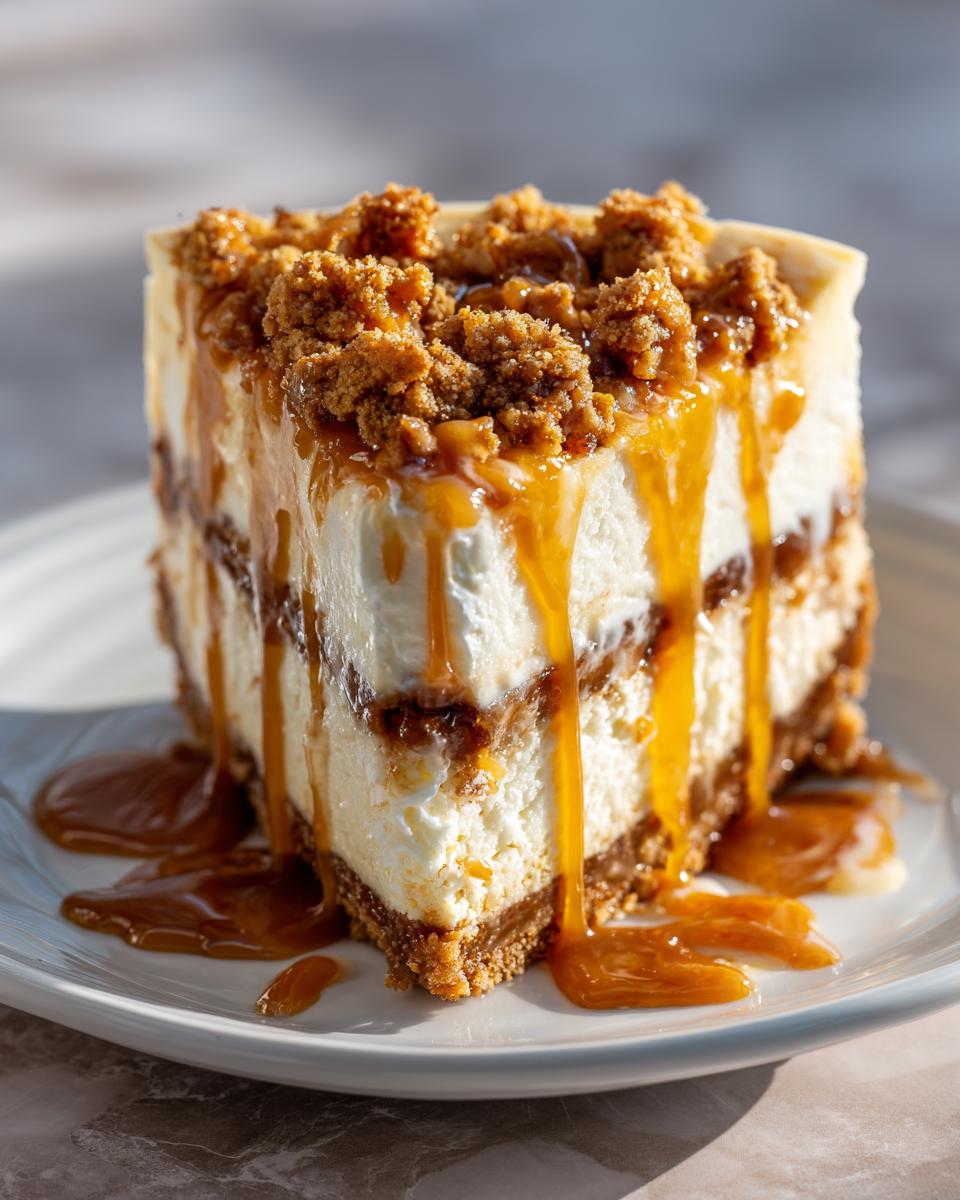
This isn’t just dessert; it’s an experience wrapped up in a beautifully sturdy crust. It’s the comforting hug you need when autumn rolls around! We combine so many favorites into one gorgeous slice. If you love the idea of an impressive holiday cheesecake dessert without stressing out, you need this apple pie cheesecake in your life.
Flavor Profile: Creamy Cheesecake Meets Spiced Apples
Wow, the contrast here is just everything! You get that melt-in-your-mouth, tangy, and incredibly smooth creamy cheesecake filling, which plays so perfectly off the warm, cinnamon-spiced apple chunks nestled inside. It’s a textural dream, truly.
Perfect for Thanksgiving Cheesecake Ideas and Fall Cheesecake Recipes
Seriously, this is the showstopper your holiday table needs. Whether you’re looking for stunning Thanksgiving cheesecake ideas or expanding your repertoire of cozy fall cheesecake recipes, this layered beauty offers maximum impact with minimum fuss once it’s baked. Everyone will assume you slaved over it for days!
Gathering Ingredients for the Best Apple Pie Cheesecake Recipe
Okay, before we even think about mixing, we need to talk supplies! Getting the right ingredients ready makes the difference between a good cheesecake and the absolute *best* apple pie cheesecake ever. My biggest, non-negotiable tip? Everything for the filling—that cream cheese and those eggs—must be at room temperature. I mean it! Taking just thirty extra minutes to let things warm up ensures that gorgeous, lump-free, creamy texture we are aiming for. If you’re stocking up on seasonal flavors, check out my slow cooker apple butter recipe for an alternative apple layer!
Buttery Graham Cracker Crust Components
We need a solid foundation for this heavy beauty! This forms our sturdy buttery graham cracker crust that holds up perfectly against all that creamy filling. You’ll need:
- 1 1/2 cups graham cracker crumbs
- 1/4 cup granulated sugar (yes, for the crust!)
- 6 tablespoons unsalted butter, melted
Ingredients for the Creamy Cheesecake Filling
This is where the richness comes from. Make sure your cream cheese is truly soft, not cold in the middle. This guarantees that silky smooth final texture.
- 3 (8 ounce) packages cream cheese, softened
- 1 1/2 cups granulated sugar (for the filling)
- 1 teaspoon vanilla extract
- 1/2 teaspoon ground cinnamon
- 1/4 teaspoon ground nutmeg
- 3 large eggs (room temperature, please!)
Toppings: Apple Filling, Crumble, and Caramel
The flavor explosions happen right on top! For this version, we’re layering it all up:
- 2 cups spiced apple pie filling (Store-bought is totally fine, I won’t tell!)
- 1/2 cup salted caramel sauce (This is key for that salted caramel apple pie cheesecake zing!)
- 1/2 cup oat crumble topping (This is made from mixing oats, flour, brown sugar, and soft butter until crumbly—hello, Apple Crisp Cheesecake variation!)
Step-by-Step Instructions for Baked Apple Pie Cheesecake
Listen, I know baking a cheesecake can look scary—all that talk about water baths and cracking. But that’s exactly why I tested this apple pie cheesecake recipe until it was foolproof! We are aiming for that stunning, smooth dessert that doesn’t have a single crack on top, and we’re going to do it by following these steps precisely. Preparation is everything here, so grab your springform pan and maybe check out my guide on making the perfect pie crust for inspiration!
Preparing the Crust and Water Bath Setup
First things first, preheat your oven to 325°F (160°C). Now, take your 9-inch springform pan and wrap the outside bottom and sides *super* tightly with a couple of layers of heavy-duty aluminum foil. We wrap it so the water from the bath doesn’t sneak in. After you mix your crust ingredients and press them firmly into the bottom, give it a quick 10-minute bake. While that’s happening, get your larger roasting pan ready, because our secret weapon for creamy texture is that water bath!
Mixing the Cheesecake Batter: Avoiding Overmixing
Get that softened cream cheese going in your mixer until it’s completely smooth—no lumps left! Then add your sugar, vanilla, cinnamon, and nutmeg, mixing until just combined. Here comes the big expert tip for a crack-free top, okay? Add those eggs one at a time, and when you add them, mix on LOW speed. Seriously, just until the yellow disappears. Overbeating eggs in cheesecake batter introduces too much air, and air causes sinking and cracking. We want dense, smooth perfection!
Layering and Baking the Apple Pie Cheesecake
Time to build this beauty! Pour about half of your gorgeous batter right over that slightly cooled crust. Next, gently dollop about 1 cup of your spiced apple pie filling right over the batter layer. Don’t stir! Then, carefully pour the rest of your batter over the apples, and top that with the remaining cup of apple filling. Place this carefully inside your larger roasting pan, and only now do you pour hot water into the outer pan until it comes halfway up the springform sides. Bake this layered wonder for about 60 to 75 minutes.
Crucial Cooling Process to Prevent Cracking
This step is where most people rush, and that’s how you get cracks! Once the 75 minutes are up, turn the oven OFF. Don’t pull the cheesecake out! Just crack the oven door open—use a wooden spoon to prop it if you need to—and let your apple pie cheesecake cool slowly inside the transitioning temperature for a full hour. After that hour, take it out completely, remove the foil wrap, and let it cool on a rack. Then, the hardest part: cover it and chill it for at least six hours, but overnight is always better for that perfect slice—it really lets those flavors settle!
Tips for the Ultimate Apple Crisp Cheesecake Success
Okay, we made it through the baking, which is the hard part! But getting that *perfect* slice—the one that looks like it came straight from a bakery window—requires sticking to a couple of my favorite tricks. These little adjustments ensure your apple pie cheesecake is absolutely flawless every single time. Don’t worry if your last cheesecake cracked; these tips are straight from my years of trial and error in the kitchen!
Ingredient Temperature and Mixing Technique
Listen, I know I keep repeating this, but I can’t stress it enough: room temperature everything! If your cream cheese is stiff, you’ll spend forever beating it, and you’ll end up incorporating too much air when you finally get it smooth. That extra air equals cracks later on. Also, remember what I said about those eggs? Mix them in gently! Think of it as tucking them into the batter, not whipping them into submission. This gentle handling reinforces those E-E-A-T principles we follow here—tested, perfect results every time thanks to precise, gentle technique.
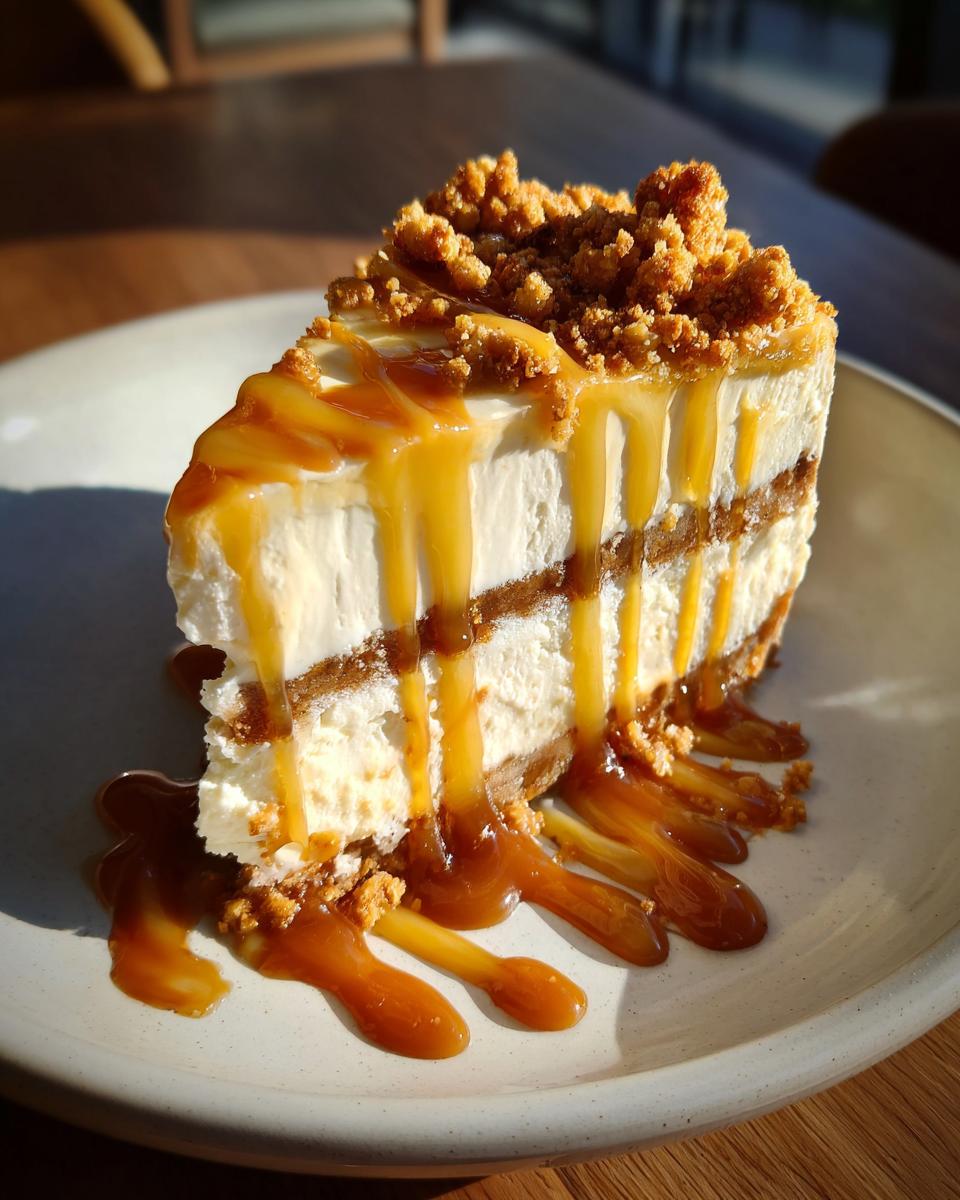
Achieving Perfect Layers in Your Layered Apple Dessert
This is where the visual magic happens for your layered apple dessert. When you go to spoon that first layer of apple filling over the batter in the pan, grab a spoon with a relatively shallow bowl. You want to drop the apple filling right in the center of the batter mound, not scrape it all off the edge of the spoon right onto the surface. Start placing the dollops randomly, then gently use the back of the spoon to lightly spread them out just enough so they cover the batter without touching the crust underneath. You aren’t mixing; you’re just settling the apples into their bed. If you struggle with your spice mix, check out my apple cinnamon oatmeal recipe—that spice blend is top-notch!
Variations: From No Bake Apple Pie Cheesecake to Apple Crumble Cheesecake
I love that you’re thinking outside the box! While this baked apple pie cheesecake is incredible, sometimes you need speed, or maybe you just love that crumble texture baked right into the top layer. The best part about a classic recipe like this is how easily it adapts to different moods or schedules! Whether we are making a quick version or adding an extra layer of crunch, we can customize this dessert. If you’re planning ahead for a weeknight treat, we have options for you, including my guide for no-bake pumpkin cheesecake that might give you some inspiration!
Making an Easy Apple Pie Cheesecake (No Bake Option)
If the oven is busy hosting a turkey or you just despise turning the oven on in the afternoon, listen up! For an easy apple pie cheesecake, we skip all the water bath drama. You’ll mix the crust and filling exactly the same way, but instead of baking, you’ll just pour the batter over the crust and chill it until it’s super firm. That usually means leaving it in the fridge overnight, or at least six to eight hours. It won’t have that dense, rich baked mouthfeel, but it’s definitely speedy and still delicious!
Incorporating Apple Crisp Cheesecake Topping Before Baking
This is my favorite twist for when I want that crunchy texture throughout the entire slice—hello, Apple Crisp Cheesecake! Remember that oat crumble topping we mixed up? Instead of chilling it to sprinkle on later, we’re using a portion of it *before* baking. After you layer the final bit of apple filling on top of the batter, gently sprinkle that oat mixture right over the apples. You can find a great example of an Apple Crisp Cheesecake variation online that does exactly this! The butter in the topping will melt slightly and toast beautifully while the cheesecake bakes, giving you this incredible, crunchy, spiced layer right there with the apples. It tastes amazing, and honestly, it hides any tiny surface imperfections when it comes out of the oven, too!
Serving Suggestions for Your Homemade Apple Dessert
Now that you have lovingly crafted this massive, gorgeous, show-stopping apple pie cheesecake, the fun part—serving it—is about to begin! Because this dessert is so rich; it pairs wonderfully with simple, warm beverages rather than competing flavors. You want something to cut through that creamy indulgence, right? I have a few ideas that really make this the perfect finale to any meal, especially when you’re thinking about your overall meal planning for a big spread.
Pairing with Warm Beverages
You absolutely must serve this with something warm. It just feels right when you have those spiced apples and that buttery crust. A strong, freshly brewed black coffee is fantastic because the bitterness balances the caramel and sugar. If you’re looking for something a little cozier, a hot chai tea is heavenly. The intense cinnamon and cardamom notes in the tea perfectly echo the spices in the cake—it’s a little boost of extra apple spice dessert flavor! If you serve it in the evening, I sometimes make a warm salted caramel latte to go alongside it. Wow, talk about decadent!
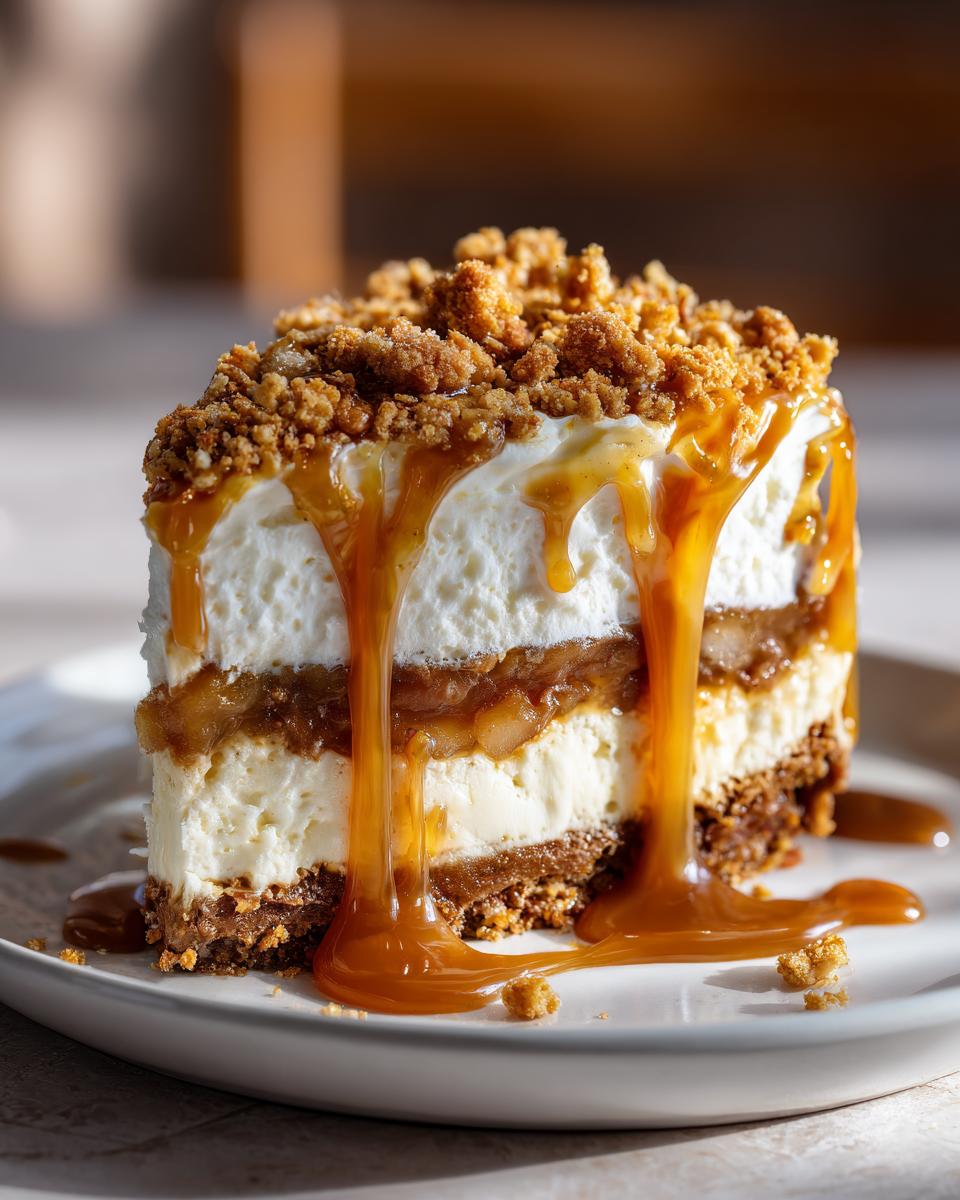
Finishing Touches: Caramel and Presentation
Remember that gorgeous salted caramel sauce we held back from the baking process? Now is its moment to shine! You want to drizzle that caramel in a messy, luscious pattern right over the top—don’t be shy! For presentation, and to really show off that beautiful layering, use a long, thin chef’s knife. Wipe the blade clean between every single slice you make. This stops the caramel or apple filling from dragging down the side of the next piece. A little scrape of the knife on a clean plate and suddenly you have a truly beautiful slice ready for dessert heaven!
Storage and Make-Ahead Tips for This Apple Pie Cheesecake
This amazing apple pie cheesecake is definitely a huge production, right? So, you’ve got to know how to handle the leftovers—though trust me, the leftovers never last long at my house! Because this is a big, fancy dessert, making it ahead of time is your best friend, especially when the holiday schedule gets hectic. It’s totally designed to be prepared in advance, which frees up precious oven space when you’re juggling all those other savory dishes!
Chilling Requirements and Freezer Instructions
The mandatory chilling time is crucial, not just for structure but for flavor! You absolutely must let this cake chill for a minimum of six hours after it’s completely cooled down, but overnight is the gold standard. When it’s chilled that long, the spices really meld into the creamy filling, and slicing it becomes so much easier. If you happen to have any remaining, the good news is that cheesecake freezes like a dream! Wrap the entire cake (or individual slices—that’s how I prefer to do it for quick access!) tightly in a few layers of plastic wrap, and then cover that with aluminum foil. This double-wrapping prevents any freezer odors from sneaking into that rich filling. It should stay perfect in the deep freeze for about a month. When you’re ready, just thaw it overnight in the fridge, perhaps with a fresh drizzle of caramel. To see how well cinnamon pairs with other baked goods, check out my cinnamon monkey bread recipe; it freezes similarly!
Frequently Asked Questions About Apple Pie Cheesecake
I figured you might have some lingering questions about creating this masterpiece. Listen, when dealing with a dessert this special—mixing buttery crusts with creamy filling and spiced apples—it’s natural to want to get every little thing right! We want your spectacular apple pie cheesecake to look and taste just as incredible as it sounds. Here are the things I get asked most often, because if you’re worrying about it, chances are someone else is too!
Can I use homemade apple pie filling instead of store-bought in this apple pie cheesecake recipe?
Oh, absolutely you can! If you’ve got lovely homemade apple pie filling sitting around, please use it! That’s how we load up on the best flavors. Just one super important thing to remember because we are layering it onto cheesecake batter: make sure your homemade filling is completely cooled down before you spoon it on. If it’s even warm, it can start to melt the top layer of your batter, making those beautiful layers blend together when we want them nice and distinct!
What is the easiest variation if I need a quick dessert?
If you are short on time or nervous about the baking process, that’s when you go for the no bake apple pie cheesecake! We talked about it briefly above, but honestly, it’s the easiest route. You just mix the crust, pour in the filling, and pop the whole thing into the fridge until it sets up. It’s still creamy and tastes like fall, but you skip the water bath drama and the whole oven cooling sequence. It’s the ultimate way to get an easy apple pie cheesecake ready!
How do I prevent my cheesecake from cracking during baking?
This is the question I get asked the most, and it all comes down to controlling temperature and air! To summarize the big three tricks: One, ensure every single cold ingredient—especially the cream cheese and the eggs—is fully at room temperature. Two, use that water bath; it steams the edges gently so they don’t bake faster than the center. And three, the slow cooling process is non-negotiable! Turn the oven off, crack the door, and let it hang out in there for a full hour. If you follow the water bath and slow cooling steps, your apple pie cheesecake top should come out flawlessly smooth! If you want more ideas on great seasonal bakes, check out my recipe for warm apple cider cocktail to go with it!
Share Your Salted Caramel Apple Pie Cheesecake Creations
I have poured my heart into making sure this apple pie cheesecake works perfectly for you! Now, the best part is seeing your gorgeous results. When you make this for your next gathering, please snap a picture and tag me! Drop a comment below and tell me how the salted caramel played with the crumble topping. Planning out these show-stoppers ahead of time makes holiday prepping so much easier than trying to organize last-minute best meal delivery services replacements. We love seeing what you create!
Estimated Nutritional Data for Apple Pie Cheesecake
Now, I want to be super clear here: this Salted Caramel Apple Pie Cheesecake is a *celebration* dessert, okay? It’s rich, it’s decadent, and it’s packed with all that wonderful cream cheese and caramel goodness. Because we are dealing with dairy, eggs, and sugar, the numbers aren’t exactly low, and you should totally enjoy that! We’re aiming for joy in the kitchen, not counting calories!
These numbers below are just a rough estimate based on the recipe measurements I provided. If you use lighter cream cheese, less sugar in your homemade crumble, or skip the final caramel drizzle, your numbers will shift! These figures are based on 12 generous servings.
- Serving Size: 1 slice
- Calories: 450
- Sugar: 45g
- Sodium: 300mg
- Fat: 28g
- Saturated Fat: 17g
- Unsaturated Fat: 11g
- Trans Fat: 0.5g
- Carbohydrates: 48g
- Fiber: 2g
- Protein: 7g
- Cholesterol: 110mg
Just remember, every single bite is worth it because you made it with love! Don’t let a bunch of numbers stop you from enjoying this fantastic holiday treat!
PrintSalted Caramel Apple Pie Cheesecake with Crumble Topping

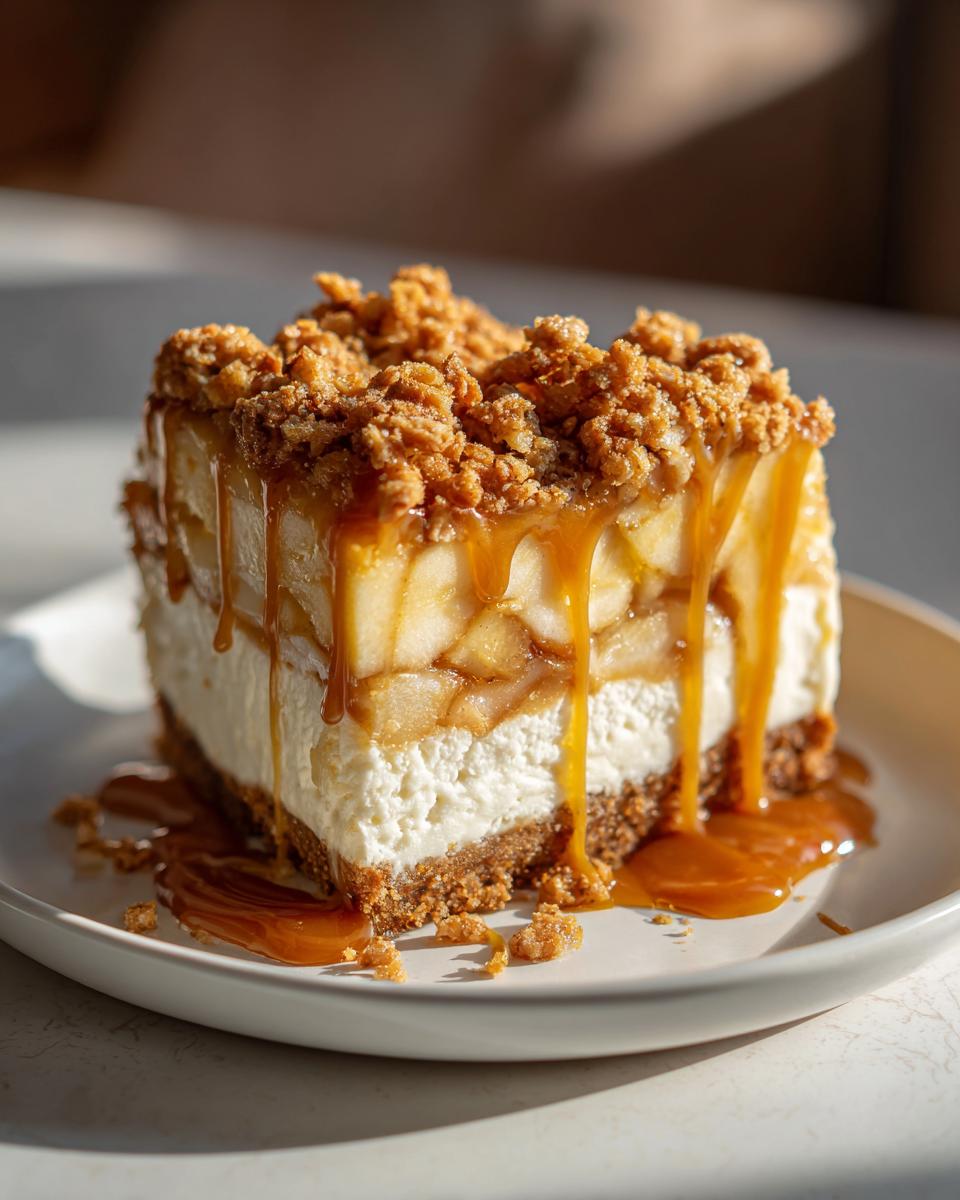
Create a show-stopping dessert that combines creamy cheesecake, spiced apple pie filling, and a buttery crumble topping, finished with salted caramel.
- Prep Time: 30 min
- Cook Time: 75 min
- Total Time: 120 min
- Yield: 12 servings 1x
- Category: Dessert
- Method: Baking
- Cuisine: American
- Diet: Vegetarian
Ingredients
- 1 1/2 cups graham cracker crumbs
- 1/4 cup granulated sugar (for crust)
- 6 tablespoons unsalted butter, melted
- 3 (8 ounce) packages cream cheese, softened
- 1 1/2 cups granulated sugar (for filling)
- 1 teaspoon vanilla extract
- 1/2 teaspoon ground cinnamon
- 1/4 teaspoon ground nutmeg
- 3 large eggs
- 2 cups spiced apple pie filling (store-bought or homemade)
- 1/2 cup salted caramel sauce (for topping)
- 1/2 cup oat crumble topping (oats, flour, brown sugar, butter mixture)
Instructions
- Preheat your oven to 325°F (160°C). Wrap the outside of a 9-inch springform pan tightly with heavy-duty aluminum foil to prepare for a water bath.
- Prepare the crust: Mix graham cracker crumbs, 1/4 cup sugar, and melted butter. Press the mixture firmly into the bottom of the prepared springform pan. Bake for 10 minutes. Let cool slightly.
- Prepare the cheesecake filling: In a large bowl, beat the softened cream cheese until smooth. Gradually add 1 1/2 cups sugar, vanilla extract, cinnamon, and nutmeg. Beat until just combined.
- Add eggs one at a time, mixing on low speed after each addition until just incorporated. Do not overmix.
- Pour half of the cheesecake batter over the cooled crust. Spoon 1 cup of the apple pie filling over the batter. Top with the remaining batter. Spoon the remaining 1 cup of apple filling over the top layer.
- Place the springform pan inside a larger roasting pan. Carefully pour hot water into the roasting pan until it reaches halfway up the sides of the springform pan (this is the water bath).
- Bake for 60 to 75 minutes, or until the edges are set but the center still jiggles slightly.
- Turn off the oven, crack the door open slightly, and let the cheesecake cool in the oven for 1 hour. This slow cooling helps prevent cracking.
- Remove the cheesecake from the water bath and let it cool completely on a wire rack. Once cool, cover and chill in the refrigerator for at least 6 hours, preferably overnight.
- Before serving, gently run a thin knife around the edge before releasing the springform side. Top the chilled cheesecake with the oat crumble topping, drizzle generously with salted caramel sauce, and slice. This dessert is a great alternative to traditional meal planning for holidays.
Notes
- For the best texture, ensure your cream cheese and eggs are at room temperature before mixing.
- If you prefer an Apple Crisp Cheesecake variation, mix the oat crumble topping ingredients and sprinkle them over the top apple layer before baking.
- For a no-bake option, skip the water bath and oven steps, chilling the cheesecake until firm.
Nutrition
- Serving Size: 1 slice
- Calories: 450
- Sugar: 45g
- Sodium: 300mg
- Fat: 28g
- Saturated Fat: 17g
- Unsaturated Fat: 11g
- Trans Fat: 0.5g
- Carbohydrates: 48g
- Fiber: 2g
- Protein: 7g
- Cholesterol: 110mg