
You know those recipes that just *scream* holidays? The ones that instantly bring you back to cozy gatherings, twinkling lights, and the absolute joy of sharing something delicious with everyone you love? Well, this cheese ball is *exactly* that. My grandma used to whip up a version of this for every single get-together, and honestly, the moment I start mixing these simple ingredients, I can practically smell the pine needles and hear the carols. It’s the ultimate classic cheese ball recipe, and the best part? It’s ridiculously easy and you can totally make it ahead, so you’re not stuck in the kitchen when your guests arrive!
- Why You'll Love This Classic Cheese Ball Recipe
- Gather Your Ingredients for the Ultimate Cheese Ball
- Step-by-Step Guide to Making Your Cheese Ball
- Tips for the Best Holiday Cheese Appetizer
- Serving Your Classic Cheese Ball
- Frequently Asked Questions About This Cheese Ball
- Estimated Nutritional Information
- Share Your Creations!
Why You’ll Love This Classic Cheese Ball Recipe
Honestly, what’s not to adore about this appetizer? Here’s the lowdown:
- It’s SO easy! Seriously, you barely need a recipe. Just mix and shape.
- Make-ahead magic: Whip it up the day before and let it chill. Less stress on party day!
- Crowd-pleaser guaranteed: That combo of creamy, sharp, and crunchy? Folks can’t resist.
- That retro charm: It just brings all the nostalgic vibes, doesn’t it?
Gather Your Ingredients for the Ultimate Cheese Ball
Alright, let’s get our act together for this amazing appetizer! The beauty of this recipe is how simple the ingredients are. You probably have most of them hiding in your fridge or pantry right now, which is a lifesaver when you’re planning a party. For the creamiest base, we’re starting with 8 ounces of cream cheese that’s been softened up – trust me, this makes mixing so much easier. Then, we’ll add 4 ounces of sharp cheddar cheese, make sure it’s shredded, and for that extra special tang that I just adore, you can toss in 2 ounces of crumbled blue cheese if you’re feeling fancy (but no worries if that’s not your jam!).
Step-by-Step Guide to Making Your Cheese Ball
Alright, let’s get this deliciousness going! Making this cheese ball is honestly so straightforward, you’ll wonder why you haven’t made it a thousand times already. Just follow these simple steps and you’ll have a show-stopping appetizer in no time. It’s basically a party in a bowl! If you love dips, you might also want to check out this creamy queso dip. And who doesn’t love something crispy? These fried pickles are a party favorite, too!
Mixing the Creamy Cheese Ball Base
First things first, grab your medium-sized bowl. Toss in that softened cream cheese, the shredded sharp cheddar, and your optional blue cheese. Now, get your hands in there (or use a sturdy spoon!) and really mix it all up until everything is perfectly combined and super creamy. It should look like a beautiful, cheesy cloud!
Shaping and Coating Your Cheese Ball
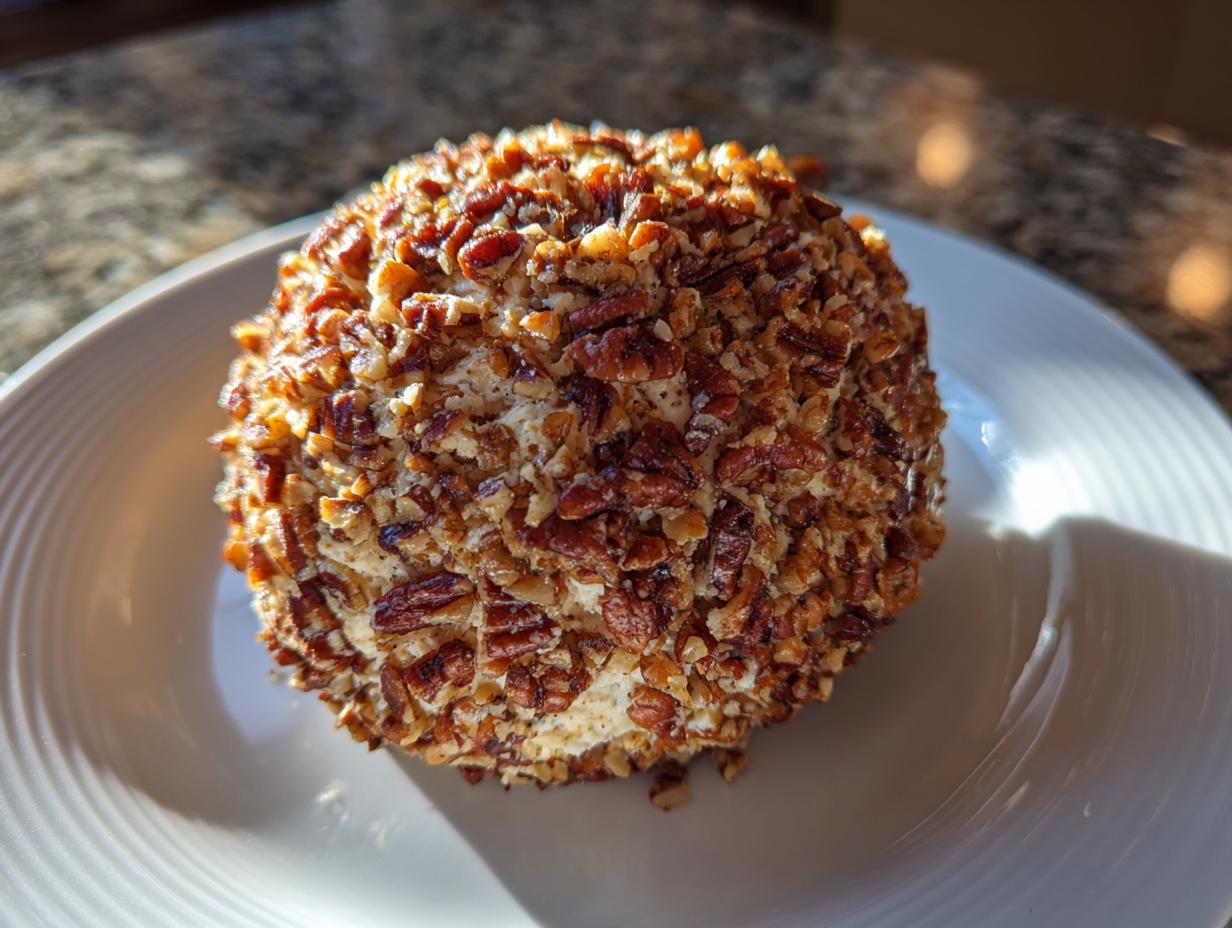
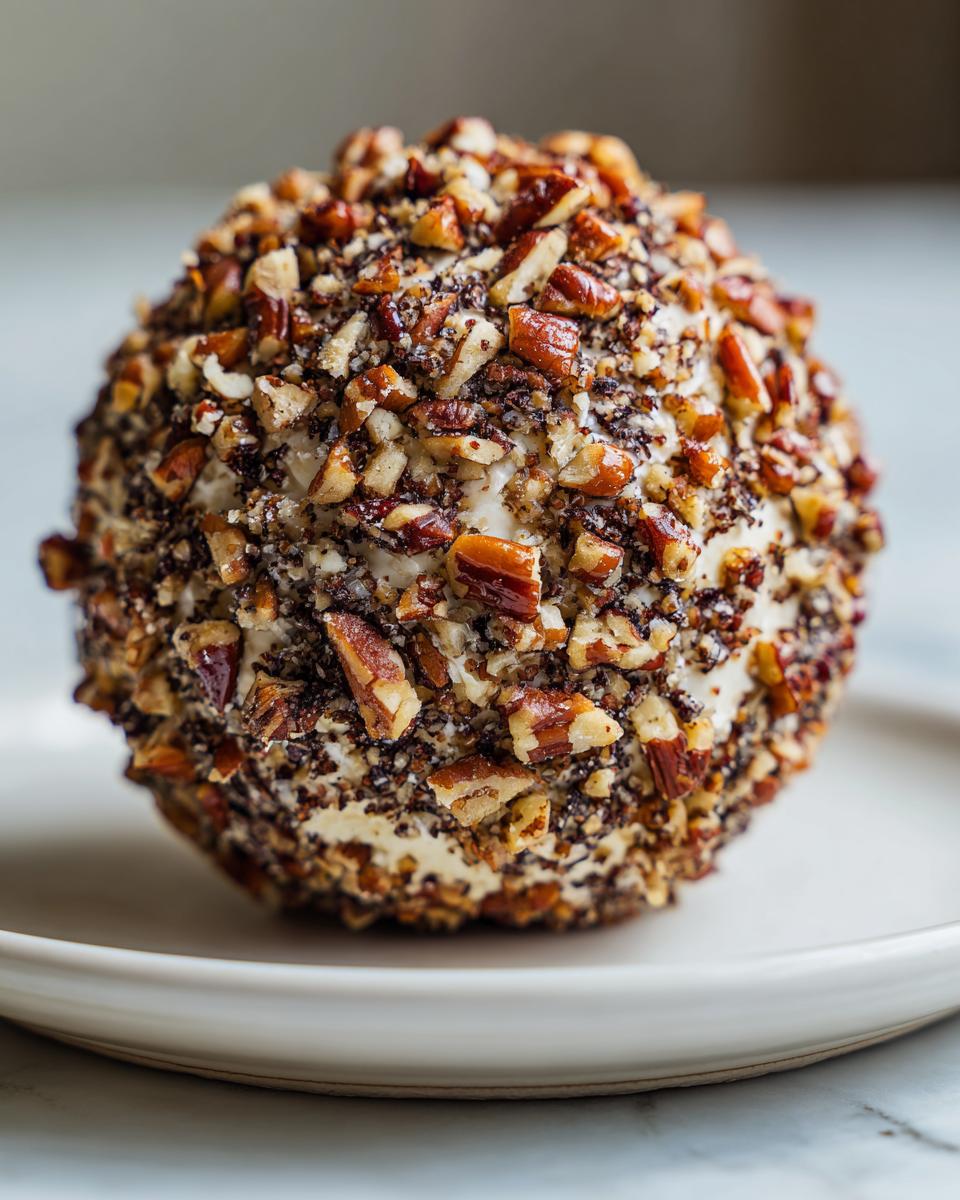
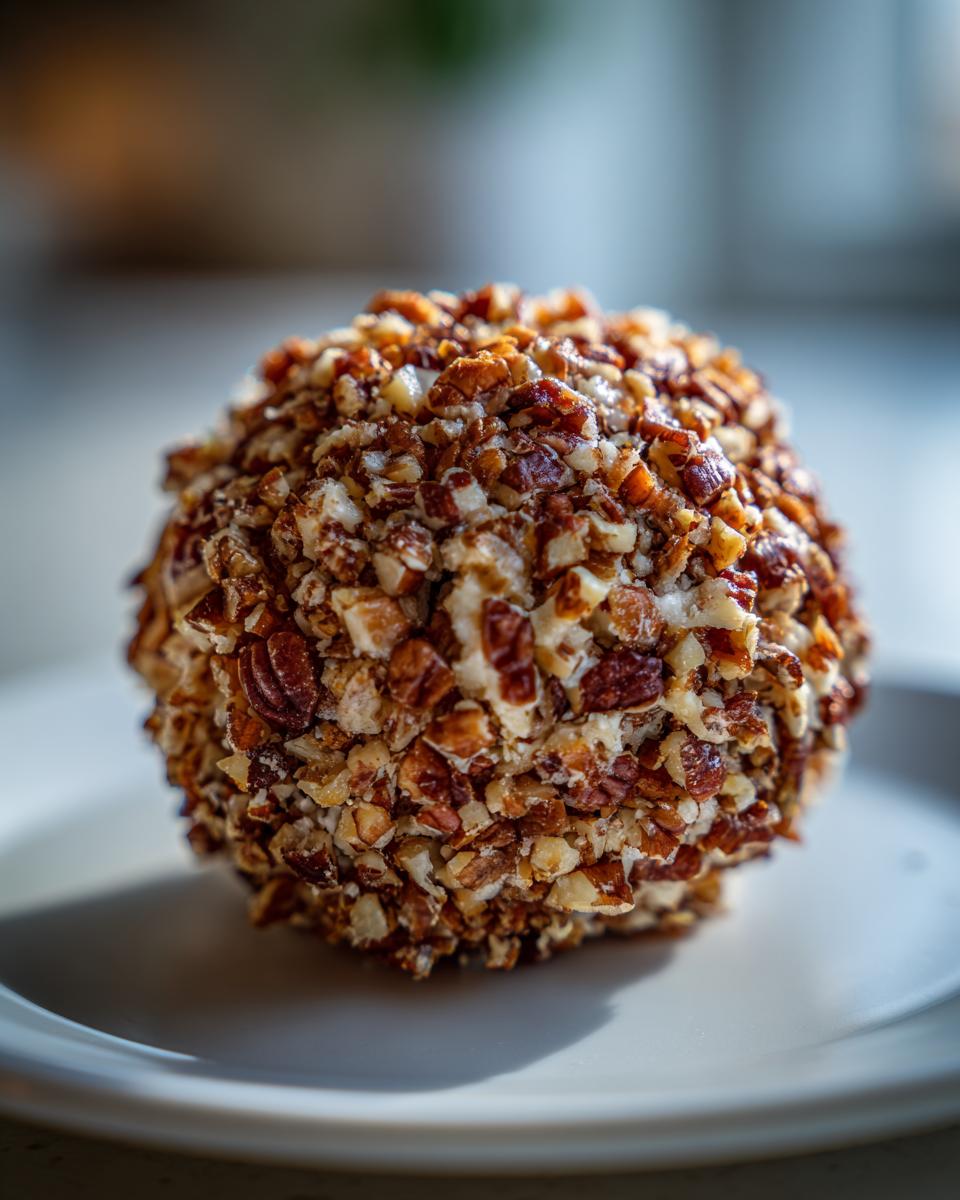
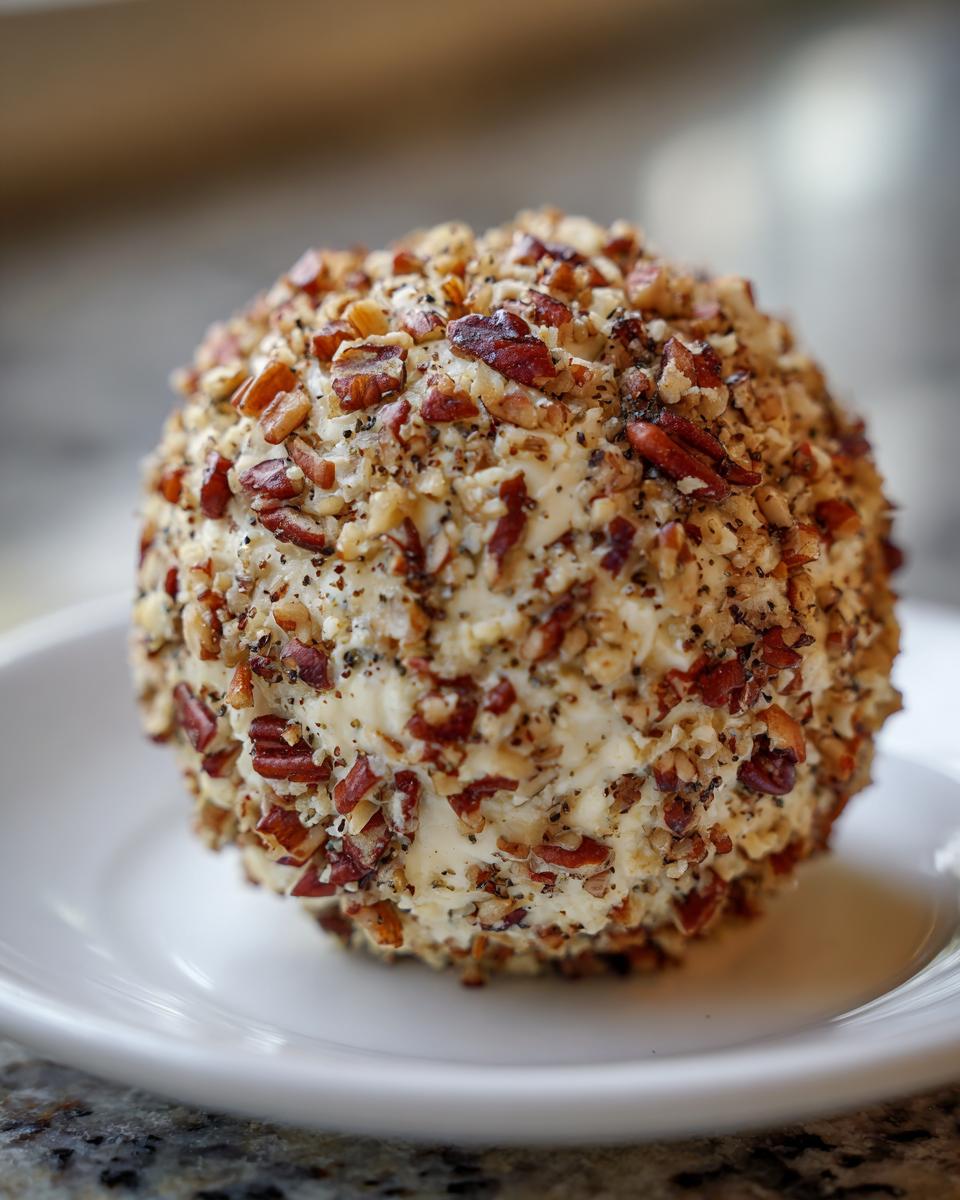
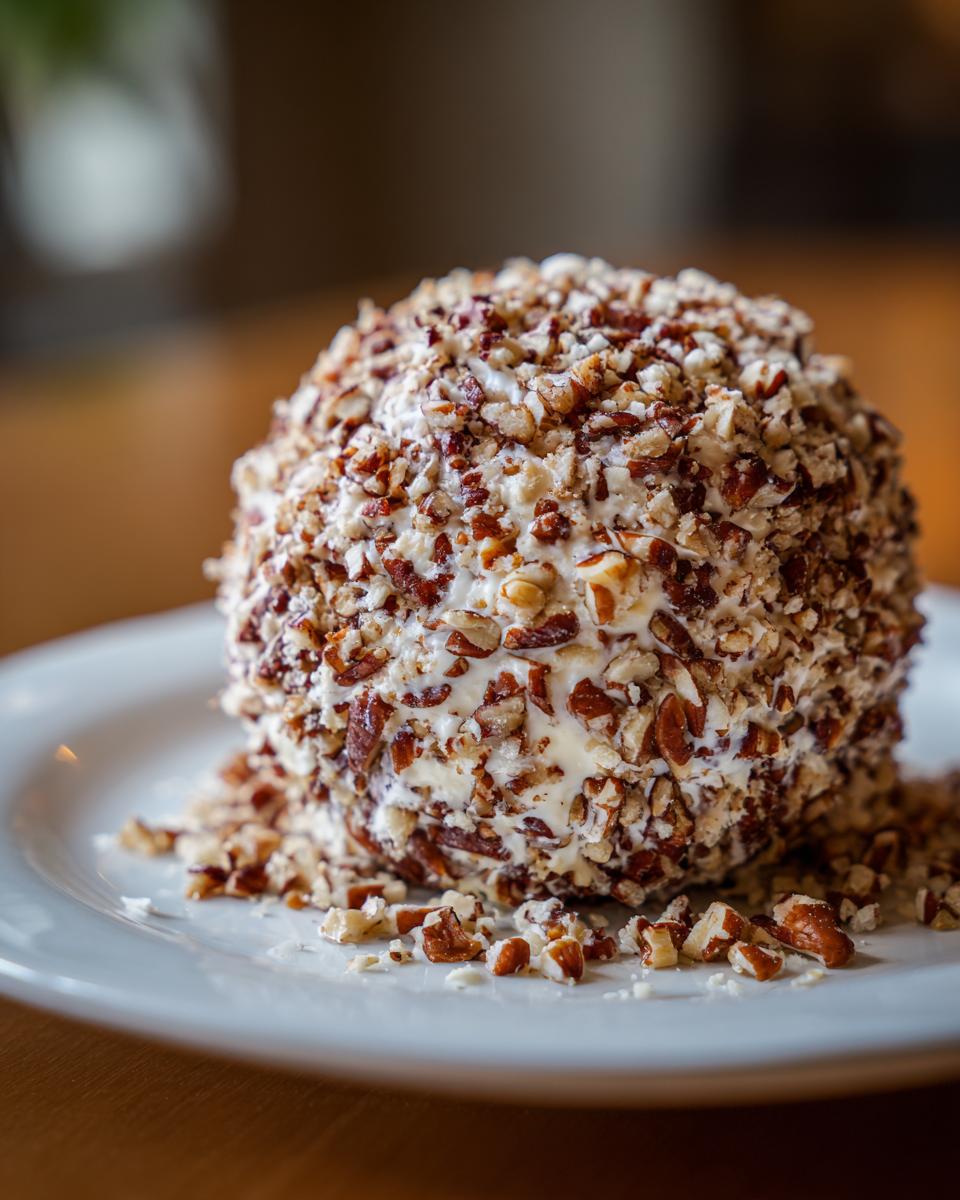
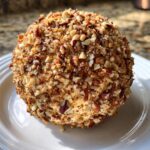
Once your cheese mixture is smooth and lovely, it’s time to get hands-on again! Take about all of the mixture and gently shape it into a nice, round ball. Don’t worry if it’s not perfectly smooth, that’s what the coating is for! Now, spread those extra chopped pecans onto a plate or a shallow dish – this is your gorgeous coating. Carefully roll your cheese ball into the pecans, pressing gently so they stick all over. You want every inch to be wonderfully nutty!
Chilling Your Cheese Ball to Perfection
This step is super important, so don’t skip it! Once your cheese ball is coated, wrap it up snugly in plastic wrap. Then, pop it into the fridge. You need to let it chill for at least an hour, or until it feels nice and firm. This chilling time is key to making sure your appetizer holds its shape when you serve it, and it lets all those flavors meld together beautifully.
Tips for the Best Holiday Cheese Appetizer
Okay, so you’ve got the basic cheese ball down, but let’s talk about taking it from *good* to *absolutely unforgettable*. This is where we can really get creative and make this appetizer truly shine for your holiday spread. I’ve learned a few tricks over the years that make all the difference. Thinking about other party favorites? You might love these spiced nuts or these amazing jalapeno poppers!
Ingredient Substitutions for Your Cheese Ball
Don’t be afraid to play around with this recipe! If cheddar isn’t your favorite, try swapping in some Gruyere for a nuttier flavor or Monterey Jack for something milder. Feeling adventurous? A little bit of crumbled feta can add a nice salty punch. And for the coating, pecans are classic, but chopped walnuts, almonds, or even some crispy bacon bits can be fantastic! You could even mix in some fresh chives or a pinch of paprika into the cheese mix for an extra layer of flavor.
Make-Ahead and Storage for Your Cheese Ball
This is why I love this appetizer so much – it’s a total lifesaver for busy hosts! You can totally make this cheese ball up to 2 days in advance. Just follow all the steps, wrap it really well in plastic wrap, and keep it in the fridge. When you’re ready to serve, just unwrap it, maybe give it a quick roll in fresh pecans if the coating looks a bit sad, and arrange it on your serving platter. It stays perfectly firm and delicious!
Serving Your Classic Cheese Ball
Now for the grand finale! Presenting your gorgeous cheese ball as the centerpiece is pure joy. I love serving it with a mix of crunchy crackers, soft slices of homemade buttermilk biscuits, or even some warm soft pretzels. Just arrange everything artfully around the ball. It’s such a fun, interactive appetizer that guests will love diving into!
Frequently Asked Questions About This Cheese Ball
Got questions about making this amazing party dip? I’ve got answers!
Can I make this cheese ball ahead of time?
Absolutely! You can totally make it up to 2 days ahead. Just keep it wrapped up tight in the fridge.
How do I keep my cheese ball firm?
Chilling it in the fridge for at least an hour is the key! That lets it set up perfectly so it holds its shape on the serving platter.
What are good alternatives for the pecan coating?
Oh, for sure! You can use chopped walnuts, almonds, crispy bacon bits, or even some fresh chives for a different flair. Get creative!
Estimated Nutritional Information
Just a heads-up, these numbers are estimates since everyone’s ingredients can vary a bit! This breakdown is for about 1/10th of the cheese ball. Typically, you’re looking at around 150 calories, 13g of fat (with about 7g being saturated), 6g of protein, and just 3g of carbs per serving. It’s definitely a treat!
Share Your Creations!
I’d absolutely LOVE to hear how your cheese ball turns out! Did you try a fun variation? Did everyone rave about it? Let me know in the comments below, or better yet, tag me in your photos on social media! You can also check out my about page to learn more about Bliss Batter or contact me with any questions. Happy baking!
PrintClassic Cheese Ball Recipe
A nostalgic and easy cheese ball recipe perfect for holiday parties and gatherings. This make-ahead appetizer is a crowd-pleaser.
- Prep Time: 15 min
- Cook Time: 0 min
- Total Time: 1 hour 15 min
- Yield: 1 cheese ball (serves 8-10) 1x
- Category: Appetizer
- Method: No Bake
- Cuisine: American
- Diet: Vegetarian
Ingredients
- 8 ounces cream cheese, softened
- 4 ounces sharp cheddar cheese, shredded
- 2 ounces blue cheese, crumbled (optional)
- 1/4 cup finely chopped pecans, plus more for rolling
- 1/4 cup finely chopped fresh parsley
- 1/4 teaspoon garlic powder
- 1/8 teaspoon black pepper
- Crackers or baguette slices for serving
Instructions
- In a medium bowl, combine the softened cream cheese, shredded cheddar cheese, and crumbled blue cheese (if using). Mix until well combined.
- Stir in the 1/4 cup chopped pecans, chopped parsley, garlic powder, and black pepper.
- Shape the cheese mixture into a ball.
- Spread additional chopped pecans onto a plate or shallow dish.
- Roll the cheese ball in the pecans, pressing gently to coat the entire surface.
- Wrap the cheese ball tightly in plastic wrap.
- Chill in the refrigerator for at least 1 hour, or until firm.
- Before serving, place the cheese ball on a serving platter and serve with crackers or baguette slices.
Notes
- For a different flavor, you can substitute some of the cheddar cheese with Gruyere or Monterey Jack.
- You can also roll the cheese ball in chopped bacon, chives, or a mixture of herbs.
- This cheese ball can be made up to 2 days in advance and kept refrigerated.
- If you are looking for meal planning ideas, this cheese ball is a great addition to a party spread.
Nutrition
- Serving Size: 1/10th of cheese ball
- Calories: 150
- Sugar: 1g
- Sodium: 200mg
- Fat: 13g
- Saturated Fat: 7g
- Unsaturated Fat: 6g
- Trans Fat: 0g
- Carbohydrates: 3g
- Fiber: 1g
- Protein: 6g
- Cholesterol: 35mg