
Oh, the holidays! They are wonderful, aren’t they? But sometimes, the sheer volume of things that need baking can feel like an absolute marathon. I completely get it because I’ve been there! That’s why I’m sharing my absolute favorite secret weapon for busy seasons: these amazing avalanche cookies. Forget turning on the oven; these are 100% no-bake. As the founder of Bliss Batter, I promise these are well-tested and super accessible. They come together in minutes, are perfect for dropping onto holiday platters, and they vanish the moment you put them out. If you need a quick, guaranteed crowd-pleaser, this is the recipe you’ve been searching for!
- Why These are the Best No bake avalanche cookies You Will Ever Make
- Essential Ingredients for Perfect avalanche cookies
- Step-by-Step Instructions for No Oven Desserts: Making avalanche cookies
- Tips for Success When Making avalanche cookies
- Variations on Classic avalanche cookies
- Storing and Serving Your White Chocolate Treats
- Frequently Asked Questions About avalanche cookies
- Estimated Nutritional Data for avalanche cookies
- Share Your Homemade Bliss Batter Creations
Why These are the Best No bake avalanche cookies You Will Ever Make
Look, I’m all about cozy oven baking traditions, but sometimes life just calls for something fast, right? That’s the beauty of these avalanche cookies—they are the ultimate cheat code for amazing treats. I developed this recipe to be completely foolproof. You truly cannot mess these up, which is why I recommend them so highly for all of you busy bees!
- They require zero oven time! Seriously, a microwave and a mixing bowl are all you need.
- They are unbelievably satisfying—creamy peanut butter mixed with crunchy cereal and sweet white chocolate melts? Yes, please!
- They are robust and travel well, making them fantastic for gifting or setting out on a buffet table for parties.
Quick Holiday Desserts Ready in Minutes
If you’ve ever found yourself two days before a party realizing your dessert tray is sad and empty, this recipe is your hero. We’re talking about mixing and shaping these puppies in about fifteen minutes total. They cool quickly, but you don’t need to worry too much because this recipe is designed for speed. These are the definition of Quick Holiday Desserts when you’re slammed!
The Magic of Peanut Butter No Bake Combinations
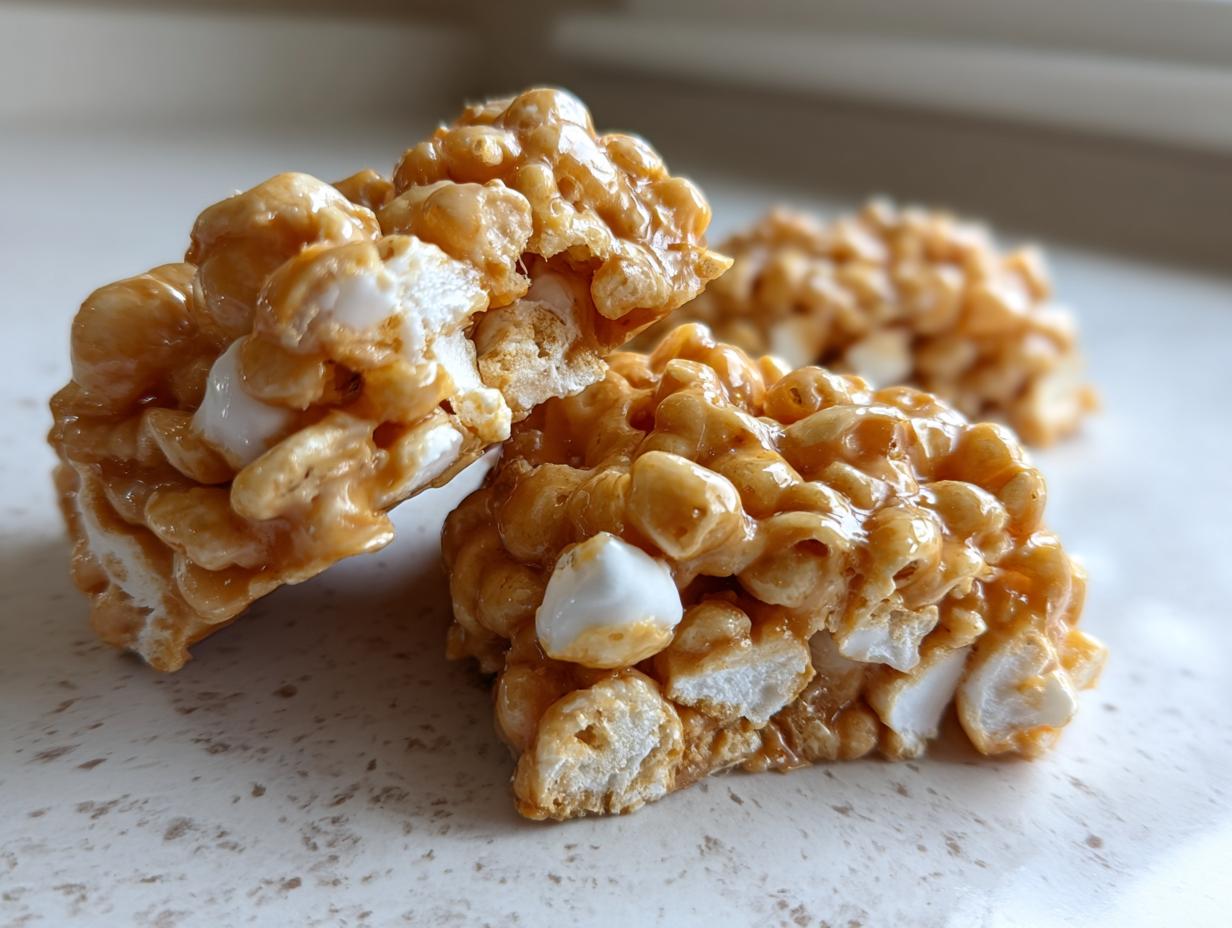
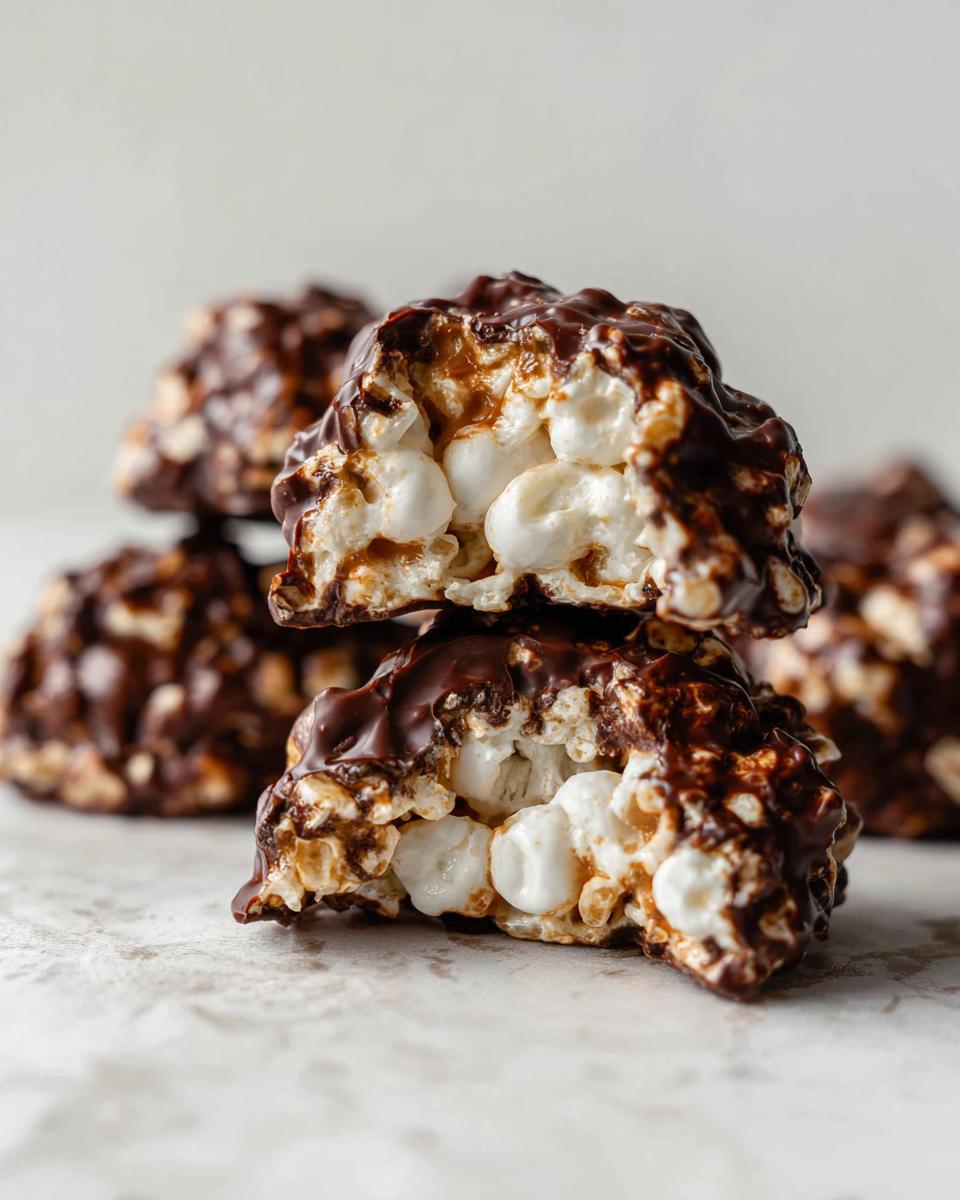
The classic combination here is just unbeatable. The rich, salty peanut butter perfectly balances the ultra-sweet white chocolate coating and the fluffy marshmallows. It’s just heaven in a bite, and the texture is surprisingly substantial for a no-bake cookie. That creamy, salty, sweet flavor profile is pure Peanut Butter No Bake bliss!
Essential Ingredients for Perfect avalanche cookies
When you’re whipping up treats this easy, people often think they can get lazy with ingredients, but trust me, that’s not how we do things here at Bliss Batter! Quality matters, even when there’s no baking involved. When you focus on good, reliable ingredients, your final batch of avalanche cookies tastes far better, especially since there’s nowhere for mediocre flavors to hide!
Coating and Crunch Components
These are the structural elements, so pick them wisely! You absolutely need the crispy rice cereal—it gives you that satisfying snap. For the coating, I call for either standard white chocolate chips or white almond bark. If you opt for the bark, it generally sets up firmer and gives a lovely sheen. If you want that perfect, pure white look that makes these cookies look like, well, an avalanche, go for the almond bark!
Binding Base Ingredients
This is where the magic flavor of these Peanut Butter Treats comes from. You need creamy peanut butter—don’t use the natural, oily kind for this unless you want a greasy puddle! The full 1 cup of butter specified must be softened, but still cool; we don’t want it melted yet! And please grab the bag of mini marshmallows; those little guys melt just right into the peanut butter base without getting stringy.
Step-by-Step Instructions for No Oven Desserts: Making avalanche cookies
Alright, now for the best part! Since these are No Oven Desserts, the process flies by, but you still need to be mindful of your temperatures. We’re moving fast, but we’re not rushing the crucial melting steps! Remember to line those baking sheets first—trust me, cleanup is way easier that way. Once we get that base melted, everything else just folds together beautifully.
Preparing the Peanut Butter Base
First things first: combine your specified peanut butter and softened butter in a large, microwave-safe bowl. You’ll need to microwave this in short bursts, like 30 seconds at a time, stirring really well between each zap. Keep going until it’s completely smooth—it usually takes about a minute and a half total. If you stir while it’s still chunky, you risk overheating the peanut butter later! Once it’s that beautiful, glossy, melted mess, quickly stir in your vanilla extract. Don’t linger; we are on the clock!
Folding in Cereal and Shaping the avalanche cookies
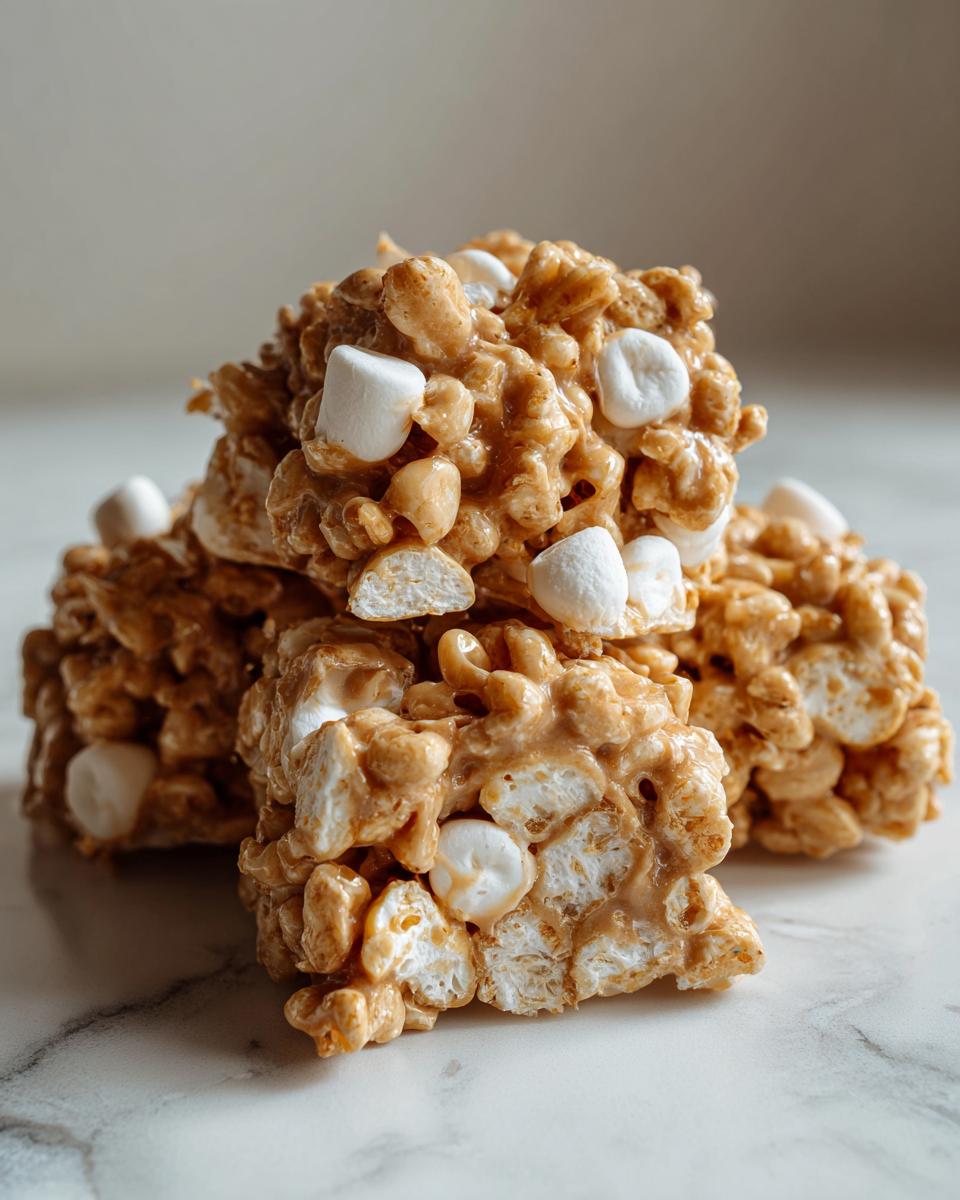
Now, dump in your marshmallows and the crispy rice cereal. This is where you need the gentle touch I always talk about. Use a sturdy spatula and gently *fold* everything together, making sure the cereal gets coated but trying your best not to mash up those marshmallows too much. You want them chunky! Once everything just combines, use a spoon or a small cookie scoop to drop rounded mounds onto your prepared sheets. These are meant to look rustic, so don’t worry about perfect circles when making your Easy Dessert Recipes!
Melting White Chocolate and Finishing
Use a separate bowl for your white chocolate or almond bark. Melt this slowly, just like the base, using short microwave bursts, stirring until it’s super glossy. Now, drizzle that melted goodness generously over your cookie mounds. If you held back some chocolate chips, this is the moment to scatter them on top for that pretty contrast! Let these avalanche cookies set up completely. An hour on the counter works just fine, but if you’re impatient like me, pop them in the fridge for 20 minutes and they’ll be ready to eat!
Tips for Success When Making avalanche cookies
Even though these sound like the easiest things on the planet—and they are!—there are a few little secrets I learned over the years to make sure your avalanche cookies are perfect every single time. We want that lovely texture, not a flat, greasy puddle or a sticky mess that won’t set up. Pay close attention to the temperature of your base, because that little detail truly separates a good batch from a truly great one!
Controlling the Consistency of the Peanut Butter Mixture
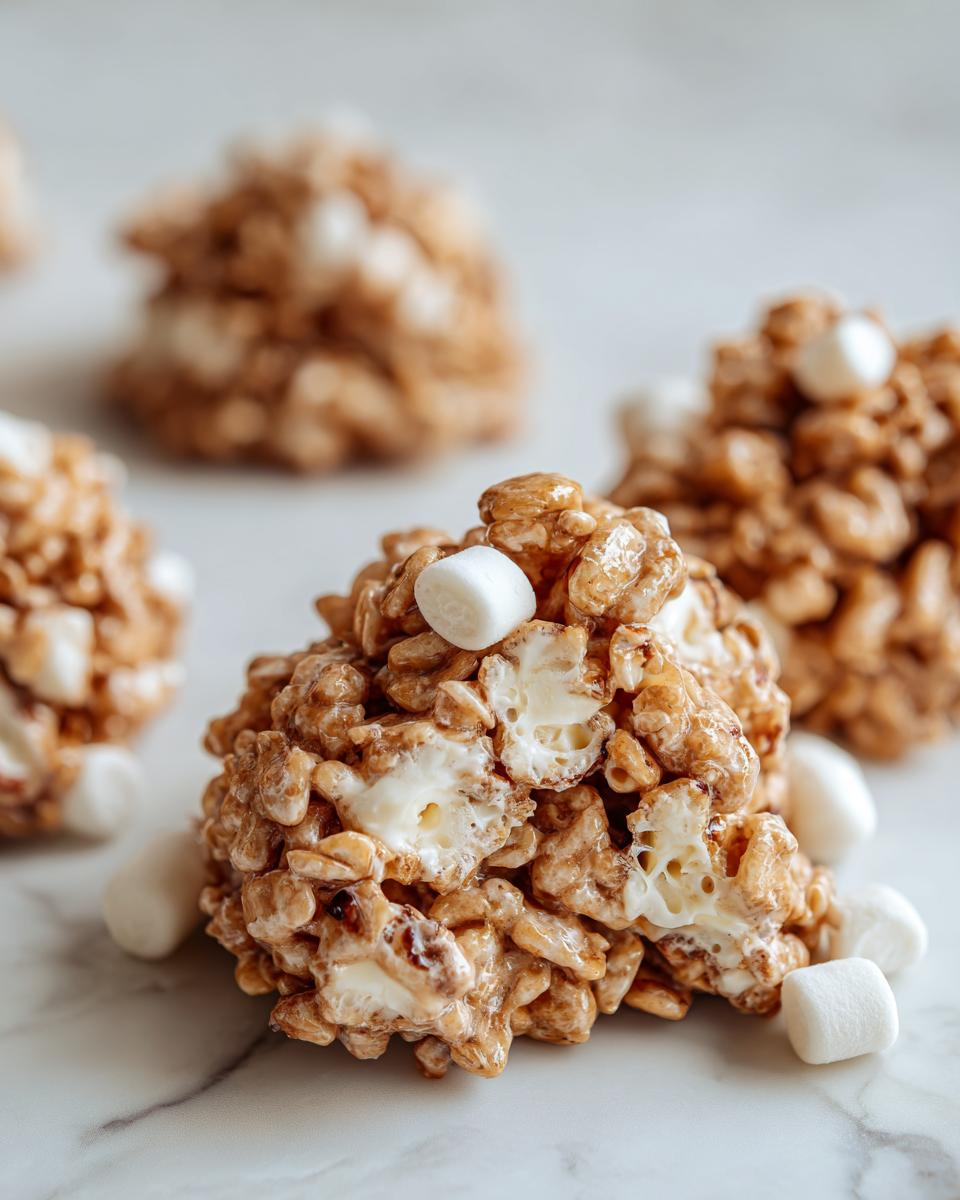
Here’s a crucial tip about the peanut butter and butter mixture you melt together: you need it hot enough to dissolve the marshmallows slightly, but not so boiling hot that they just disappear entirely! If your mixture is scorching hot when you fold in the marshmallows, you end up with a marshmallow sludge coating everything, which means you lose that gorgeous, chewy, puffy texture we’re aiming for in these avalanche cookies. You want the marshmallows to soften and become gooey glue, not completely evaporate. Let the peanut butter base cool for just a minute or two after the final microwave burst before you add the marshmallows!
Achieving a Smooth White Chocolate Drizzle
Melting white chocolate or almond bark can be tricky business; it seizes up faster than almost any other chocolate! To avoid that grainy, chunky disaster, always use short, 30-second bursts in the microwave, and stir vigorously between each one. If you keep going, you’ll burn it faster than you can say “holiday baking rush.” If you’re nervous about the microwave, use a double boiler set over simmering (not boiling!) water. Tiny amounts of moisture or high heat will ruin it instantly. Remember, a smooth, glossy drizzle is what makes these look like genuine White Chocolate Treats!
Variations on Classic avalanche cookies
The basic formula for these avalanche cookies is just so strong that it lends itself beautifully to mixing things up! Once you nail the standard recipe, you’re free to start experimenting. I’ve seen people swap out ingredients based on what they have on hand, and honestly, some of those swaps end up being my new favorites. Don’t be afraid to push the boundaries a little bit once you have that classic peanut butter base down perfectly!
Texture Swaps: Beyond Rice Krispies
While crispy rice cereal gives you that familiar nostalgic crunch, there are so many other things you can toss in there for a totally different texture experience. If you’re a fan of salty-sweet, totally swap the cereal for crushed pretzels! The salt cuts through the richness of the white chocolate beautifully. Also, I once made a batch using chow mein noodles because I was out of cereal, and wow! They give this amazing, delicate crunch that’s just different. Just make sure you’re using about 6 cups of whatever crunchy ingredient you choose to keep the binding right for your cookies.
Creating Avalanche Bark Recipe Ideas
If you’re making these for a huge crowd or just don’t want to fuss with dropping individual mounds—which, let’s be honest, can be messy sometimes—just turn the whole thing into a slab! This is where you get into some fantastic Avalanche Bark Recipe Ideas. Instead of dropping spoonfuls onto parchment, just take your entire mixed batch and press it firmly and evenly into a parchment-lined 9×13 inch pan. Drizzle the melted white chocolate or almond bark evenly over the top, maybe even swirling in some melted dark chocolate if you’re feeling fancy. Once it sets up, you just slice it into squares. Instant, easy-to-serve bark!
Storing and Serving Your White Chocolate Treats
Okay, you’ve made the best avalanche cookies ever, and now you have to figure out the hard part: keeping them around long enough to enjoy! Since these are no-bake, storage can be slightly different than baked goods, but honestly, they hold up beautifully. The white chocolate and peanut butter mixture acts as a great little sealant, keeping everything fresh and chewy inside.
For best results, keep your White Chocolate Treats in a single layer, or with wax paper between the layers, inside a truly airtight container. I always use my old Tupperware containers for this! They should sit happily on your counter at room temperature for a good few days—maybe four or five days—as long as your kitchen isn’t super warm. If it’s humid where you are, or if you need them to last longer, the fridge is your friend, but remember to pull them out about 15 minutes before serving so the peanut butter softens slightly again!
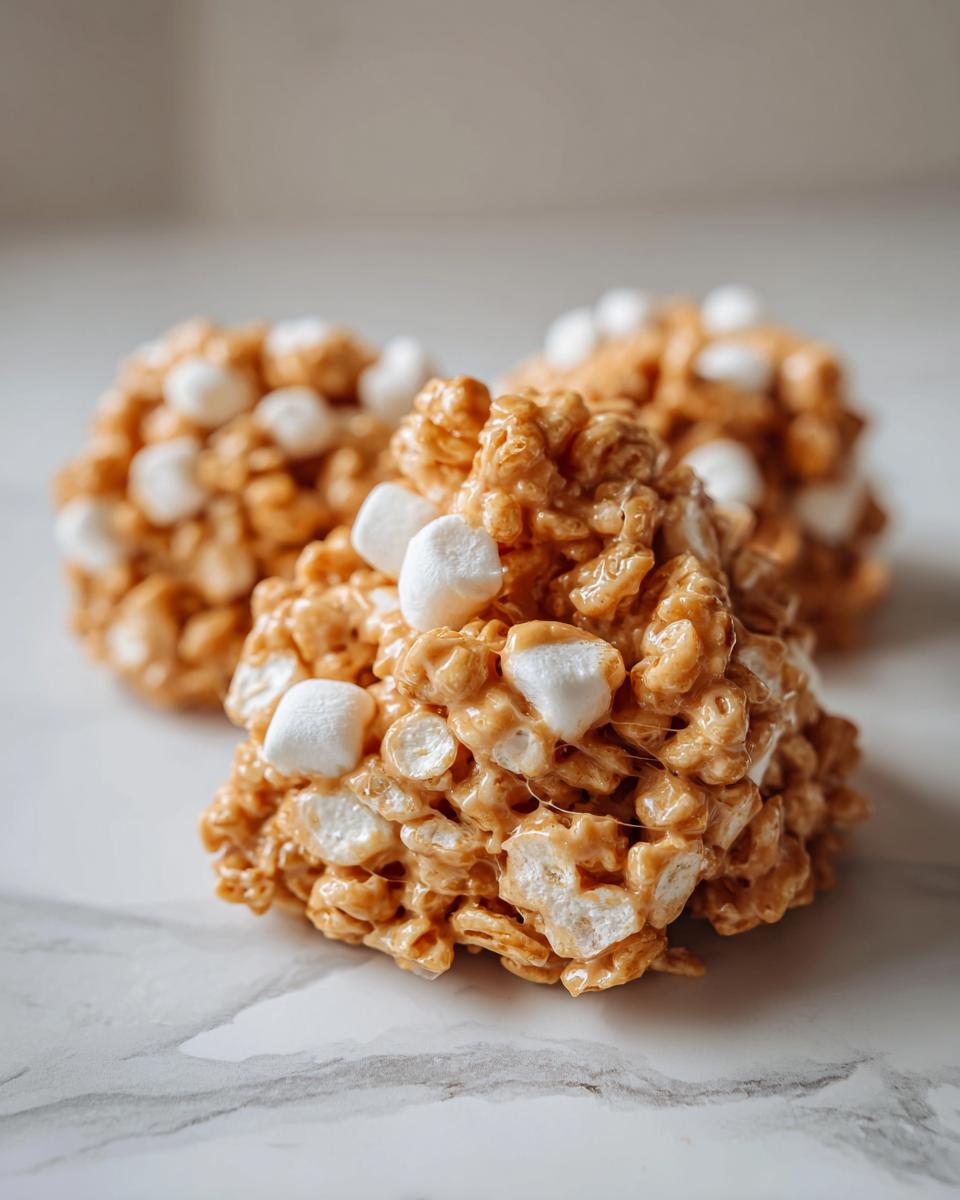
When it comes to serving, these are so visually appealing because of the drizzled chocolate. They look fantastic just piled onto a simple white platter! If you are using them for holiday gifting, they package wonderfully in clear cellophane bags tied with a festive ribbon. You don’t even need fancy liners because they’re so sturdy. Trust me, when people see these on a cookie tray, they always reach for the crunchy, peanut buttery ones first!
Frequently Asked Questions About avalanche cookies
I know you might have a few questions rattling around—that’s totally normal when you’re trying out a new, amazing recipe like this one! I’ve gathered the ones I get asked the most about these incredible avalanche cookies. Remember, the goal here at Bliss Batter is accessibility, so let’s clear up any confusion right now!
Can I make avalanche cookies without peanut butter?
That is a great question if you have allergies or just don’t favor peanut butter! While the recipe is absolutely *built* around that classic peanut butter flavor, you can certainly try substitutions. If you’re looking for a similar texture, you could try using a creamy sunflower seed butter (if allergies are involved) or even Biscoff cookie butter. Just know that the flavor changes dramatically! The peanut butter is a lot saltier and richer than cookie butter, so your final cookie will taste sweeter overall. Measure carefully, and let me know how your experiment goes!
How do I get fudgier avalanche cookies?
You noticed that I used white chocolate for the traditional look, but if you really want a richer, fudgier cookie that tastes a little less sweet, you have some options you can fold right in! If you look back in my tips section, I mentioned that you can swap out about half of that required white chocolate coating for milk chocolate or semi-sweet chocolate. This immediately adds that deeper cocoa flavor and results in a much softer, slightly fudgier texture once they set up. It’s a fantastic way to customize your Peanut Butter Treats!
Do these have to be made with mini marshmallows?
I really, really suggest sticking to the mini marshmallows for these avalanche cookies. The standard large marshmallows are just too dense and don’t melt quite right when they hit that hot peanut butter mixture. The mini marshmallows are light and airy, so when you fold them in, they become perfectly gooey cushions scattered throughout the cookie, giving you that characteristic light interior. If all you have are the large ones, you can chop them up pretty small before adding them, but expect a slightly chewier outcome!
What happens if my mixture seems too dry when mixing?
This usually happens if your peanut butter has seized up a bit during microwaving or if brand A of crispy rice cereal is less airy than brand B! If you feel like your mixture is crumbling apart instead of clumping nicely when you try to scoop it, you need just a little more binder. Don’t add more melted peanut butter—that will throw off the ratios! Instead, gently melt another tablespoon of your white chocolate or almond bark separately and drizzle that over the dry-looking mix while folding. It acts like an extra glue! This is a common issue with no-bake treats, so don’t panic; just add that extra hint of coating!
Estimated Nutritional Data for avalanche cookies
I always get asked about the numbers, and honestly, for treats this fun and easy, I try not to obsess too much! But, because I believe in transparency here at Bliss Batter, I’ve put together an estimate for the classic recipe yields based on standard pantry ingredients—like the ones I listed above. Please know, this is just an educated guess, especially since the type of white chocolate or peanut butter you use can change things slightly!
This data is based on the recipe yielding 24 cookies, so keep that serving size in mind! If you only make 20 cookies, those numbers will be higher, naturally. These aren’t exactly diet food, but they are a fantastic, quick way to bring joy, and everything in moderation, right?
- Serving Size: 1 cookie
- Calories: About 250 (Wow, they add up fast!)
- Fat: Roughly 15g (That’s where the butter and peanut butter live!)
- Saturated Fat: Around 7g
- Carbohydrates: Approximately 26g
- Sugar: About 20g (It’s a sweet treat, after all!)
- Protein: A nice boost around 5g
- Cholesterol: About 10mg
Remember, since these are Easy Dessert Recipes that use melted components instead of baking, you get a slightly different breakdown than a traditional cookie. Enjoy them guilt-free, knowing you made them yourself!
Share Your Homemade Bliss Batter Creations
Now that you’ve whipped up this batch of incredible avalanche cookies, I sincerely hope you loved the process as much as I do! There is nothing better than seeing the joy these simple, no-bake peanut butter clusters bring when they show up on a platter. Seriously, you made them—you should be proud!
I always tell folks that the best part of Bliss Batter is the community we’re building together. So, once you’ve let them set up and you’ve tried one (or maybe three!), please take a moment to tell me what you thought. Did you add pretzels like I suggested? Did the kids go crazy for the white chocolate drizzle?
Leaving a star rating and a comment right below this section helps other bakers choose this recipe with confidence, and that is so important to me. And if you snap a picture of your beautiful pile of crunchy, sweet goodness, tag me on social media! Seeing your homemade happiness in your kitchen is the very reason I develop these recipes. Happy, happy baking!
PrintEasy No-Bake Peanut Butter Avalanche Cookies

Make these irresistible Avalanche Cookies for a quick, crowd-pleasing no-bake treat perfect for gifting or sharing. These simple peanut butter treats come together fast.
- Prep Time: 15 min
- Cook Time: 0 min
- Total Time: 1 hour 15 min
- Yield: 24 cookies 1x
- Category: Dessert
- Method: No-Bake
- Cuisine: American
- Diet: Vegetarian
Ingredients
- 1 cup creamy peanut butter
- 1 cup (2 sticks) unsalted butter, softened
- 1 teaspoon vanilla extract
- 1 (10 ounce) bag mini marshmallows
- 6 cups crispy rice cereal (Rice Krispies)
- 1 (12 ounce) package white chocolate or white almond bark, broken into pieces
- 1 cup semi-sweet chocolate chips (optional, for drizzling or mixing)
Instructions
- Line two large baking sheets with parchment paper. Set aside.
- In a large microwave-safe bowl, combine the peanut butter and softened butter. Microwave in 30-second intervals, stirring between each, until the mixture is smooth and fully melted. This usually takes about 60 to 90 seconds total.
- Stir the vanilla extract into the melted peanut butter mixture.
- Add the mini marshmallows and crispy rice cereal to the bowl. Fold gently until all the cereal and marshmallows are evenly coated with the peanut butter mixture. Do not overmix.
- If using chocolate chips for an extra layer of flavor, stir in half a cup now.
- Drop rounded tablespoons of the mixture onto the prepared baking sheets, forming mounds that resemble cookies.
- Place the white chocolate or almond bark pieces in a separate microwave-safe bowl. Microwave in 30-second intervals, stirring until completely smooth.
- Drizzle the melted white chocolate over the tops of the formed cookies. If you reserved chocolate chips, you can melt those separately and drizzle them over the white chocolate for contrast.
- Let the cookies set completely at room temperature for about 1 hour, or place them in the refrigerator for 20 minutes to speed up the setting process.
- Store these easy dessert recipes in an airtight container.
Notes
- For a true Avalanche Bark, press the entire mixture into a parchment-lined 9×13 inch pan instead of dropping individual cookies. Drizzle with white chocolate and let set before cutting into squares.
- If you want a fudgier cookie, substitute half of the white chocolate coating with milk or semi-sweet chocolate.
- You can substitute the crispy rice cereal with other crunchy additions like chow mein noodles or crushed pretzels for a different texture.
Nutrition
- Serving Size: 1 cookie
- Calories: 250
- Sugar: 20
- Sodium: 120
- Fat: 15
- Saturated Fat: 7
- Unsaturated Fat: 8
- Trans Fat: 0
- Carbohydrates: 26
- Fiber: 1
- Protein: 5
- Cholesterol: 10