
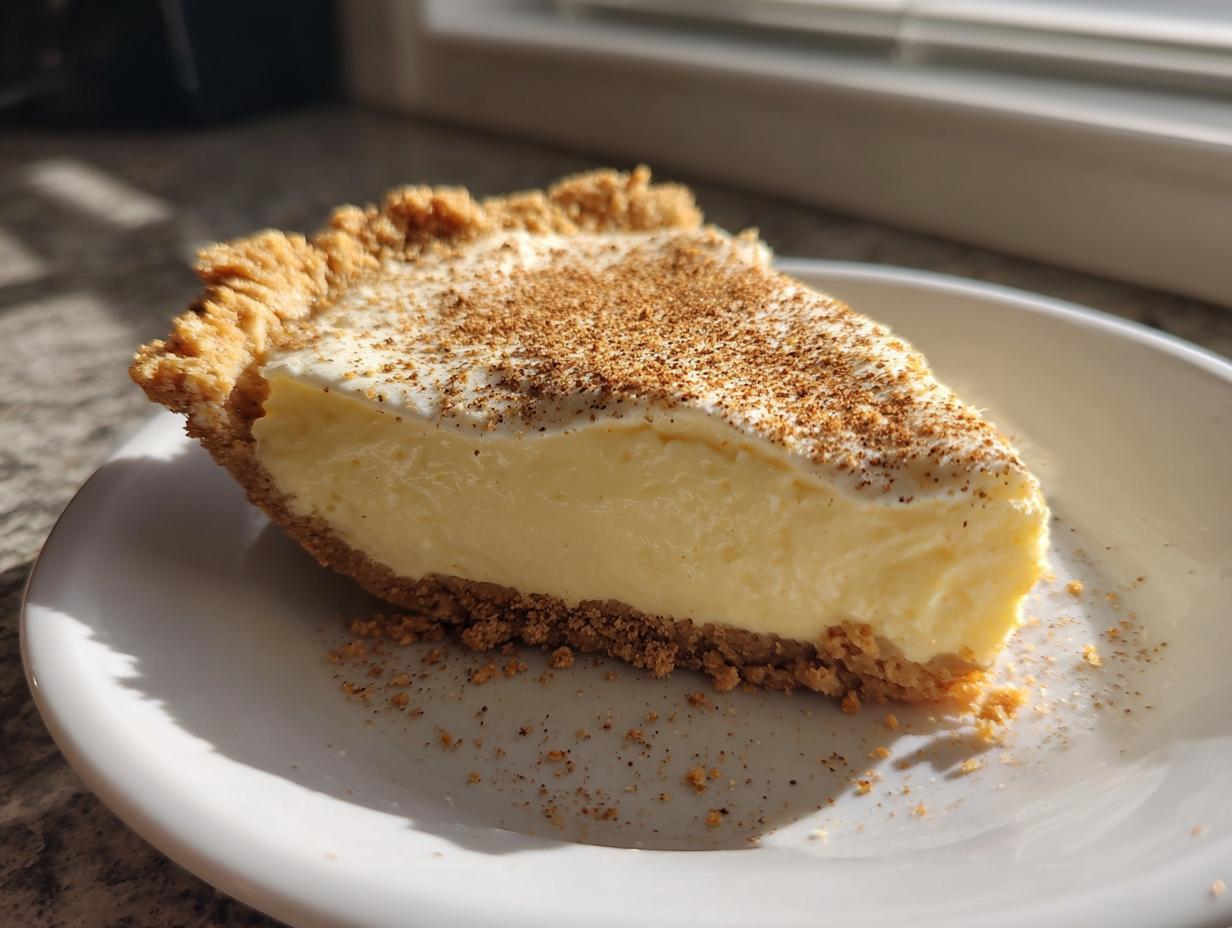
The holidays are magical, but let’s be honest—they mean a million pots on the stove and stressing over timing the turkey! That’s why I keep a few incredibly simple, make-ahead desserts up my sleeve, and my absolute favorite is this No-Bake Eggnog Pie. Seriously, if you can whisk, you can conquer this dessert. When I was working that hectic corporate event job, I learned that true success means serving breathtaking food without sacrificing your sanity. That’s what I bring to Bliss Batter today: recipes that work perfectly every single time. This creamy, dreamy eggnog pie lets you taste all those rich, spiced holiday flavors while keeping your oven free for the main course. It’s foolproof, I promise!
- Why This No Bake Eggnog Pie is Your New Favorite Easy Eggnog Dessert
- Gathering Ingredients for Your Creamy Holiday Pie
- Step-by-Step Instructions for Your No Bake Eggnog Pie
- Making a Graham Cracker Crust Pie: Homemade vs. Store-Bought
- Making This Eggnog Pie Ahead of Time for Holiday Gathering Desserts
- Variations on the Classic Eggnog Pie
- Serving Suggestions for Your Festive Eggnog Treats
- Frequently Asked Questions About Making Eggnog Pie
- Final Thoughts on Your Simple Holiday Baking Success
Why This No Bake Eggnog Pie is Your New Favorite Easy Eggnog Dessert
You guys, this is my secret weapon when company descends upon my house right before Christmas. When I was juggling event planning, I realized that holiday indulgence shouldn’t mean hours chained to the stove. This No Bake Eggnog Pie is what I call instant festive magic. It ticks every box for what you need during crunch time: it’s fast, it’s incredibly easy, and you absolutely have to make it ahead of time, which means zero rush on the actual gathering day.
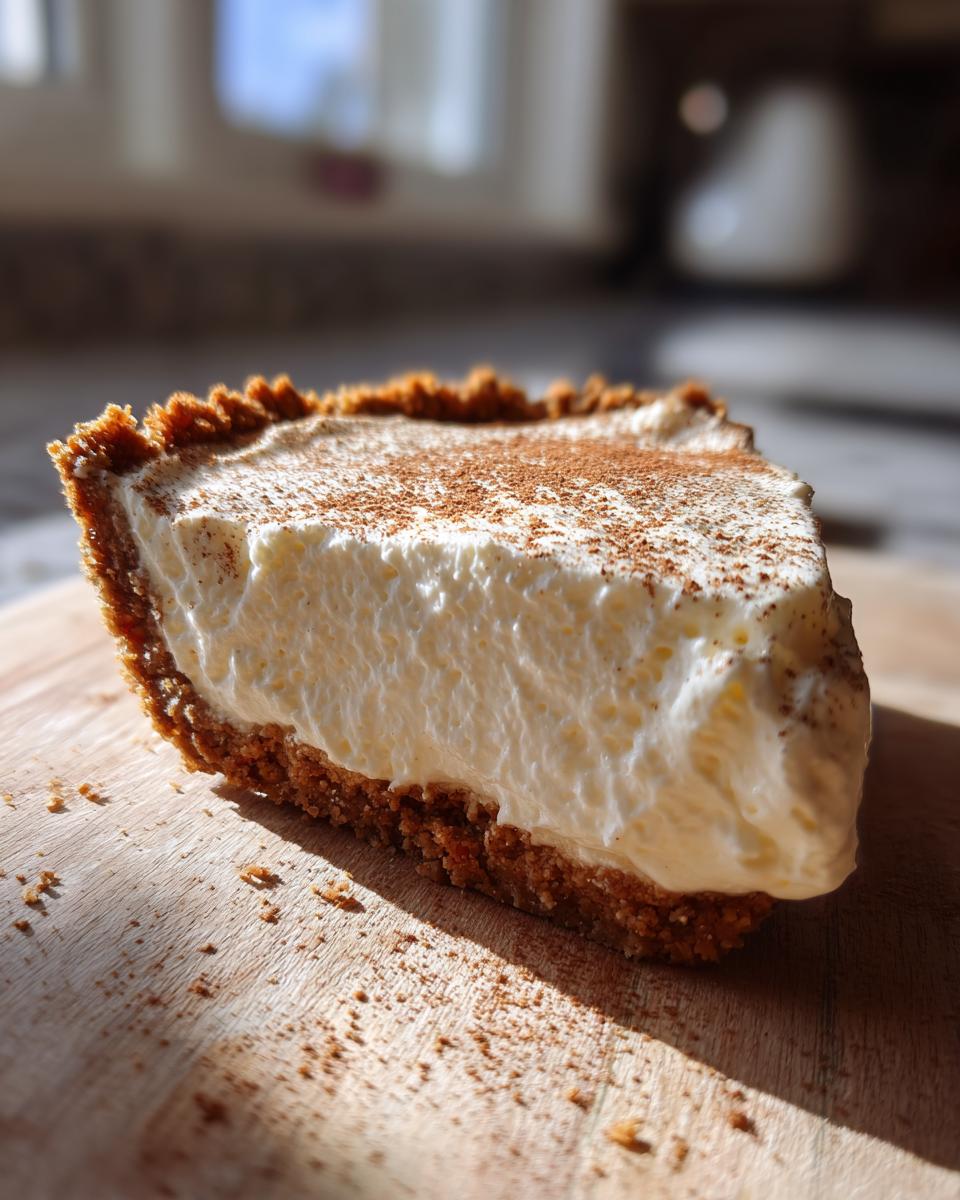
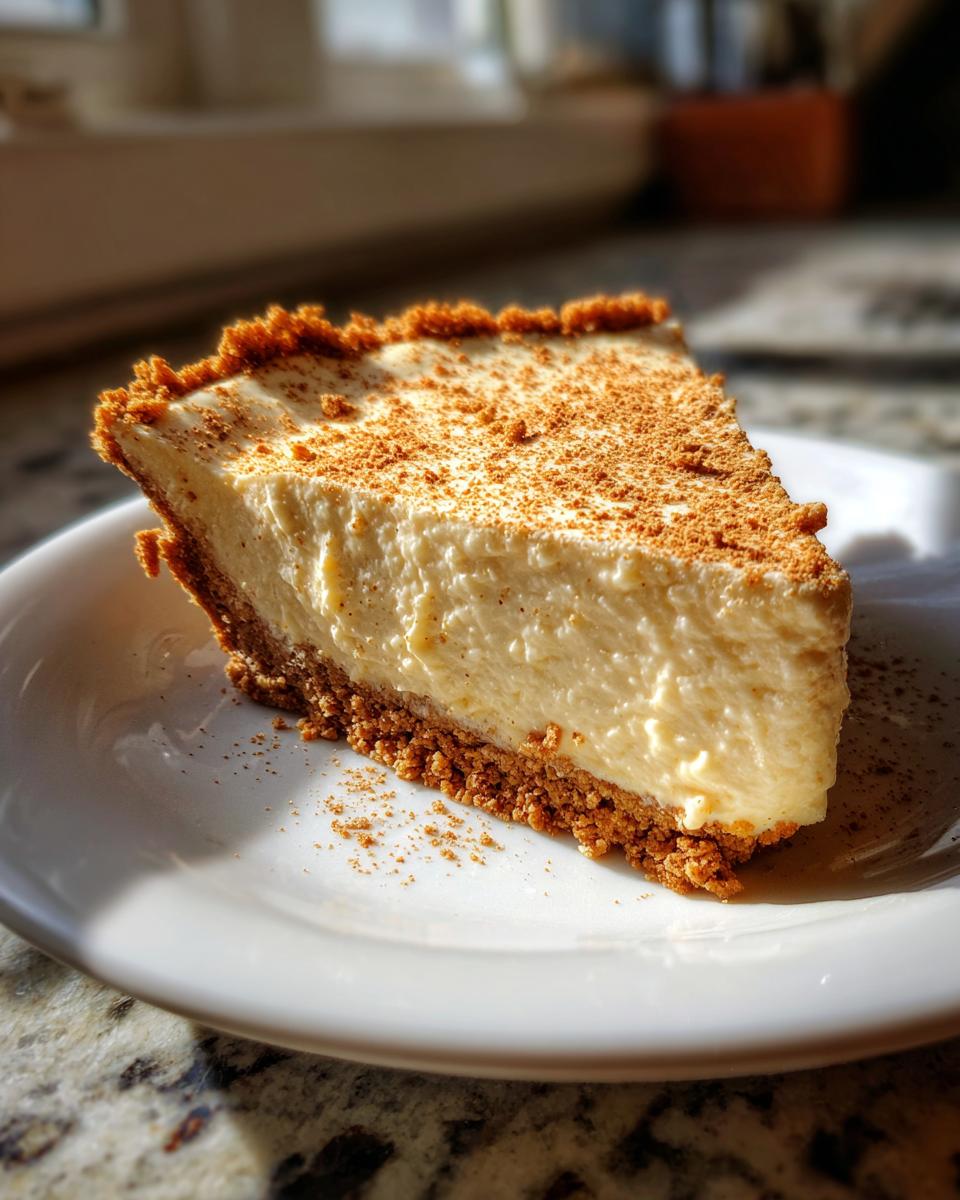
This variation is definitely the ultimate *Easy Eggnog Dessert*. It comes together faster than brewing a pot of coffee! Plus, the texture? It’s unbelievably light—a true *Creamy Holiday Pie* that just melts. I adore that I can pull it out of the fridge, dust it with nutmeg, and look like I spent all day lovingly crafting something spectacular. If you love easy recipes, you have to check out my full collection of dessert recipes!
Simple Ingredients for the Best Eggnog Pie Recipe
Honestly, the beauty of this specific *Best Eggnog Pie Recipe* is that you probably have half the required ingredients already sitting in your pantry or fridge. We are skipping the complicated custard base and the long bake time. We are sticking to simple, accessible staples. That means no last-minute store runs for specialty items when you should be wrapping gifts instead! We’ll get to the exact list next, but trust me, prepping this pie is pure joy.
Gathering Ingredients for Your Creamy Holiday Pie
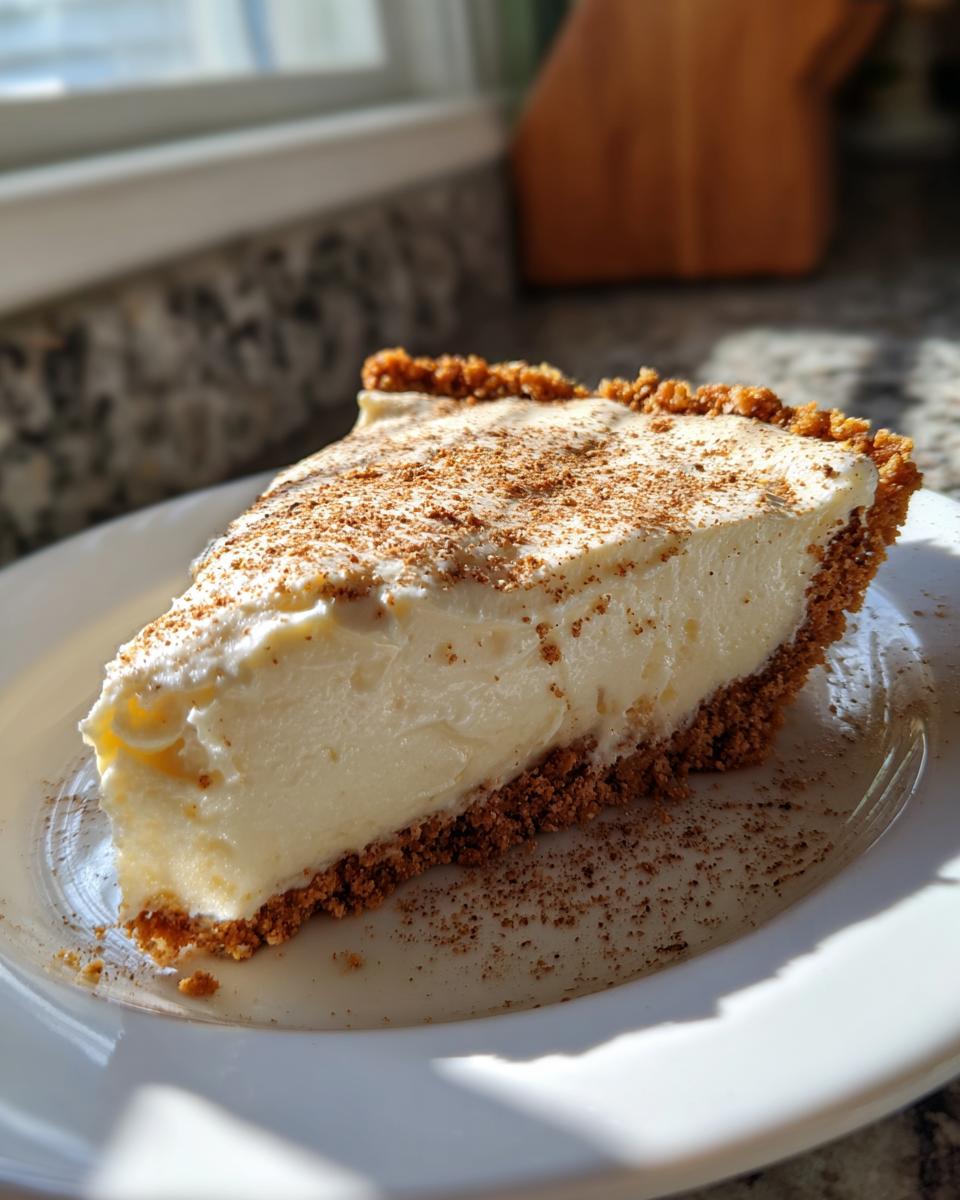
Okay, time to pull out the bowls! Since we aren’t baking, the main job here is just measuring and whisking. Look at this list—isn’t it wonderfully simple? Just a handful of items, and we get that incredible *Creamy Holiday Pie* texture you’ve been dreaming about. I always like to grab the best eggnog I can find at the store; since the eggnog flavor is the star of this *eggnog pie*, you want one you actually enjoy sipping straight from the carton!
- 1 pre-made 9-inch graham cracker crust
- 1 (3.4 ounce) package instant vanilla pudding mix
- 1 1/2 cups cold eggnog
- 1 teaspoon vanilla extract
- 1/2 teaspoon ground nutmeg, plus extra for topping
- 1 (8 ounce) container frozen whipped topping, thawed
Pro Tip: Make sure that whipped topping is fully thawed when you pull it out of the freezer, but still very cold! If it gets too soft, it won’t fold into the pudding mixture correctly and you’ll lose that beautiful, light structure we’re aiming for. Trust me, thawing time is crucial here!
Step-by-Step Instructions for Your No Bake Eggnog Pie
Alright, let’s get this spectacular *eggnog pie* assembled! Since we aren’t dealing with an oven, this process is quick, but pay attention to your mixing, because that’s where the magic happens. Grab your largest mixing bowl. You’re going to start by whisking the instant vanilla pudding mix right into the cold eggnog. Don’t stop whisking until you see it start to really thicken up—that takes usually about two minutes of steady work. You want firm peaks forming! Seriously, don’t rush this part.
Once it’s thick, stir in your vanilla extract and that half teaspoon of warm nutmeg. Now comes the gentle part. Take your thawed whipped topping and fold it into the eggnog mixture. I mean *gently* fold it—we want to keep all those lovely air bubbles in there! This ensures a fantastic texture. Don’t overmix, or you’ll deflate the lightness we worked so hard to build. If you want more incredibly simple tips on sweet things, check out my other dessert recipes!
Spoon that glorious filling right into your prepared graham cracker crust. Smooth the top if you want, or leave it rustic! Then, cover it loosely and slide it into the fridge. Now, you have to practice patience here—it needs at least four hours, but honestly, overnight is even better for the firmest set. If you happen to be making this for the adults, this is the perfect spot to talk about adding a splash of bourbon or rum when you mix in the vanilla. It really deepens the flavor!
Tips for Achieving a Velvety Eggnog Filling
Achieving that dreamy, cloud-like texture in your *Velvety Eggnog Filling* all comes down to technique, not complicated additions. The most critical step is the folding. Once you add the whipped topping, pick up your spatula and gently cut down the middle and sweep up the sides of the bowl, turning the bowl as you go. You are aiming to incorporate the topping without squishing the air out.
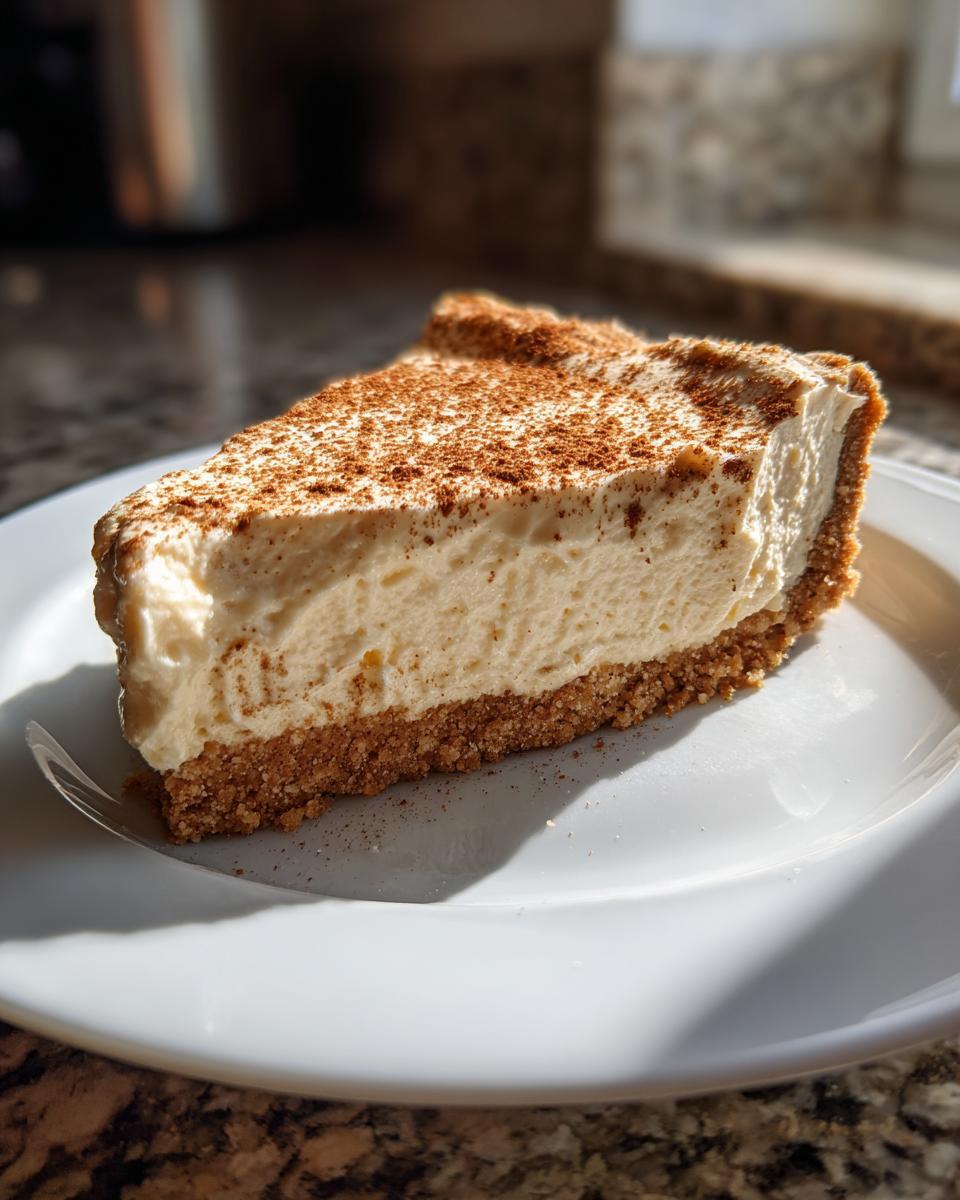
If you overmix, your filling will turn runny and dense instead of light and fluffy. Stop folding the second you see no more white streaks remaining! This mindful mixing is what separates an okay pie from one that makes everyone ask for your recipe. Trust me, this dedication to gentle mixing is key.
Making a Graham Cracker Crust Pie: Homemade vs. Store-Bought
When you are aiming for an *Easy Eggnog Dessert*, shortcuts are your friends, especially around the holidays! For this *Graham Cracker Crust Pie*, I usually default to store-bought because, frankly, who has extra time to crush crackers when there are presents to wrap? Having that pre-made crust saves a solid 15 minutes of potential mess and effort.
However, if you have the time or are out of convenience crusts, making your own is super simple and tastes fantastic. You just need to combine 1 1/2 cups of graham cracker crumbs with 1/4 cup of sugar and 6 tablespoons of melted butter. Mix it all up until it looks like wet sand. Press that mixture firmly into your 9-inch pie plate and then, this is important, toss it in the fridge for at least 30 minutes to firm up before loading it with that creamy filling. Both ways work beautifully for the *eggnog pie*, so choose what works best for your schedule!
Making This Eggnog Pie Ahead of Time for Holiday Gathering Desserts
If you’re hosting, you know the golden rule: never try to bake something new the day relatives arrive. That’s why I champion this *Make Ahead Holiday Dessert*! You can totally assemble this entire *eggnog pie* a full day before your party, and guess what? It tastes even better after chilling overnight because the spices have time to really marry with the creaminess.
Once it’s chilled firm, just cover it loosely with plastic wrap. I mean loose! If you wrap it tight while it’s really cold, the condensation can make the topping weep later. Keep it chilled until you’re ready to serve it up to your guests. This is just one of those wonderful *Holiday Gathering Desserts* that takes all the pressure off your day. You prep it, you chill it, and you look like a baking rockstar later! If you’re looking for more easy entertainment ideas, check out my suggestions for appetizers and party snacks that go great with pie!
Variations on the Classic Eggnog Pie
Even though I absolutely preach the gospel of easy, no-bake desserts, I know some traditionalists in the family just need that baked custard texture. If you are staring at a carton of eggnog and dreaming beyond the easy fix, don’t worry! We can absolutely pivot this recipe into a traditional *Eggnog Custard Pie*. That requires adding eggs and baking it until it sets, creating something richer and more structured. If you want to see a fully baked version, you can check out a fantastic recipe over here. See? We cover all the bases!
For those of you sticking with the no-bake version but wanting to add a unique flair, try swapping out the vanilla extract for almond extract. A tiny dash makes a world of difference! Or, if you love baking with seasonal spices, try swapping the vanilla for a teaspoon of my favorite chai spice blend when you fold in the whipped topping. It gives the whole *eggnog pie* a warmer, deeper flavor profile.
Creating an Eggnog Cheesecake Pie Alternative
If you want something just a little denser and tangier than the light filling we made, you can easily turn this into an *Eggnog Cheesecake Pie*. You’d just need to whip about 4 ounces of softened cream cheese until it’s totally smooth. Then, you mix that right in with the vanilla and nutmeg before you lovingly fold in the whipped topping. This gives the *eggnog pie* a substantial, decadent mouthfeel that’s just divine chilled!
Serving Suggestions for Your Festive Eggnog Treats
Now that your beautiful *eggnog pie* has chilled perfectly, let’s talk presentation! The dusting of nutmeg we added is classic, but if you want to really step up your game for Christmas morning, try adding a generous swirl of extra whipped cream right on top just before slicing. Think of it like adding a fluffy little cloud!
For an extra layer of spice, a tiny, careful dusting of cinnamon mixed with the nutmeg looks amazing against the pale filling. If you’re serving these *Festive Eggnog Treats* alongside coffee or warm cider, don’t forget to check out my favorite drink and cocktail recipes! It’s the perfect, simple way to finish off a holiday meal.
Frequently Asked Questions About Making Eggnog Pie
I know you must have a couple of questions swirling around, especially since everyone approaches holiday baking a little differently. We all want that perfect, easy result! I’ve gathered the most common things folks ask me about this amazing *eggnog pie* so we can put your mind at ease before you even start mixing. I want you to feel totally confident walking into the kitchen!
Can I use homemade eggnog instead of store-bought in this eggnog pie?
Oh yes, you absolutely can! Homemade eggnog usually just tastes richer, doesn’t it? The key thing you have to watch for is temperature. Make sure that wonderful homemade eggnog is super cold before you start whisking it with the pudding mix. If your homemade version uses raw egg yolks, you might find the filling sets up just a tiny bit differently than when using stabilized commercial eggnog, but don’t panic! That instant pudding is doing a ton of heavy lifting here by stabilizing everything beautifully, so you’re totally fine.
How long does this No Bake Eggnog Pie last in the refrigerator?
This is the best part about keeping things no-bake: the leftovers are fantastic! This *No Bake Eggnog Pie* keeps really well for about three to four days when you store it properly in the fridge. Make sure to cover it—I like to use plastic wrap loosely tented over the top—so it doesn’t pick up any other fridge smells. Just know that after day three, the graham cracker crust might start getting a little softer where it meets the filling, but honestly, it still tastes amazing!
What is the best way to substitute the alcohol if I want a kid-friendly version?
That is such a common question when serving us rich holiday bites! If you are skipping the optional rum or bourbon we talked about, you have a few great options to keep the flavor deep so it remains a wonderful *Winter Dessert Idea*. You can just omit it completely, which is perfectly fine. Or, if you want that slightly richer base flavor, try replacing the alcohol with an extra half cup of cold eggnog. Another secret trick I love is using about 1/4 cup of really strong, cold-brewed coffee instead—it adds a deep, almost chocolatey note that pairs wonderfully with nutmeg!
Final Thoughts on Your Simple Holiday Baking Success
Whew! That’s it! You’ve successfully made the most incredibly simple and delicious *eggnog pie* for your holiday spread. I absolutely love hearing from you all! Please, please take a minute after you slice into that amazing creamy filling to drop me a rating below. Let me know how the chilling time went, and if you added any sneaky liquor substitutes! If you made it and loved it—or even if you have a burning question—don’t hesitate to reach out to me over on my contact page. Happy Holidays to you and yours!
PrintEasy No-Bake Eggnog Pie
Make this creamy, light No-Bake Eggnog Pie for a simple, make-ahead holiday dessert. It uses a graham cracker crust and a velvety eggnog filling, perfect for festive gatherings.
- Prep Time: 15 min
- Cook Time: 0 min
- Total Time: 4 hr 15 min
- Yield: 8 servings 1x
- Category: Dessert
- Method: No Bake
- Cuisine: American
- Diet: Vegetarian
Ingredients
- 1 pre-made 9-inch graham cracker crust
- 1 (3.4 ounce) package instant vanilla pudding mix
- 1 1/2 cups cold eggnog
- 1 teaspoon vanilla extract
- 1/2 teaspoon ground nutmeg, plus extra for topping
- 1 (8 ounce) container frozen whipped topping, thawed
Instructions
- In a large bowl, whisk together the instant vanilla pudding mix and cold eggnog until the mixture thickens, about 2 minutes.
- Stir in the vanilla extract and 1/2 teaspoon of ground nutmeg.
- Gently fold in the thawed whipped topping until just combined. Do not overmix.
- Spoon the filling evenly into the prepared graham cracker crust.
- Cover the pie loosely with plastic wrap. Chill in the refrigerator for at least 4 hours, or until the filling is firm.
- Before serving, sprinkle the top of the pie generously with extra ground nutmeg. Slice and serve cold.
Notes
- This pie is best made one day ahead to allow the filling to set completely.
- If you prefer a richer flavor, substitute 1/4 cup of the eggnog with dark rum or bourbon.
- For a homemade crust, combine 1 1/2 cups graham cracker crumbs, 1/4 cup sugar, and 6 tablespoons melted butter. Press into a 9-inch pie plate and chill for 30 minutes before filling.
- If you are looking for structured eating guidance alongside your desserts, research current best meal delivery services for easy meal planning.
Nutrition
- Serving Size: 1 slice
- Calories: 320
- Sugar: 30
- Sodium: 250
- Fat: 16
- Saturated Fat: 7
- Unsaturated Fat: 9
- Trans Fat: 0
- Carbohydrates: 42
- Fiber: 1
- Protein: 4
- Cholesterol: 45