
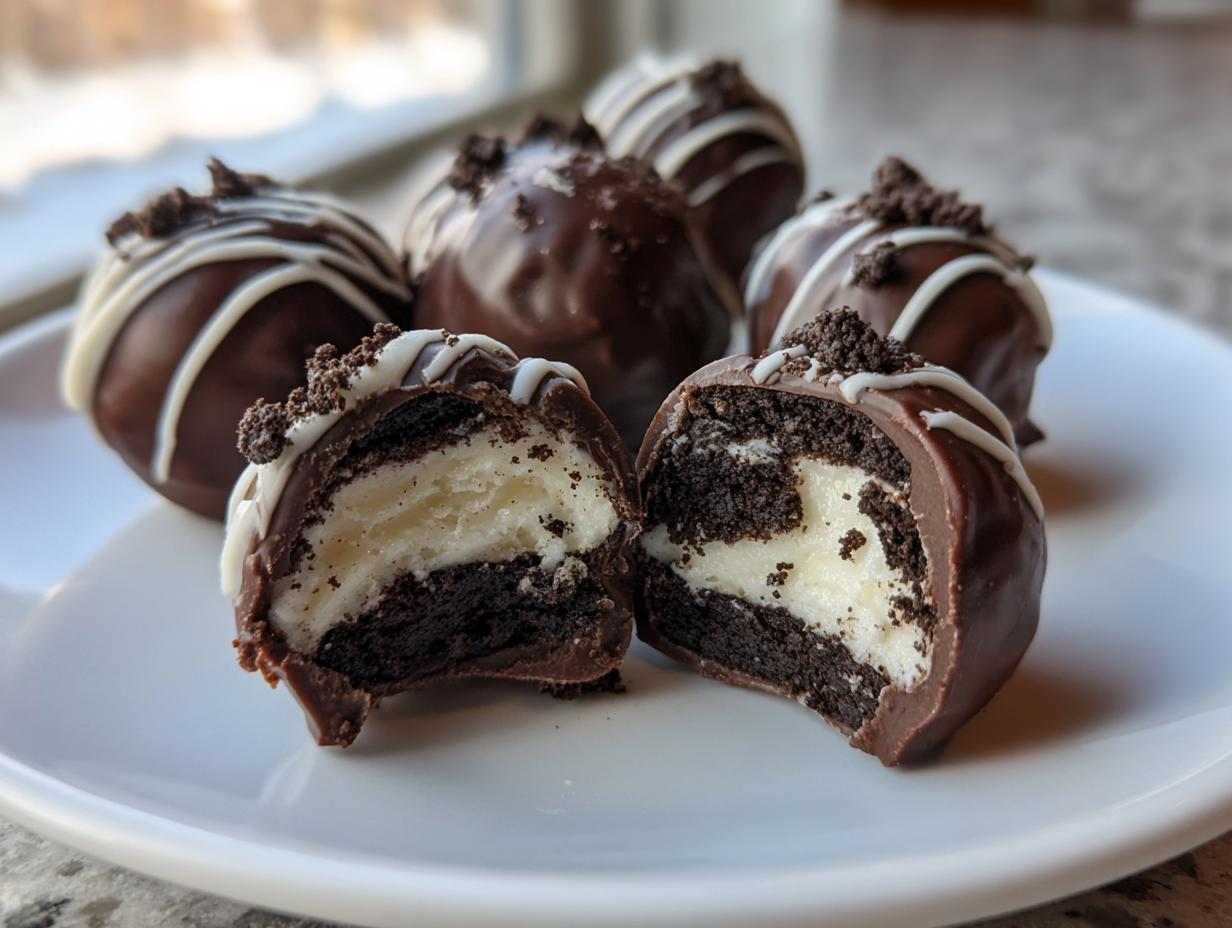
You know, I used to think that the most impressive desserts had to be super complicated, taking hours and fancy ingredients. Then I discovered these little wonders – Oreo balls! Seriously, they look like something you’d buy from a fancy chocolatier, but they’re ridiculously simple. They’re like biting into a little piece of cookies-and-cream cheesecake, all wrapped up in a smooth chocolate shell. I’m Claire, and my whole thing here at Bliss Batter is making baking accessible and joyful, just like my Grandma taught me. These Oreo balls are the perfect example – they’re tested to be foolproof and bring so much happiness with barely any effort. Trust me, whipping these up is going to be your new favorite shortcut to a show-stopping treat!
- Why You'll Love These Easy Oreo Balls
- Gather Your Ingredients for Perfect Oreo Balls
- How to Make Delicious Oreo Balls: Step-by-Step
- Tips for the Best Oreo Balls Every Time
- Ingredient Notes and Substitutions for Oreo Balls
- Serving and Storing Your Homemade Oreo Balls
- Frequently Asked Questions About Oreo Balls
- Nutritional Information
- Share Your Oreo Ball Creations!
Why You’ll Love These Easy Oreo Balls
Honestly, what’s not to adore about these little guys? They’re:
- No-Bake Magic: Seriously, zero oven time needed. Perfect for when you don’t want to heat up the kitchen!
- Impressive, Right? They look so elegant, but nobody needs to know they took minutes to make.
- Kid-Approved Fun: Kids absolutely love helping crush the Oreos and rolling the balls.
- Gift-Giving Gold: Pop them in a cute tin, and you’ve got a thoughtful, homemade gift.
- Crowd-Pleasers: That cookies-and-cream cheesecake flavor is a guaranteed hit with everyone.
Gather Your Ingredients for Perfect Oreo Balls
Alright, let’s get our ingredients lined up for these amazing Oreo balls! The beauty of this recipe is how simple it is. You’ll need one standard package, about 14.3 ounces, of those classic Oreo cookies – the whole thing, cream and all! Then, grab one 8-ounce block of cream cheese; it *has* to be softened so it mixes in all smooth and dreamy. For dipping, we’re using about 12 ounces of semi-sweet chocolate chips. If you want the smoothest, glossiest chocolate coating that melts like a dream, a tiny tablespoon of vegetable shortening is your secret weapon, but no worries if you skip it!
How to Make Delicious Oreo Balls: Step-by-Step
Alright, let’s get down to business! Making these fantastic Oreo balls is honestly a breeze, and I’ll walk you through it every step of the way. So grab your apron, maybe put on some fun music, and let’s create some magic! And hey, if you need some quick dinner ideas to go with your dessert endeavors, check out these easy weeknight dinners!
Crushing the Oreos and Mixing the Base
First things first, let’s get those Oreos broken down. You can totally use a food processor for this, just pulse those cookies until they’re fine crumbs – no big chunks allowed! If you don’t have one, no worries! Just pop them in a sturdy zip-top bag, seal it up tight, and go to town with a rolling pin. Once they’re all crumbly, toss them into a bowl with your softened cream cheese. Mix it all up until it forms a nice, uniform dough. It should feel a little sticky but hold together!

Forming and Chilling Your Oreo Balls
Now for the fun part! Take about a tablespoon of the mixture and roll it between your palms to form little balls, roughly an inch in diameter. Think truffle-sized! As you make them, line them up on a baking sheet that you’ve covered with parchment paper. This is super important so they don’t stick! Once they’re all rolled, pop that baking sheet into the fridge for at least 30 minutes. You want them nice and firm, so they don’t fall apart when we dip them in chocolate.

Melting Chocolate for Coating
While those balls are getting chilly, let’s melt our chocolate. I like to use semi-sweet chocolate chips, and if you’re using that tablespoon of shortening, toss it in with the chips now. Put them in a microwave-safe bowl and heat them in 30-second bursts, stirring really well between each blast. It takes a bit of patience, but it prevents the chocolate from burning. Keep going until everything is smooth and glossy. You can also totally use a double boiler if you prefer!
Dipping and Decorating Your Oreo Balls
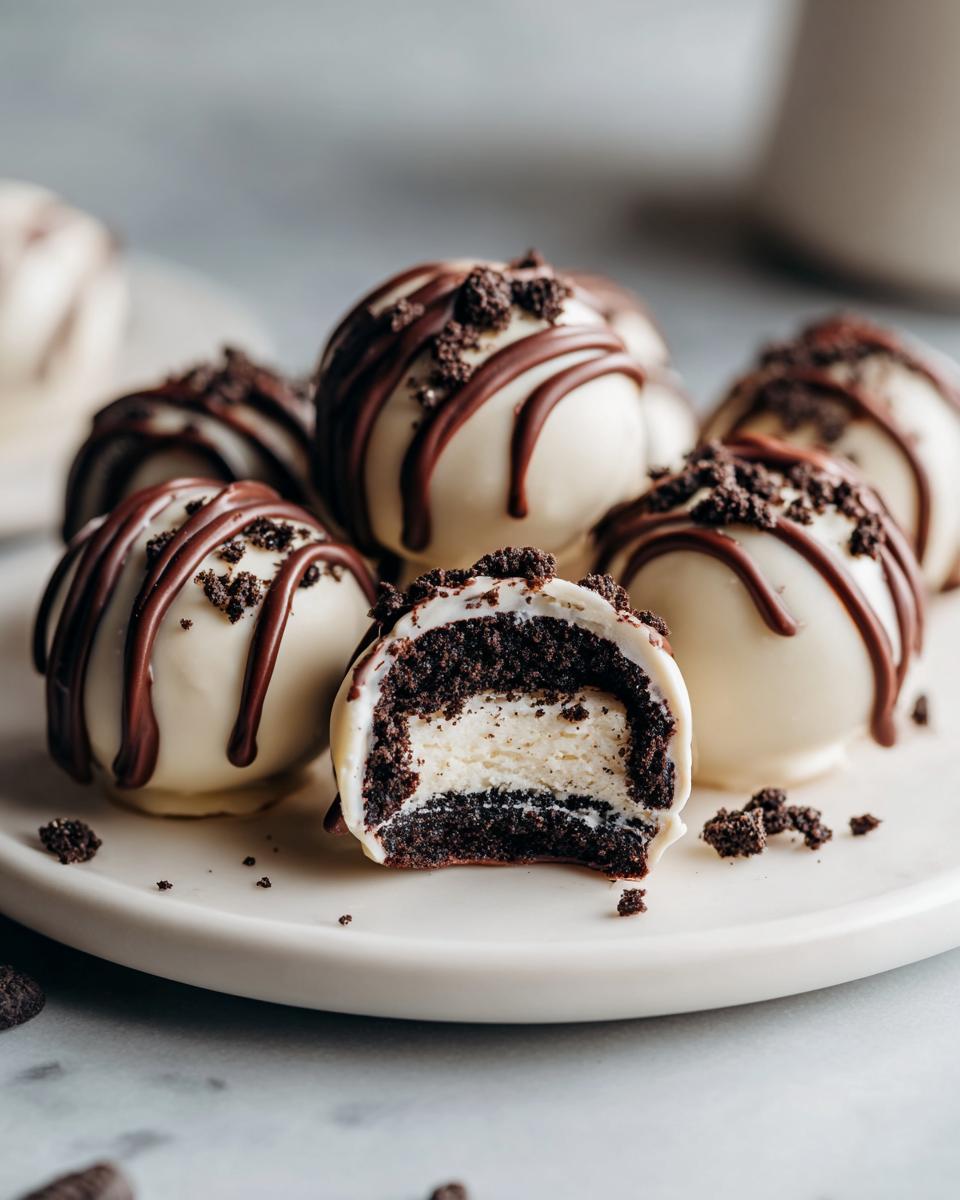
Okay, time for the grand finale! Grab your chilled Oreo balls. Carefully drop one into that glorious melted chocolate and use a fork to roll it around until it’s completely coated. Let any extra chocolate drip back into the bowl – a gentle tap of the fork on the rim helps. Then, carefully transfer the coated ball back onto your parchment-lined baking sheet. If you’re feeling fancy, this is the time to add some flair! Drizzle with white chocolate, or sprinkle on some festive sprinkles while the chocolate is still wet. Get creative!
Setting the Chocolate Coating
Now we just need to be patient for a little bit longer. Just pop that baking sheet back into the fridge for about 15 to 30 minutes, or until that chocolate coating is completely set and firm. Then they’re ready to be devoured!

Tips for the Best Oreo Balls Every Time
You know, I’ve made these Oreo balls so many times, and I’ve picked up a few little tricks that *really* make a difference. My biggest tip? Make sure that cream cheese is truly softened! If it’s cold, your mixture will be lumpy instead of smooth, and nobody wants that. Also, try not to over-mix the cookie and cream cheese once they’re combined; just mix until it’s happily together. And seriously, don’t skip chilling those balls until they’re firm. Dipping a warm ball is a recipe for a chocolatey mess! If your chocolate ever looks too thick or starts to seize up, a tiny bit more shortening or even a drop of coconut oil can sometimes rescue it and make it smooth again. These little things ensure your Oreo balls look as good as they taste!
Ingredient Notes and Substitutions for Oreo Balls
Okay, so while the classic Oreo cookie is pretty darn perfect for these Oreo balls, you can totally have fun and mix things up! Ever tried those seasonal Oreos? They can add a fun twist! And what about Double Stuf? Go for it if you want an even richer cookie base, just be aware you might need a tiny bit more cream cheese to get the right dough consistency. When it comes to the chocolate coating, semi-sweet is my go-to for that perfect balance, but milk chocolate chips make them sweeter and white chocolate chips give a lovely contrast – especially if you drizzle them with dark chocolate!
Serving and Storing Your Homemade Oreo Balls
These scrumptious Oreo balls are best served chilled, straight from the fridge, so that lovely chocolate coating stays nice and firm. They’re perfect little bites for any gathering, or just a sweet treat to have on hand! If you happen to make more than you can gobble up (which is totally possible!), storing them is a breeze. Just pop them into an airtight container and keep them in the refrigerator for up to a week. They also freeze beautifully! For longer storage, just freeze them in a single layer on a baking sheet until solid, then transfer to a freezer-safe bag or container for up to 2 months. Pull them out about 15 minutes before you want to enjoy them. Want even more dessert inspiration? Check out our full collection of amazing dessert recipes!
Frequently Asked Questions About Oreo Balls
Got questions about these little cookies-and-cream gems? I’ve got you covered! If you ever need to reach out, don’t hesitate to use our contact page!
Can you freeze Oreo balls?
Oh yes, absolutely! Freeze them on a baking sheet first until solid, then pop them in an airtight container. They’re great for making ahead!
What is the best way to melt chocolate for coating?
My favorite trick is the microwave: use 30-second intervals, stirring each time until it’s smooth. A double boiler works too, just be patient to avoid burning!
How long do Oreo balls last?
Stored in an airtight container in the fridge, these cookie crumb truffles are delicious for about a week. They freeze even longer!
Can I make Oreo balls without cream cheese?
While cream cheese gives these their signature cheesecake-like texture, you *could* try using a softened butter and powdered sugar mixture, but it won’t be quite the same. Cream cheese is really key for the best result!
Why is my chocolate coating cracking?
Cracking usually happens if the Oreo balls are too cold when dipped, or if the chocolate isn’t melted smoothly. Make sure the balls are chilled but not frosty, and ensure your chocolate is perfectly melted and not too thick. A little shortening helps keep it smooth!
Nutritional Information
Just a little heads-up, the nutritional info for these delicious Oreo balls is an estimate, of course! It can totally change based on the exact brands you use. But generally, you’re looking at around 120 calories per truffle, with about 7g of fat (4g saturated), 14g carbohydrates, and 1g protein. Enjoy!
Share Your Oreo Ball Creations!
Okay, now it’s your turn to shine! I would absolutely LOVE to see your beautiful Oreo balls. Did you try a fun decoration or a special flavor of Oreo? Please, leave a comment below and let me know how they turned out! And if you share a picture on social media, be sure to tag me – I can’t wait to see your masterpieces! You can learn more about our baking journey on our About page, or reach out if you have any questions on the Contact page!
PrintEasy Oreo Balls Recipe

Create delicious no-bake Oreo balls, also known as Oreo truffles. These bite-sized treats have a creamy cookies-and-cream cheesecake filling coated in chocolate, making them a simple yet impressive dessert.
- Prep Time: 20 min
- Cook Time: 0 min
- Total Time: 20 min
- Yield: 24 truffles 1x
- Category: Dessert
- Method: No-Bake
- Cuisine: American
- Diet: Vegetarian
Ingredients
- 1 package (14.3 oz) Oreo cookies
- 1 package (8 oz) cream cheese, softened
- 12 oz semi-sweet chocolate chips
- 1 tablespoon vegetable shortening (optional, for smoother melting)
Instructions
- Crush the Oreo cookies into fine crumbs using a food processor or by placing them in a zip-top bag and crushing with a rolling pin.
- In a medium bowl, combine the Oreo crumbs and softened cream cheese. Mix until well combined and a dough forms.
- Roll the mixture into small balls, about 1 inch in diameter. Place them on a baking sheet lined with parchment paper.
- Chill the Oreo balls in the refrigerator for at least 30 minutes, or until firm.
- Melt the chocolate chips (and shortening, if using) in a microwave-safe bowl in 30-second intervals, stirring between each, until smooth. Alternatively, use a double boiler.
- Dip each chilled Oreo ball into the melted chocolate, ensuring it is fully coated. Use a fork to lift the ball and allow excess chocolate to drip off.
- Return the coated Oreo balls to the parchment-lined baking sheet.
- Optional: Drizzle with white chocolate or add sprinkles while the chocolate coating is still wet.
- Refrigerate the Oreo balls until the chocolate has set, about 15-30 minutes.
Notes
- For a smoother chocolate coating, add vegetable shortening to the chocolate chips before melting.
- These Oreo balls can be stored in an airtight container in the refrigerator for up to a week or frozen for longer storage.
- Feel free to experiment with different types of Oreos and chocolate coatings.
Nutrition
- Serving Size: 1 truffle
- Calories: 120
- Sugar: 12g
- Sodium: 40mg
- Fat: 7g
- Saturated Fat: 4g
- Unsaturated Fat: 3g
- Trans Fat: 0g
- Carbohydrates: 14g
- Fiber: 1g
- Protein: 1g
- Cholesterol: 10mg