
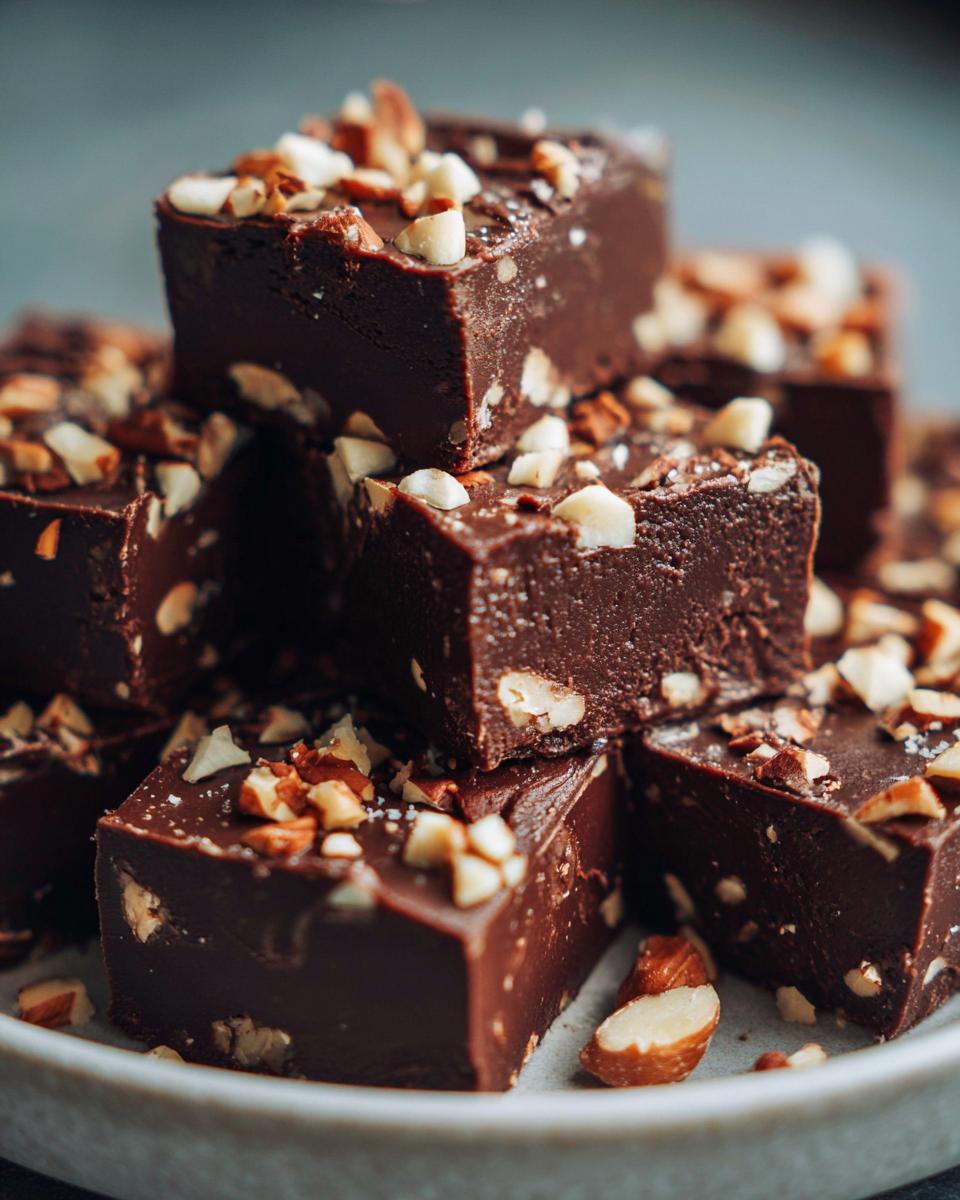
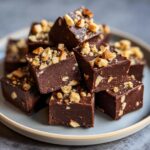
Oh, the smell of chocolate! It just takes me right back, doesn’t it? I can almost feel my grandmother’s worn kitchen floor tiles under my feet and see the steam rising from her stovetop. She had this way of making everything seem so simple, even the most magical treats like her famous chocolate fudge. It was always a star in our holiday cookie tins, a rich, decadent square of pure joy. And the best part? You really *can* make it yourself, and it’s easier than you think! Forget complicated candy thermometers; this recipe, just like Claire Sterling learned from her own family, is all about accessible, tested goodness that tastes like pure nostalgia. Because honestly, who doesn’t love a melt-in-your-mouth fudge square that tastes like home?
- Why You'll Love This Easy Chocolate Fudge
- Gather Your Ingredients for Rich Cocoa Fudge
- Step-by-Step Guide to Old-Fashioned Fudge Squares
- Tips for Perfect Chocolate Fudge Every Time
- Frequently Asked Questions about Easy Chocolate Fudge
- Estimated Nutritional Information for Chocolate Fudge
- Share Your Homemade Fudge Creations!
Why You’ll Love This Easy Chocolate Fudge
Seriously, this chocolate fudge is a game-changer! Here’s why it’ll become your go-to:
- Super Easy to Make: No fancy gadgets or complicated steps. It’s basically melting and stirring. You’ve got this!
- Incredibly Creamy & Rich: It’s pure chocolatey bliss in every bite. Melts right in your mouth – the way fudge should!
- Perfect for Any Occasion: Whether it’s a holiday gift, a bake sale, or just a craving, this fudge delivers. It looks and tastes SO impressive!
Gather Your Ingredients for Rich Cocoa Fudge
Okay, so for this absolutely divine, melt-in-your-mouth rich cocoa fudge, you don’t need a whole pantry full of fancy stuff. It’s all about these simple, quality ingredients that come together like magic:
- 1 (14 ounce) can sweetened condensed milk
- 2 cups granulated sugar
- 1/2 cup (1 stick!) unsalted butter
- 1 teaspoon vanilla extract
- 1 cup semi-sweet chocolate chips
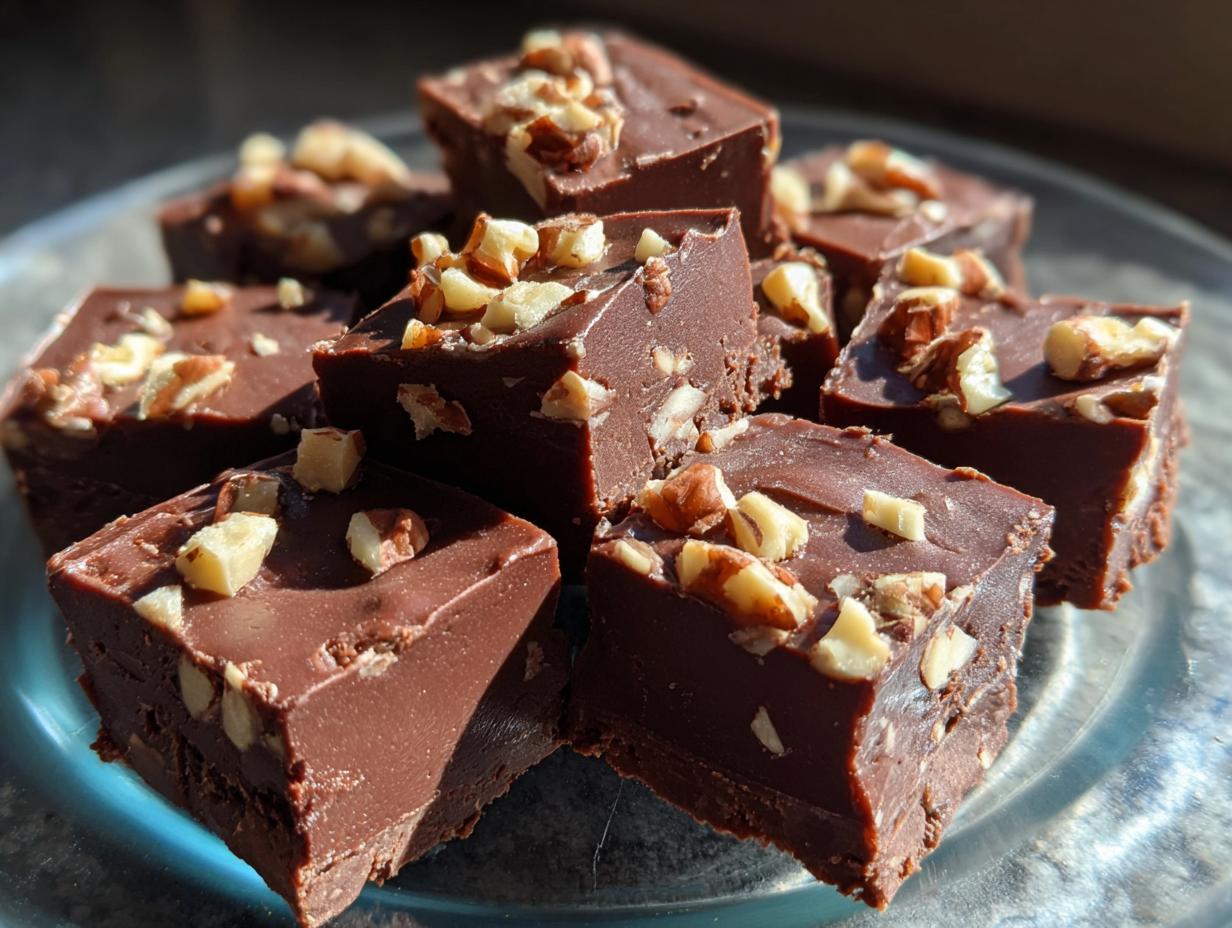
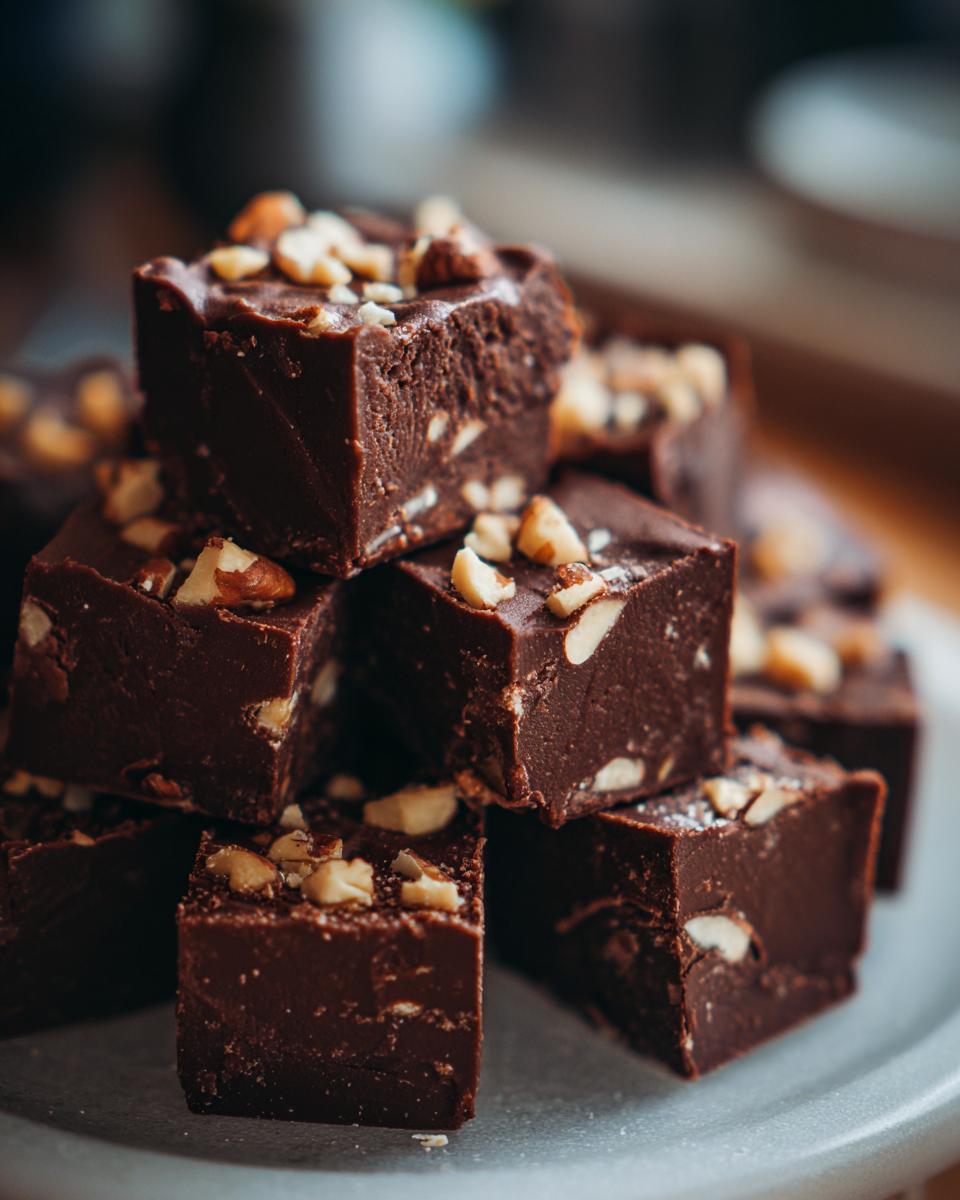
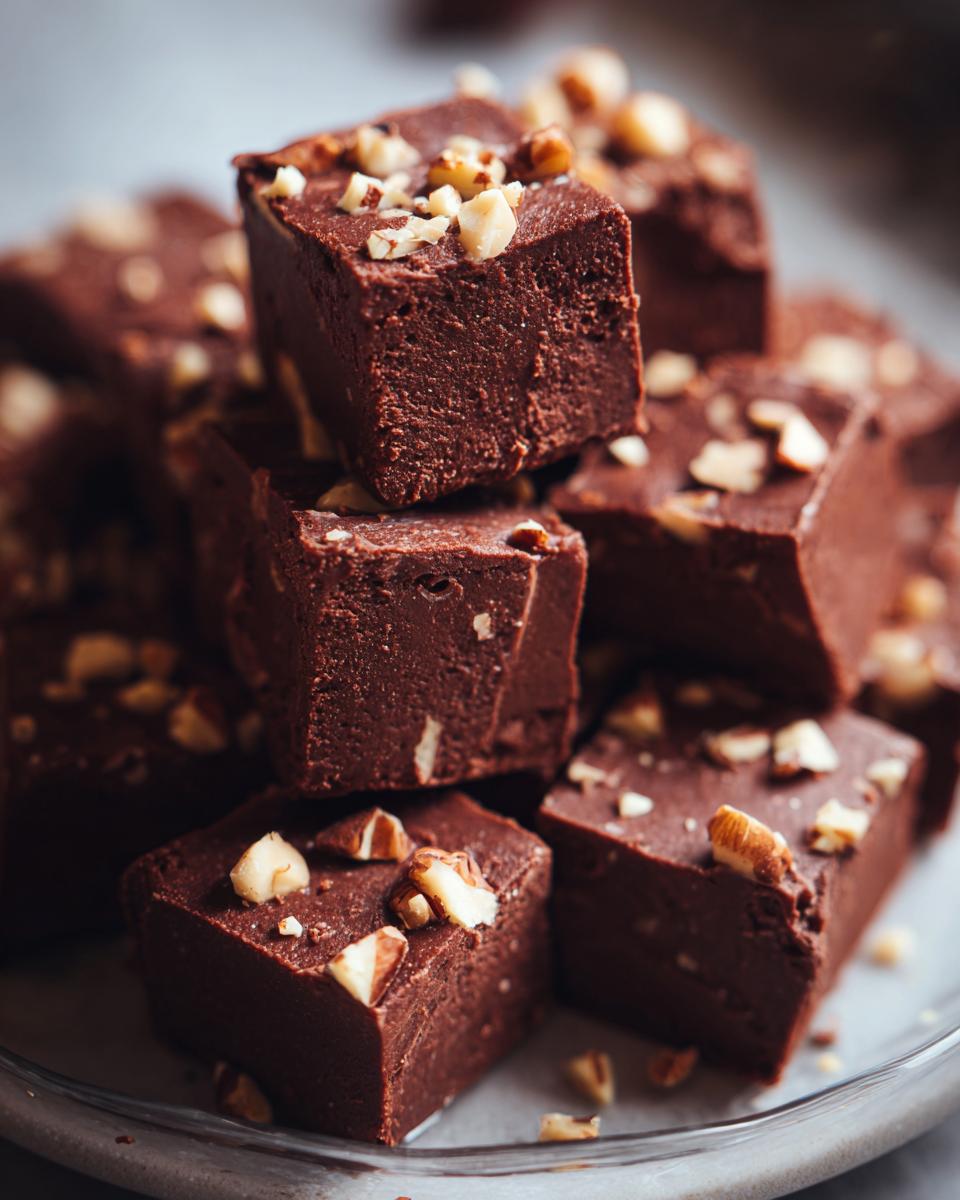
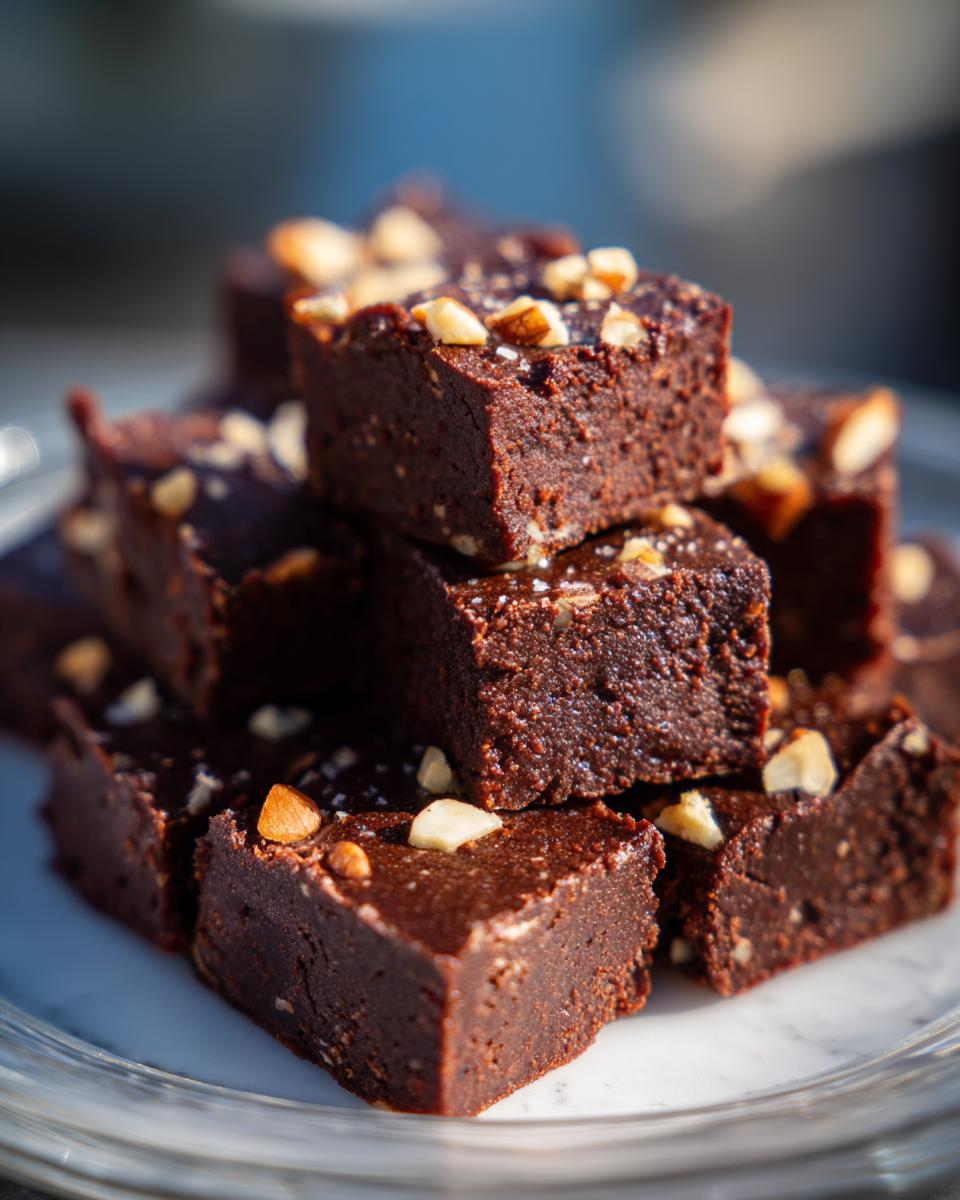
- 1/2 cup chopped walnuts or pecans (totally optional, but so good!)
Step-by-Step Guide to Old-Fashioned Fudge Squares
Alright, let’s get down to business and make some truly amazing old-fashioned fudge squares! It’s all about these simple steps, and trust me, the biggest secret is just to be patient. This recipe is perfect for when you’re thinking about meal planning or just want a little piece of homemade heaven. It’s so easy, you’ll wonder why you haven’t made it before!
Preparing Your Pan for Easy Fudge Removal
First things first, grab an 8×8 inch baking pan. The trick to getting your fudge out without it all sticking or breaking is to line it with parchment paper. Make sure you leave a nice overhang on all the sides – this is like having little built-in handles to lift the whole slab out later. It makes cutting so much cleaner!
Cooking the Fudge Base
Now, grab a medium-sized saucepan – nothing too small! Pour in your sweetened condensed milk, granulated sugar, and that lovely butter. Put it over medium heat and stir, stir, stir! You want to keep stirring constantly until it just starts to come to a boil. Once it’s bubbling a bit, turn the heat down to low. Keep stirring gently for about 5 minutes. Seriously, don’t walk away! We’re just coaxing everything together and don’t want it to scorch on the bottom.
Melting the Chocolate and Adding Flavor
Okay, once those 5 minutes are up, take the saucepan right off the heat. That’s super important! Now, toss in your semi-sweet chocolate chips. Stir gently until they’re all melted and the mixture is smooth and glossy. Then, stir in that teaspoon of vanilla extract. If you’re adding nuts, this is the time to fold those in too. Give it all a good mix so everything is perfectly combined.
Cooling and Cutting Your Chocolate Fudge
Carefully pour all that glorious fudge mixture into your prepared pan. Use a spatula to spread it out nice and even. Now comes the hardest part: waiting! You need to let it cool completely at room temperature. I usually give it at least 2 to 3 hours, sometimes longer if my kitchen is warm. Once it’s firm to the touch and looks set, grab those parchment paper handles and lift the whole thing out of the pan onto a cutting board. Then, just cut it into squares. How easy is that? You’ve just made perfect chocolate fudge!
Tips for Perfect Chocolate Fudge Every Time
You know, making perfect chocolate fudge is totally doable, even if you’re a little nervous about candy-making. Claire always says that every recipe here is tested and perfected for your home kitchen, and that really rings true with this fudge! I’ve picked up a few tricks over the years, and honestly, they make all the difference between just-okay fudge and that heavenly, melt-in-your-mouth kind.
Ingredient Quality Matters for Homemade Holiday Candy
Claire’s big on this, and she’s so right! Using good quality stuff really does make your homemade holiday candy shine. Think fresh butter, not that stuff that’s been hiding in the back of the fridge, and good semi-sweet chocolate chips. You can really taste the difference in that final creamy texture and rich flavor.
Achieving a Smooth Texture in Your Fudge
The absolute key to smooth, dreamy fudge—no graininess allowed!—is constant stirring when things are on the stove. Seriously, don’t wander off! You’re gently coaxing those sugars and butter to melt together perfectly. It might seem like a little extra work, but it’s what stops sugar crystals from forming and keeps your chocolate fudge super creamy!
Frequently Asked Questions about Easy Chocolate Fudge
Got questions about whipping up this delicious chocolate fudge? I totally get it! Here are some things folks often ask. Don’t worry, it’s all super straightforward.
Can I make this chocolate fudge without condensed milk?
Honestly, for this specific recipe, sweetened condensed milk is really key to that super creamy, easy texture. It’s what makes it so foolproof! While you *could* try other methods, they usually involve more stirring and a candy thermometer for that perfect set. This recipe just loves its condensed milk!
How long does homemade chocolate fudge last?
Well, if it even lasts that long! 😉 Store your homemade fudge in an airtight container at room temperature, and it should be good for about 1-2 weeks. Just make sure it’s completely cooled and cut before storing. Keep it away from direct sunlight or heat, though!
Can I add different flavors or mix-ins to this fudge?
Oh, absolutely! That’s the fun part. You can totally get creative with your chocolate fudge. Try a little peppermint extract instead of vanilla, or maybe some instant coffee granules for a mocha twist. Feel free to add white chocolate chips, dried cranberries, or even a sprinkle of sea salt on top!
Estimated Nutritional Information for Chocolate Fudge
Just a little heads-up, the nutritional info for this amazing chocolate fudge is an estimate, of course! Everyone’s ingredients can vary a bit, but here’s what you can generally expect per square: around 150 calories, about 6g of fat (with 3g being saturated), 2g of protein, and 23g of carbohydrates, with roughly 25g of that being sugar. It’s a sweet treat, but totally worth it!
Share Your Homemade Fudge Creations!
Now that you’ve made your delicious batch of chocolate fudge, I’d absolutely LOVE to hear all about it! Did it turn out perfectly creamy? Did everyone gobble it up? Leave a comment below and tell me your experience, or even better, snap a picture and tag us on social media. Seeing your creations makes my day!
PrintEasy Chocolate Fudge
Create rich, creamy, melt-in-your-mouth chocolate fudge squares with this simple recipe. Perfect for holidays or gifting, this classic treat is foolproof and brings nostalgic joy.
- Prep Time: 10 min
- Cook Time: 15 min
- Total Time: 160 min
- Yield: 36 servings 1x
- Category: Dessert
- Method: Stovetop
- Cuisine: American
- Diet: Vegetarian
Ingredients
- 1 (14 ounce) can sweetened condensed milk
- 2 cups granulated sugar
- 1/2 cup (1 stick) unsalted butter
- 1 teaspoon vanilla extract
- 1 cup semi-sweet chocolate chips
- 1/2 cup chopped walnuts or pecans (optional)
Instructions
- Line an 8×8 inch baking pan with parchment paper, leaving an overhang on the sides.
- In a medium saucepan, combine sweetened condensed milk, granulated sugar, and butter.
- Cook over medium heat, stirring constantly, until the mixture comes to a boil.
- Reduce heat to low and continue to cook, stirring constantly, for 5 minutes. Do not let it scorch.
- Remove the saucepan from the heat.
- Stir in the chocolate chips until completely melted and smooth.
- Stir in the vanilla extract and nuts, if using.
- Pour the fudge mixture into the prepared baking pan.
- Spread evenly with a spatula.
- Let the fudge cool completely at room temperature for at least 2-3 hours, or until firm.
- Once firm, use the parchment paper overhang to lift the fudge out of the pan.
- Cut into squares and serve.
Notes
- For a smoother fudge, ensure you stir constantly to prevent crystallization.
- If you want to use this recipe for meal planning, consider portioning it into individual servings.
- This recipe is a great addition to your holiday meal planning.
Nutrition
- Serving Size: 1 square
- Calories: 150
- Sugar: 25g
- Sodium: 20mg
- Fat: 6g
- Saturated Fat: 3g
- Unsaturated Fat: 3g
- Trans Fat: 0g
- Carbohydrates: 23g
- Fiber: 1g
- Protein: 2g
- Cholesterol: 15mg