
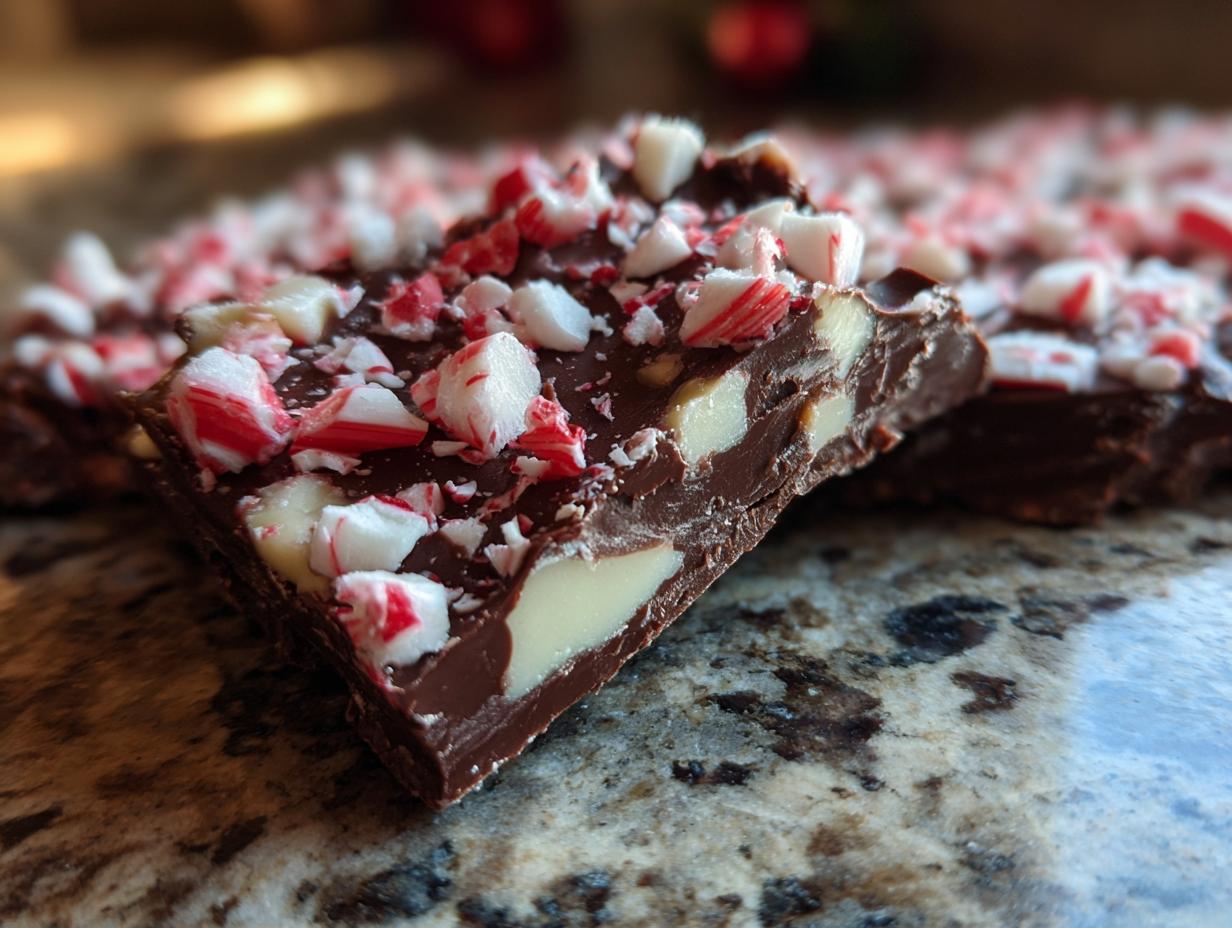
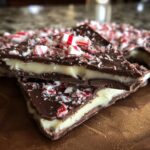
Oh, the holidays! Is there anything better than that warm, cozy feeling when everything starts to sparkle and twinkle? For me, it’s all about the smells, the sights, and, of course, the treats! And if there’s one candy that screams ‘festive fun’ and ‘I totally made this myself,’ it’s got to be peppermint bark. Seriously, this white and dark chocolate creation, studded with crunchy candy cane bits, is just magic. It looks so fancy, right? But trust me, it’s one of those recipes that makes you feel like a baking superstar without any fuss. It’s exactly the kind of treat Claire loves to share at Bliss Batter – something that brings pure, simple joy to your kitchen and makes everyone feel like they can whip up something special. It really is a little piece of holiday happiness you can break apart and share!

- Why You'll Love This Easy Peppermint Bark
- Gather Your Ingredients for Peppermint Bark
- Essential Equipment for Making Peppermint Bark
- Step-by-Step Guide to Perfect Peppermint Bark
- Tips for the Best Peppermint Bark
- Variations and Creative Ideas for Peppermint Bark
- Serving and Storing Your Christmas Peppermint Bark Candy
- Frequently Asked Questions About Peppermint Bark
- Nutritional Information for Peppermint Bark
- Share Your Festive Creations!
Why You’ll Love This Easy Peppermint Bark
This peppermint bark is a holiday dream come true! You’ll absolutely love how:
- It whips up in practically no time – seriously, it’s so fast!
- It looks super impressive with those pretty swirls and candy cane bits.
- Everyone raves about that perfect minty-chocolate combo.
- It’s the perfect quick DIY gift for neighbors, teachers, or just about anyone!
- It’s incredibly simple, even if you’re new to making candy.
- It’s a total crowd-pleaser at holiday parties.
Gather Your Ingredients for Peppermint Bark
Alright, let’s talk about what you need to make this awesome peppermint bark! It’s pretty simple, which is exactly how we like it here at Bliss Batter. You’ll want to grab:
- 12 ounces of really good quality dark chocolate, chopped up nice and fine.
- 12 ounces of good quality white chocolate, also chopped finely.
- About 1/2 cup of crushed candy canes. Peppermint candies work too if you don’t have candy canes!
Honestly, using quality chocolate makes *all* the difference. Claire always says, “Quality you can taste,” and she’s so right! It melts smoother and just tastes so much better. You can learn more about why it matters on our About page!
Essential Equipment for Making Peppermint Bark
Okay, so you don’t need a whole lot of fancy stuff to make this magical peppermint bark! Just gather these few kitchen staples:
- A good-sized baking sheet
- Parchment paper (your best friend for easy cleanup!)
- Microwave-safe bowls (or a double boiler if you prefer)
- A spatula for spreading
- A toothpick or skewer for those pretty swirls
That’s really it! Simple as can be.
Step-by-Step Guide to Perfect Peppermint Bark
Alright, let’s get down to business! Making this peppermint bark is honestly so satisfying, and I’m going to walk you through every single step so it turns out perfectly. Grab your ingredients and let’s make some holiday magic!
Preparing Your Workspace for Peppermint Bark
First things first, grab a good-sized baking sheet. You’ll want to line it smoothly with parchment paper. This is your secret weapon for easy cleanup and, more importantly, a breeze when it comes time to take your beautiful bark off the pan.
Melting the Chocolate Layers for Your Peppermint Bark
Now, for the chocolate! You’ve got two options here: the microwave or a double boiler. For the microwave, put your chopped dark chocolate in a bowl and heat it in 30-second bursts, stirring well between each. Keep going until it’s almost all melted, then stir until smooth. Repeat this whole process with the white chocolate in a separate bowl. And super important: make SURE your bowls and utensils are totally dry, or your chocolate will seize up into a sad, clumpy mess!
Assembling and Decorating Your Peppermint Bark
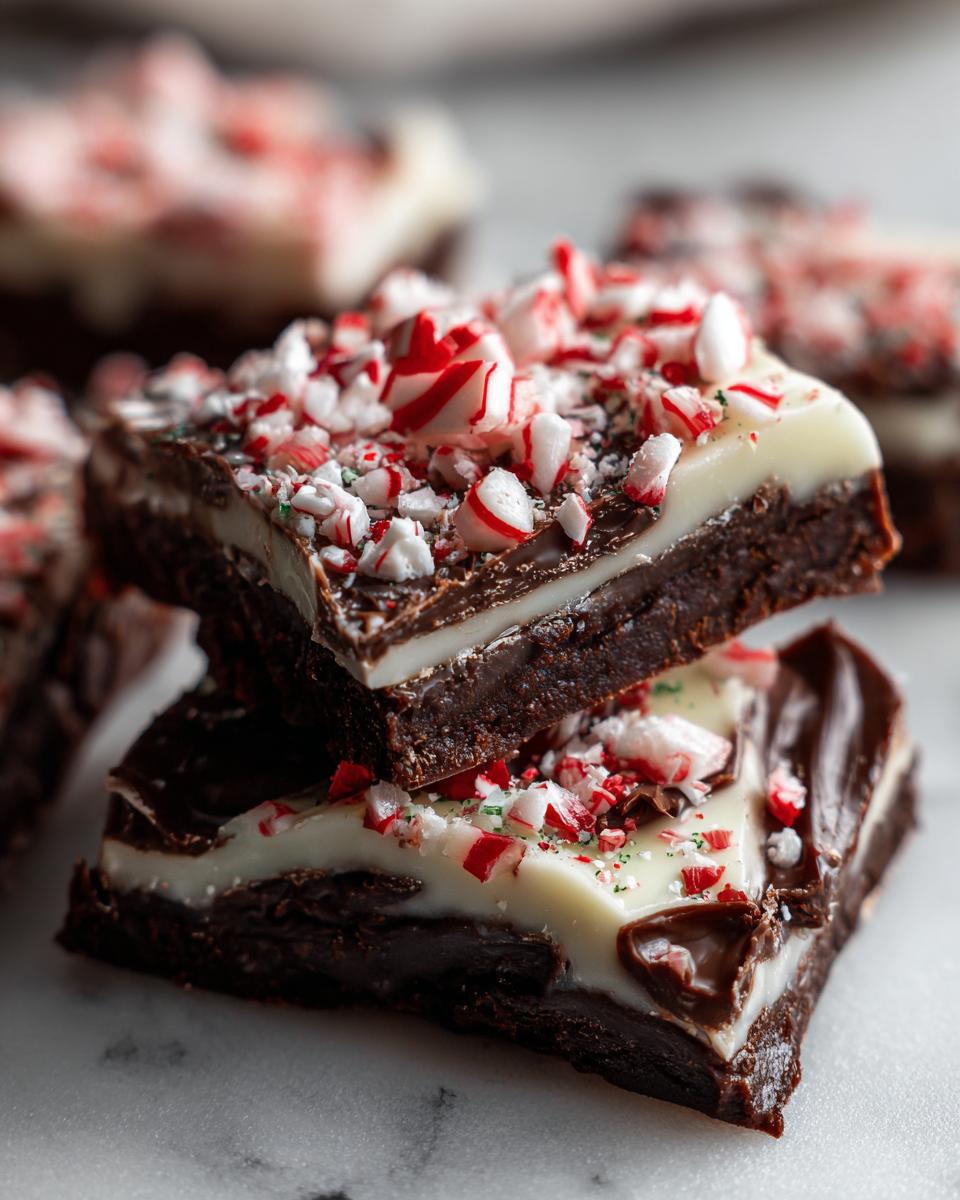
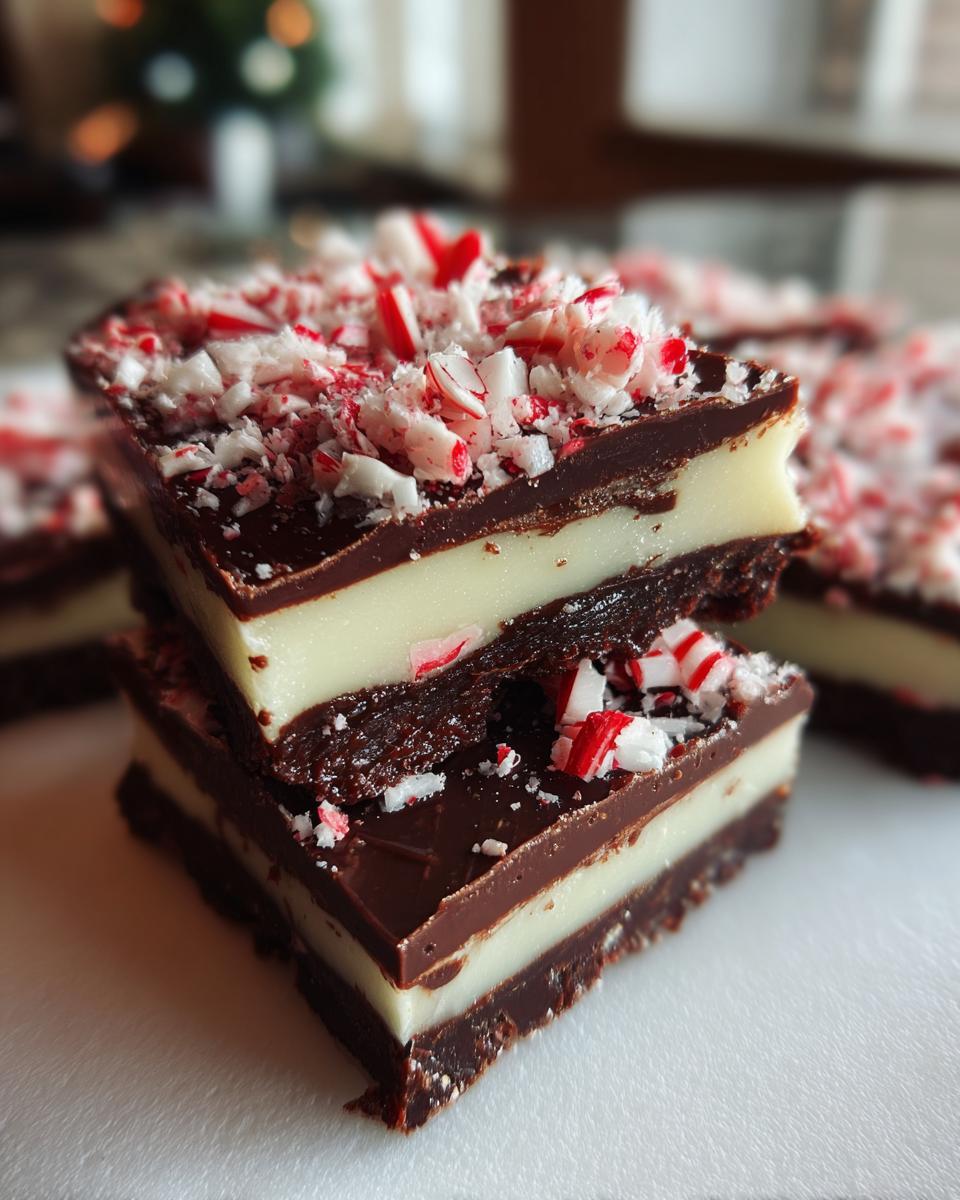
Pour that gorgeous melted dark chocolate onto your parchment-lined baking sheet and spread it out into an even layer, about a quarter-inch thick. Now, go right on top with the melted white chocolate. Don’t wait too long – immediately sprinkle those crushed candy canes all over the white chocolate while it’s still wet. Then, take a toothpick or a skewer and gently swirl it through both layers. You want to get a pretty marbled effect, but don’t go crazy mixing it – we want distinct swirls, not a muddy mess!
Setting and Breaking Your Homemade Peppermint Bark
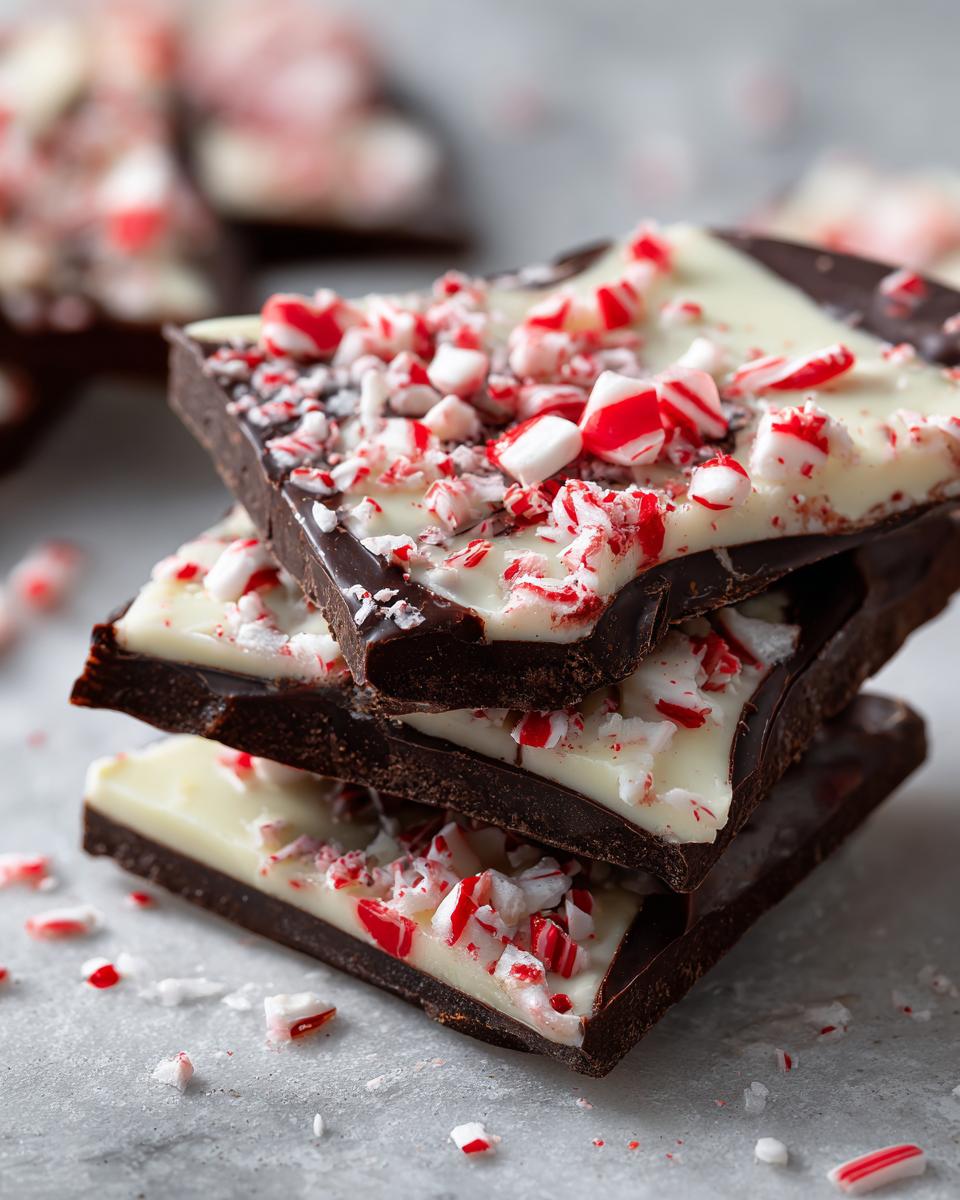
Now comes the hardest part: waiting! Let your bark set up completely. You can leave it at room temperature for a couple of hours, or if you’re impatient like me, pop it in the fridge for about 30 minutes. Once it’s totally firm and snaps nicely, just break it apart into irregular pieces. Voila! Instant holiday perfection.
Tips for the Best Peppermint Bark
Okay, seriously, making this peppermint bark is SO easy, but a few little tricks can make it go from good to absolutely spectacular. It’s all about those small details that make a big difference, right? Like Claire says, it’s the little things that make baking so special! Here are my go-to tips to make sure your bark is perfect every single time.
Choosing the Right Chocolate for Peppermint Bark
This is where it really pays off to use yummy, good-quality chocolate. You can grab chocolate meant for melting, sometimes called couverture, or even good bar chocolate. Just avoid the basic chocolate chips if you can – they have stabilizers in them that make them a real pain to melt smoothly. Trust me, good chocolate means better flavor and that perfect, satisfying snap when you break it!
Mastering the Melt: Avoiding Chocolate Seizing
This is probably the most *crucial* tip when working with chocolate. Water and chocolate are NOT friends! Even a tiny drop of water can make your melted chocolate turn grainy and seize up. So, make sure your bowls, spatulas, and anything else touching the chocolate are super dry. If you’re using a double boiler, keep the water from touching the bottom of the bowl. It sounds scary, but just be mindful, and you’ll be golden!
Variations and Creative Ideas for Peppermint Bark
While this classic white and dark chocolate peppermint bark is amazing just as it is, don’t be afraid to get a little creative! It’s your holiday treat, after all! You can totally jazz it up to make it even more special. Try adding just a tiny splash of vanilla extract to the white chocolate for a little extra depth, or maybe even a drop of peppermint extract to either layer if you really want that minty punch to sing. And who says you have to stop at candy canes? A sprinkle of festive colored sprinkles, some chopped toasted nuts like pecans or almonds, or even a drizzle of contrasting chocolate could make your homemade holiday candy gift totally unique!
Serving and Storing Your Christmas Peppermint Bark Candy
Once your beautiful peppermint bark is all broken into perfect pieces, it’s time to enjoy it! It tastes best at room temperature, so no need to keep it chilled unless it’s super hot where you are. If you’re planning to package this homemade holiday candy as a gift, which is such a thoughtful idea, layer it between sheets of parchment paper in a pretty tin or a festive box. This keeps it from sticking and looking messy. Just store it in a cool, dry spot, and it’ll stay delicious for a good couple of weeks. For some super cute gift-wrapping ideas, check out my post on holiday treat packaging!
Frequently Asked Questions About Peppermint Bark
Got questions about whipping up this festive peppermint bark? I totally get it! It’s always good to have a few tips up your sleeve. Here are some of the most common things people ask.
Can I use chocolate chips for my peppermint bark?
You know, you *can*, but I really recommend using chopped chocolate bars instead. Chocolate chips have stabilizers that make them hold their shape, which means they don’t melt as smoothly. Using good chopped chocolate makes a world of difference in texture and how easily it spreads!
How to achieve a smooth marbled effect in my white and dark chocolate bark?
The trick to a gorgeous marble is to work quickly and gently! Pour the white chocolate over the dark while it’s still warm, then use a toothpick or skewer to make just a few swirls. Don’t overdo it, or you’ll just end up with one color! Think elegant, simple strokes.
What’s the best way to store homemade holiday candy gifts like peppermint bark?
For gifting, you want it to look as good as it tastes! Layer your broken pieces between sheets of parchment paper in a cute tin or box. This prevents sticking and keeps it looking perfect. Store it in a cool, dry spot, and it’ll stay yummy for weeks!
Nutritional Information for Peppermint Bark
Just a little heads-up about the nutrition info – these numbers are an estimate, of course! They can change a bit depending on the exact brands of chocolate and candy canes you use. But for a serving of about one ounce, you’re looking at roughly 150 calories, around 15g of sugar, and about 9g of fat, with some carbs and a little protein mixed in. Perfect for a festive treat!
Share Your Festive Creations!
Okay, now that you’ve made this absolutely gorgeous peppermint bark, I would LOVE to see it! Did it turn out just as sparkly and delicious as you hoped? Did you try any fun variations? Please hop down to the comments and tell me all about it – I love hearing from you! And if you snap a pic, tag us on social media; we can’t wait to see your holiday magic!
PrintEasy Peppermint Bark
Create a festive and simple peppermint bark with layers of white and dark chocolate, topped with crushed candy canes. This easy recipe is perfect for holiday gifts or parties.
- Prep Time: 15 min
- Cook Time: 5 min
- Total Time: 20 min
- Yield: About 1 pound 1x
- Category: Dessert
- Method: No-Bake
- Cuisine: American
- Diet: Vegetarian
Ingredients
- 12 ounces good quality dark chocolate, chopped
- 12 ounces good quality white chocolate, chopped
- 1/2 cup crushed candy canes
Instructions
- Line a baking sheet with parchment paper.
- Melt the dark chocolate. You can do this in a microwave-safe bowl in 30-second intervals, stirring between each, or use a double boiler.
- Pour the melted dark chocolate onto the prepared baking sheet and spread it into an even layer, about 1/4 inch thick.
- Melt the white chocolate using the same method as the dark chocolate.
- Pour the melted white chocolate over the dark chocolate layer.
- Immediately sprinkle the crushed candy canes evenly over the white chocolate.
- Gently swirl a toothpick or skewer through the white chocolate to create a marbled effect, being careful not to mix the layers too much.
- Let the bark set completely at room temperature, or speed up the process by placing it in the refrigerator for about 30 minutes.
- Once firm, break the peppermint bark into pieces.
Notes
- Use high-quality chocolate for the best flavor and texture.
- Ensure your bowls and utensils are completely dry when melting chocolate, as water can cause it to seize.
- Store the peppermint bark in an airtight container at room temperature.
Nutrition
- Serving Size: 1 ounce
- Calories: 150
- Sugar: 15g
- Sodium: 10mg
- Fat: 9g
- Saturated Fat: 5g
- Unsaturated Fat: 4g
- Trans Fat: 0g
- Carbohydrates: 17g
- Fiber: 1g
- Protein: 2g
- Cholesterol: 10mg