
Oh, doesn’t anything beat that satisfying *snap* of a perfectly crisp pickle? When summer garden abundance hits, I immediately head to the kitchen, but I absolutely skip the fuss of the water bath canner. Canning is fine for jams, but for that fresh, tangy bite, you really need to master the world of refrigerator pickles. I’m Claire, and trust me, making these vibrant, crunchy spears at home is way easier than you think! This no-cook recipe captures that bright, summery flavor, letting you enjoy the best of the harvest right out of the fridge.
- Why You Will Love These Easy Refrigerator Pickles
- The Best Refrigerator Pickles Ingredients List
- How to Make Refrigerator Pickles: Step-by-Step
- Expert Tips for Perfect Crunchy Homemade Pickles
- Storage and Shelf Life of Your Fridge Pickles Recipe
- Serving Suggestions for Tangy Snack Ideas
- Frequently Asked Questions About Making Refrigerator Pickles
- Estimated Nutritional Information for Refrigerator Pickles
- Share Your Homemade Refrigerator Pickles Creations
Why You Will Love These Easy Refrigerator Pickles
If you’re looking for something tasty that requires zero babysitting on the stove, this is it! I promise these refrigerator pickles will be your new favorite tangy snack ideas. They hit all the right notes for a perfect easy weeknight dinner side dish.
-
Guaranteed Crunchy Homemade Pickles
We are all about that crunch! Because we don’t have to heat the cucumbers at all, they stay firm and snappy. That satisfying texture is why people look for a fantastic quick pickles recipe like this one.
-
Simple, No Cook Pickles Method
Seriously, this is the definition of low effort pickling. We mix the brine cold, pour it over, and walk away. No boiling required means you aren’t adding extra heat to your kitchen!
-
Flavorful Fresh Dill Pickles Ready Fast
While I think they taste ten times better after 48 hours, you can honestly start snacking on these in just 24 hours. That speed means you can satisfy a craving almost instantly.
The Best Refrigerator Pickles Ingredients List
For these easy refrigerator pickles, using good quality ingredients really pops because there’s so little cooking involved. It’s all about the crisp cucumbers and a perfectly balanced brine to get that amazing flavor. Don’t even think about messing with the measurements here; this ratio is what guarantees success!
For the Crunchy Refrigerator Pickles
You need about three pounds of those wonderful Kirby cucumbers, washed up, and sliced right away into spears or chips—your choice! We use:
- 1/2 cup of pickling salt (this is important, don’t use regular table salt!)
- 4 cups of cold water
- 2 cups of good white vinegar (make sure it’s the standard 5% acidity)
- 2 tablespoons of regular sugar to balance the tang.
Flavorings for Garlic Dill Pickles
This is where the magic happens for those perfect garlic dill pickles. We pack these right in with the cucumbers before the brine goes in:
- 4 cloves of garlic, peeled and smashed lightly with the side of a knife.
- 2 heads of fresh dill (or if you can’t find fresh, 4 teaspoons of dried dill seed works too).
- 1 teaspoon of black peppercorns.
- 1/2 teaspoon of mustard seeds.
How to Make Refrigerator Pickles: Step-by-Step
Making these truly amazing refrigerator pickles is so simple that I often feel guilty calling it a “recipe.” There’s no hot water bath, no boiling, and honestly, you can have these done in about 20 minutes of active prep time. Watch how quickly you go from fresh produce to a tangy snack! If you love crispy appetizers, you might even want to try making fried pickles soon, but right now, these beauties are what it’s all about.
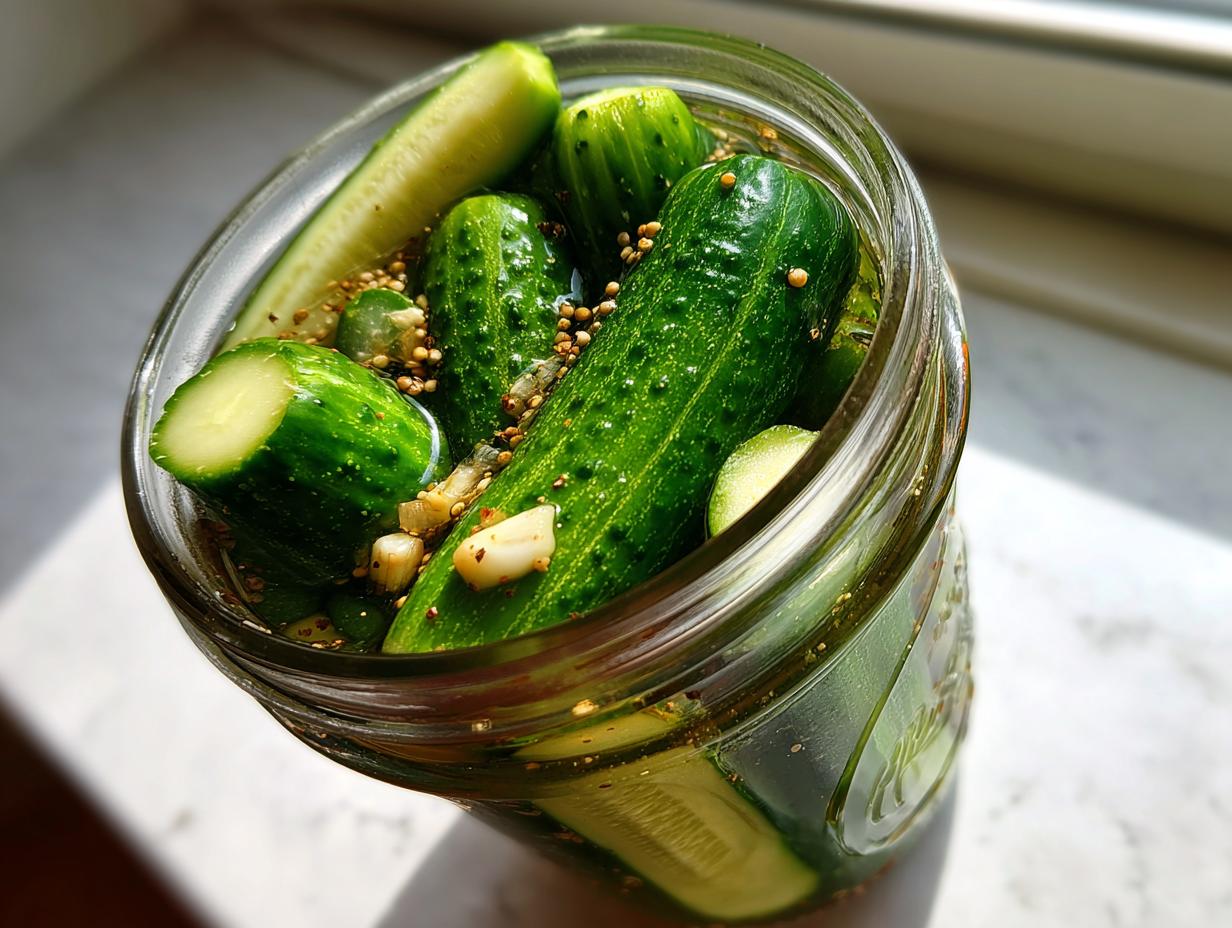
Preparing Cucumbers and Jars for your Refrigerator Pickles
First things first: get your cucumbers ready. Slice them into spears or chips—whatever you like for your sandwich toppings! Pack those cucumbers tightly into two clean, quart-sized glass jars. I mean really pack them in there to maximize space, but stop packing when you’ve left about one inch of space at the very top. That little gap is crucial for the brine.

Creating the Easy Brine Recipe
Now for the easy brine recipe! Grab a mixing bowl—no stove required! Whisk together the cold water, pickling salt, white vinegar, and granulated sugar. You need to keep mixing until you can feel that salt and sugar have dissolved completely. Cold water works perfectly fine, so don’t worry about heating anything up!
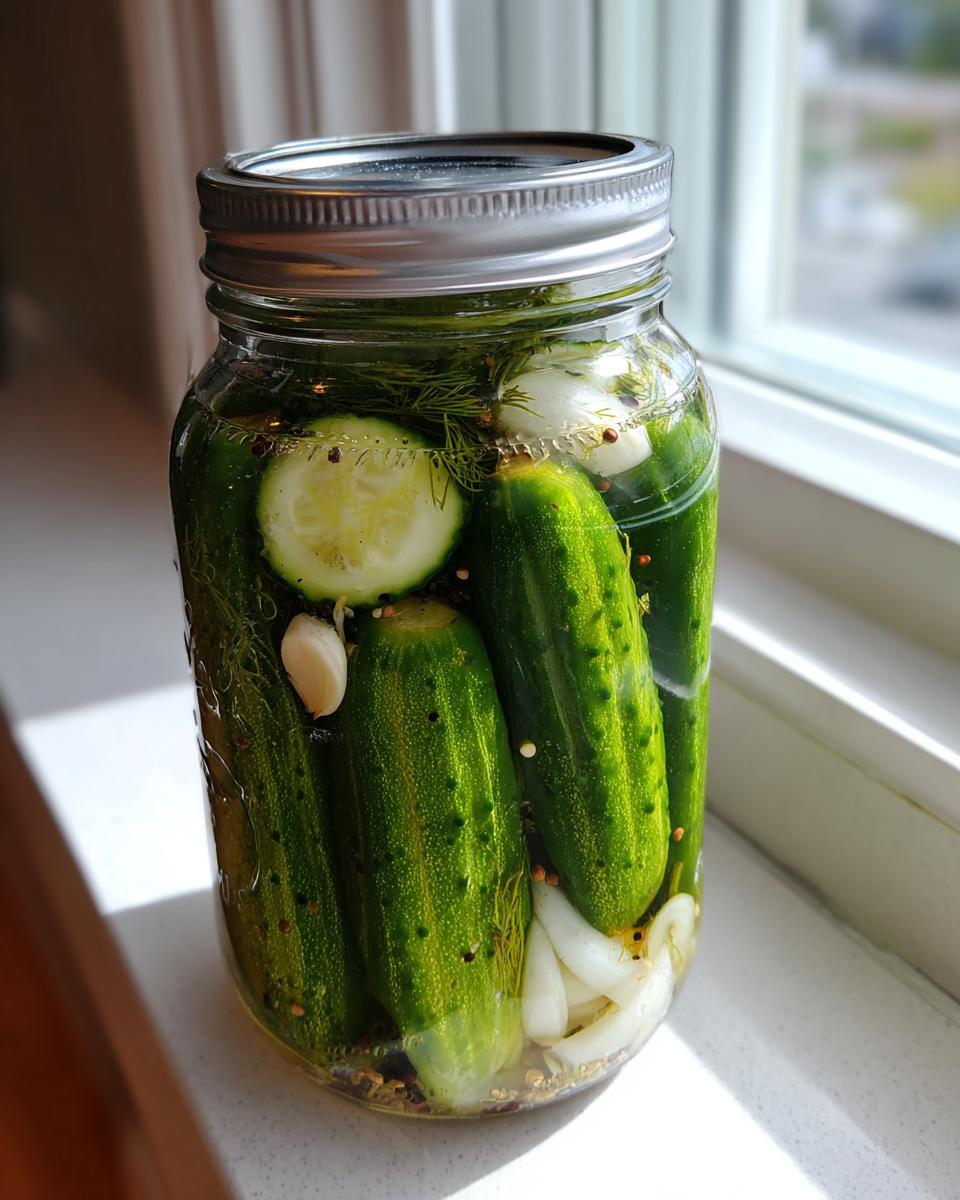
Submerging and Chilling the Refrigerator Pickles
Carefully pour that finished brine over your packed cucumbers until they are totally submerged. Give the jar a gentle tap on the counter; this helps any sneaky air bubbles escape. After you seal them up, let them sit on the counter for just one hour to start acclimating. Then, pop them in the fridge! They are ready for snacking in 24 hours, but if you have patience, the flavor really deepens and even better after 48 hours! These are the best refrigerator pickles you’ll ever try.
Expert Tips for Perfect Crunchy Homemade Pickles
I’ve made hundreds of jars of these beauties, and I have a few secrets for keeping those textures just stunningly crisp. Remember, when you’re making refrigerator pickles this way, the freshness of your starting vegetable is everything! You want that loud, satisfying bite, not a squishy mess, right? Trust me, these little pointers make a huge difference in the end result.
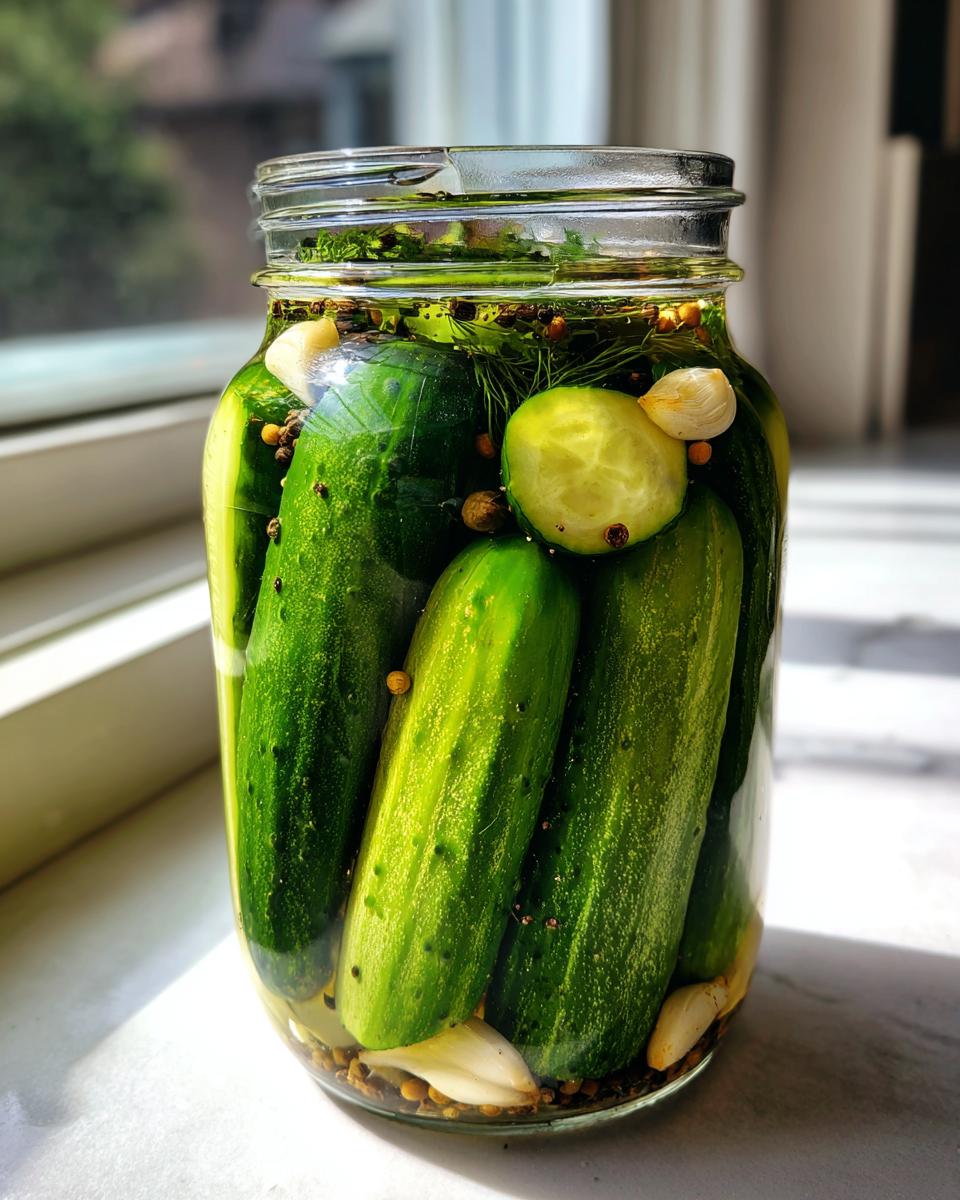
Cucumber Selection for Optimal Refrigerator Pickles
The absolute number one tip is the cucumber! You have to use pickling cucumbers, like Kirby, or whatever firm, bumpy variety you can find. If they feel soft even before you slice them, they will turn soft in the brine, no matter what you do later. Check your farmer’s market haul right away; the fresher they are when they hit our simple brine, the crunchier your final product will be. Eat those soft ones raw!
Making Bread and Butter Refrigerator Pickles Variations
If dill isn’t your only jam, you can easily pivot this recipe into sweet vinegar pickles! For a fantastic little Bread and Butter Refrigerator Pickles batch, you need to increase the sugar significantly—pump it up to 1/2 cup in the brine mixture. Also, toss in about 1/2 teaspoon of celery seed along with your spices when you pack the jar. It gives you that quintessential sweet and tangy snack that’s amazing on burgers or as part of your appetizers party snacks spread.
Storage and Shelf Life of Your Fridge Pickles Recipe
Now that you’ve successfully made the best refrigerator pickles, you’re probably wondering how long they’ll last when they’re hiding back there in the chill drawer. Since we aren’t canning these, their lifespan is tied to that beautiful, fresh crunch. For the absolute best, snappy texture, I recommend you aim to eat them within three to four weeks. After that, they might start getting a little softer, though they are still perfectly fine! Just keep those jars sealed tight and make sure they stay submerged in the brine down in the fridge.
Serving Suggestions for Tangy Snack Ideas
Once your refrigerator pickles are perfectly tangy after that 24-hour chill, the real fun begins! Forget boring snacks; these are fantastic right out of the jar as quick, healthy homemade snacks. I personally love keeping a jar handy just for slicing into chips to toss onto my lunch sandwiches—they make the absolute best easy sandwich toppings. They cut through rich meats and cheeses perfectly. Honestly, they are so simple and satisfying, they instantly elevate any plate.
We also love using them chopped up in potato salad or mixing the brine (minus the cucumbers!) into a vinaigrette for a vibrant dressing. If you need more inspiration for quick meals, check out my favorite simple lunch recipes!
Frequently Asked Questions About Making Refrigerator Pickles
I know you’ve got questions! That’s totally fine. When you move away from traditional canning, it’s natural to wonder about the details. I put together answers to the things I hear most often about making these super easy, no-fuss pickles.
Can I use regular cucumbers instead of pickling cucumbers for refrigerator pickles?
You totally *can*, but please don’t expect the same results! The standard slicing cucumbers you find everywhere have way more water and their seeds aren’t as tightly packed. This means they often turn out softer and a bit mushy faster. For the signature bite associated with jarred refrigerator pickles, stick with Kirby or any small, bumpy pickling cucumber. They are built for crunch!
Why are my homemade pickles not crunchy?
Oh no, the dreaded soft pickle! Usually, this comes down to two things: either the cucumbers you used weren’t super fresh to begin with—they start softening right after being picked—or you accidentally let your brine get too warm when pouring it over them. Always make sure your water and vinegar mix starts cold, which helps lock in that fantastic texture.
How does this recipe compare to store-bought quick pickles recipe options?
Honestly, ours wins every time! Store-bought options—especially the ones that claim to be fresh—often have preservatives or stabilizers added just to keep them looking perfect after months on the shelf. When you make this quick pickles recipe, you get that bright, vibrant flavor right away, and you know exactly what went into the brine. It’s just better, cleaner flavor!
Can I use this easy brine recipe for other crispy vegetable pickles?
Yes, absolutely! This easy brine recipe is fantastic and versatile. It works beautifully for other crispy vegetable pickles like carrot sticks, thin slices of red onion, or even green beans. Just pack your vegetable of choice tightly into your clean jar, follow the brine directions, and chill. It’s a great staple for all your low effort pickling needs!
If you want to know more about the philosophy behind my baking and simple recipes, feel free to check out my About Page!
Estimated Nutritional Information for Refrigerator Pickles
Okay, let’s talk numbers for a second. When you’re making something this simple and fresh, the nutrition tends to be fantastic! But since we’re not running these through a lab here at Bliss Batter, you need to take these figures with a grain of salt. I broke down the rough estimates based on the ingredients in the recipe, but remember, this is just a guide for your refrigerator pickles.
Keep in mind that this is for a serving size of just 4 pickle chips—and who stops at four?
- Serving Size: 4 pickle chips
- Calories: 10
- Sugar: 1g (That’s much better than those super-sweet store brands!)
- Sodium: 290mg (This is the highest number, naturally, because of the pickling salt!)
- Fat: 0g
- Protein: 0g
- Carbohydrates: 2g
See? Very low in everything except what makes a pickle—flavor, that is! These are definitely a healthy homemade snack compared to chips or fries. We’re focusing on fresh, tangy flavor here, not complicated macros!
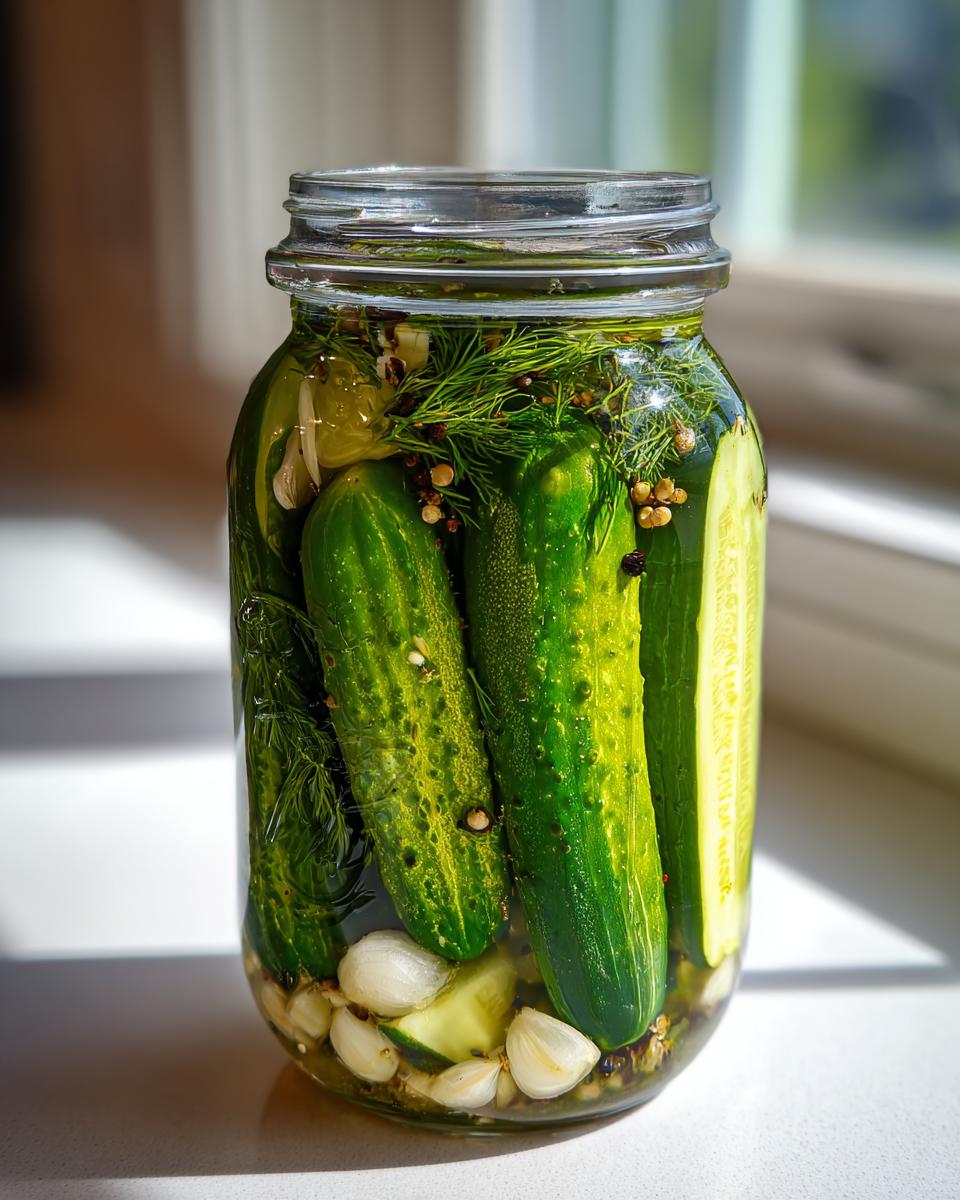
Share Your Homemade Refrigerator Pickles Creations
Well, that’s it! You’ve made your very first batch of easy, crunchy refrigerator pickles. How amazing does that little jar look sitting in your fridge? I hope you’re already envisioning those vibrant, tangy slices piled high on your next burger or simply eaten straight from the jar!
I put my heart into developing recipes that make you feel confident in your kitchen, and these simple pickles really prove you don’t need a complicated process to get fantastic results. Now, I really want to know what you think!
Did you stick to the classic garlic dill, or did you try making that little bit of sweet crunch with the Bread and Butter variation? Don’t be shy—let me know in the comments below how they turned out! Did they get that snap I promised? Did you use Kirby cucumbers?
If you absolutely love these, please leave a star rating right under the recipe card! It helps other bakers (and picklers!) feel confident trying my go-to methods. And if you share a photo on social media, please tag me! I absolutely adore seeing your real-life creations. It makes my day to know that you’re bringing this homemade happiness into your home.
If you ever have questions about adjustments or need help troubleshooting, feel free to send a note over on my contact page. I’m always here to help you find success in the kitchen!
PrintEasy Refrigerator Dill Pickles: Crunchy, No-Cook Recipe
Make crisp, flavorful refrigerator dill pickles at home without any canning. This simple, no-cook brine recipe delivers tangy, crunchy pickles ready in 24 hours, perfect for sandwiches or snacks.
- Prep Time: 20 min
- Cook Time: 0 min
- Total Time: 20 min
- Yield: 2 quarts 1x
- Category: Side Dish
- Method: No Cook
- Cuisine: American
- Diet: Vegetarian
Ingredients
- 3 pounds pickling cucumbers (Kirby or similar), washed and sliced into spears or chips
- 1/2 cup pickling salt
- 4 cups cold water
- 2 cups white vinegar (5% acidity)
- 2 tablespoons granulated sugar
- 4 cloves garlic, peeled and smashed
- 2 heads fresh dill (or 4 teaspoons dried dill seed)
- 1 teaspoon black peppercorns
- 1/2 teaspoon mustard seeds
Instructions
- Prepare the cucumbers: Slice the cucumbers into spears or chips, depending on your preference. Pack the cucumber pieces tightly into two clean, quart-sized glass jars, leaving about 1 inch of headspace.
- Add flavorings: Divide the smashed garlic cloves, fresh dill (or dill seed), peppercorns, and mustard seeds evenly between the two jars, tucking them around the cucumbers.
- Make the brine: In a medium bowl, whisk together the cold water, pickling salt, white vinegar, and sugar until the salt and sugar dissolve completely. This is your easy brine recipe.
- Pour the brine: Carefully pour the brine over the cucumbers in each jar, making sure the cucumbers are fully submerged. Tap the jars gently to release any trapped air bubbles.
- Seal and chill: Seal the jars with tight-fitting lids. Let the jars sit on the counter at room temperature for 1 hour.
- Refrigerate: Move the jars to the refrigerator. Your pickles will be ready to eat in 24 hours, but the flavor improves after 48 hours. These are your crunchy homemade pickles.
Notes
- For the best crunch, use very fresh, firm cucumbers. Do not use cucumbers that have been sitting out for long periods.
- If you prefer Bread and Butter Refrigerator Pickles, increase the sugar in the brine to 1/2 cup and add 1/2 teaspoon of celery seed.
- These low effort pickling results are best eaten within 3 to 4 weeks for peak crispness.
Nutrition
- Serving Size: 4 pickle chips
- Calories: 10
- Sugar: 1
- Sodium: 290
- Fat: 0
- Saturated Fat: 0
- Unsaturated Fat: 0
- Trans Fat: 0
- Carbohydrates: 2
- Fiber: 0
- Protein: 0
- Cholesterol: 0