
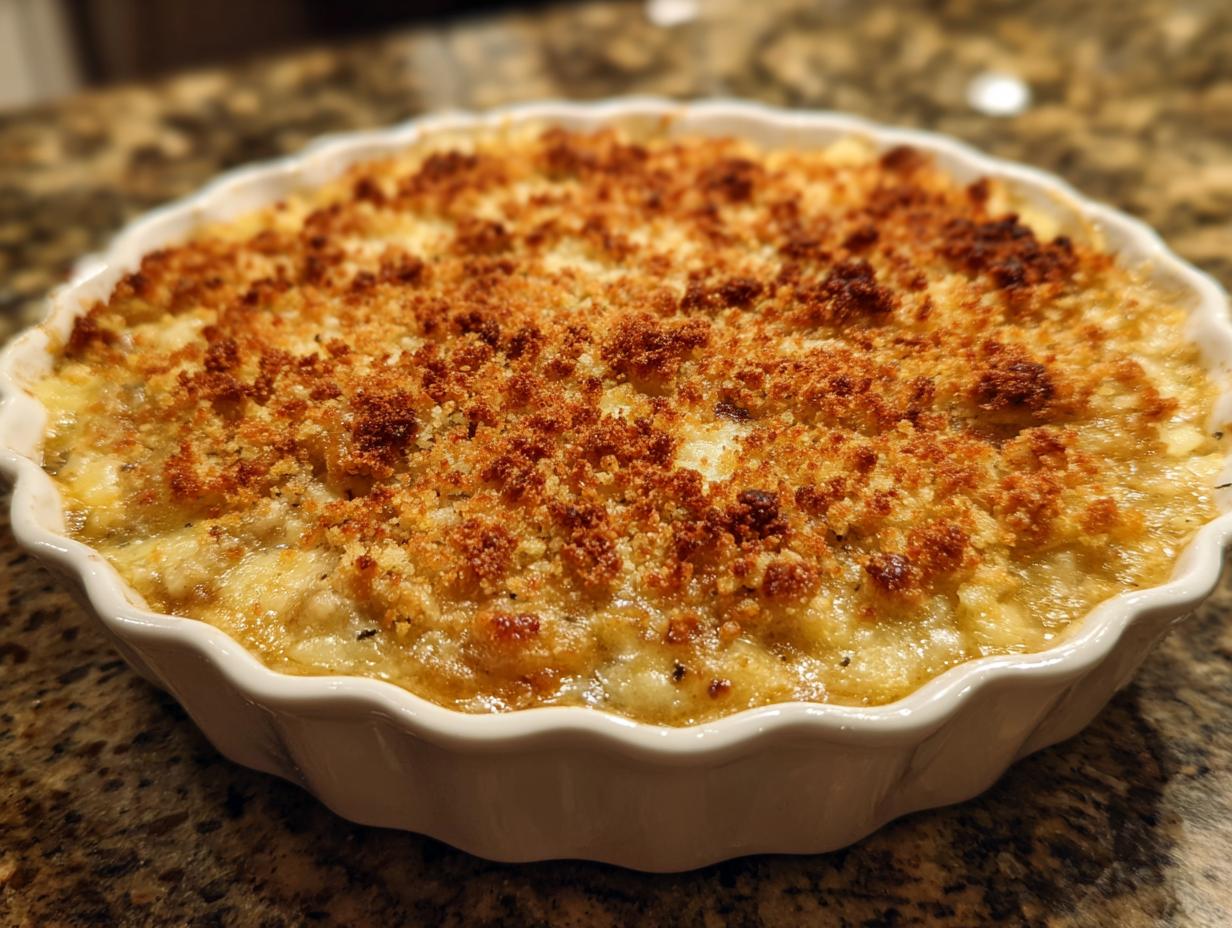
Remember those gorgeous, tedious stuffed mushrooms you sometimes see at parties? They taste amazing, but trying to wrangle filling onto little mushroom caps while your guests are waiting? Oh, I’ve been there! That’s exactly why I developed this recipe. I wanted all that deep, savory mushroom goodness and the fantastic gooey cheese factor, but in a format we can actually enjoy without a tiny spoon. This Ultimate Creamy, Cheesy stuffed mushroom dip transforms that fancy appetizer into a glorious, scoopable heaven. As the founder of Bliss Batter, I truly believe happiness is homemade, and nothing says simple, crowd-pleasing joy quite like a warm dip that disappears instantly. This one is pure comfort in a dish! Check out all our other appetizers and easy party snacks for your next gathering!
- Why This Creamy Stuffed Mushroom Dip is Your New Favorite Party Snack Recipes
- Gathering Ingredients for the Ultimate Stuffed Mushroom Dip
- Step-by-Step Instructions to Make Your Stuffed Mushroom Dip
- Tips for the Best Cheesy Baked Dip Success
- Serving Suggestions for Your Warm Savory Dip
- Storage and Reheating Instructions for Leftover Stuffed Mushroom Dip
- Frequently Asked Questions About Stuffed Mushroom Dip
- Nutritional Estimates for this Appetizer Dip Ideas
- Share Your Homemade Stuffed Mushroom Dip Creations
Why This Creamy Stuffed Mushroom Dip is Your New Favorite Party Snack Recipes
When I was planning big corporate events, I learned quickly that guests want something incredibly delicious that they don’t have to fuss over. This dip is the answer! Ditch the individual mushroom caps; this creamy mushroom dip puts all that wonderful flavor into an easily shared format. It’s the definition of game day dip recipe heaven. It comes out of the oven hot, bubbly, and just waiting for a scoop!
Key Benefits of Our Stuffed Mushroom Dip
- It’s such an easy hot appetizer—prep is minimal before it hits the 375°F oven.
- The texture is pure bliss: rich, cheesy, and melty from edge to edge.
- Total cook time is less than 30 minutes, so it’s perfect for last-minute planning.
- It satisfies that craving for warm, savory, rich comfort food in one go!
Gathering Ingredients for the Ultimate Stuffed Mushroom Dip
Okay, let’s talk ingredients. The success of any incredible cheesy baked dip like this stuffed mushroom dip hinges on what you start with. I spent ages testing which mushrooms gave the best savory punch. I settled on Cremini—sometimes called Baby Bellas—and they must be finely chopped! We want that deep mushroom flavor throughout the dip, not big chunky pieces trying to simulate a whole stuffed mushroom. Trust me on this one; finely chopped is key for that creamy texture we are aiming for.
You’ll need the usual suspects for richness, of course. I always make sure my cream cheese is truly softened because nobody wants lumps in their savory bake! If you’re looking for a way to sneak in a little extra protein or richness, check my notes section later on—I mention stirring in some cooked sausage crumbles, which takes this from great to absolutely over the top!
You can peek at the full ingredient list right below, but don’t worry if you’re missing something specific; baking is flexible! Find all my favorite ways to mix and match dairy in my guide to the perfect cream cheese dip recipes.
Ingredient Notes and Substitution Tips for this Stuffed Mushroom Dip
Since we are building layers of flavor here, a few specifics really make a difference. First, the mushrooms: I really push for Cremini or Baby Bellas because they have a deeper, earthier flavor than plain white button mushrooms. We cook them down until all that water is gone, concentrating that delicious mushroom essence.
For the tang and lightness in the base, I used sour cream, but if you want to cut a tiny bit of fat and add a little body, Greek yogurt works beautifully as a direct substitute. No one will ever know the difference, I promise! And finally, the topping—Panko breadcrumbs are my gold standard. They crisp up into the most heavenly, golden crust when tossed with just a little melted butter. If you only have plain breadcrumbs, that’s fine, but give them a tiny toast in the skillet before you add them for extra crunch!
Step-by-Step Instructions to Make Your Stuffed Mushroom Dip
Alright, let’s get to the fun part! Making this dip feels less like cooking and more like assembling sheer deliciousness. The goal here is flavor concentration—we don’t want a soupy disaster, we want thick, scoopable comfort. Follow these steps exactly, and you’ll have the most amazing cheesy baked dip ready for your friends in under an hour. Remember, we’re aiming for about 40 minutes total, so get your mise en place ready!
Prepping the Mushrooms and Aromatics
First things first: your oven needs to be cozy! Preheat it to 375 degrees Fahrenheit. While that’s warming up, grease whatever beautiful 8-inch pie dish or small oven-safe skillet you’re using. Now, the mushrooms. I use a large, heavy skillet because we need serious heat here. Drizzle in your olive oil and toss in those finely chopped mushrooms. You need to be patient at this stage! Cook them over medium heat until they shrink down and start turning beautifully golden brown. This might take 8 to 10 minutes. Why? Because you are actively cooking off all the water they hold. If you skip this step, your dip will be watery, and trust me, nobody wants watery dip!
Once they look nicely browned, toss in that minced garlic for just 60 seconds until you can really smell it—that wonderful, sharp aroma. Then, take the skillet *off* the heat immediately. Seriously, take it off. Let that mixture cool down just a hair while you whip up the cheese base. We don’t want hot mushrooms melting our beautiful cream cheese too fast!
Mixing the Creamy Mushroom Cheese Dip Base
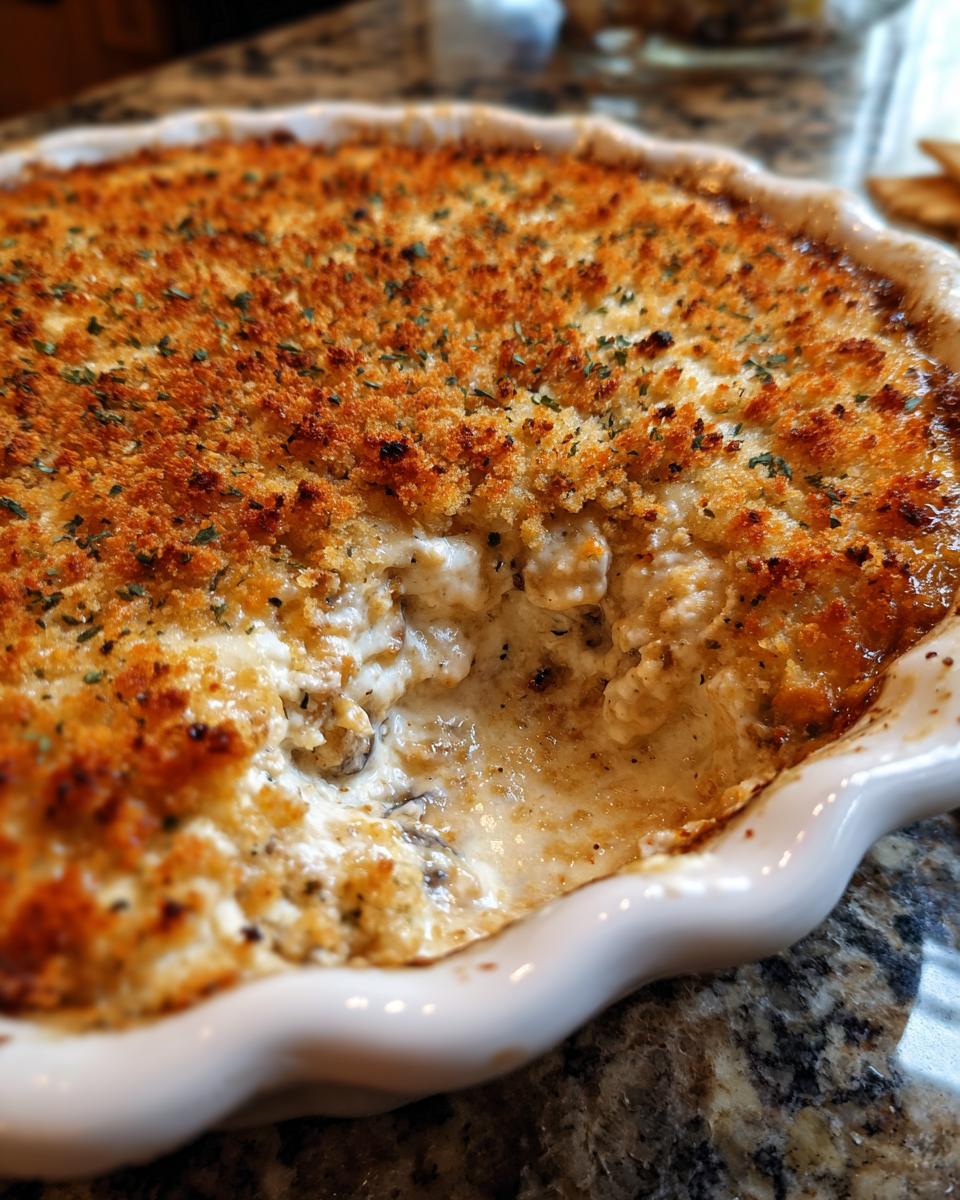
Time for the magic! Grab your mixing bowl—a medium one is perfect. Make sure your cream cheese is totally softened; I mean spreadable like room-temperature butter. Beat that with your sour cream (or yogurt, remember?), half a cup of that grated Parmesan, the mozzarella, parsley, thyme, salt, and pepper. Mix until it’s just smooth. I don’t like over-mixing the cheese base, just enough so it’s unified.
Now, gently introduce your slightly cooled mushroom and garlic goodness to the cheese. Fold it all together carefully. The goal is to evenly distribute that savory flavor throughout the entire creamy mushroom dip mixture. Once it’s all blended, spoon it right into your prepared baking dish and spread it out evenly. Don’t leave any delicious pockets behind—get it right to the edges!
Baking Your Stuffed Mushroom Dip to Golden Perfection
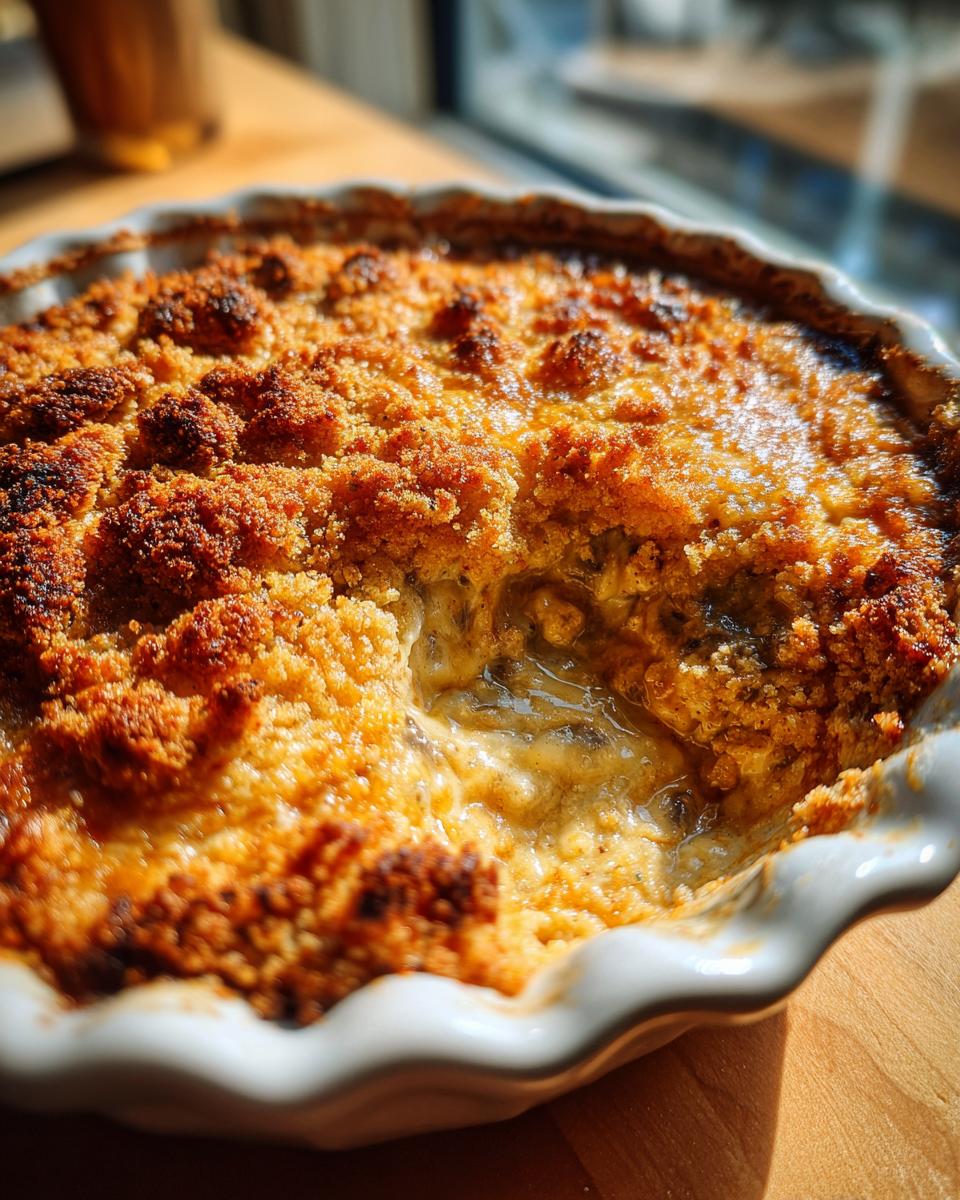
We need that perfect topping, the crunchy contrast to the gooey interior. In a tiny bowl, mix your Panko breadcrumbs with the melted butter until they look like wet sand. Sprinkle that topping evenly across the whole surface of the dip. Then, finish it off with the last two tablespoons of Parmesan sprinkled right on top. This helps create that lovely, golden crust.
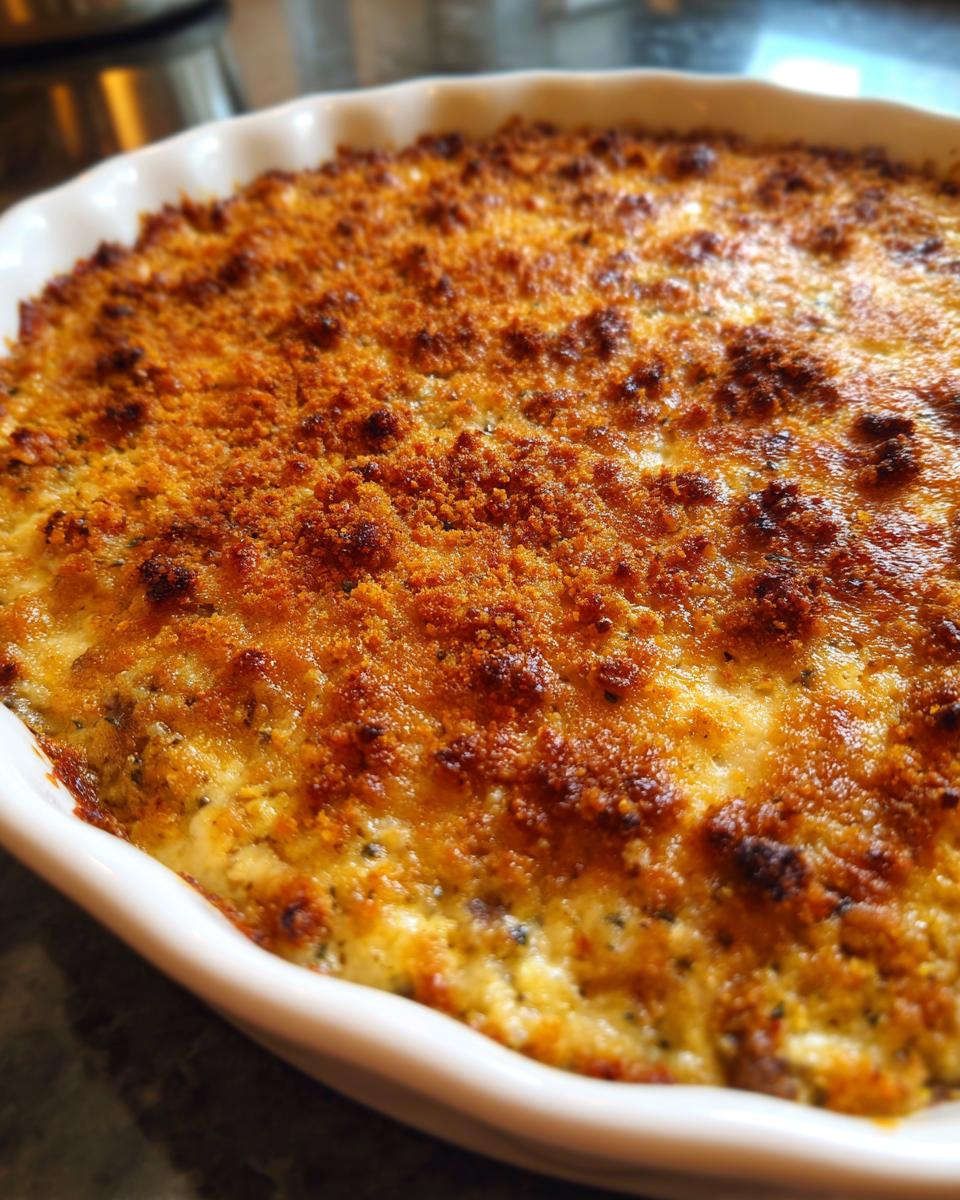
Slide it into that preheated 375°F oven. Bake it for about 20 to 25 minutes total. You are looking for two main things: the edges should be visibly bubbly, and that breadcrumb topping should be toasted and golden brown. When you see the sides bubbling excitedly, it’s done! Resist the urge to dive in right away; let it sit for five minutes so it sets up just a tiny bit. This simple baking process turns simple ingredients into a fantastic savory bake recipe.
Tips for the Best Cheesy Baked Dip Success
You know I test everything until I can’t stand it anymore, right? And what I learned is that for the absolute best cheesy baked dip, two things are crucial: moisture control and timing! That watery dip issue I mentioned before? It completely comes back to not cooking enough water out of those mushrooms during the sauté step. Be brave, keep stirring, and let them brown nicely.
On the flip side, don’t let the top burn before the middle is hot! If your topping seems to be getting too dark before the center is piping hot—which can happen if your oven runs a little hot—just lightly tent the dish with some foil for the last 5 to 7 minutes. It traps the heat in. Another great trick I rely on, especially when I’m hosting, is making it ahead. You can totally assemble this dip, cover it, and pop it in the fridge for a full 24 hours. Just pull it out about 30 minutes before baking, so it’s not ice-cold, and maybe add 5 extra minutes to the baking time. You can find my guide on other great recipes perfect for making ahead, like this amazing queso dip, over on the blog!
Serving Suggestions for Your Warm Savory Dip
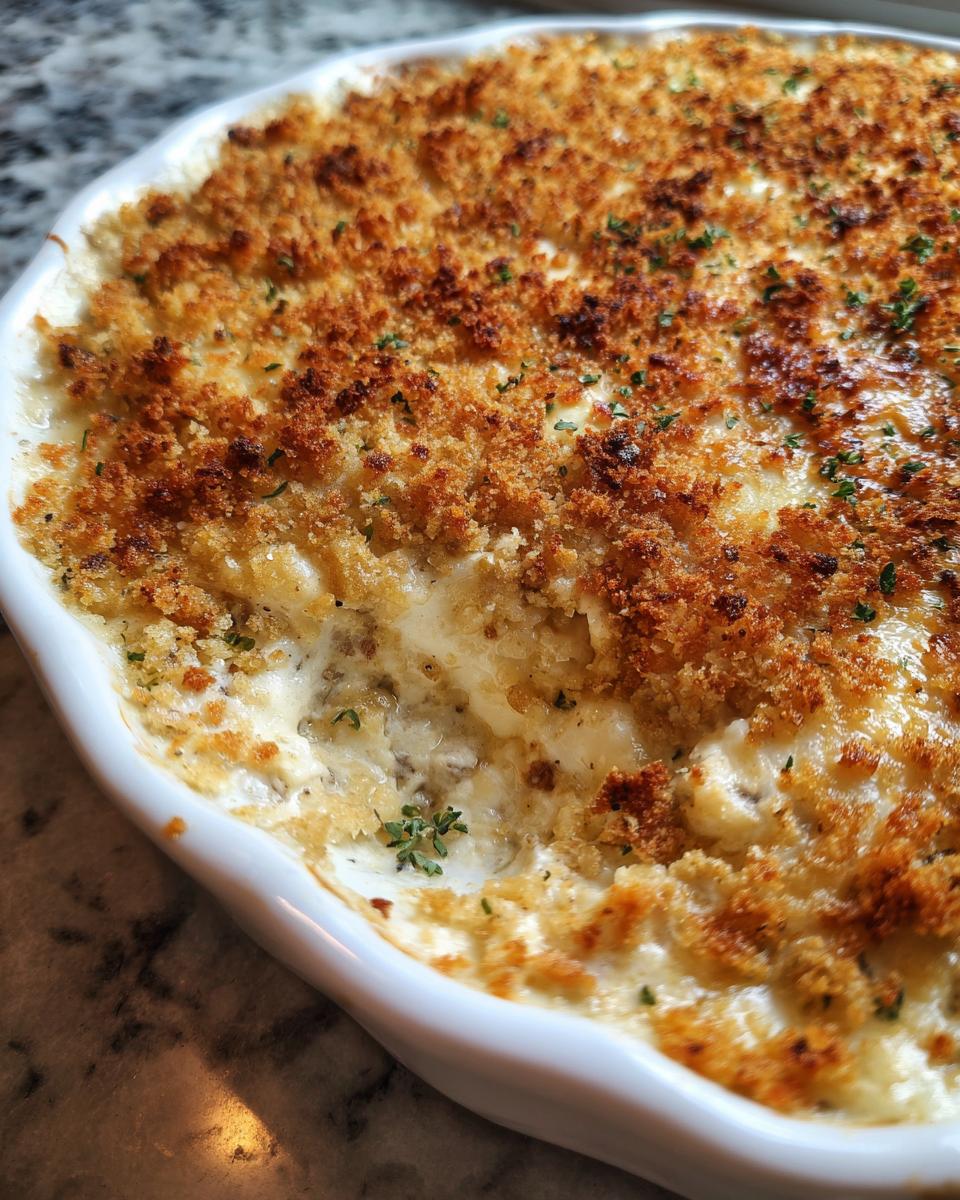
Now that you’ve pulled this gorgeous, bubbling stuffed mushroom dip out of the oven, the most exciting part begins: choosing what vehicle you’ll use to scoop it up! I always stress texture contrast because a great dip needs something sturdy and crunchy to stand up to that gloriously creamy interior. You want to maximize that satisfying crunch when you break through the baked top layer!
Of course, the classics are classics for a reason. This dip is absolutely phenomenal served with sturdy, sturdy crackers—nothing too thin that crumbles halfway to your mouth! I also adore serving this alongside slices of toasted baguette. If you brush your bread slices with a little olive oil and pop them under the broiler for two minutes before serving, they hold up fantastically well against the richness of the dip for crackers and bread.
But since we’re talking about a full appetizer spread (maybe alongside my pretzel recipe? Check it out here: soft pretzel recipe!), don’t forget the fresh veggies. For something truly refreshing, try serving thin slices of cucumber or crisp celery sticks alongside the baked goodness. The contrast between the cool, raw veggie and the hot, savory dip is just breathtaking. It makes the whole plate feel balanced, even though, let’s be honest, this is pure comfort food!
Storage and Reheating Instructions for Leftover Stuffed Mushroom Dip
I always hope for leftovers, not because I don’t make enough (though that’s usually the real reason!), but because I know this warm savory dip tastes fantastic the next day too. Making dips ahead of time is one of my best organizational secrets, and thankfully, this recipe handles leftovers like a champ, unlike some of those watery ones we mentioned earlier.
If you happen to have any dip left in your pretty pie dish, cover it tightly with plastic wrap or aluminum foil. You can keep this cheesy delight in the refrigerator for up to three or four days. Don’t worry about the topping getting soggy; it happens! You fix it right up when you reheat it.
When you’re ready for round two, the oven is absolutely the way to go. Preheat it to 350 degrees Fahrenheit. Pop the covered dish in for about 15 minutes just to get it heated through the middle. Then, remove the foil and bake it naked for another five minutes. This second blast of heat crisps up that lovely breadcrumb topping again, making it taste almost exactly like it did fresh from the oven. You can see my tips for organizing your whole week around dips like this one in my guide to make ahead dips!
Now, if you’re grabbing a small portion for a quick solo snack and you’re in a huge hurry? Fine, the microwave will work in a pinch. Just heat it in short bursts—maybe 30 seconds at a time—stirring in between. Just manage your expectations; microwave reheating usually sacrifices that crispy topping we work so hard to achieve. But hey, flavor wins, right?
Frequently Asked Questions About Stuffed Mushroom Dip
I always get so many questions when people first make this dip—it’s the kind of recipe that makes everyone curious about the little tricks! Don’t hesitate to ask if you have any other questions; bouncing ideas around the kitchen is my favorite part of running this blog. Here are the ones I hear most often about this amazing **stuffed mushroom dip**.
Can I make this Creamy Mushroom Dip without meat?
That is a great question, and I’m thrilled to confirm that as written, this recipe is completely vegetarian! We nail that deep, savory flavor just by cooking our mushrooms down well and using plenty of garlic and thyme. That richness comes from the cheeses, especially the Parmesan. Remember how I mentioned sausage as an *optional* addition for those who want something extra hearty? If you skip the sausage, you’re left with a truly fantastic, classic creamy mushroom dip that everyone can enjoy. It’s meant to be adaptable for all your guests!
What is the best way to prevent a watery dip?
Oh, the nemesis of any good baked dip: wateriness! This is where patience during the sauté step really pays off. You absolutely must cook the moisture out of those mushrooms before you even think about mixing them into the cheese base. Don’t rush it! Keep them on medium heat, stirring occasionally, until you see the liquid they release has completely evaporated and they start to actually brown and stick just a tiny bit to the pan. When they look condensed and savory—not wet—then they are ready. If you follow that instruction, you’ll have the most perfect texture for your savory bake recipe.
How long can I keep the Stuffed Mushroom Dip refrigerated before baking?
This is one of the best features! Because this is such great comfort food dip, I love making it ahead of time for big weekends. Once you have the entire mixture assembled in the baking dish (but *before* you add the buttered breadcrumb topping!), cover it tightly with plastic wrap. You can safely keep it in the refrigerator for up to 24 hours. Just make sure you take it out about half an hour before you bake it so it loses that deep chill—that helps it heat evenly. Trust me, having this ready to go makes hosting so much more relaxing!
Nutritional Estimates for this Appetizer Dip Ideas
I know, I know. When something tastes this wonderfully rich and gooey, you probably don’t want to dwell on the numbers, right? Believe me, I get it! But since we are all about being open and honest here at Bliss Batter, I always provide these estimates for our recipes. Please remember, these are just starting points for this stuffed mushroom dip.
The nutritional content for this appetizer dip ideas can swing quite a bit depending on what you use. For example, if you decided to use full-fat cream cheese instead of a light version, or if you decided to add that optional sausage our notes mentioned, those numbers will definitely increase! These figures are calculated based on the exact ingredients listed in the recipe, split across six generous servings, so keep portion control in mind when you’re serving up this deliciousness.
- Serving Size: 1/6 of dip (a good scoop!)
- Calories: Around 280 (It’s rich, honey!)
- Fat: 24g (A good portion of that is flavor, I promise!)
- Saturated Fat: 14g
- Carbohydrates: 5g
- Protein: 11g
- Sodium: 450mg (Cheese is salty, so measure that Parmesan carefully!)
This is definitely more of a special occasion cheesy baked dip than an everyday snack, built on butter, cheese, and lots of savory flavor. Enjoy it responsibly, share it generously, and don’t worry too much about the details when you are having fun!
Share Your Homemade Stuffed Mushroom Dip Creations
I genuinely hope you’ve loved making this incredibly satisfying stuffed mushroom dip as much as I love eating it! Seriously, when you see that skillet come out of the oven, golden and bubbling, and everyone rushes toward it with crackers and bread, that’s what baking is all about—creating moments of pure, shared bliss.
Once you take that first dip, please come back and tell me what you thought! Did you use your favorite spicy cracker, or maybe bake those baguette slices just how I suggested? Leaving a star rating really helps me know how the recipe worked out for you, and knowing you enjoyed it keeps me inspired to keep developing these easy, crowd-pleasing recipes. We are building this community rooted in homemade happiness together!
If you snapped a picture before everyone devoured it (and trust me, you’ll have to be fast!), tag me on social media! I love seeing what you create in your kitchens. If you want to learn more about my journey and why I think every day deserves a little baking magic, pop over and read my story on the About page. Happy sharing, friends!
PrintThe Ultimate Creamy, Cheesy Baked Stuffed Mushroom Dip

Transform the classic appetizer into an easy-to-share dip. This warm, savory bake features sautéed mushrooms, garlic, and a rich blend of cream cheese and Parmesan, perfect for any gathering.
- Prep Time: 15 min
- Cook Time: 25 min
- Total Time: 40 min
- Yield: 6 servings 1x
- Category: Appetizer
- Method: Baking
- Cuisine: American
- Diet: Vegetarian
Ingredients
- 1 tablespoon olive oil
- 1 pound cremini or baby bella mushrooms, finely chopped
- 4 cloves garlic, minced
- 8 ounces cream cheese, softened
- 1/2 cup sour cream or Greek yogurt
- 1/2 cup grated Parmesan cheese, plus 2 tablespoons for topping
- 1/2 cup shredded mozzarella cheese
- 1/4 cup chopped fresh parsley
- 1 teaspoon dried thyme
- 1/2 teaspoon salt
- 1/4 teaspoon black pepper
- 1/4 cup breadcrumbs (Panko preferred)
- 2 tablespoons melted butter
Instructions
- Preheat your oven to 375 degrees Fahrenheit. Lightly grease an 8-inch pie dish or a small oven-safe skillet.
- Heat olive oil in a large skillet over medium heat. Add the finely chopped mushrooms and cook, stirring occasionally, until they release their moisture and begin to brown, about 8 to 10 minutes.
- Add the minced garlic to the skillet and cook for 1 minute until fragrant. Remove the skillet from the heat and let the mushroom mixture cool slightly.
- In a medium bowl, combine the softened cream cheese, sour cream, 1/2 cup Parmesan cheese, mozzarella cheese, parsley, thyme, salt, and pepper. Mix until smooth and well combined.
- Fold the cooled mushroom and garlic mixture into the cheese mixture until evenly distributed.
- Spread the dip mixture evenly into your prepared baking dish.
- In a small bowl, combine the breadcrumbs and melted butter. Sprinkle this topping evenly over the dip mixture, followed by the remaining 2 tablespoons of Parmesan cheese.
- Bake for 20 to 25 minutes, or until the dip is hot throughout and the topping is golden brown and bubbly.
- Let the dip rest for 5 minutes before serving warm with crackers or toasted baguette slices.
Notes
- You can prepare the dip mixture up to 24 hours in advance. Store it covered in the refrigerator and add the topping just before baking.
- For a richer flavor, you can substitute 4 ounces of cooked, crumbled sausage into the cheese mixture.
- Serve this warm savory dip with sturdy crackers, toasted baguette slices, or fresh vegetable sticks like carrots and celery.
Nutrition
- Serving Size: 1/6 of dip
- Calories: 280
- Sugar: 2
- Sodium: 450
- Fat: 24
- Saturated Fat: 14
- Unsaturated Fat: 10
- Trans Fat: 0.5
- Carbohydrates: 5
- Fiber: 1
- Protein: 11
- Cholesterol: 65