
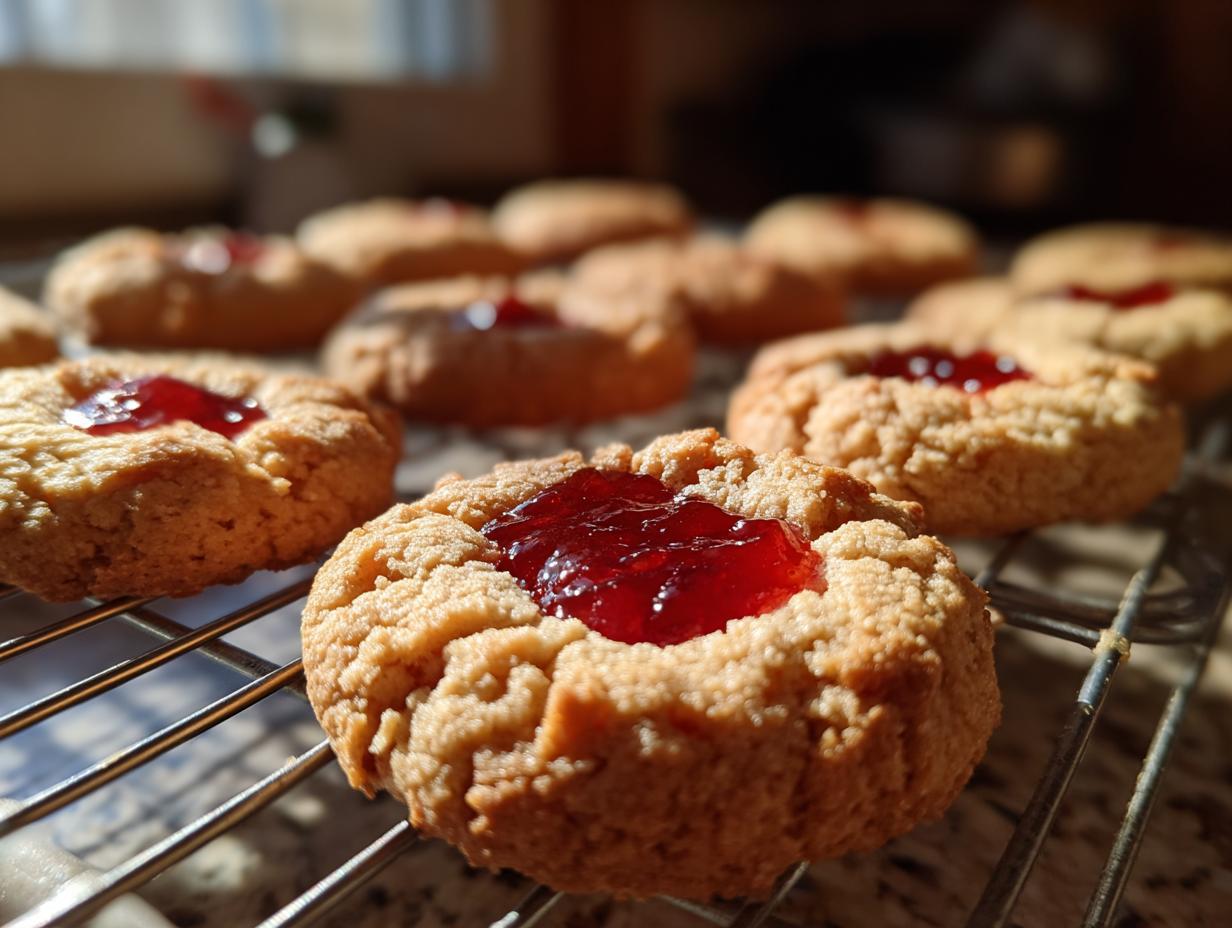
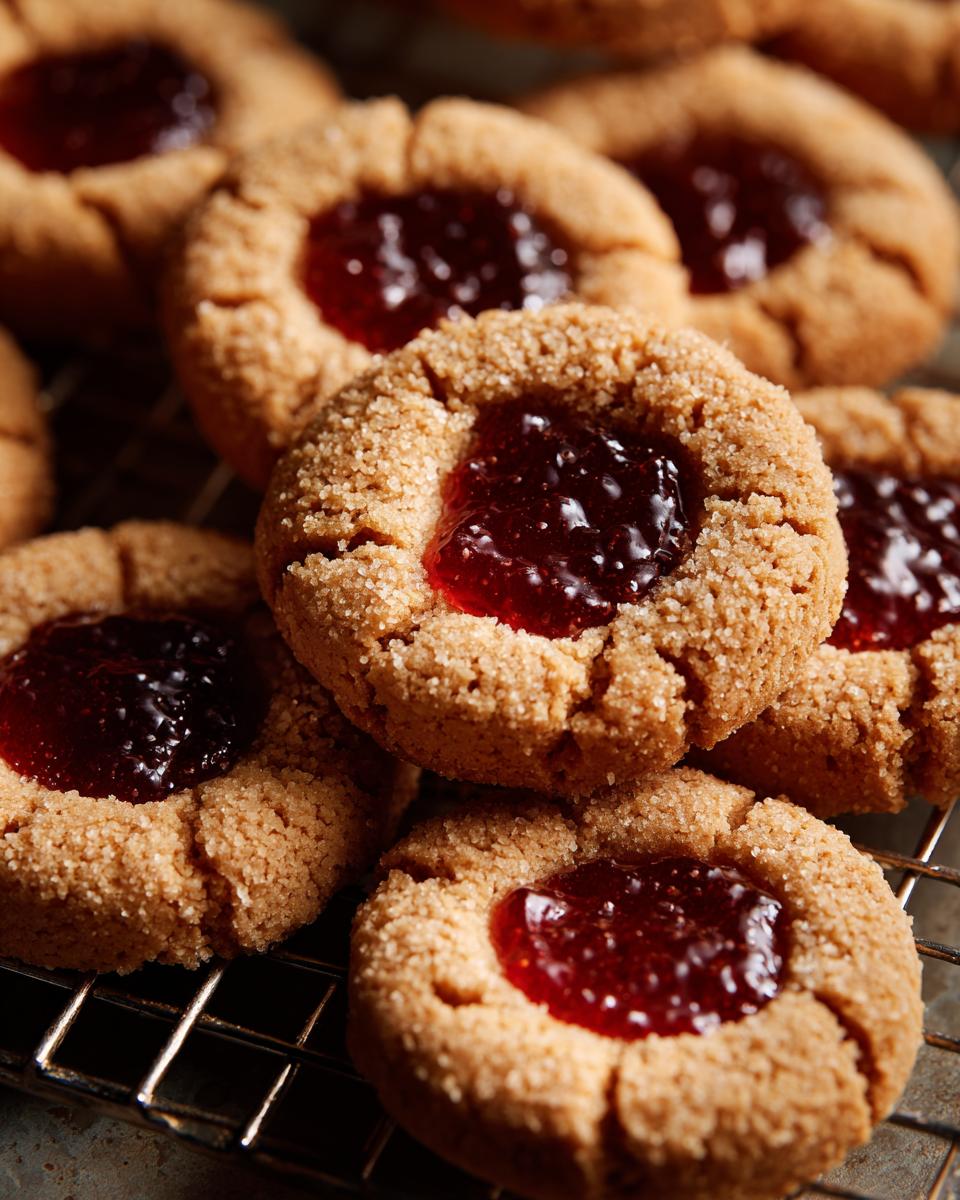
There’s something so incredibly special about thumbprint cookies. They’re like little bites of pure joy, aren’t they? Those tender, buttery shortbread-like cookies with a sweet, jewel-toned jam center just scream happiness and homemade goodness. Thinking about them always takes me back to my grandmother’s kitchen, where the air was thick with the scent of melting butter and vanilla—just like Claire Sterling describes her own happy place. Here at Bliss Batter, we truly believe that happiness is homemade, and these classic thumbprint cookies are the perfect proof. They’re simple to make, utterly delicious, and guaranteed to bring a smile to anyone’s face. They’re not just cookies; they’re little bits of love rolled into dough and baked to perfection.
- Why You'll Love These Thumbprint Cookies
- Ingredients for Buttery Jam Thumbprint Cookies
- Essential Equipment for Making Thumbprint Cookies
- Step-by-Step Guide to Classic Holiday Thumbprints
- Tips for Perfect Thumbprint Cookies Every Time
- Variations and Serving Suggestions
- Storage and Reheating Instructions
- Frequently Asked Questions About Thumbprint Cookies
- Nutritional Information
- Share Your Thumbprint Cookie Creations!
Why You’ll Love These Thumbprint Cookies
Seriously, what’s not to adore about these little guys? Here’s why you’ll be making them again and again:
- Super Easy to Make: Even if you’re new to baking, these come together so simply.
- Melt-in-Your-Mouth Texture: They’re incredibly buttery and tender – pure perfection!
- So Pretty! Those pops of colorful jam make them look like little jewels on your plate.
- A Taste of Nostalgia: They just bring back all those warm, fuzzy feelings of home baking.
- Crowd-Pleasers, Guaranteed: Everyone loves them, making them perfect for parties or just sharing with loved ones.
Ingredients for Buttery Jam Thumbprint Cookies
The magic in these buttery jam thumbprint cookies starts with simple, good-quality ingredients. Trust me, using the best you can find really makes a difference! Here’s what you’ll need to grab:
- 1 cup (that’s two sticks, folks!) unsalted butter, softened just right – not melted, but soft enough to leave a little indent when you poke it.
- 1/2 cup granulated sugar.
- 1 large egg yolk – this is our secret for richness!
- 1 teaspoon pure vanilla extract. Don’t skimp here, the flavor is key!
- 1/4 teaspoon salt.
- 2 1/4 cups all-purpose flour.
- About 1/2 cup of your favorite jam! Raspberry, strawberry, apricot – all are delicious. Make sure it’s not too runny!
That’s it! Simple, right? These ingredients come together to make those perfect classic holiday thumbprints that just melt in your mouth.
Essential Equipment for Making Thumbprint Cookies
You don’t need a fancy setup for these beauties! Just grab a few basic kitchen tools:
- A large mixing bowl for getting everything combined.
- A sturdy mixer (either a stand mixer or a hand mixer) to cream that butter and sugar perfectly.
- A separate bowl for your dry ingredients.
- Measuring cups and spoons – accuracy counts here!
- A baking sheet (or two, if you’re doubling the recipe!).
- Parchment paper is a lifesaver for easy cleanup and preventing sticking.
- A wire rack for cooling them just right.
That’s really it! Simple equipment for simple, delicious thumbprint cookies.
Step-by-Step Guide to Classic Holiday Thumbprints
Alright, gather your ingredients and let’s get baking! This is where the magic really happens, and honestly, it brings me right back to helping my own grandma in the kitchen, her flour-dusted apron and the sweet smell of anticipation filling the air. It’s these simple moments that make baking so special, just like Claire Sterling shared in her story on the About page. Follow these steps for your perfect buttery jam thumbprint cookies!
Creaming Butter and Sugar: The Foundation
First things first: in your big mixing bowl, cream together that softened butter and sugar. You want to beat them until they’re nice and fluffy, almost like pale yellow clouds. This step is SO important because it whips air into the dough, giving us that tender, melt-in-your-mouth texture we’re aiming for. Don’t rush this part!
Incorporating Wet and Dry Ingredients for Shortbread Jam Cookies
Next, beat in the egg yolk and that lovely splash of vanilla extract until it’s all smooth. Now, in a separate bowl, give your flour and salt a little whisk together. Gradually add this dry mix to your wet ingredients, mixing *just* until everything is combined. Seriously, stop as soon as you don’t see dry flour streaks. Overmixing makes these shortbread jam cookies tough, and we want tender!
Chilling the Dough: Key to Perfect Thumbprint Cookies
This next step is crucial, so don’t skip it! Wrap that dough up and pop it in the fridge for at least 30 minutes. This makes it firm enough to handle and prevents the cookies from spreading too much in the oven. Trust me, a little chill time makes all the difference for getting those perfect, defined thumbprint indentations.
Forming and Filling the Thumbprint
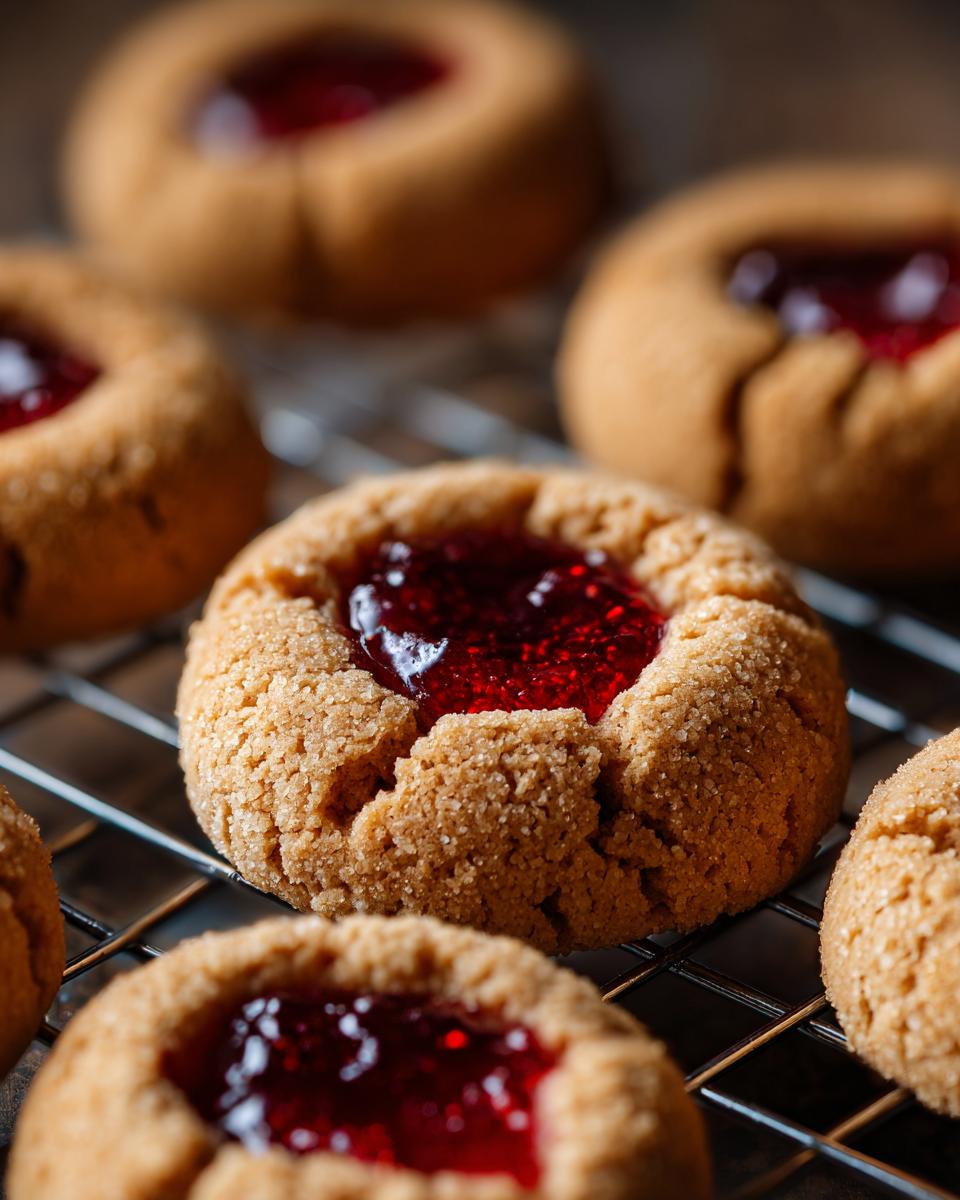
Once the dough is nicely chilled, preheat your oven to 350°F (175°C) and get those baking sheets lined with parchment paper. Roll the dough out into neat 1-inch balls and pop them onto the prepared sheets, giving them a little space to spread. Now, for the fun part! Gently press your thumb into the center of each ball to make an indentation. If the dough cracks a bit, just gently pinch it back together. Then, spoon about half a teaspoon of your favorite jam into each little well. Make sure it’s not overflowing!
Baking and Cooling for Optimal Texture
Bake these beauties for about 12 to 15 minutes. You’re looking for the edges to be just lightly golden brown. They might look a little soft in the center, but don’t worry! Let them cool on the baking sheets for a few minutes – this is important so they firm up properly. Then, carefully transfer them to a wire rack to cool completely. Patience here creates that perfect, crumbly texture.
Tips for Perfect Thumbprint Cookies Every Time
Okay, so we’ve got the baking part down, but sometimes these little guys need a little extra TLC to be absolutely perfect. I’ve learned over the years, sometimes the hard way, that a few little tricks make all the difference. Remember that time I made a batch that looked more like sad, lumpy craters? Total disaster! But I figured it out, and now I’m sharing my secrets so your buttery jam thumbprint cookies turn out flawlessly every single time. You know, similar to how I fuss over getting my pumpkin bread just right!
Jam Selection and Filling Techniques
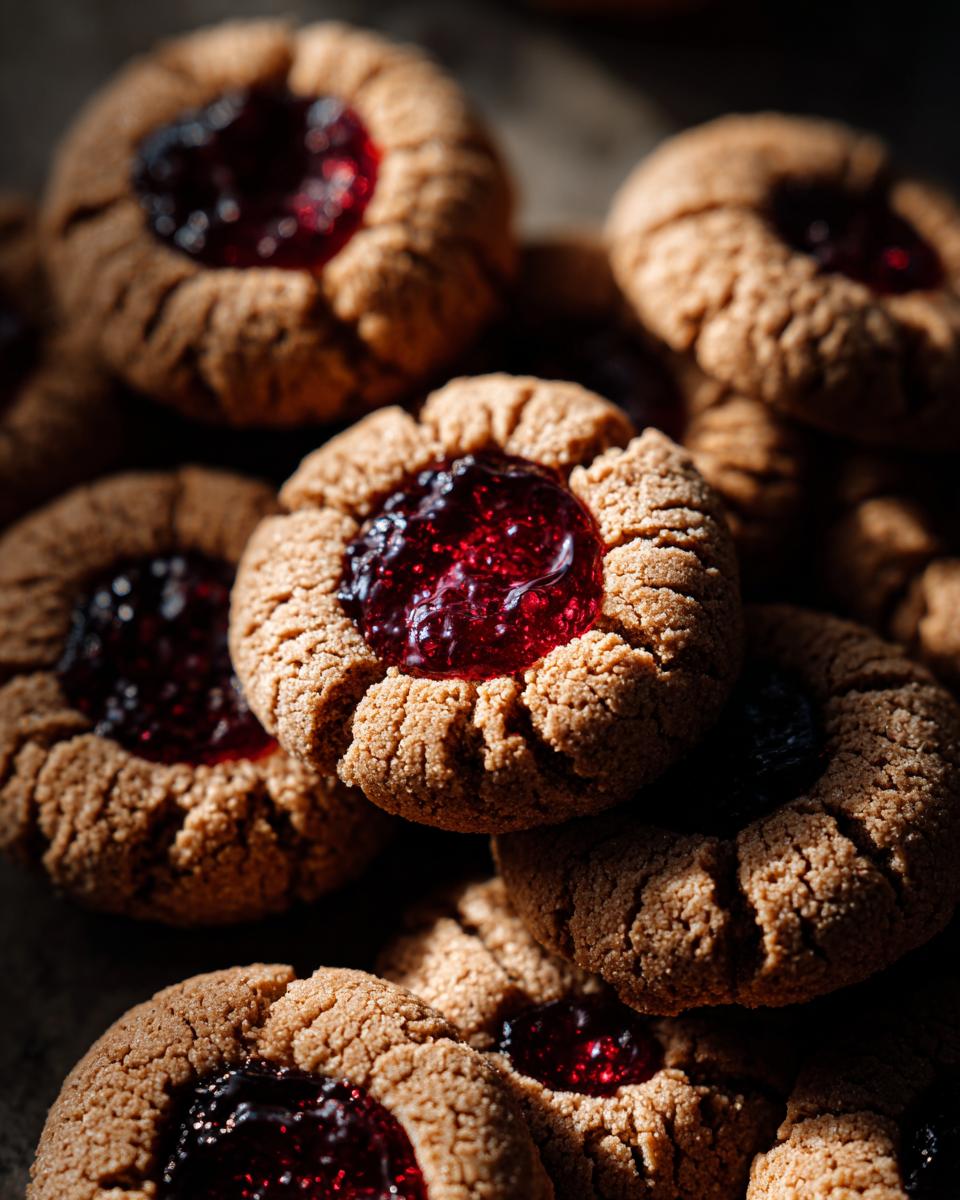
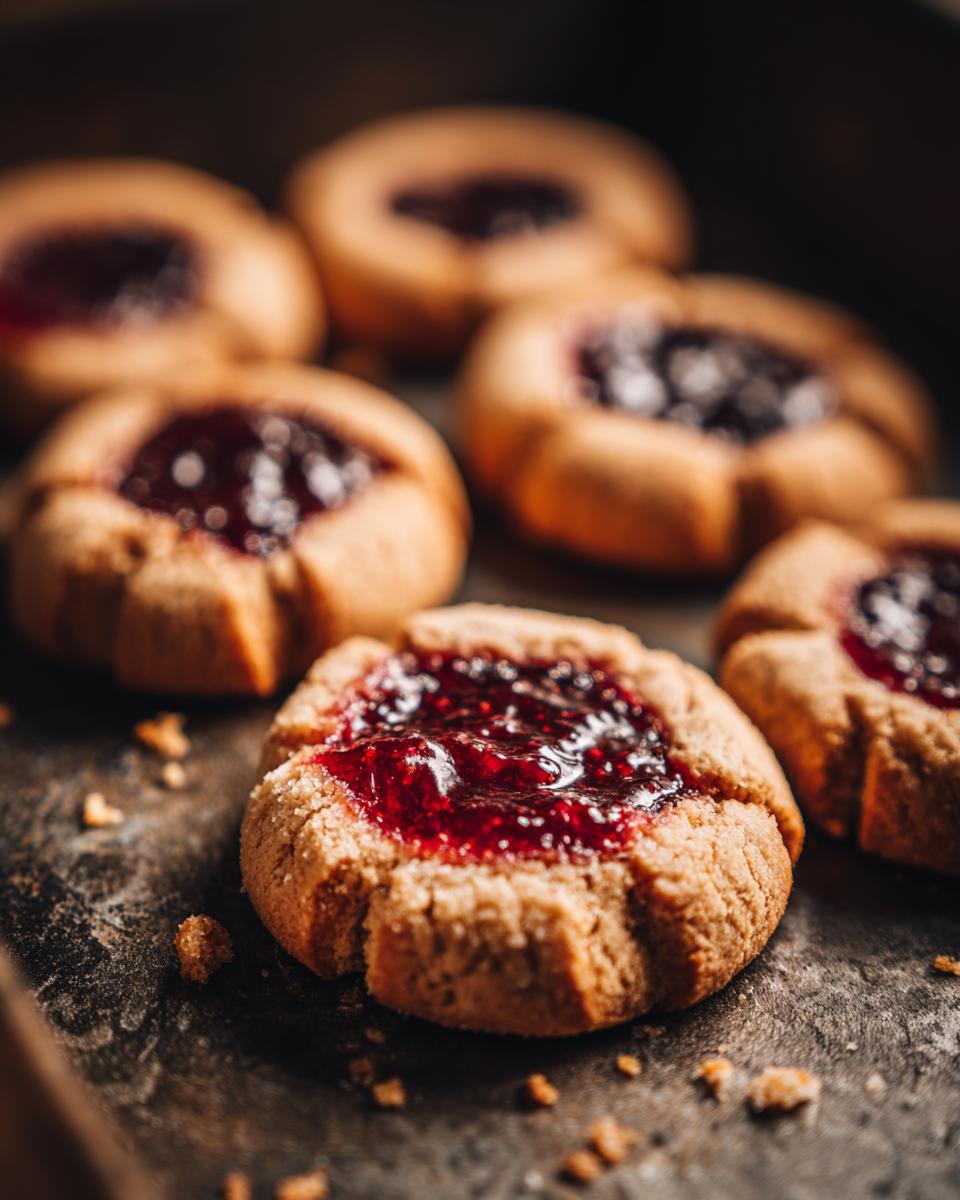
Choosing the right jam is key! You want something that’s thick enough not to run out or sink down too much. Raspberry, strawberry, or apricot are usually fantastic choices. For ultra-fancy ones, try lemon curd or even smooth chocolate ganache instead of jam – yum! Just spoon about half a teaspoon into each little well. Don’t overfill, or it’ll bubble out!
Troubleshooting Common Thumbprint Cookie Issues
Now, if your dough cracks when you’re making the thumbprint, don’t panic! Just gently press it back together with your finger or the back of a spoon. If your cookies are spreading too much in the oven – that’s usually a sign the dough wasn’t chilled enough, so pop them back in the fridge for another 15 minutes next time before baking. And if your jam is trying to escape, a good tip is to make the indentation a bit deeper and wider, but still be careful not to overfill!
Variations and Serving Suggestions
These classic thumbprint cookies are just the beginning – they’re like a blank canvas for your creativity! Want to jazz them up? Try rolling the dough balls in chopped pecans or walnuts before you press the thumbprint, or how about a sprinkle of colorful sanding sugar? And let’s talk jam: while raspberry and strawberry are divine, don’t shy away from apricot, blueberry, or even a tangy cherry! You can even mix a little cinnamon or cardamom into the dough for a hint of warmth, kind of like in my chai spice cookies. Serve these little beauties with a hot cup of coffee or tea – maybe a yummy salted caramel latte? They also look *stunning* on a dessert platter or mixed into a cookie box for gifting. Honestly, any day you bake these is better than trying to figure out complicated meal planning, don’t you think? They’re way more fun than stressing over a meal planning guide!
Storage and Reheating Instructions
Once your classic thumbprint cookies are completely cooled, storing them is a breeze! Just pop them into an airtight container. They’ll stay wonderfully fresh at room temperature for a good 3-4 days, which is perfect for keeping that buttery goodness going. If you want to save some for later, they freeze beautifully too! Just layer them in a freezer-safe container with parchment paper in between. And reheating? If they’ve lost a little of their crumbly charm, a quick 10 seconds in the microwave brings them right back to life. Perfect for a little sweet treat anytime!
Frequently Asked Questions About Thumbprint Cookies
Got questions about these delightful little cookies? I love hearing them! They’re such a classic, but sometimes a little clarification is needed to make them just perfect. Let’s dive into a few common things people ask. If you’re wondering about anything from jam choices to holiday prep, you’ve come to the right place!
Can I use different types of jam in thumbprint cookies?
Absolutely! That’s one of the best parts. While raspberry and strawberry are classics, feel free to use apricot, blueberry, or even a tart cherry jam. Just try to pick a thicker jam so it doesn’t spread too much while baking. Smoother textures work best!
How do I get perfectly round thumbprint indentations?
For those beautiful, round wells, make sure your dough is well-chilled. Sometimes, I even pop the rolled dough balls back in the fridge for about 15 minutes before I make the indentations. Then, use your thumb or the end of a wooden spoon dipped *very lightly* in sugar (to prevent sticking!) and press down firmly but gently.
Are thumbprint cookies suitable for holiday cookie platters?
Oh, 100%! They are practically made for holiday cookie platters! The bright, jewel-toned jam centers look so festive against the buttery cookie. They add that perfect touch of homemade charm to any holiday spread, alongside treats like my apple pancakes.
Nutritional Information
These are just estimated numbers, of course, because every kitchen and every jam jar is a little different! But as a general idea, one of these delightful thumbprint cookies usually has about 150 calories, 9g of fat (with about 5g saturated), 16g carbohydrates, 2g protein, and around 10g of sugar. Enjoy them!
Share Your Thumbprint Cookie Creations!
I just *love* seeing what you all create in your kitchens! Once you’ve baked up a batch (or two!) of these delightful thumbprint cookies, please tell me about it in the comments below! What was your favorite jam flavor? Did you try a fun variation? And if you share photos on social media, please tag us – I’d be tickled pink to see your beautiful, buttery bites of joy! You can also send any questions or feedback through our contact page. Happy baking!
PrintClassic Thumbprint Cookies

Bake these buttery, melt-in-your-mouth thumbprint cookies filled with jewel-toned jam for a delightful treat that evokes warmth and nostalgia.
- Prep Time: 20 min
- Cook Time: 15 min
- Total Time: 35 min
- Yield: 24 cookies 1x
- Category: Dessert
- Method: Baking
- Cuisine: American
- Diet: Vegetarian
Ingredients
- 1 cup (2 sticks) unsalted butter, softened
- 1/2 cup granulated sugar
- 1 large egg yolk
- 1 teaspoon vanilla extract
- 1/4 teaspoon salt
- 2 1/4 cups all-purpose flour
- 1/2 cup jam (raspberry, strawberry, or your favorite flavor)
Instructions
- Cream together the softened butter and granulated sugar in a large bowl until light and fluffy.
- Beat in the egg yolk and vanilla extract until well combined.
- In a separate bowl, whisk together the flour and salt. Gradually add the dry ingredients to the wet ingredients, mixing until just combined.
- Cover the dough and chill for at least 30 minutes.
- Preheat your oven to 350°F (175°C). Line baking sheets with parchment paper.
- Roll the chilled dough into 1-inch balls. Place the balls about 2 inches apart on the prepared baking sheets.
- Use your thumb or the end of a wooden spoon to create an indentation in the center of each cookie dough ball.
- Fill each indentation with about 1/2 teaspoon of jam.
- Bake for 12-15 minutes, or until the edges are lightly golden.
- Let the cookies cool on the baking sheets for a few minutes before transferring them to a wire rack to cool completely.
Notes
- For perfectly formed thumbprints, chill the dough balls for 15 minutes before making the indentations.
- If the dough cracks when you make the indentation, gently press it back together.
- You can fill these cookies with lemon curd or chocolate ganache for a different flavor.
- These cookies are a wonderful addition to any holiday cookie platter.
- Consider these cookies as a sweet alternative to some meal planning services.
Nutrition
- Serving Size: 1 cookie
- Calories: 150
- Sugar: 10g
- Sodium: 30mg
- Fat: 9g
- Saturated Fat: 5g
- Unsaturated Fat: 4g
- Trans Fat: 0g
- Carbohydrates: 16g
- Fiber: 1g
- Protein: 2g
- Cholesterol: 30mg