
Oh, the sheer joy of pulling something truly spectacular out of your own oven! As someone who believes happiness is absolutely homemade, I want to let you in on a little secret: incredible homemade Italian bread doesn’t require hours of sweaty kneading. Nope! When I was planning corporate events, baking was my escape, my moment of calm. And this Easy No Knead Crusty Homemade Italian Bread? It captures that bakery-quality magic with almost zero effort from you.
Trust me when I say this Rustic Italian Loaf is completely beginner-friendly. Anyone can look at a professional artisan loaf and think, “I could never do that.” But this recipe proves them wrong! We’re using time, not muscle, to develop that incredible flavor and that deeply satisfying crust. You are going to love this simple yeast bread recipe!
- Why This Easy No Knead Italian Bread Recipe Works Wonders
- Essential Ingredients for Your Homemade Italian Bread
- Step-by-Step Instructions for Crusty Italian Bread Recipe
- Tips for Success When Baking Homemade Italian Bread
- Serving Suggestions for Your Freshly Baked Bread
- Storage and Reheating Instructions for Italian Bread
- Frequently Asked Questions About This No Knead Italian Bread
- Estimated Nutritional Data for This Artisan Bread Baking Recipe
- Share Your Rustic Italian Loaf Experience
Why This Easy No Knead Italian Bread Recipe Works Wonders
When you’re aiming for that perfect loaf to serve with dinner, you want texture and flavor without the fuss, right? That’s exactly what this recipe delivers. We skip the hard work and let chemistry do the heavy lifting. You truly get bakery-style bread with minimal involvement from you!
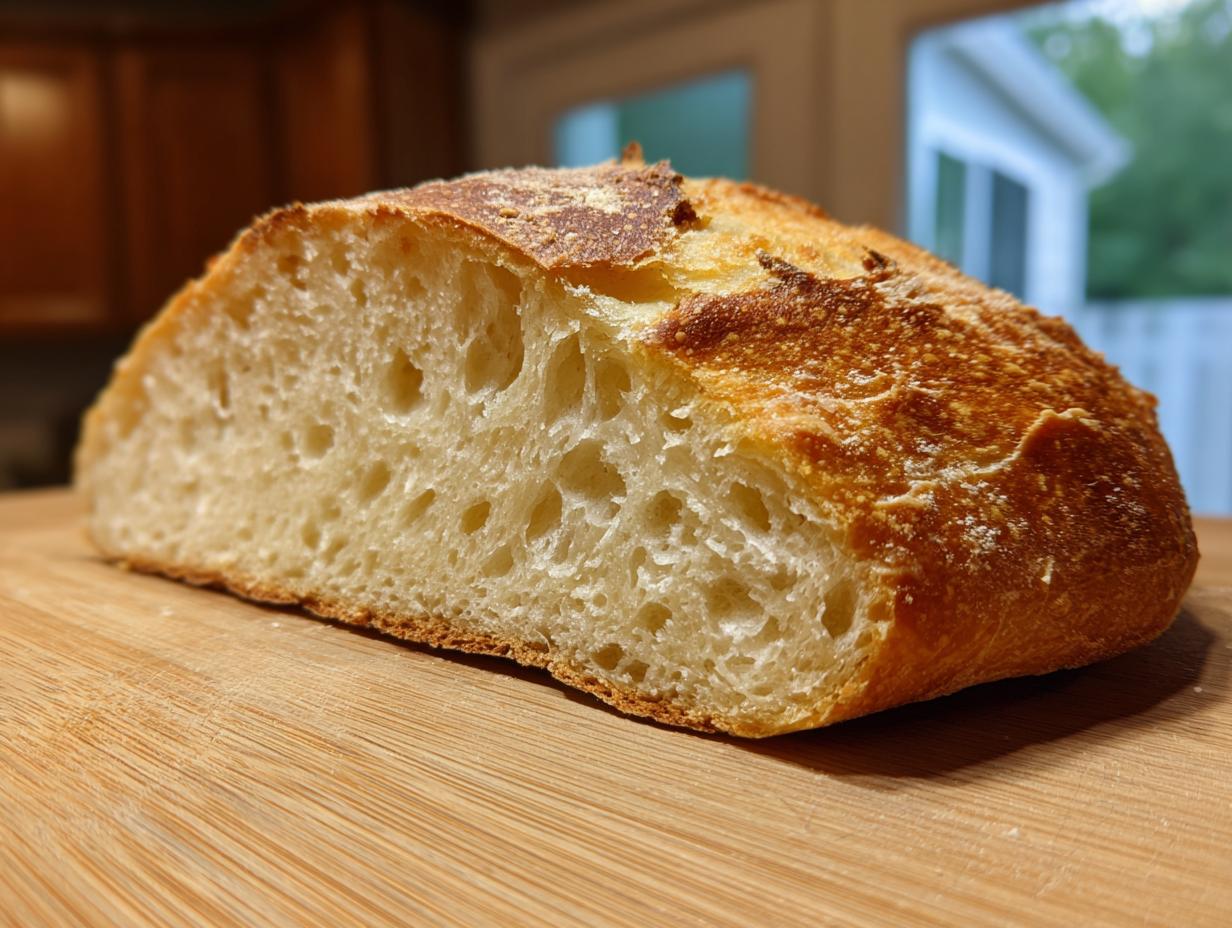
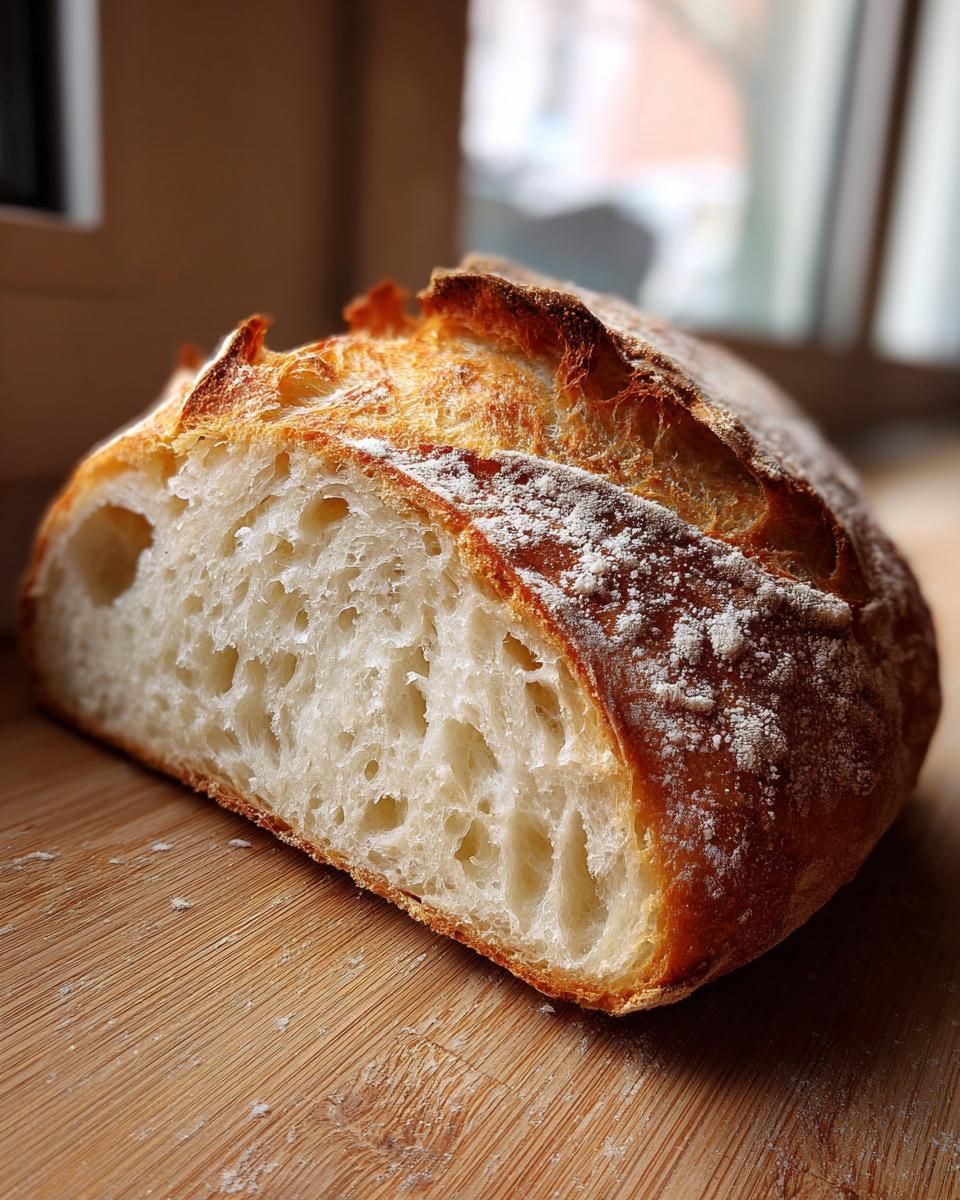
- A shatteringly **Crusty Italian Bread Recipe** exterior.
- A beautifully soft and chewy interior.
- Virtually no actual kneading required! Perfect for artisan bread baking beginners.
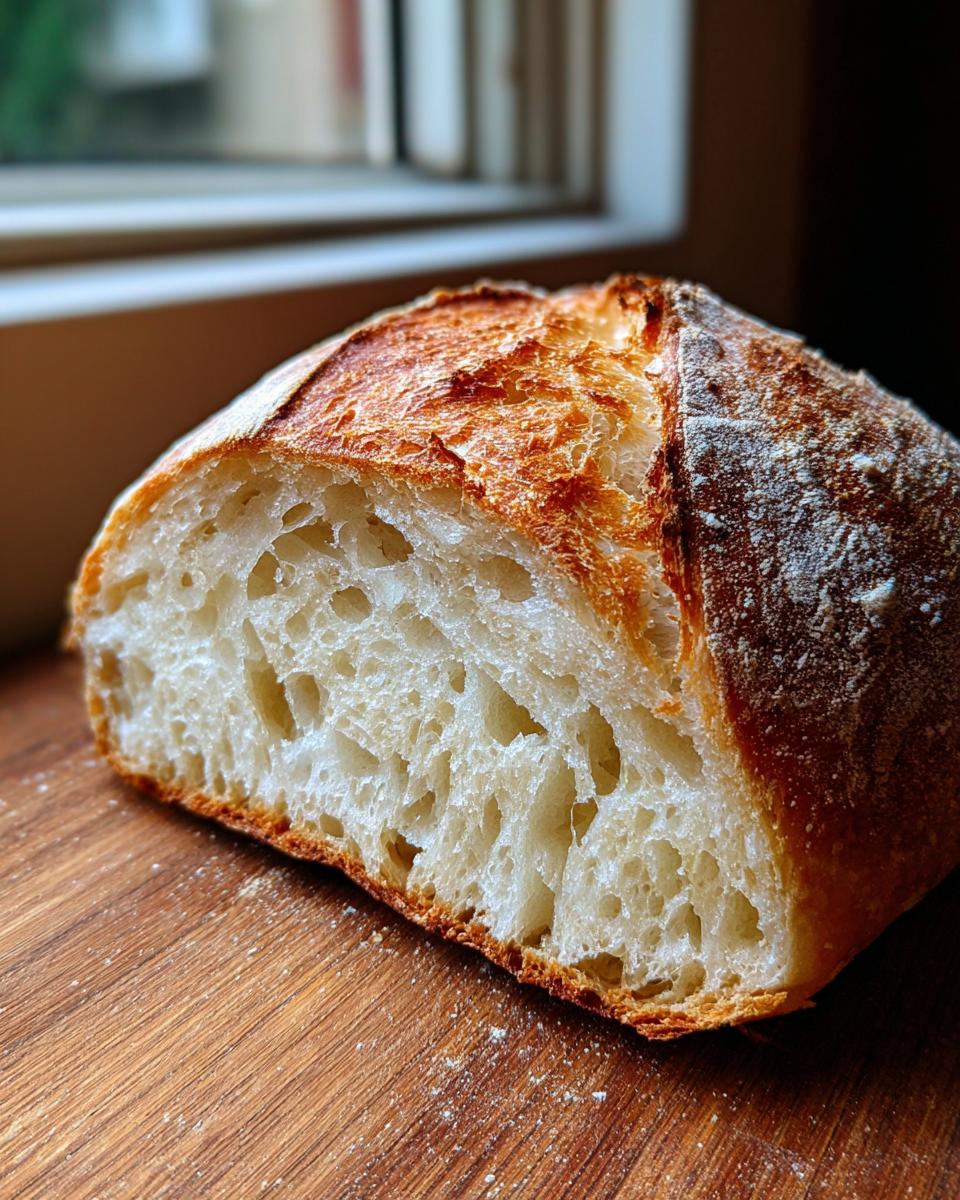
Achieving the Perfect Crusty Italian Bread Texture
The secret weapon here is the Dutch oven—don’t skip it! We preheat that cast iron beast super high, and when the wet dough goes in, the lid traps all the steam pouring off the bread. That steam keeps the crust soft just long enough to let the loaf fully expand, then when we take the lid off, that high heat creates that gorgeous, crackly, golden crust you crave.
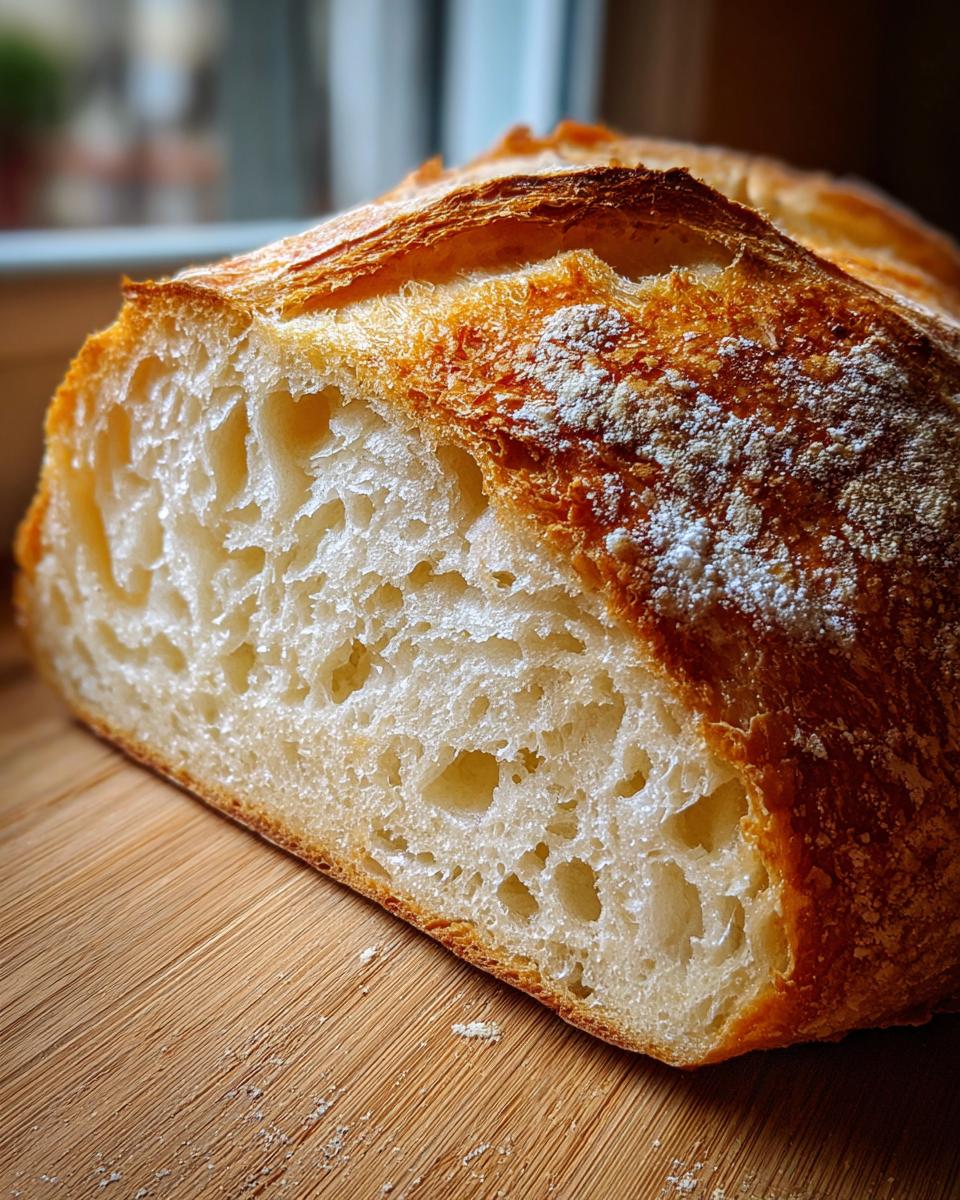
The Magic of Long, Slow Fermentation for Flavor
This loaf relies on time, not elbow grease, for flavor development. That 12 to 18-hour rest we give the dough at room temperature is everything. It allows those simple ingredients to transform. This long, slow process builds deep, complex, slightly tangy flavors that make this italian bread taste like it took all day in an Italian bakery, even though your hands barely did any work!
Essential Ingredients for Your Homemade Italian Bread
Okay, I know I promised an easy recipe, but even in no-knead baking, the ingredients matter! You only need four simple things, plus a little oil for handling. This stripped-down list is why this homemade Italian bread is such a staple in our house—it’s almost completely pantry-friendly!
- 3 cups All-Purpose Flour
- 1 1/2 teaspoons Salt
- 1/4 teaspoon Instant Yeast
- 1 1/2 cups Cool Water
- 1 tablespoon Olive Oil (for coating)
Ingredient Notes and Substitution Tips
Just a couple of quick notes here to ensure you get that perfect rustic loaf!
First, the yeast! I specified Instant Yeast because it mixes right in with the dry ingredients and doesn’t need proofing first. If you only have Active Dry Yeast, you’ll need to dissolve it in the water with a tiny pinch of sugar first, wait about 5 minutes until it foams up, and then proceed. Don’t panic if you have to make that swap!
For texture, All-Purpose Flour works perfectly for that classic soft and chewy bread interior. However, if you want an even chewier, slightly tougher crumb, you can absolutely swap to Bread Flour. It has a higher protein content, which is great for structure, but AP is my go-to for this specific rustic loaf.
And remember what I mentioned earlier? If you want to add a little aromatic pop (especially great if you’re serving this bread for dinner alongside pasta sauce), gently fold about 1 tablespoon of dried Italian herbs into the flour mix before you add the water. It makes the whole kitchen smell divine!
Step-by-Step Instructions for Crusty Italian Bread Recipe
This is where the magic happens, though I promise you, it’s mostly hands-off! Remember, we are building flavor slowly so we don’t have to work hard later. Don’t worry if the dough looks nothing like what you see in those fancy baking videos at first—it’s supposed to be sticky! That’s the sign of great hydration leading to a soft interior.
Mixing the Dough and the Long Rest for Authentic Italian Bread
First things first: grab your big bowl. Whisk together your flour, salt, and that tiny bit of instant yeast. Now, pour in the cool water. You’re going to mix this with a sturdy spoon, just until everything comes together. Seriously, stop mixing when you see no more dry flour left—you want a beautiful, shaggy, sticky dough. Coat that sticky mess lightly with olive oil, cover it tightly with plastic wrap, and now you wait. Find a spot on your counter for it to rest at room temperature for a full 12 to 18 hours. This long rest develops that deep, honest flavor in your italian bread.
Shaping and Final Proofing the Rustic Italian Loaf
When you come back the next day, the dough will look bubbly and wild—that’s great! Lightly flour a clean surface and gently scrape the dough out of the bowl. Now, we shape, but this is crucial: you must be gentle! Fold the dough over itself just a few times to create a rough ball. We are trying to keep all those lovely air pockets intact for that soft center, so definitely do not knead it aggressively. Place your shaped loaf onto a piece of parchment paper, cover it loosely, and let it rest again for just 30 minutes. This is the final proof.
Baking Your Italian Bread to Golden Perfection
Time to heat things up! About 20 minutes before that 30-minute rest is over, put your Dutch oven, with the lid firmly on, into the oven. We need that cast iron searing hot, so preheat your oven to 450°F (232°C). Once hot, carefully remove the pot—watch those fingers, that thing is lava! Use your parchment paper as a sling to gently lower the dough right into the hot Dutch oven. Cover it up and bake for 30 minutes. Then, remove the lid so the bread can brown up beautifully. Keep baking for another 10 to 15 minutes until that crust is a deep, gorgeous golden brown. Your kitchen should smell incredible!
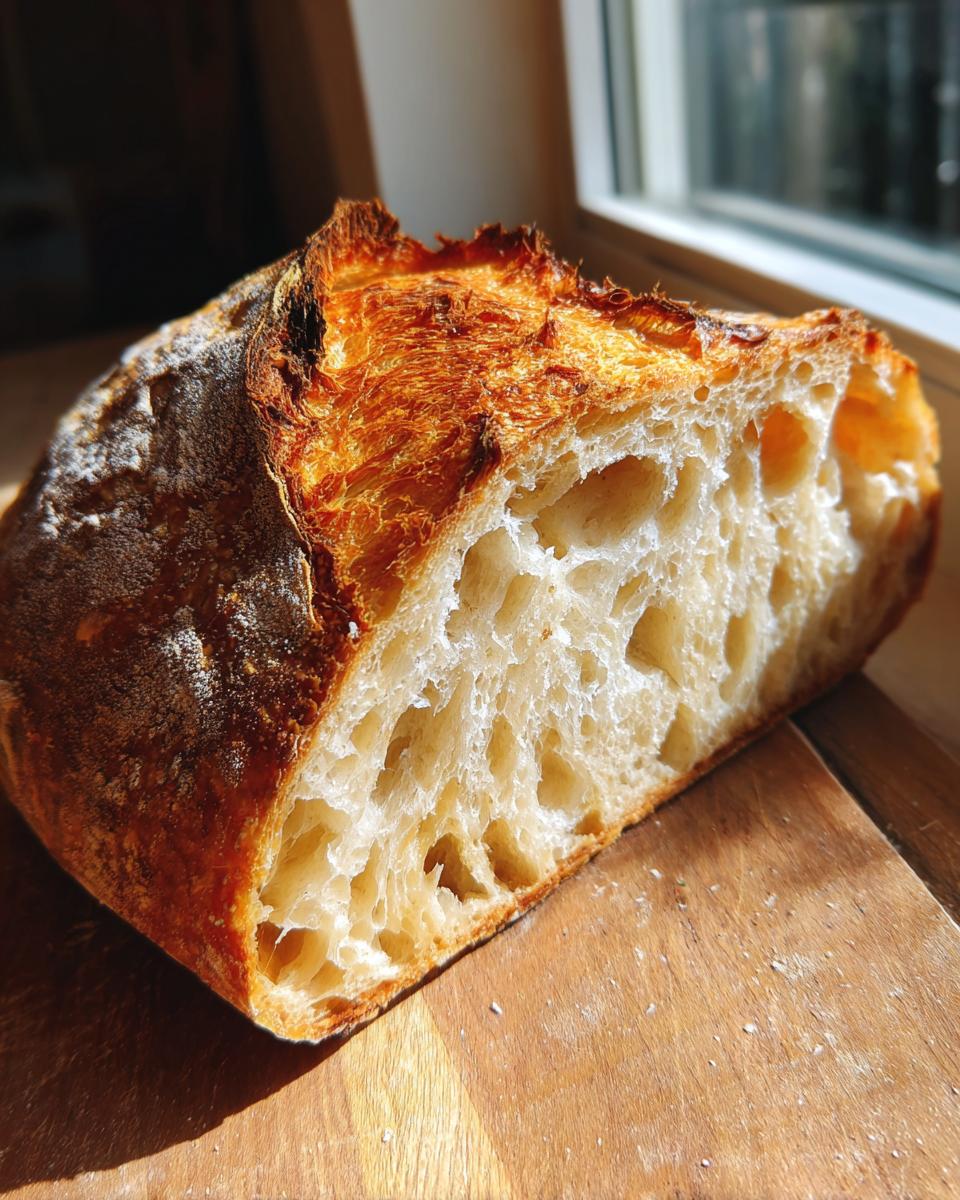
Tips for Success When Baking Homemade Italian Bread
Even with a recipe this easy, an experienced baker knows a couple of tricks can make the difference between good bread and *amazing* bread. My biggest tip for anyone attempting sourdough bread or this yeast bread is patience during the cooling process.
You absolutely must let this loaf cool completely on a wire rack before slicing. I know, I know, the smell is torture, and you want to tear into that crusty delight immediately! But slicing too soon traps steam inside, which effectively steams the soft interior, making it gummy. Just let it rest for at least an hour!
Also, don’t skimp on preheating the Dutch oven. If it’s not screaming hot when the dough goes in, you won’t get that immediate burst of steam needed for that perfect, thick crust we’re after. That high heat is non-negotiable for this artisan bread baking result.
Serving Suggestions for Your Freshly Baked Bread
Now that you have this gorgeous, crusty Italian bread cooling, the real fun begins! This loaf is versatile, truly making it the perfect bread for dinner any night of the week. Of course, the classic move is just tearing off huge chunks for Italian bread dipping in good quality olive oil with a sprinkle of salt and pepper. Don’t waste these rustic loaves on delicate sandwiches!
They sing when paired with hearty sauces, like Bolognese or a rich marinara. Honestly, I prefer using a slice of this homemade Italian bread toasted slightly and rubbed with a garlic clove over any store-bought loaf for my garlic bread fix. It just has that perfect texture!
Storage and Reheating Instructions for Italian Bread
This beautiful, crusty Italian bread is just too good to rush through, so knowing how to store it properly is key. Because this is a rustic loaf made with just flour, water, salt, and yeast—no preservatives—it’s meant to be eaten fast! Ideally, this bread is best enjoyed the day you bake it, when that crust is singing and crackling.
If you have leftovers, the best way to store it at room temperature is to leave it cut-side down on your countertop if you only have a small amount left, or wrap it loosely in a clean linen towel or paper bag. Please, please, avoid plastic bags! Plastic traps moisture right against that amazing crust we worked so hard to develop, and it will turn soft and gummy overnight. Your beautiful crust deserves better treatment than that!
Don’t worry if the loaf gets a little soft the next day. Restoring that fantastic crunchy exterior is super easy! You just need to reheat it. I usually slice the leftover bread and place the slices directly onto a baking sheet. Pop them back into a 350°F oven for about 5 to 7 minutes. This blasts out any trapped moisture and crisps the outside right back up, making it perfect again for dipping or serving alongside dinner!
If you need to keep it longer than two days, freezing is your friend. Slice the loaf first, and then wrap the pieces tightly in plastic wrap before placing them in a sturdy freezer bag. When you’re ready for bread again, you can thaw the slices on the counter and then refresh them in the oven just as I described above. So easy!
Frequently Asked Questions About This No Knead Italian Bread
I get so many lovely emails from people trying this recipe for the first time, and that’s wonderful! If you’re worried about the long resting time or if your dough feels weird, don’t fret. This is truly the best place to start your beginner bread baking journey!
Can I make this Italian Bread faster than 12 hours?
That’s a very common question when someone is craving fresh bread right now! While this specific no knead Italian bread recipe relies on that long, slow fermentation to build that complex, artisan flavor, you absolutely can make a yeast bread faster. A shorter, 2-3 hour recipe would involve using slightly more yeast and doing 10 minutes of standard kneading. The trade-off is that you’ll lose some of that deep, tangy flavor that makes this rustic loaf so special. If you’re aiming for truly quick Italian bread, you’ll sacrifice that slow-fermented depth.
My bread didn’t get very crusty. What went wrong?
Oh, I hate when that happens after all that waiting! Usually, poor crust is a steam issue. Did you preheat the Dutch oven for a full 20 minutes at 450°F? The pot needs to be incredibly hot so that when the dough hits it, it instantly releases massive amounts of steam. If you pull the lid off too soon, or if your oven temperature dipped too low, you won’t get that signature crispy exterior we want in this Crusty Italian Bread Recipe. Make sure that lid stays on tight for those first 30 minutes!
Is using cool water a strict rule?
It really is! I know it seems weird when you’re used to warming water for yeast. But because this is an overnight, no-knead process, using cool or room-temperature water prevents the yeast from activating too quickly at room temperature. If you use warm water, your 18-hour rise might turn into a 6-hour explosion, and the flavor won’t develop correctly. Cool water keeps the yeast happy and slow!
Estimated Nutritional Data for This Artisan Bread Baking Recipe
I always like sharing the approximate nutrition information because, let’s be honest, that big, beautiful loaf of homemade Italian bread is going to feature heavily in our weeknight meals!
Remember, since this is made from scratch using basic pantry items, these numbers are based on standard calculations for the ingredients listed. If you swap in whole wheat flour or add lots of olive oil for dipping (which I highly recommend!), things will change a bit. But generally, this rustic loaf is wonderfully low in fat and has zero sugar added initially!
- Serving Size: 1 slice
- Calories: 180
- Carbohydrates: 37g
- Protein: 6g
- Fat: 0.8g
- Sugar: 0.5g
- Sodium: 350mg (This mostly comes from the salt measurement, so you can reduce that if you need to watch your sodium intake!)
This is such a comforting, simple loaf, and seeing the nutrition panel just confirms that it’s a wonderful base for just about anything—from a quick bread for dinner side dish to an incredible sandwich base. Enjoy every slice of this easy homemade bread!
Share Your Rustic Italian Loaf Experience
Now that you have your stunning, crusty Italian bread cooling down—or maybe you couldn’t wait and you’re already tearing into it—I truly want to see what you’ve made! Sharing our bakes is what makes this community so special here at Bliss Batter.
If you tried this No Knead Italian Bread recipe, please take a minute to leave a rating right down below. A little star review helps other bakers gain the confidence to try it out, too, which means so much to me!
And if you shared a picture of your beautiful rustic loaf on Instagram or Facebook, tag me! I absolutely live for seeing those golden, crackly crusts. Seeing your success—whether it’s your first-ever homemade loaf or your tenth—is the reason I develop these recipes!
If you have any questions while you’re baking, or if you want to share a special way you served your bread for dinner, please don’t hesitate to reach out through my contact page. Let’s keep baking happiness together!
PrintEasy No Knead Crusty Homemade Italian Bread
Bake a bakery-quality rustic loaf at home with this simple, no knead Italian bread recipe. You get a wonderfully crisp crust and a soft, airy interior perfect for serving with dinner or dipping in olive oil.
- Prep Time: 10 min
- Cook Time: 45 min
- Total Time: 13 hours 55 min
- Yield: 1 large loaf 1x
- Category: Bread
- Method: No Knead Baking
- Cuisine: Italian
- Diet: Vegetarian
Ingredients
- 3 cups All-Purpose Flour
- 1 1/2 teaspoons Salt
- 1/4 teaspoon Instant Yeast
- 1 1/2 cups Cool Water
- 1 tablespoon Olive Oil (for coating)
Instructions
- In a large bowl, whisk together the flour, salt, and instant yeast.
- Pour in the cool water. Mix with a wooden spoon or spatula until a shaggy, sticky dough forms. Do not overmix; stop when no dry flour remains.
- Lightly coat the dough with olive oil. Cover the bowl tightly with plastic wrap.
- Let the dough rest at room temperature for 12 to 18 hours. The dough will become bubbly and increase in volume.
- After the long rise, lightly flour a work surface. Gently scrape the dough out of the bowl onto the flour.
- Fold the dough over itself a few times to form a rough ball shape. Do not knead aggressively; you want to keep the air bubbles.
- Place the dough ball onto a piece of parchment paper. Cover loosely with plastic wrap or a clean kitchen towel. Let it rest for 30 minutes.
- About 20 minutes before baking, place a Dutch oven (with the lid on) into your oven. Preheat the oven to 450°F (232°C).
- Carefully remove the hot Dutch oven from the oven. Using the parchment paper as a sling, gently lower the dough into the hot pot.
- Cover the Dutch oven with the lid and bake for 30 minutes.
- Remove the lid and continue baking for another 10 to 15 minutes, or until the crust is deep golden brown and crisp.
- Carefully remove the bread from the Dutch oven and let it cool completely on a wire rack before slicing.
Notes
- For a chewier interior, use bread flour instead of all-purpose flour.
- If you want to add flavor, gently fold 1 tablespoon of dried Italian herbs into the dough just before the final 30-minute rest.
- Cooling the bread completely prevents the interior from becoming gummy when you slice it.
Nutrition
- Serving Size: 1 slice
- Calories: 180
- Sugar: 0.5
- Sodium: 350
- Fat: 0.8
- Saturated Fat: 0.1
- Unsaturated Fat: 0.7
- Trans Fat: 0
- Carbohydrates: 37
- Fiber: 1.5
- Protein: 6
- Cholesterol: 0