
Oh, the smell of the holidays! If your happiest memories involve sticky fingers and the warm, comforting scent of chocolate wafting from the oven, you are absolutely in the right place. When the weather turns chilly and the lights come out, I immediately reach for the candy canes! Today, we’re making my absolute favorite festive bake: the most intensely rich, delightfully fudgy candy cane brownies you will ever taste. Forget dry cakes; these deliver that dense, satisfying texture we all crave, finished with a cooling peppermint crunch. Trust me, as someone who started baking to find peace amid hectic event planning, I’ve perfected this recipe—it’s completely foolproof and designed to bring instant homemade bliss to your kitchen this season. Check out my ultimate fudgy brownie recipe for a year-round staple!
- Why Our Fudgy Candy Cane Brownies Are Your New Holiday Favorite
- Gathering Ingredients for Ultimate Candy Cane Brownies
- Step-by-Step Instructions for Perfect Candy Cane Brownies
- Tips for Making the Best Candy Cane Brownies Every Time
- Storing and Serving Your Festive Candy Cane Brownies
- Frequently Asked Questions About Peppermint Chocolate Bars
- Estimated Nutritional Snapshot for Candy Cane Brownies
- Share Your Joyful Candy Cane Brownies Creations
Why Our Fudgy Candy Cane Brownies Are Your New Holiday Favorite
I promise you, these aren’t just any brownies. If you’re looking for something that feels spectacularly indulgent but doesn’t require you to spend all day wrestling with finicky dough, you’ve found your winner! These are truly decadent brownies that look like you spent hours on them. They tick every box for easy Christmas baking.
- They are famously fudgy—they don’t bake up cakey, ever!
- The peppermint swirl elevates the standard chocolate flavor beautifully.
- They travel well and look absolutely stunning on a dessert platter.
Rich, Fudgy Texture Guaranteed
How do we get that supreme fudginess? It all comes down to the fat and sugar balance, just like with my classic brownie base. We use plenty of melted butter and a mix of granulated and light brown sugar. This high-fat, low-flour ratio means we pack in moisture and density, not air. You get a chewy edge and a totally molten center. Trust me, the texture is everything here!
The Perfect Peppermint Chocolate Balance
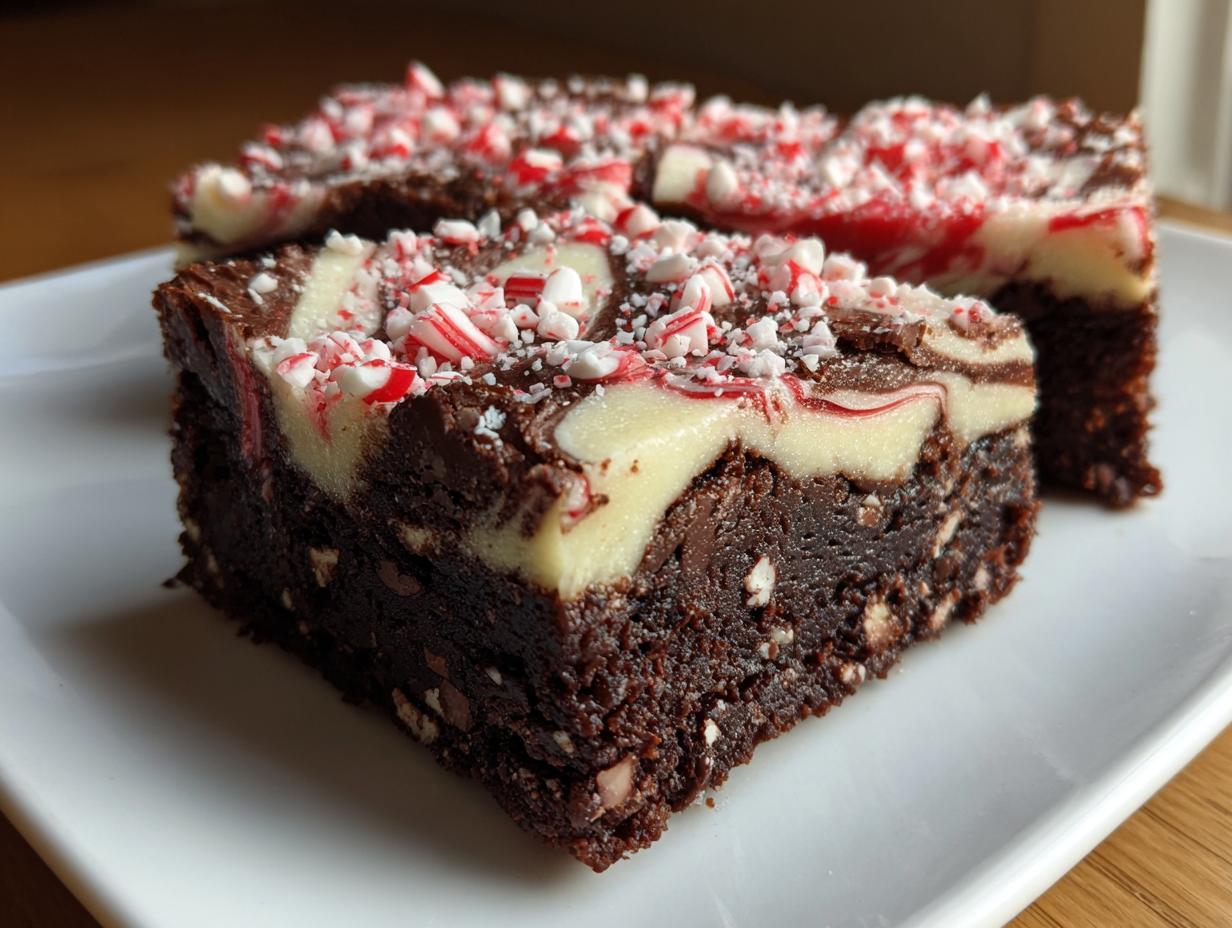
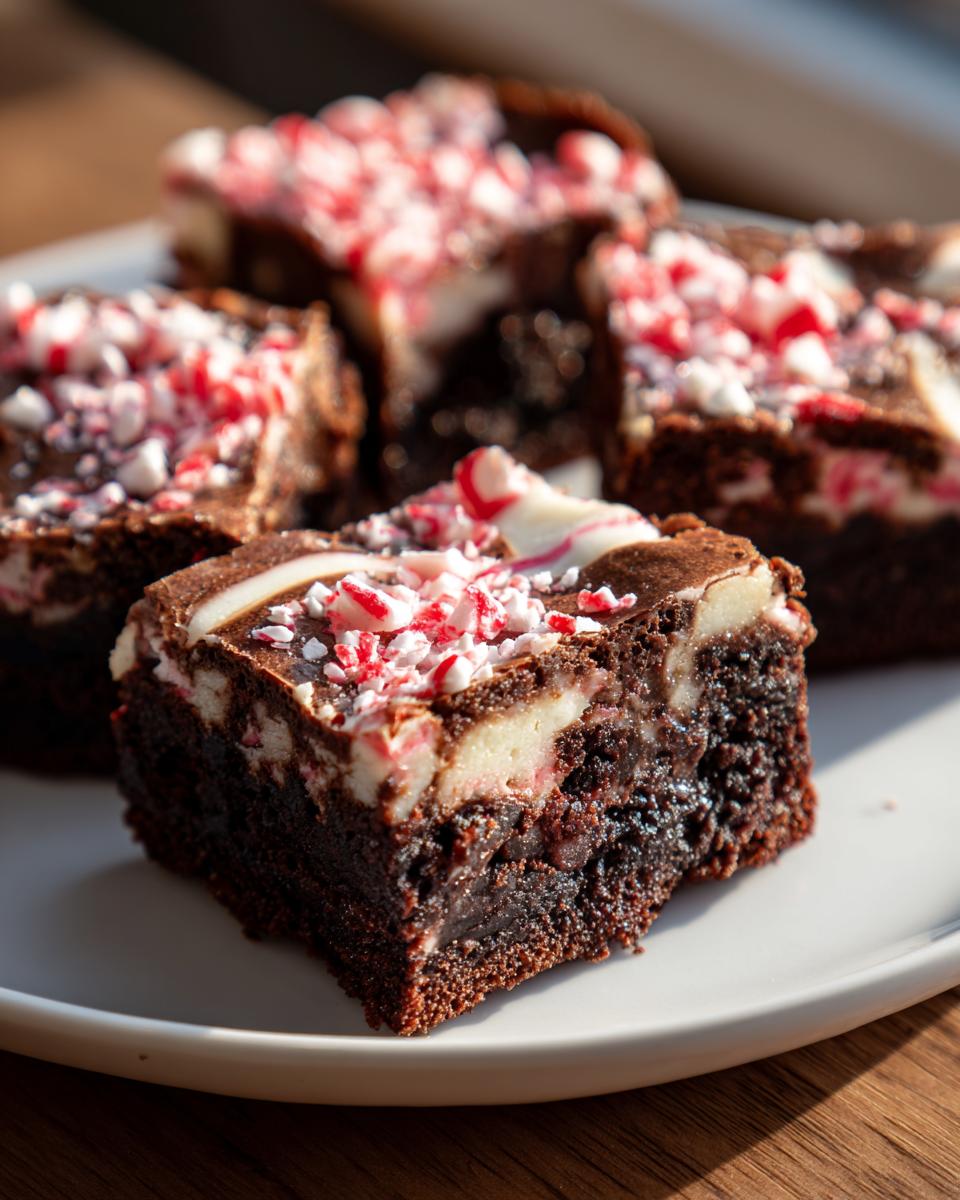
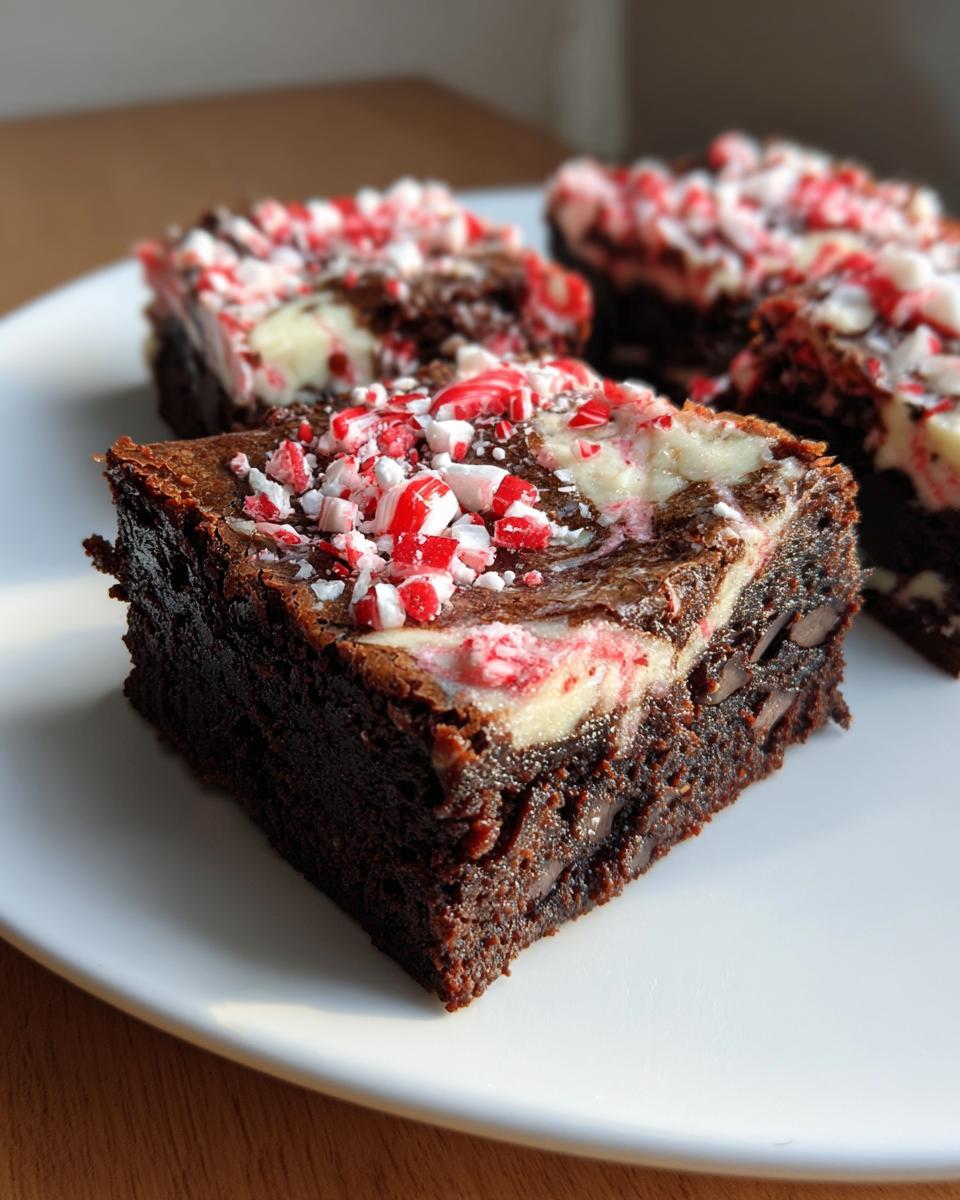
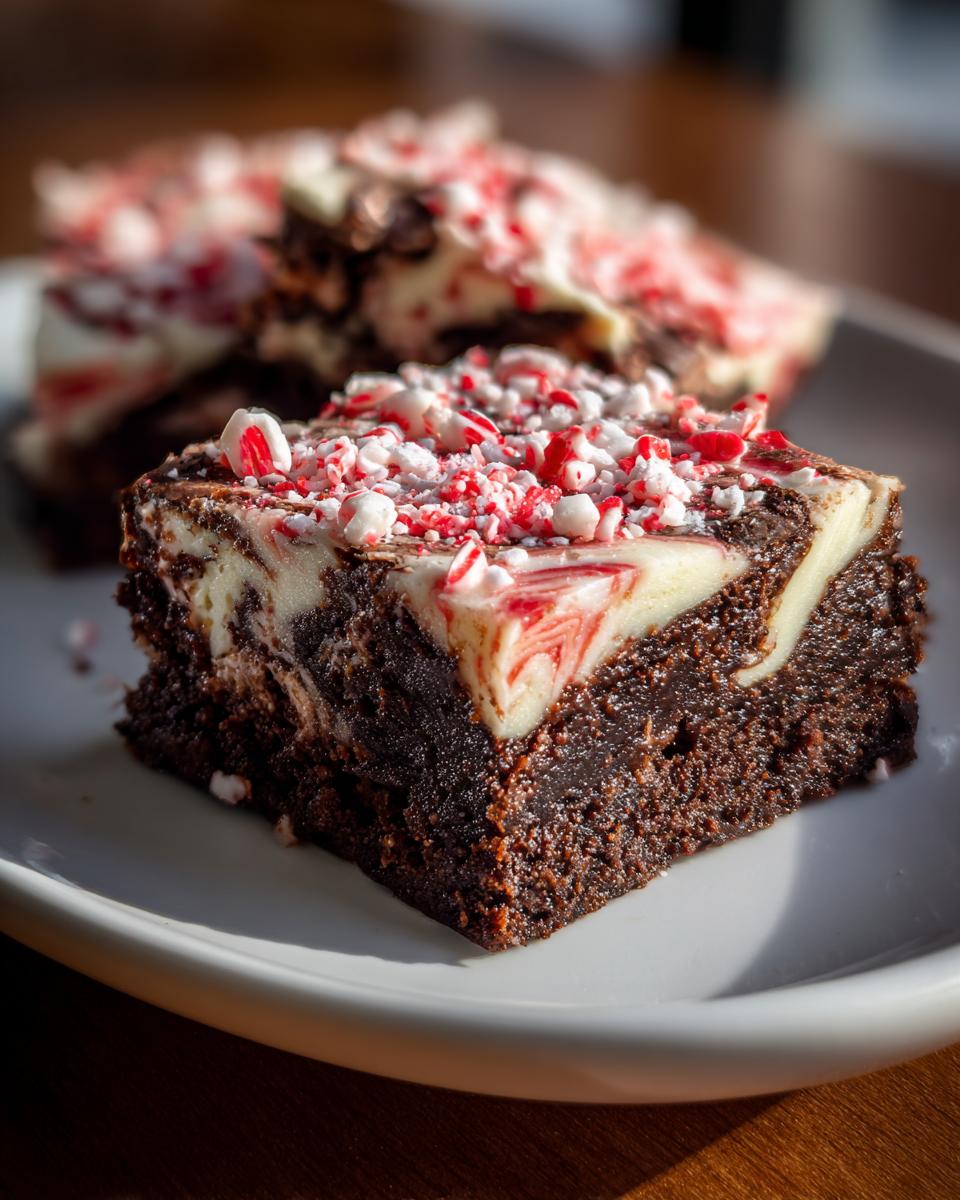
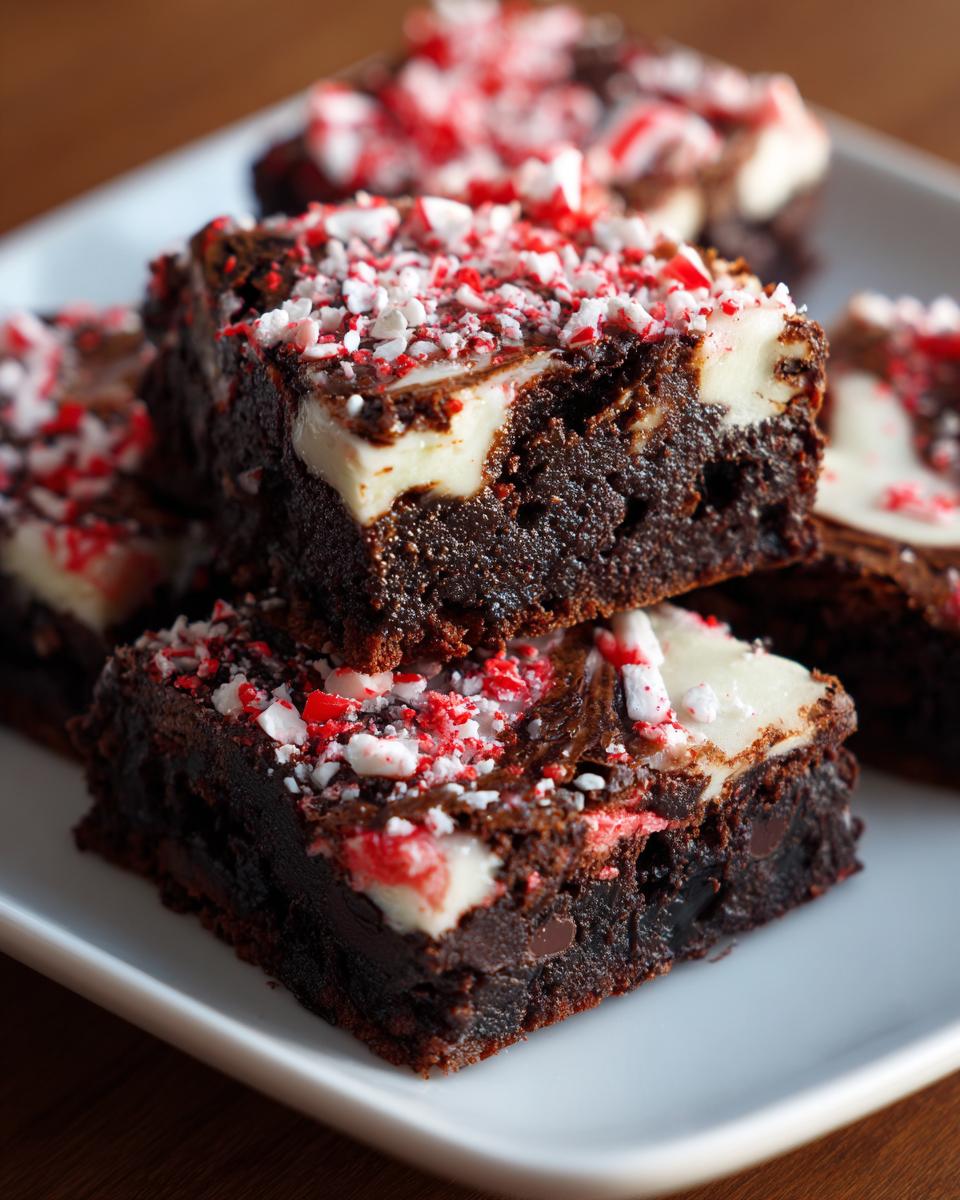
This is where the holiday cheer really kicks in! We’re using rich, dark chocolate balanced with a touch of peppermint extract right in the batter. When you cut into these, you get that beautiful dark chocolate ribbon contrasting with the white chocolate swirl. The best part, though, is the crushed candy cane topping—that sharp, cool mint flavor bursting against the warm, deep chocolate? Divine!
If you’ve tried my spiderweb brownies, you know I love a visual flair, and these deliver it effortlessly!
Gathering Ingredients for Ultimate Candy Cane Brownies
Wow, look at this list! It looks like a lot of ingredients, but really, most of these are pantry staples, and the special holiday ones are easy to grab. Remember, because we are aiming for that *rich chocolate fudge brownie* texture, the proportions matter, especially the chocolate chips and the sugars. Don’t substitute the fat content here if you want that perfect chewiness. If you’re looking for tips on making a fantastic chocolate fudge layer separately someday, I have you covered!
Key Ingredients for Rich Chocolate Brownie Base
These form the dense foundation of our dessert. Make sure to measure your cocoa powder accurately so you don’t end up with a drier bake!
- 1 cup (2 sticks) unsalted butter, melted
- 2 cups granulated sugar
- 1 cup packed light brown sugar – this is key for moisture!
- 4 large eggs, room temperature is best!
- 1 tablespoon vanilla extract
- 1 cup all-purpose flour
- 3/4 cup unsweetened cocoa powder
- 1/2 teaspoon salt (don’t skip this, it balances the sweet!)
- 1/2 teaspoon baking powder
- 1/2 cup semi-sweet chocolate chips
- 1/2 cup white chocolate chips
- 1 teaspoon peppermint extract (yes, right in the batter!)
Ingredients for Peppermint Swirl and Crushed Candy Cane Topping
This is where we bring in the festive crunch and the creamy swirl effect that makes our candy cane brownies look incredible on the holiday table.
- 1 cup crushed candy canes, divided (about 2/3 for the filling layers, 1/3 for the very top sprinkle)
- 1/2 cup white chocolate melting wafers or finely chopped white chocolate
- 1 tablespoon coconut oil (optional, but it makes the swirl melt beautifully smooth)
Step-by-Step Instructions for Perfect Candy Cane Brownies
Okay, now for the fun part! Seeing this recipe come together step-by-step is almost as good as eating them. We’re moving fast, but we need to be precise when it comes to preventing cakeiness. If you’ve ever made my salted caramel brownies, you’ll recognize some of these fundamentals for creating that perfect dense chocolate structure! Follow these closely, and you are guaranteed an award-worthy holiday bake.
Preparing the Pan and Mixing the Batter
First things first: Preheat your oven to 350°F (175°C). I want you to line a 9×13 inch pan with parchment paper, but make sure you leave a big overhang on the sides—that’s your handle for lifting them out later! Lightly grease the paper just to be safe. In a big bowl, whisk together your melted butter with both sugars until they look nice and combined. Then, beat in the eggs one by one, mixing well after each addition, followed by the vanilla and peppermint extracts. Over in a separate bowl, whisk your dry stuff: flour, cocoa, salt, and baking powder. Now, add the dry side to the wet side gradually, mixing *just* until you don’t see streaks of flour left. Please, please, please, do not overmix! Finally, gently fold in both sets of chocolate chips.
Creating the Festive Peppermint Swirl
This layering is what makes these candy cane brownies so incredibly pretty! Pour half of that beautiful brownie batter into your prepared pan and spread it out. Next, melt your white chocolate wafers (add that tiny splash of coconut oil if you have it, it helps keep things flowing) and drizzle about half of that melted white chocolate right over the batter. Sprinkle half of your crushed candy canes on top of that drizzle. Now, dollop the remaining batter over the top, then drizzle with the rest of the white chocolate. Before you bake, take a butter knife or a thin skewer and gently swirl the layers together. You want a marbled pattern, not a muddy mess, so work gently to create those festive ribbon effects!
Baking and Cooling for Maximum Fudginess
Pop that pan into the preheated oven for about 30 to 35 minutes. Here’s the secret to fudginess, so listen up! When you test it, you are looking for a toothpick inserted near the center to come out with *moist crumbs attached*, not wet batter swinging around. If it’s perfectly clean, you’ve gone too far! Set a timer for 30 minutes and check; you can always add two more if needed. After they come out, you must let them cool completely in the pan on a wire rack. Seriously, I know it’s hard to wait, but this step solidifies that amazing chewy, fudgy texture, especially for these layered candy cane brownies.
If you need a great dipping partner for these bars, you simply have to check out my recipe for hot chocolate bombs!
Tips for Making the Best Candy Cane Brownies Every Time
I’ve made batches of these for holidays across the years, and I’ve definitely learned a few things through trial and error—mostly error when I got impatient! Following these small pointers means you get the *Best Brownie Recipe for Holidays* quality every single time, rather than a sad, dry square. These are my golden rules to maintain that incredible texture we worked so hard to achieve in the batter earlier.
Avoiding Overbaking in Your Candy Cane Brownies
This is absolutely the most critical step when aiming for true fudginess. If you bake these brownies until a clean toothpick comes out, you’ve officially made cake! For these candy cane brownies, we need that gooey center. Always, always check them right around the 30-minute mark. You’re looking for moist crumbs clinging to the toothpick—not raw batter, but definitely not dry.
When they look *almost* done, take them out. They continue to cook slightly sitting on the hot pan, and cooling them completely, as we discussed, locks in the moisture. Don’t reach for that glass of milk too soon!
Frosting Alternatives to the White Chocolate Drizzle
While I adore the crackly look of the melted white chocolate and crushed candy cane topping, sometimes you want something softer and creamier to frost your bars. You absolutely can switch it up! If you prefer a creamier finish on your candy cane brownies, you should substitute the melted white chocolate drizzle with a simple peppermint buttercream frosting.
It’s super easy: beat some softened butter until fluffy, slowly mix in powdered sugar, a splash of milk, and a little peppermint extract. Frosting them once they are completely cool gives you that lovely creamy layer that really melts in your mouth. Both ways are totally festive, but the buttercream option feels extra luxurious for gift-giving!
If you want another recipe that proves butter makes everything better, you should definitely look at my fudgy crackly top brownie recipe!
Storing and Serving Your Festive Candy Cane Brownies
One of the biggest joys of holiday baking is getting ahead of the game, right? If you’re planning for big family gatherings—and trust me, these candy cane brownies disappear FAST at any party—knowing how to store them properly is crucial. We want them fresh and fudgy on Christmas Eve just as much as we did when they first came out of the oven!
Make Ahead Holiday Treats Storage Guide
These are fantastic for making ahead! Because they are so rich, they tend to hold up really well. I find that if I cut them after they’ve cooled *completely* (seriously, don’t rush this part, or they get messy!), I can store them in an airtight container at room temperature for about three to maybe four days. They stay chewy that whole time, which is amazing for a make-ahead option. Keeping them tightly sealed prevents that minty peppermint scent from spreading everywhere, too!
If you want them to last longer for your big event, you can refrigerate them too, but they might firm up a touch. If you do chill them, just remember to pull them out about 30 minutes before you serve them. These are truly perfect for setting out for your big Christmas party desserts because you can bake them days before the chaos hits!
If you’re stacking these treats, make sure you put parchment paper between the layers so the sticky topping doesn’t glue everything together. For more ideas on planning your holiday baking schedule, take a look at my guide on make ahead holiday treats!
Serving Suggestions for These Christmas Dessert Recipes
While they are perfect standing alone, these intensely chocolatey, minty bars really sing when paired with a warm beverage. They cut through the richness beautifully. I almost always serve these alongside a big steaming mug of coffee—the bitterness of the coffee is just perfection with the white chocolate and peppermint.
Alternatively, if you have little ones (or just need a cozy night in!), they are phenomenal dunked gently into a rich mug of hot milk or, even better, my decadent hot chocolate bombs. The combination of the chocolate from the brownie and the melted chocolate from the bomb? Yes, please! It’s double chocolate heaven, and the mint just cuts right through it all.
Frequently Asked Questions About Peppermint Chocolate Bars
It’s so common to have questions when you’re trying out a new holiday bake, especially one with layers like these amazing candy cane brownies! I’ve gathered the handful of questions I get asked most often about making these peppermint chocolate bars perfectly. Hopefully, this helps you feel totally confident heading into your kitchen! If you need a partner treat for these fudgy bars, be sure to check out my recipe for hot chocolate bombs!
Can I make these candy cane brownies without peppermint extract?
Oh, absolutely you can! Life happens, and sometimes you just can’t grab that extra bottle from the store. If you skip the peppermint extract in the batter, you’ll still end up with a delicious, fudgy chocolate brownie base. However, I’ll be honest, the flavor will be much less intense. You won’t get that bright, cool burst of mint that really defines these as a true holiday treat.
If you skip the extract, I really encourage you to make sure you use a generous amount of the crushed candy cane topping. The crushed candy itself will carry most of the mint flavor, so you’ll still get that wonderful crackle and pop.
What is the best way to crush candy canes for the topping?
This is a messy but fun job! If you just toss them in a food processor, you often end up with fine, dusty powder and no satisfying crunch. So here’s my secret for getting those perfect little flakes that look so pretty sprinkled over the top of your festive brownie ideas:
Wrap your candy canes snugly in a sturdy, high-quality zip-top bag—double-bag them if they feel delicate! Flatten them a little bit first. Then, grab a heavy rolling pin (or even the bottom of a sturdy pan) and gently roll over them. If you’re using a food processor, pulse them just two or three quick times until you see variation in the size. You want some fine bits and some coarser chunks for texture!
Are these considered easy Christmas baking?
One hundred percent, yes! I designed these chocolate peppermint bars—from the simple melted butter base to the no-fuss swirling technique—to be approachable. Unlike making layer cakes or intricate cookies, the mixing process here is fast; we focus on not overmixing the batter, which is much easier than trying to perfectly fold in whipped egg whites, for example. So, yes, these definitely fall under the category of easy Christmas baking, and they provide huge payoff for very little effort!
If you’re looking for other simple recipes that fit the holiday bill, you know I always have more over on the site!
Estimated Nutritional Snapshot for Candy Cane Brownies
Now, I always tell people not to bake for the nutrition facts—we bake for joy! These are indulgent, rich, fudgy candy cane brownies, and they are built on butter, sugar, and chocolate, so they aren’t exactly health food. But knowing what you’re working with is helpful, especially when you’re hosting a holiday buffet!
Please remember that these numbers are just estimates based on the ingredients listed in the recipe above, divided into 16 servings. If you cube your brownies smaller or larger, these counts will obviously change. I used standard USDA data for approximation, but your exact nutritional profile will depend on the specific brands of cocoa, sugar, and chips you use. Consider this your helpful guideline, not a guarantee!
- Serving Size: 1 square
- Calories: around 320 (Yes, that’s enough energy to get you through wrapping presents!)
- Total Fat: 18g
- Saturated Fat: 10g (That’s the butter and chocolate doing their work!)
- Carbohydrates: 40g
- Total Sugars: 35g (This is where that dark brown sugar shines!)
- Protein: 4g
- Cholesterol: 65mg
See? Totally decadent! But oh, so worth it for a perfect Christmas dessert. When I plan my holiday baking, I just figure these wonderful peppermint chocolate bars count as my splurge for the week!
Share Your Joyful Candy Cane Brownies Creations
Now that you’ve whipped up a batch of these intensely fudgy, minty candy cane brownies, the best part is seeing how they look in your kitchen! Baking is so much more fun when we share the results, right? I truly believe in building this little community here at Bliss Batter, where we celebrate every successful bake, no matter how small the kitchen.
When you’re done devouring your first square (and I know you won’t wait long!), I would be absolutely tickled pink if you took a quick minute to leave a rating. Just scroll up a bit and click those stars! Letting me know if you gave it five stars helps other bakers feel confident in trying this as their go-to Christmas dessert recipe.
Rate Your Festive Brownie Batch
Did these hit the fudgy mark for you? Were those peppermint swirls as gorgeous as you hoped? Your honest feedback is what keeps this blog honest and full of tried-and-true recipes. Don’t be shy—a four-star review that says, “Amazing, but I cut the sugar slightly!” is just as helpful as a five-star rave!
Show Us Your Swirls on Social Media!
If you snapped a picture—and honestly, who wouldn’t with that beautiful peppermint crunch glistening on top?—please tag me on social media! I love seeing your festive spreads. Use the hashtag #BlissBatterBakes so I can hunt down your creations and smother them with digital love. Seeing your photos is what keeps me inspired to keep testing new, joyful recipes here in my own kitchen.
We’re all in this together, creating handmade happiness one batch at a time! You can learn a little more about my own baking journey over on my About page. Happy holidays, everyone!
PrintUltimate Fudgy Candy Cane Brownies with Peppermint Swirl

Create rich, fudgy chocolate brownies topped with a festive peppermint swirl and crunchy crushed candy canes. This easy recipe delivers decadent holiday flavor perfect for Christmas parties.
- Prep Time: 20 min
- Cook Time: 35 min
- Total Time: 55 min
- Yield: 16 servings 1x
- Category: Dessert
- Method: Baking
- Cuisine: American
- Diet: Vegetarian
Ingredients
- 1 cup (2 sticks) unsalted butter, melted
- 2 cups granulated sugar
- 1 cup packed light brown sugar
- 4 large eggs
- 1 tablespoon vanilla extract
- 1 cup all-purpose flour
- 3/4 cup unsweetened cocoa powder
- 1/2 teaspoon salt
- 1/2 teaspoon baking powder
- 1/2 cup semi-sweet chocolate chips
- 1/2 cup white chocolate chips
- 1 teaspoon peppermint extract (for brownie batter)
- 1 cup crushed candy canes, divided
- 1/2 cup white chocolate melting wafers or chopped white chocolate
- 1 tablespoon coconut oil (optional, for ganache smoothness)
Instructions
- Preheat your oven to 350°F (175°C). Line a 9×13 inch baking pan with parchment paper, leaving an overhang on the sides for easy removal. Lightly grease the paper.
- In a large bowl, whisk together the melted butter, granulated sugar, and brown sugar until well combined.
- Beat in the eggs one at a time, mixing well after each addition. Stir in the vanilla extract and peppermint extract.
- In a separate bowl, whisk together the flour, cocoa powder, salt, and baking powder.
- Gradually add the dry ingredients to the wet ingredients, mixing just until combined. Do not overmix. Fold in the semi-sweet and white chocolate chips.
- Pour half of the brownie batter into the prepared pan and spread evenly.
- In a small microwave-safe bowl, melt the white chocolate wafers with the coconut oil (if using) in 30-second intervals, stirring until smooth.
- Drizzle half of the melted white chocolate mixture over the batter in the pan. Sprinkle half of the crushed candy canes over the white chocolate layer.
- Dollop the remaining brownie batter over the white chocolate and candy cane layer. Dollop the remaining melted white chocolate on top.
- Use a knife or skewer to gently swirl the layers together to create a marbled effect. Sprinkle the remaining crushed candy canes over the top.
- Bake for 30 to 35 minutes, or until a toothpick inserted near the center comes out with moist crumbs attached, not wet batter.
- Let the brownies cool completely in the pan on a wire rack. This is important for fudginess.
- Once cool, use the parchment overhang to lift the brownies out of the pan. Cut into squares.
Notes
- For the fudgiest results, avoid overbaking. The center should still look slightly soft when you remove them from the oven.
- You can substitute the white chocolate drizzle with a simple peppermint buttercream frosting if you prefer a creamier topping instead of a melted chocolate swirl.
- Make sure your candy canes are crushed finely enough to sprinkle easily, but still provide a good crunch.
Nutrition
- Serving Size: 1 square
- Calories: 320
- Sugar: 35
- Sodium: 110
- Fat: 18
- Saturated Fat: 10
- Unsaturated Fat: 8
- Trans Fat: 0
- Carbohydrates: 40
- Fiber: 2
- Protein: 4
- Cholesterol: 65