
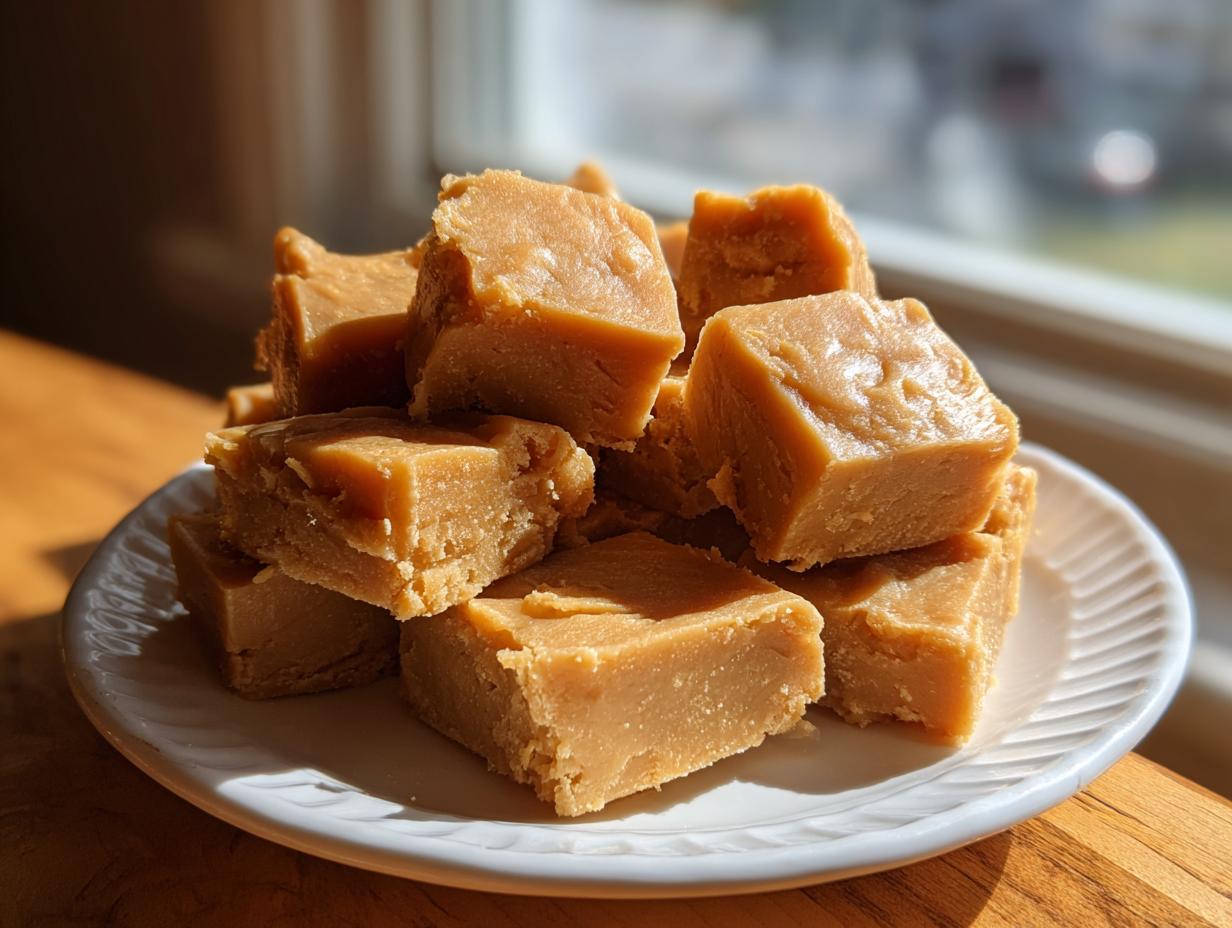
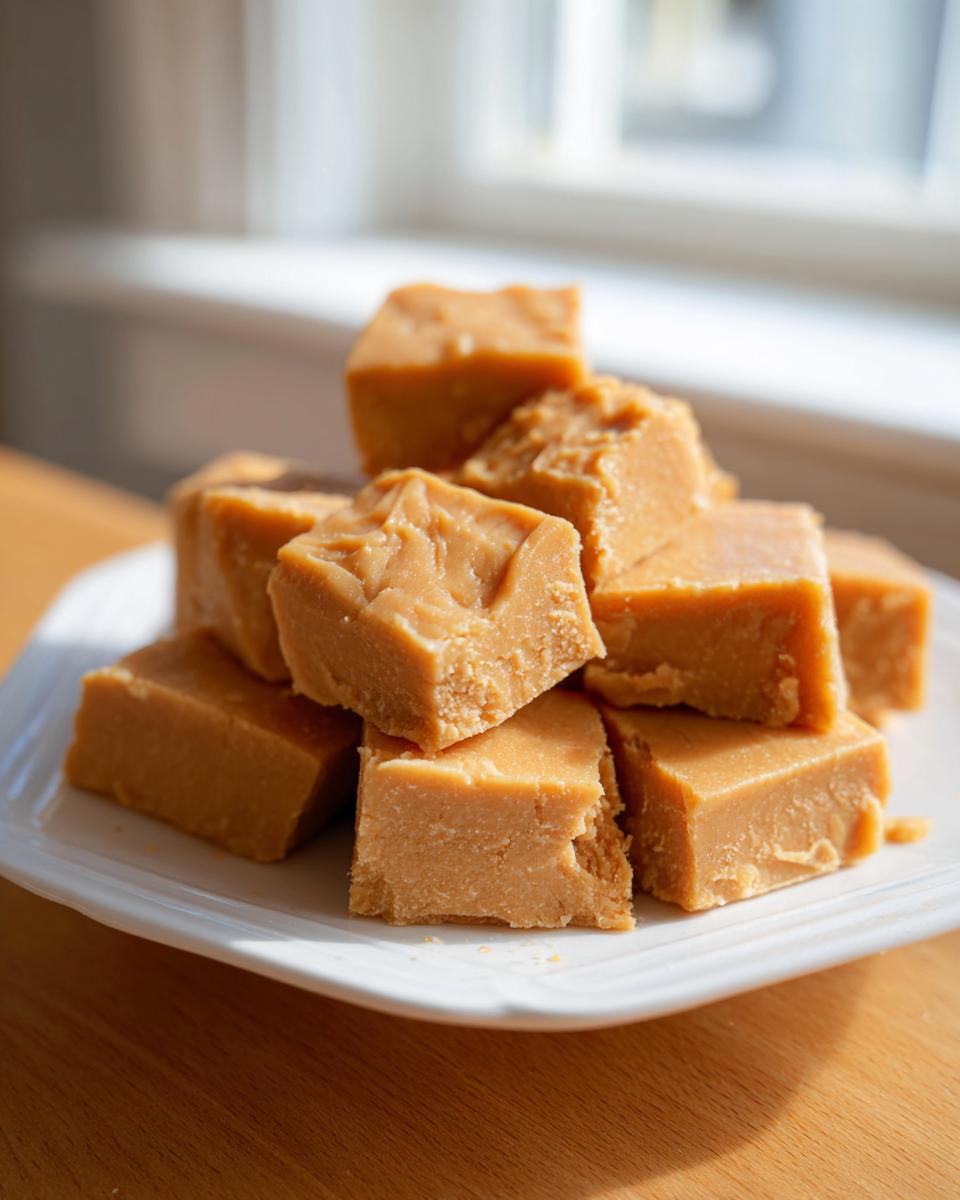
Oh, sometimes you just need that taste of pure, unadulterated nostalgia, don’t you? Like riding in a time machine straight back to happy holidays or summer fairs. For me, that flavor is always something rich and dense, something utterly comforting. That’s why I am absolutely thrilled to share my take on Grandma’s Creamy Peanut Butter Fudge. Forget those dry, crumbly versions you’ve tried; this one is impossibly smooth.
When I was balancing deadlines in my old corporate life, this recipe—made in mere minutes—was my go-to reset button. It’s so quick and easy, yet it delivers that deep, melt-in-your-mouth texture everyone craves in a proper American classic. If you want that perfect, rich peanut butter fudge without spending hours stirring over a hot stove, you’ve landed in exactly the right spot. You can find more easy dessert inspirations over here at the Bliss Batter dessert collection!
- Why This Creamy Peanut Butter Fudge Recipe Works Every Time
- Ingredients for Your Classic Peanut Butter Fudge Recipe
- Step-by-Step Instructions for Easy Peanut Butter Fudge
- Tips for Perfect Melt in Your Mouth Peanut Butter Fudge
- Ingredient Notes and Substitutions for Peanut Butter Fudge
- Storing Your Classic Peanut Butter Dessert
- Serving Suggestions for Holiday Fudge and Gifting Desserts
- Frequently Asked Questions About Making Peanut Butter Fudge
- Understanding the Nutrition in This Simple Dessert
Why This Creamy Peanut Butter Fudge Recipe Works Every Time
I’ve tried every method out there, and honestly, I always come back to this one because it’s completely dependable. This isn’t some fussy candy-making technique that cracks under pressure! It’s my version of No Fail Fudge, and that’s a promise I make to you.
- It requires minimal active time—seriously, you can have this ready to set in under 15 minutes!
- The texture is consistently a winner—rich, soft, and truly a Melt in Your Mouth Dessert.
Quick Fudge Preparation Using the Microwave Method
We skip the double boiler entirely! The beauty of this Quick Fudge is the microwave. With just 10 minutes of prep and 5 minutes of cooking time, you skip all the guesswork. It’s perfect for when that sweet craving hits hard and fast.
Achieving Old Fashioned Fudge Texture with Simple Ingredients
The secret sauce here isn’t some hard-to-find binder; it’s that can of sweetened condensed milk. It completely transforms the experience of making peanut butter fudge. It keeps the mixture shiny and pliable, giving you that gorgeous, ultra-creamy, Old Fashioned Fudge feel without the complicated heating requirements. This is how you ensure a perfectly Rich Fudge every single time.
Ingredients for Your Classic Peanut Butter Fudge Recipe
Seriously, look at this list! It’s practically what you already have hanging out in your pantry right now. That’s why this recipe is my go-to when I need something special fast. For your 8×8 inch pan batch, you’ll need just five core ingredients. Don’t forget to sift that powdered sugar; it makes such a difference for smoothness! You can check out my favorite peanut butter cookie recipe if you’re having a baking frenzy this week!
- 1 (14 ounce) can sweetened condensed milk
- 1 (16 ounce) jar creamy peanut butter
- 1 teaspoon vanilla extract
- 1/4 teaspoon salt
- 1 cup powdered sugar, sifted
Step-by-Step Instructions for Easy Peanut Butter Fudge
Now for the fun part! Honestly, putting this delicious chocolate fudge recipe together is straightforward, but following these steps precisely ensures you get that perfect, creamy result the first time around. You’re going to be shocked how fast this comes together.
Preparing the Pan and Melting the Peanut Butter Fudge Base
First things first, get your pan ready. Grab an 8×8 inch baking pan—mine is slightly darker, so I always grease the paper well! Line it with parchment paper so that you have an overhang on the sides. Trust me, this overhang is your best friend when it’s time to lift the finished fudge out later.
Next, we move to the microwave, which is where the magic happens for this Easy Fudge. Combine your whole can of sweetened condensed milk and the entire jar of peanut butter in a microwave-safe bowl. Give it a good stir, then zap it on high for 60 seconds. Stir it again! If it’s not totally smooth, keep heating in 30-second bursts, stirring well in between each burst. Stop as soon as it’s uniform—we don’t want to scorch it!
Incorporating the Final Ingredients for Smooth Peanut Butter Fudge
Once your base is smooth and glossy, pull it out. Now, stir in your vanilla extract and that tiny bit of salt; this really brightens up the peanut butter flavor, I promise.
This next part is crucial for texture, so don’t dump it all in at once! Gradually add that sifted powdered sugar to the sugar bowl, stirring constantly. You’ll feel the mixture get thick and stiff really quickly. Keep going until everything looks uniform and you can’t see any streaks of white sugar left. That’s the sign of smooth, lump-free fudge!
Setting and Cutting Your Homemade Candy
Time to get it into the pan! Scrape the thick, glorious mixture into your prepared pan. Take a spatula—maybe coat it with a little non-stick spray—and press it down evenly across the bottom. Don’t overwork it, just get a nice, flat top.
Now, you have two options depending on how impatient you are! You can leave it on the counter at room temperature for about 2 hours to set up beautifully for softer squares. If you need it faster (I’m usually too eager to wait!), stick it in the fridge for about an hour. Once it’s firm, grab those parchment paper handles and lift the whole slab out. Then, slice it into nice little squares. Hello, perfect Homemade Candy!
Tips for Perfect Melt in Your Mouth Peanut Butter Fudge
Even though this recipe is incredibly easy, a few tiny tweaks can elevate it from “good” to “Oh my gosh, where did you buy this?” My goal, like yours, is that signature melt-in-your-mouth sensation. It all comes down to how you handle the ingredients during that quick heating time.
First, make sure your peanut butter isn’t rock hard straight from the fridge, especially if you are using conventional creamy types. Slightly warmer peanut butter combines with the condensed milk much smoother, reducing the need for extra heating time in the microwave. Less heating equals less chance of that grainy texture creeping in!
Also, when you add the powdered sugar, resist the urge to stir like you’re mad at it! You want to fold it in gently. Over-mixing sugary fudge bases can sometimes activate the sugar too much or even incorporate too much air, which ruins the dense, luxurious mouthfeel we want in our peanut butter fudge. Be patient with that final fold, and you’ll have the best batch yet. If you love peanut butter, check out these energy bites for a healthier treat!
Ingredient Notes and Substitutions for Peanut Butter Fudge
I get so many questions about what happens if you swap an ingredient, and that’s fair! When you’re dealing with something as fussy as fudge, you want to know the rules before you break them. This recipe, relying on a few key players, is surprisingly flexible, but there are a couple of things I always stick to for that perfect baseline.
If you are reaching for natural or unsweetened peanut butter, you absolutely can! Just know that the texture might be a little softer because those natural kinds don’t have the stabilizers that the creamy stuff does. It’ll still taste amazing—a little less sweet, in fact—but you might need to chill it an extra 30 minutes before cutting. Don’t forget to check out my easy 3-ingredient peanut butter cookies for another quick win!
Now, if you want to turn this into a total showstopper, especially around the holidays, try this little trick: right after you stir in the powdered sugar, fold in about 1/2 cup of melted semi-sweet chocolate chips. The fudge sets up around the chips, giving you these decadent little pockets of chocolate throughout the rich peanut butter base. It adds such a lovely extra layer of flavor!
Storing Your Classic Peanut Butter Dessert
Since this recipe is so simple and relies on a few classic ingredients, the storage is thankfully just as easy as the prep! You don’t need to worry about weird preservation techniques with this fudge. In fact, I find that like most really good homemade candy, it tastes even better the next day once it’s had a chance to really settle in.
My grandmother always kept hers in a tins on the counter, and that’s usually what I do too. You just need an airtight container—any nice tin or Tupperware will do the trick—and keep the squares stored at room temperature. This way, they stay perfectly soft and ready to grab! Stored correctly, this Classic Peanut Butter Dessert generally stays wonderfully fresh for about a week.
If, by some miracle, you have any left over after a week, you can absolutely move them to the fridge. Pop them in an airtight container there, too. They stiffen up a bit when chilled, but they come right back to that lovely, soft texture if you just let them sit out on the counter for about 15 to 20 minutes before serving. I often make a big batch around holiday time and store them in layers separated by wax paper. If you want to try another classic shelf-stable treat, you should definitely check out my caramel popcorn recipe!
Serving Suggestions for Holiday Fudge and Gifting Desserts
This Holiday Fudge really shines when it’s presented nicely! Because it sets up so perfectly, it’s easily one of the best Gifting Desserts you can whip up. I like to cut my squares small—they are rich, so a little goes a long way!
For gifting, take the slabs you’ve cut and layer them between small squares of festive parchment paper or wax paper. Tuck them into little cellophane bags, tie them with some nice baker’s twine, and you’re done! They look so professional.
They are also fantastic served alongside other favorites, like my classic Christmas sugar cookies. The dark, nutty flavor of the fudge balances out something lighter really beautifully on a party tray!
Frequently Asked Questions About Making Peanut Butter Fudge
It’s totally normal to have questions when you’re whipping up a new batch of homemade candy! Even though I call this recipe foolproof, sometimes things pop up. Here are the top things I hear from readers, especially when they are trying to achieve that perfect, soft texture!
Why is my peanut butter fudge grainy instead of creamy fudge?
Oh, that’s the worst feeling! Grainy fudge usually happens for one of two reasons. Most often, it means you over-mixed the powdered sugar into the warm base, or you maybe overheated the mixture too much in the microwave initially. The heat can cause the sugar to start crystallizing if you get it too hot or stir it too aggressively once it starts thickening. Next time, fold that sugar in very gently until it just combines. If you follow the short microwave bursts, you should end up with that beautiful creamy fudge you want!
Can I make this 3 Ingredient Fudge recipe without microwaving?
You sure can! If you don’t love using the microwave or don’t have one handy for this 3 Ingredient Fudge, the stovetop works great. Instead of microwaving, you just combine the peanut butter and sweetened condensed milk in a saucepan over low heat. You need to stir it constantly until it’s completely smooth—it will take about 5 to 7 minutes. Just make sure you keep that heat really low! If you boil it, you’ll lose that wonderful soft texture, so slow and steady wins this race.
Is this recipe suitable for Christmas Candy trays?
Absolutely, one hundred percent yes! This is my absolute favorite for making Christmas Candy trays. Because it sets up so cleanly and requires no baking, you can multiply the recipe easily enough to make a gigantic batch. Once it’s cut into little squares, it holds up beautifully on a platter, and everyone always asks for the recipe. It’s the definition of a classic crowd-pleaser for any holiday gathering. If you’re looking for more holiday baking ideas, don’t forget to browse my heritage dessert recipes!
Understanding the Nutrition in This Simple Dessert
I always think it is helpful to have a general idea of what’s in those delicious bites, even if we aren’t counting every little thing! While this is a sweet treat—definitely leaning towards the indulgence side of things—it’s made with such simple ingredients that it feels a little less heavy than some store-bought candies. Since we used simple pantry staples, the numbers aren’t too intimidating.
Remember, these are just estimates based on the recipe amounts, so your actual values might swing a little bit depending on the exact brands of peanut butter or powdered sugar you use. But this gives you a great baseline for enjoying your squares responsibly!
- Serving Size: 1 square
- Calories: 145
- Fat: 8g
- Saturated Fat: 2g
- Carbohydrates: 16g
- Sugar: 15g
- Protein: 4g
- Sodium: 85mg
- Cholesterol: 5mg
See? Not bad for something that tastes like pure holiday magic! If you want to balance out your weeknights after indulging in sweets, you can check out some of my simpler meals over at easy weeknight dinners.
PrintGrandma’s Creamy Peanut Butter Fudge (Quick and Easy)
Make this rich, melt-in-your-mouth peanut butter fudge using simple ingredients. This classic recipe is foolproof and perfect for holiday gifting or a quick homemade candy treat.
- Prep Time: 10 min
- Cook Time: 5 min
- Total Time: 15 min
- Yield: 36 small squares 1x
- Category: Dessert
- Method: Microwave
- Cuisine: American
- Diet: Vegetarian
Ingredients
- 1 (14 ounce) can sweetened condensed milk
- 1 (16 ounce) jar creamy peanut butter
- 1 teaspoon vanilla extract
- 1/4 teaspoon salt
- 1 cup powdered sugar, sifted
Instructions
- Line an 8×8 inch baking pan with parchment paper, leaving an overhang on the sides for easy removal. Lightly grease the paper.
- In a medium, microwave-safe bowl, combine the sweetened condensed milk and peanut butter.
- Microwave on high for 60 seconds. Stir well until the mixture is smooth.
- Continue microwaving in 30-second intervals, stirring after each, until the mixture is completely smooth and easily combined. This usually takes about 1 to 2 minutes total, depending on your microwave power.
- Stir in the vanilla extract and salt until mixed in.
- Gradually add the sifted powdered sugar, stirring until the mixture is uniform and thick. This is your creamy fudge base.
- Press the fudge mixture evenly into the prepared pan. Use a spatula lightly coated with non-stick spray to smooth the top.
- Allow the fudge to set completely at room temperature for at least 2 hours, or chill in the refrigerator for 1 hour for faster setting.
- Lift the fudge out of the pan using the parchment paper overhang. Cut into small squares.
Notes
- For an extra rich flavor, use natural, unsweetened peanut butter, but be aware that the texture may be slightly softer.
- If you prefer a slightly firmer fudge, you can add 1/2 cup of melted semi-sweet chocolate chips to the mixture just before pressing it into the pan.
- Store your homemade candy in an airtight container at room temperature for up to one week.
Nutrition
- Serving Size: 1 square
- Calories: 145
- Sugar: 15
- Sodium: 85
- Fat: 8
- Saturated Fat: 2
- Unsaturated Fat: 6
- Trans Fat: 0
- Carbohydrates: 16
- Fiber: 1
- Protein: 4
- Cholesterol: 5